Appetizers
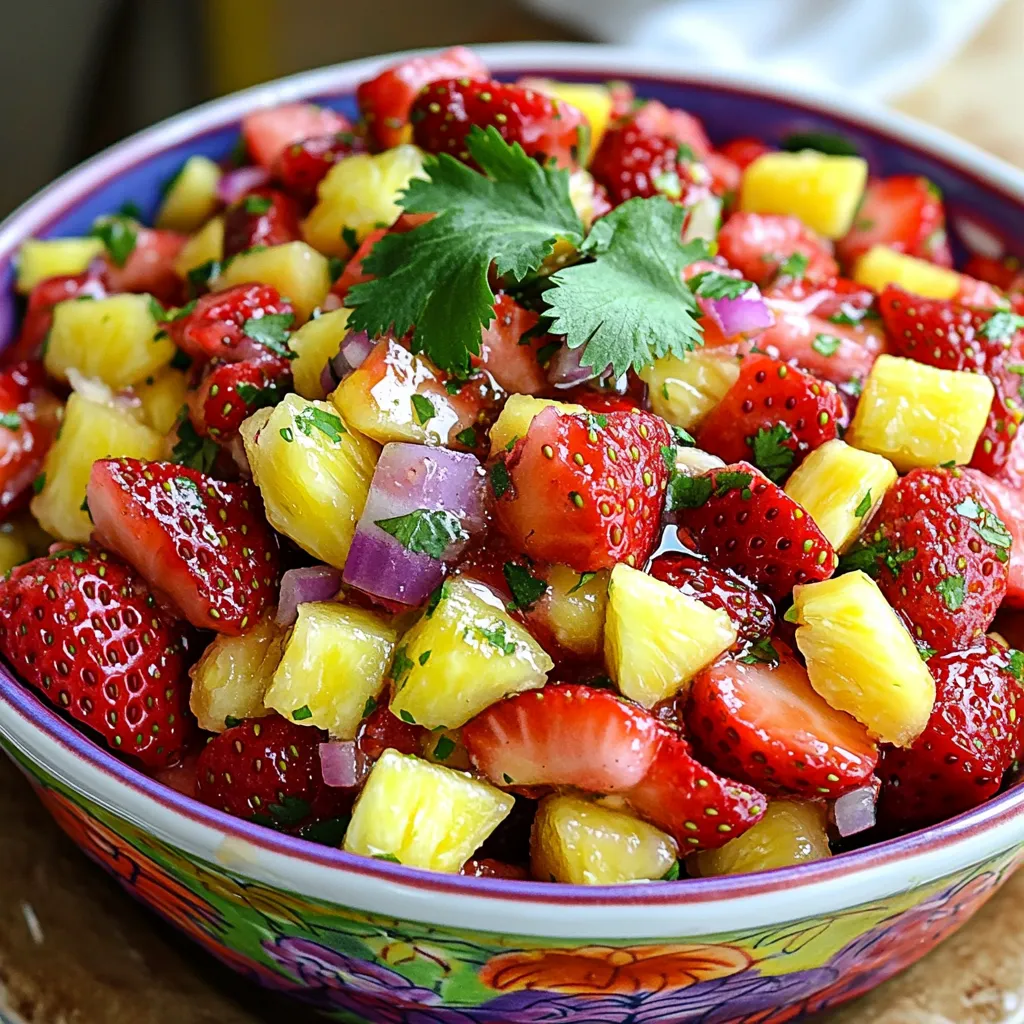
Strawberry Pineapple Fruit Salsa Fresh and Flavorful Mix
Looking for a zesty treat that brightens up any meal? Strawberry Pineapple Fruit Salsa is your answer! Packed with fresh flavors and nutrition, this salsa
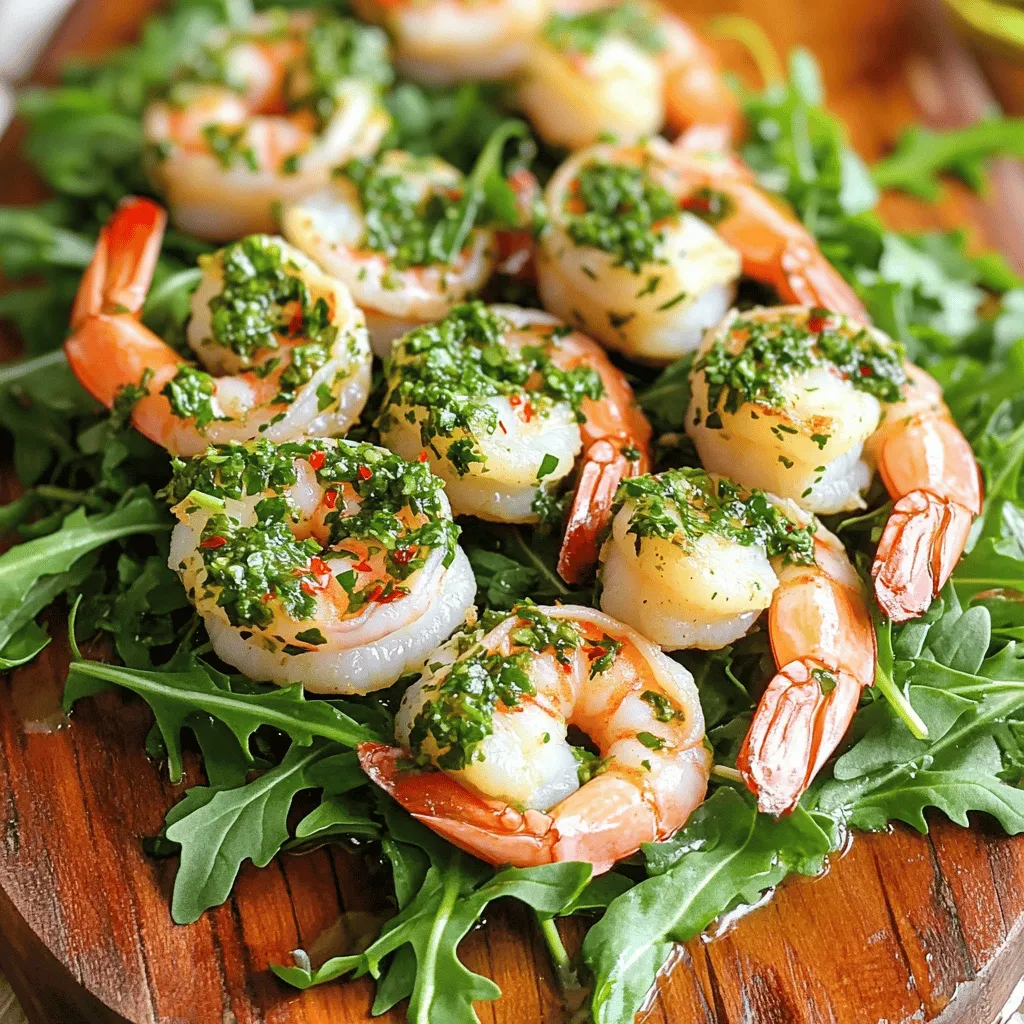
Pan Seared Chimichurri Shrimp Flavorful Meal Guide
Are you ready to spice up your dinner routine? This Pan Seared Chimichurri Shrimp meal guide brings bold flavors and easy steps right to your
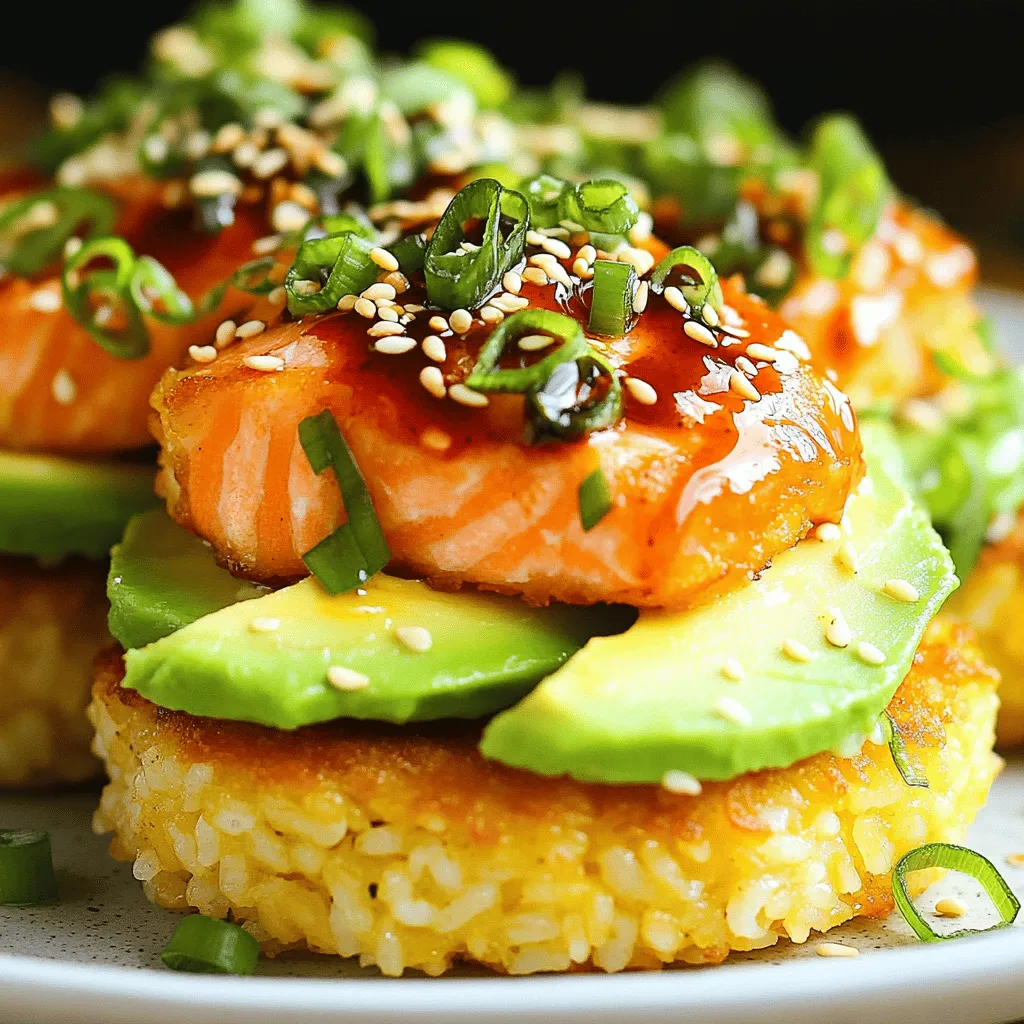
Crispy Rice with Spicy Salmon Delightful Flavor Boost
Welcome to a flavor-packed journey with my Crispy Rice with Spicy Salmon! This dish offers crunchy rice, tender salmon, and a kick of heat. If

Easy Bang Bang Salmon Bites Simple and Tasty Meal
Looking for a quick and tasty meal? Try these Easy Bang Bang Salmon Bites! They’re simple to make and bursting with flavor. In this post,
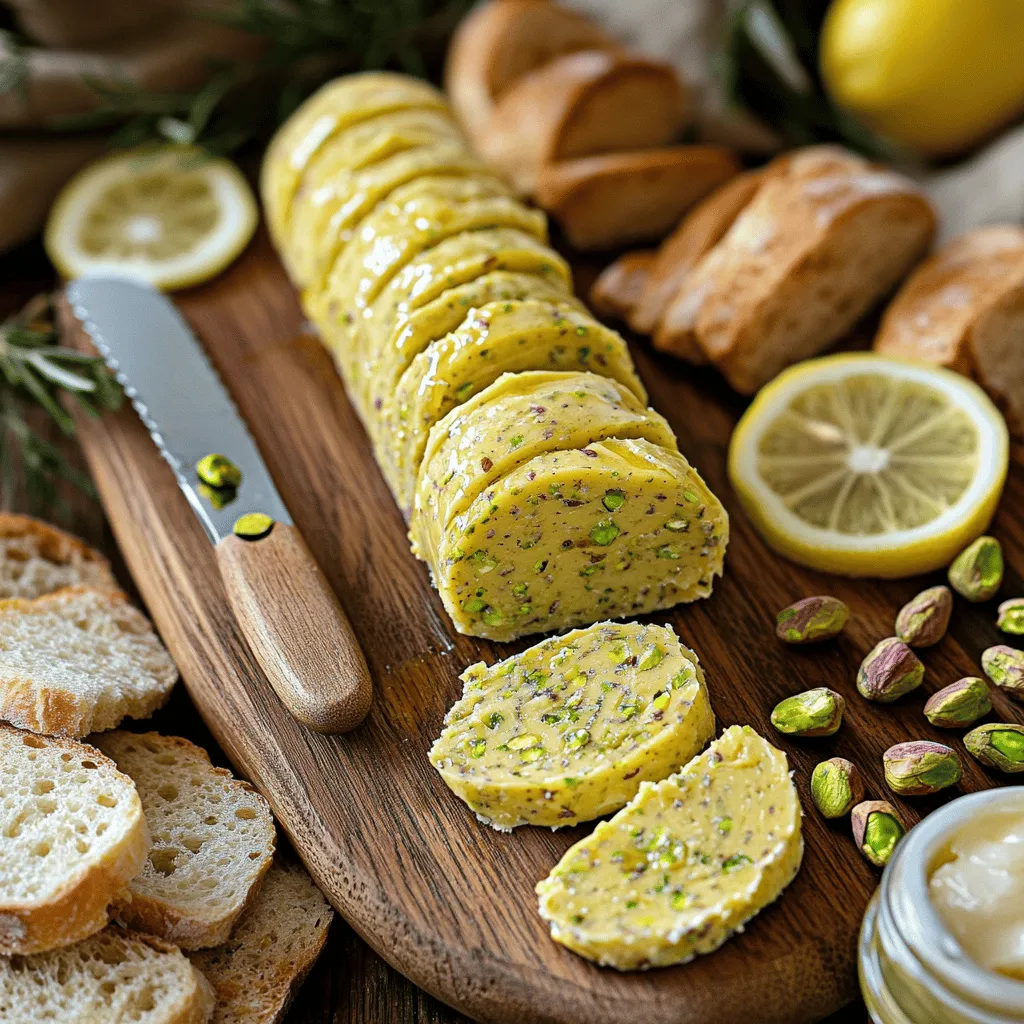
How to Make Pistachio Compound Butter Tasty Delight
Are you ready to elevate your culinary game? In this blog post, I’ll show you how to make pistachio compound butter that dazzles the taste
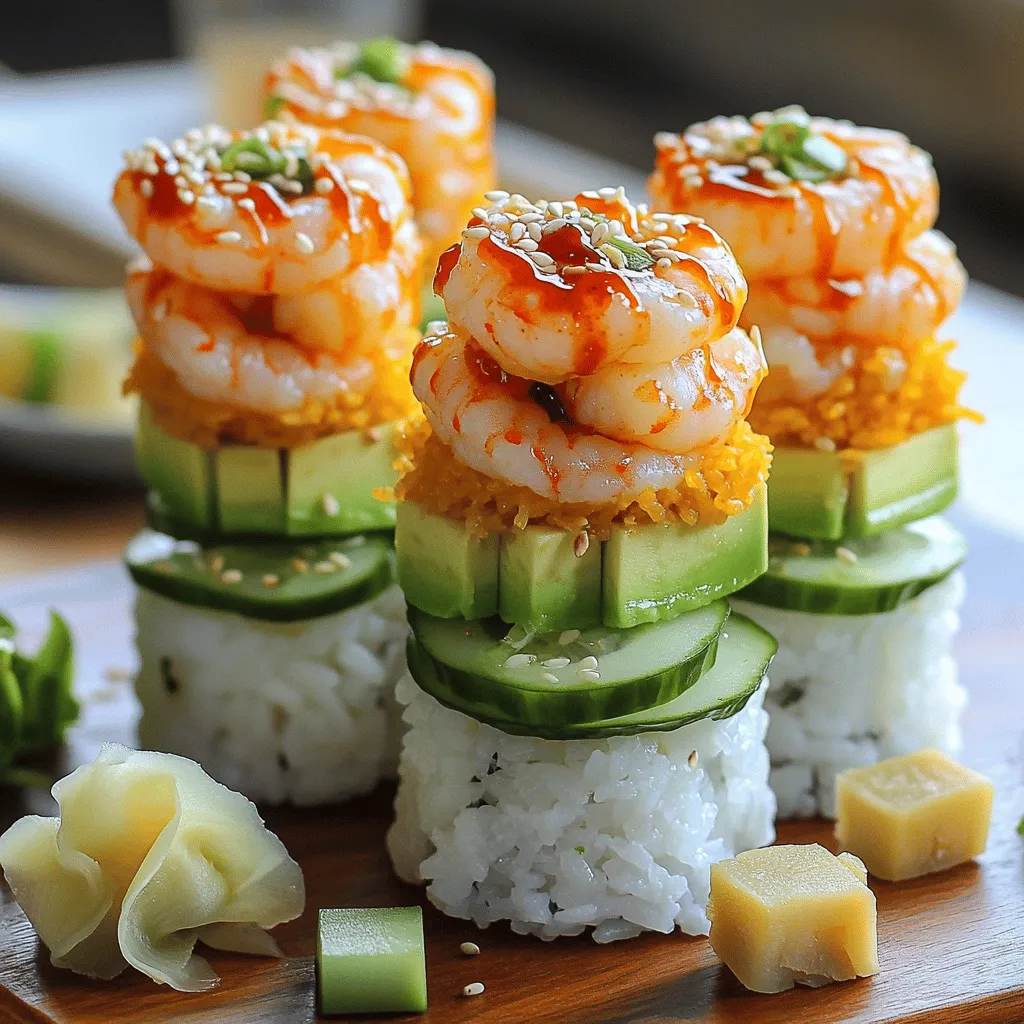
Spicy Shrimp Sushi Stacks Flavorful and Fun Recipe
Are you ready to spice up your dinner routine? These Spicy Shrimp Sushi Stacks are not only fun to make but also a treat for
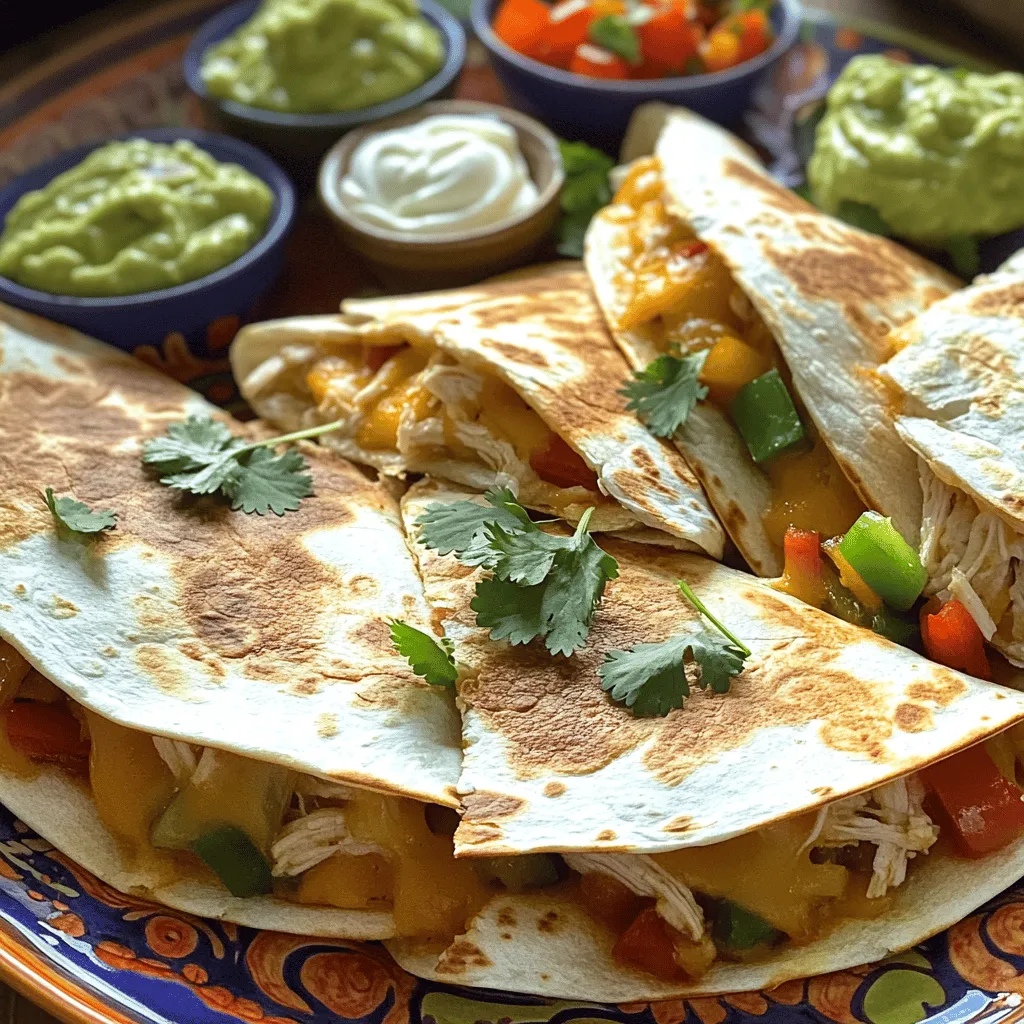
Air Fryer Quesadillas Crispy and Delicious Recipe
Craving a quick, tasty snack? You’ll love these Air Fryer Quesadillas! They are crispy, cheesy, and so easy to make. With just a few key

Fiery Cajun Shrimp Stuffed Jalapeños Flavorful Treat
If you’re looking for a bold appetizer that packs a punch, you’ve found it! My Fiery Cajun Shrimp Stuffed Jalapeños are bursting with flavor. They

Pull-Apart Meatball Sliders with Garlic Parmesan Butter
Are you ready to tantalize your taste buds with a delicious twist on comfort food? My Pull-Apart Meatball Sliders with Garlic Parmesan Butter are not
![To make crispy zucchini fritters, you need: - 2 medium zucchinis, grated - 1 teaspoon salt - 1 cup all-purpose flour - 1/2 cup grated Parmesan cheese - 2 large eggs - 1/4 cup chopped fresh parsley - 1/4 teaspoon garlic powder - 1/4 teaspoon black pepper - 1/2 teaspoon baking powder - Vegetable oil for frying These simple ingredients create a tasty and fun snack. The zucchini gives a fresh flavor while the cheese adds richness. You can make your fritters even better by adding: - Chopped scallions or onions - Crushed red pepper flakes for spice - Different cheeses like feta or mozzarella Feel free to mix in your favorite flavors. Each option adds a new twist to the dish. Each serving of these zucchini fritters has: - Approximately 200 calories - 10 grams of fat - 20 grams of carbohydrates - 8 grams of protein These fritters are not just tasty but also offer good nutrition. They can fit into many diets. Check the [Full Recipe] for more details on preparation and serving. Start by grating the zucchinis. Use a box grater or food processor for speed. Once grated, place the zucchini in a colander. Sprinkle 1 teaspoon of salt over it. This step is key. Let it sit for about 10-15 minutes. The salt pulls out excess moisture. After 15 minutes, use a clean kitchen towel or paper towels. Squeeze the grated zucchini to remove as much moisture as you can. This helps the fritters stay crispy. If you skip this step, your fritters may turn out soggy. Next, grab a large mixing bowl. Add the drained zucchini to it. Now, combine the zucchini with the dry and wet ingredients. Use 1 cup of all-purpose flour, 1/2 cup of grated Parmesan cheese, and 2 large eggs. Also, include 1/4 cup of chopped fresh parsley, 1/4 teaspoon of garlic powder, 1/4 teaspoon of black pepper, and 1/2 teaspoon of baking powder. Mix it all together until well combined. You want a thick batter that holds together. This mixture is what will become your tasty fritters. Now, it’s time to fry! Heat about 1/4 inch of vegetable oil in a large skillet. Aim for medium heat. You want the oil hot but not smoking. A good test is to drop a small bit of batter into the oil. If it sizzles, you're ready to fry. Using a tablespoon, scoop about 2 tablespoons of the zucchini mixture. Carefully drop it into the hot oil. Flatten it slightly with the back of the spoon. Repeat this until the skillet is full but not overcrowded. Fry the fritters for about 3-4 minutes on each side. Look for a golden brown color and a crispy texture. Use a slotted spoon to transfer them to a paper towel-lined plate. This helps drain any extra oil. Continue frying the remaining fritters, adding more oil if needed. For more detailed cooking instructions, check out the Full Recipe. To get crispy zucchini fritters, you need the right oil temperature. Aim for 350°F (175°C). If the oil is too cool, the fritters will soak up oil and become soggy. If it's too hot, they will burn outside while staying raw inside. Use a deep skillet or a heavy-bottomed pan for frying. A cast-iron skillet works best here. It holds heat well and cooks evenly, giving you that perfect golden finish. Also, use a thermometer to check the oil temperature. This simple tool makes a big difference. These fritters taste great with a dip. Tzatziki or marinara sauce are both nice choices. Tzatziki adds a cool touch, while marinara gives a nice kick. You can also serve them with Greek yogurt for a creamy option. For plating, stack the fritters on a colorful plate. Add fresh herbs like parsley or dill on top for a pop of color. You can even place a small bowl of dip next to the fritters. This looks nice and makes it easy for guests to grab some. One common mistake is overcrowding the pan. If you place too many fritters at once, they won’t fry well. They will steam instead of crisp. Always leave space between each fritter in the pan. Another mistake is not draining the zucchini. After grating, you must remove excess moisture. If you skip this step, your fritters will become mushy. Use paper towels or a clean kitchen towel to squeeze out as much water as you can. This helps keep them crispy. For the full recipe of these delicious crispy zucchini fritters, check out the details provided above. {{image_2}} To make your crispy zucchini fritters even tastier, you can add herbs like thyme or dill. These herbs give your fritters a fresh and vibrant taste that pairs well with zucchini. You can also use spices for an international twist. For instance, try adding cumin for a warm flavor or paprika for a hint of smokiness. These small changes can make a big difference in taste. If you're looking for healthier options, consider baking instead of frying. Baking still gives a nice crunch while cutting down on oil. You can also try using whole wheat flour or gluten-free flour. These options add nutrients and fiber, making your fritters more filling and better for you. Crispy zucchini fritters work well as a side dish or an appetizer. They are perfect for family dinners or parties. You can pair them with salads or soups for a complete meal. They add a fun crunch and a pop of color to your plate. Check the Full Recipe for more ideas on how to enjoy these delicious fritters. To keep your leftover crispy zucchini fritters fresh, place them in an airtight container. You can store them in the fridge for up to three days. Make sure they are completely cool before sealing. This helps to keep their texture. Reheating can be tricky if you want to keep the crunch. I recommend using an oven or an air fryer. Preheat your oven to 350°F (175°C). Place the fritters on a baking sheet and heat them for about 10-15 minutes. If using an air fryer, set it to 375°F (190°C) and heat for about 5-7 minutes. Both methods help retain that crispy outer layer. You can freeze your fritters both uncooked and cooked. For uncooked fritters, place them on a baking sheet and freeze until solid. Then, transfer them to a freezer bag. For cooked fritters, let them cool completely before placing them in a freezer bag. To thaw, leave them in the fridge overnight. For reheating, use the oven or air fryer for best results. Yes, you can prepare zucchini fritters ahead of time. Grate the zucchini, salt it, and let it drain. This step helps remove moisture. After draining, store the zucchini in an airtight container in the fridge for up to 24 hours. You can also mix the other ingredients and keep that mixture in the fridge. Just fry them when you're ready to enjoy a tasty snack. Using frozen zucchini is not the best choice. When zucchini freezes, it loses its crispness. This change affects the taste and texture of the fritters. If you must use frozen zucchini, make sure to thaw and drain it well. Press it to remove as much water as possible. This step helps keep the fritters from being too soggy. If you want a vegan option, you can replace eggs with flaxseed meal or applesauce. To use flaxseed meal, mix one tablespoon with three tablespoons of water. Let it sit for a few minutes to thicken. For applesauce, use 1/4 cup per egg. Both options help bind the fritters, keeping them together and tasty. Zucchini fritters are a simple and fun dish to make. We explored the key ingredients, how to prepare them, and tips for the perfect fry. Remember to manage moisture and temperature to achieve a crispy texture. You can even add your favorite herbs or spices for extra flavor. Whether served as a snack or with a meal, these fritters are both tasty and versatile. Enjoy making them and share them with family and friends for a delightful treat!](https://therecipehatch.com/wp-content/uploads/2025/05/e18f5fec-3a98-46a5-976b-332b4be9b733.webp)
Crispy Zucchini Fritters Simple and Tasty Snack
Crispy zucchini fritters are the perfect snack. They’re easy to make and so tasty! I love how they turn a simple veggie into something crunchy