Appetizers

Air Fryer Cheesy Tortilla Garlic Bread Delight
Craving a quick and tasty treat? Let me introduce you to Air Fryer Cheesy Tortilla Garlic Bread! Picture crispy, cheesy goodness with a hint of
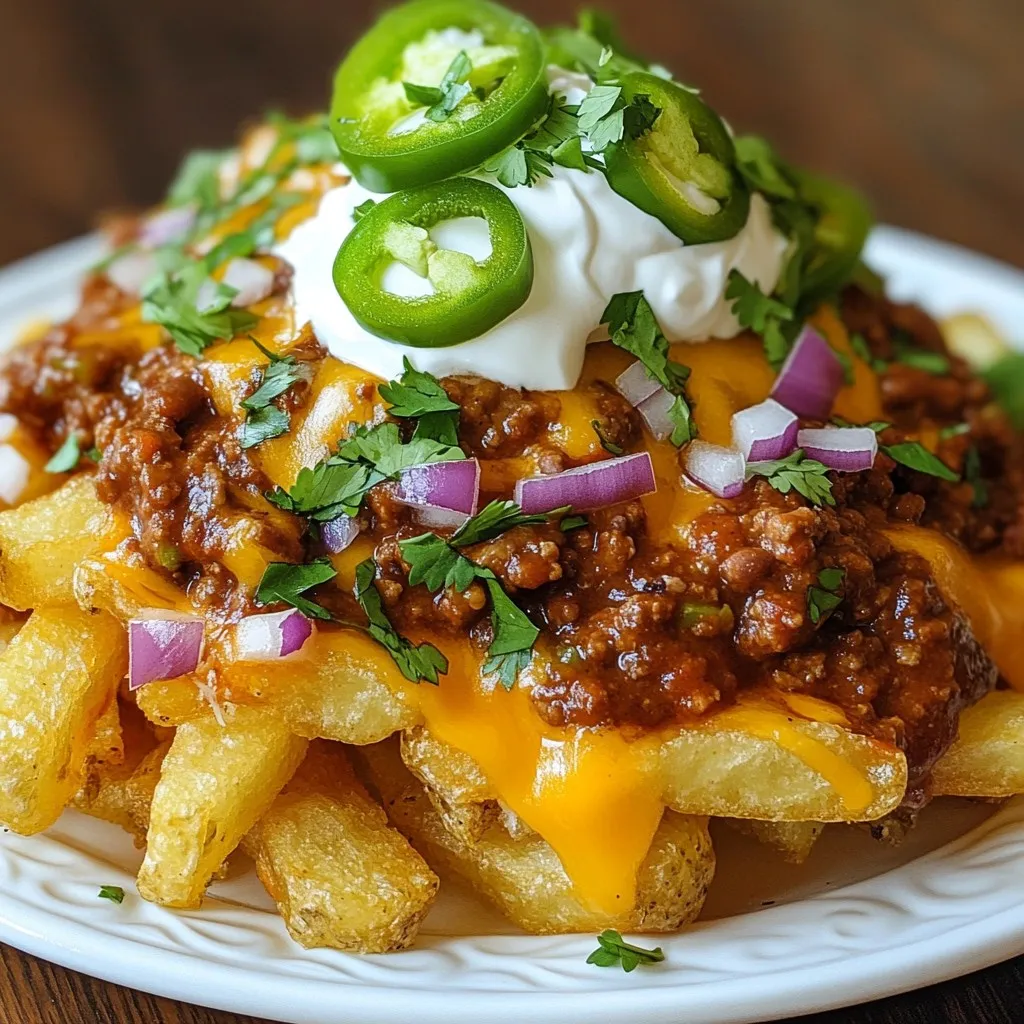
Loaded Chili Cheese Fries Flavorful and Satisfying Treat
If you’re craving a snack that’s packed with flavor, look no further! Loaded Chili Cheese Fries hit all the right notes. Imagine crispy, golden fries

Crispy Air Fryer Pizza Rolls Easy Snack Recipe
Craving a quick and tasty snack? You’re in the right place! Crispy Air Fryer Pizza Rolls are easy to make and full of flavor. In
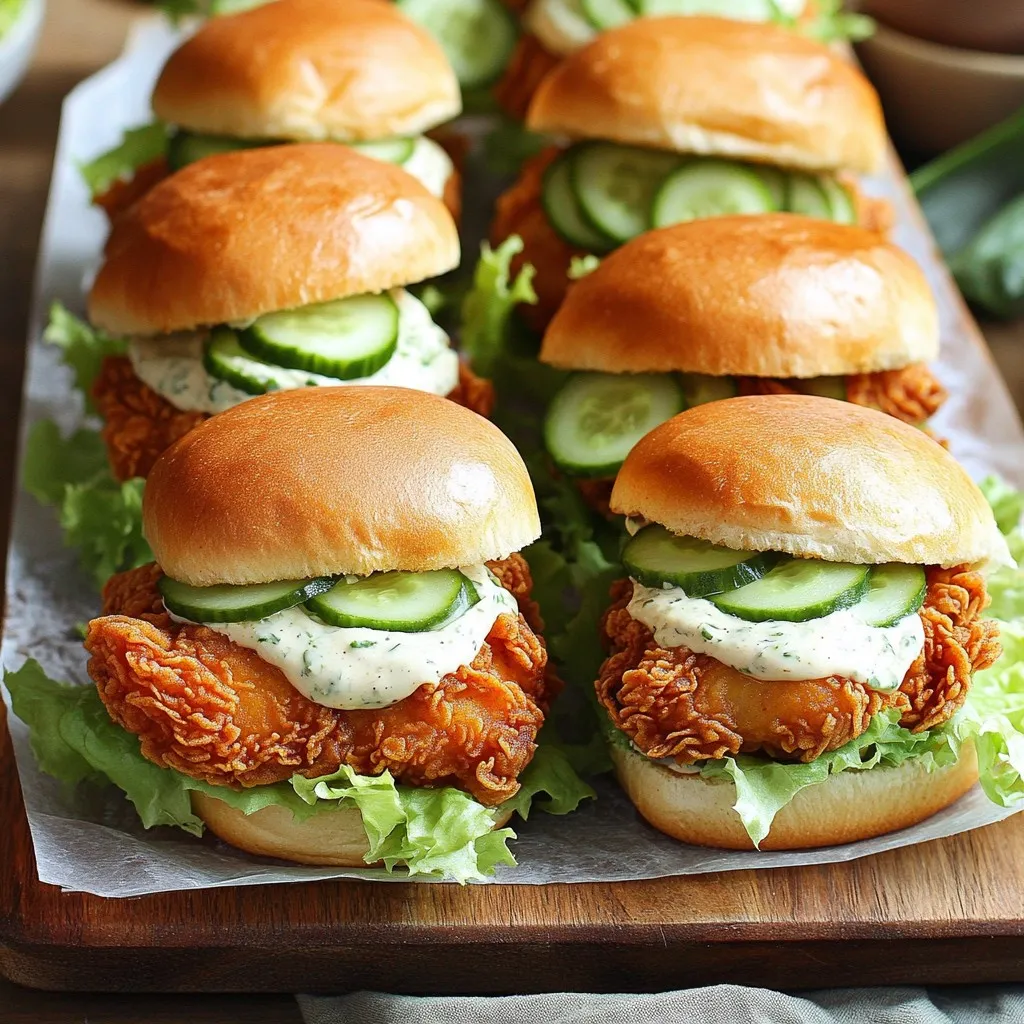
Bang Bang Chicken Sliders Savory and Irresistible Meal
Looking for a fun twist on dinner? Bang Bang Chicken Sliders are your answer! These savory bites blend juicy chicken with a spicy, creamy sauce
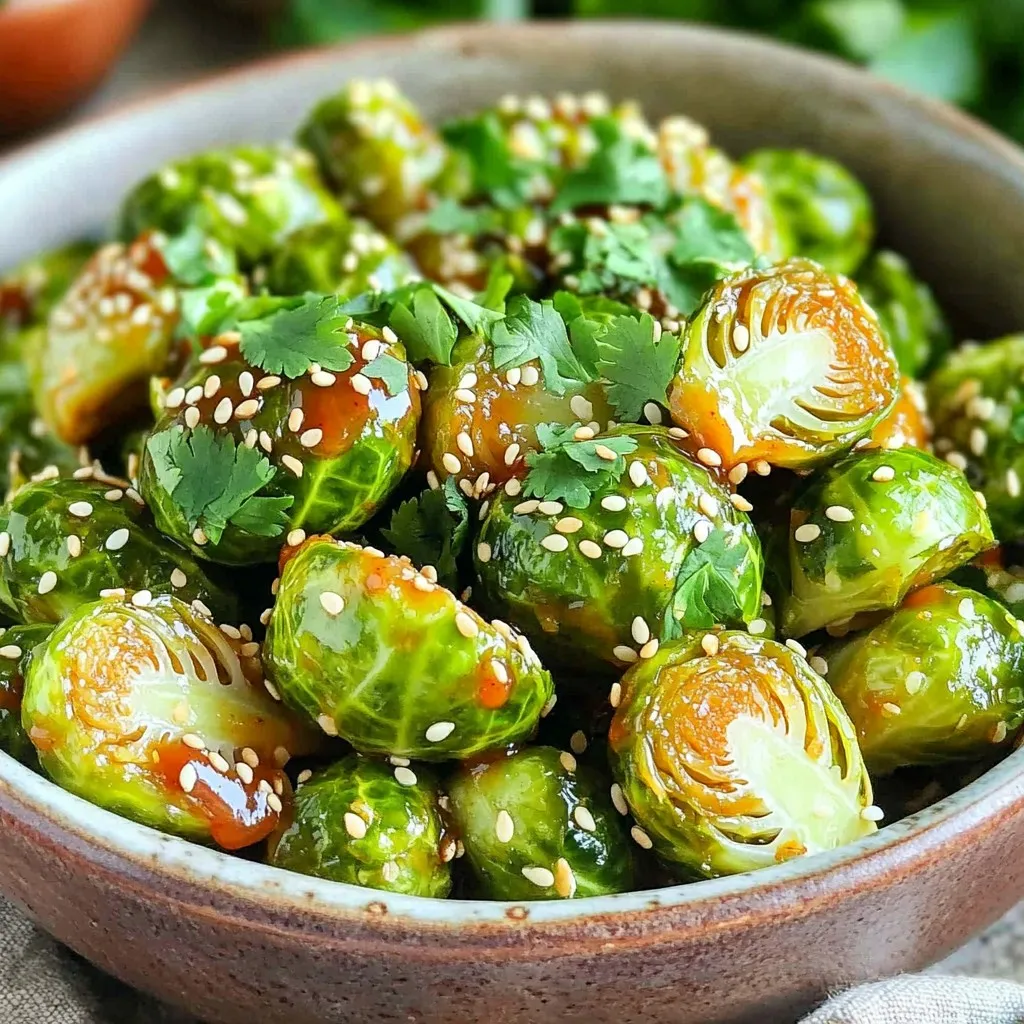
Sweet Chili Glazed Brussels Sprouts Air Fryer Recipe
Want to transform your Brussels sprouts into a must-try dish? This Sweet Chili Glazed Brussels Sprouts Air Fryer recipe will do just that! You’ll learn
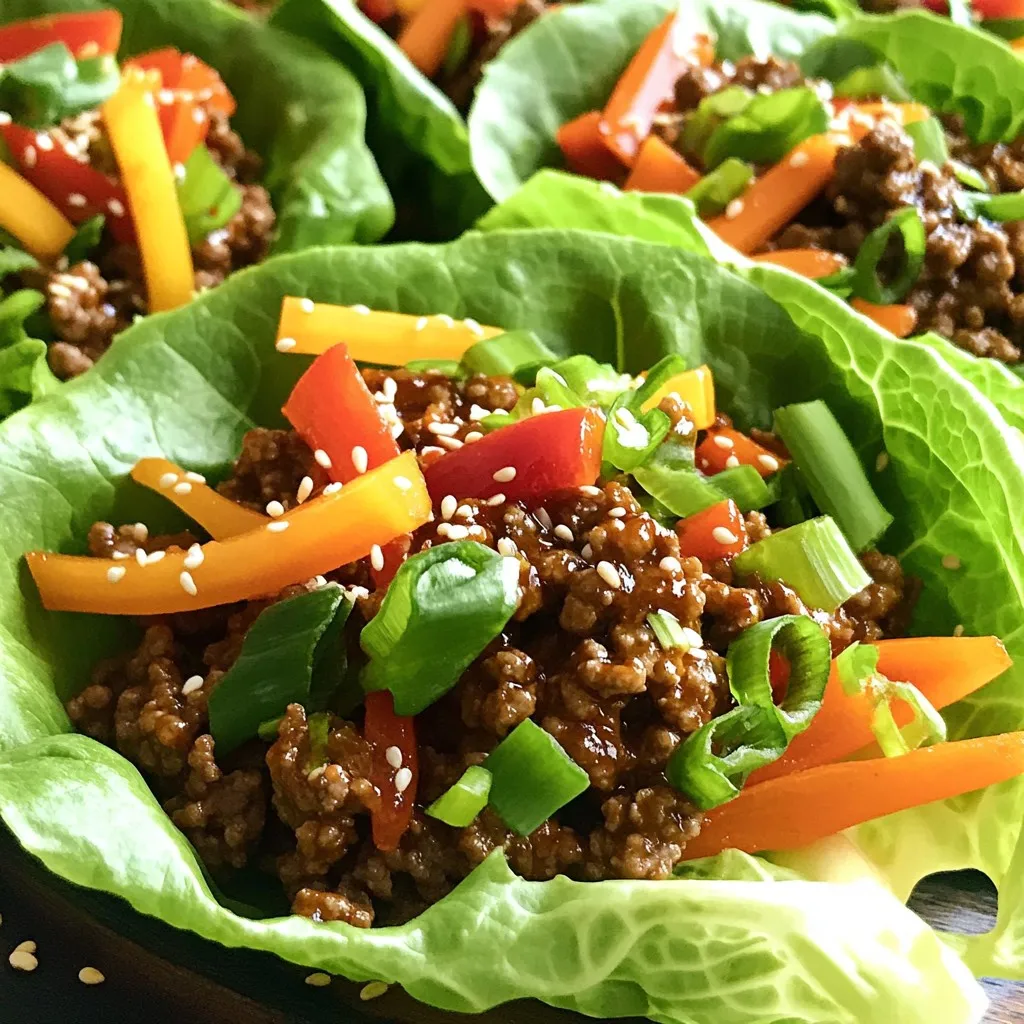
Minute Chili Garlic Beef Lettuce Wraps Tasty and Quick
Looking for a quick and tasty meal that packs a punch? You’ve come to the right place! These Minute Chili Garlic Beef Lettuce Wraps make
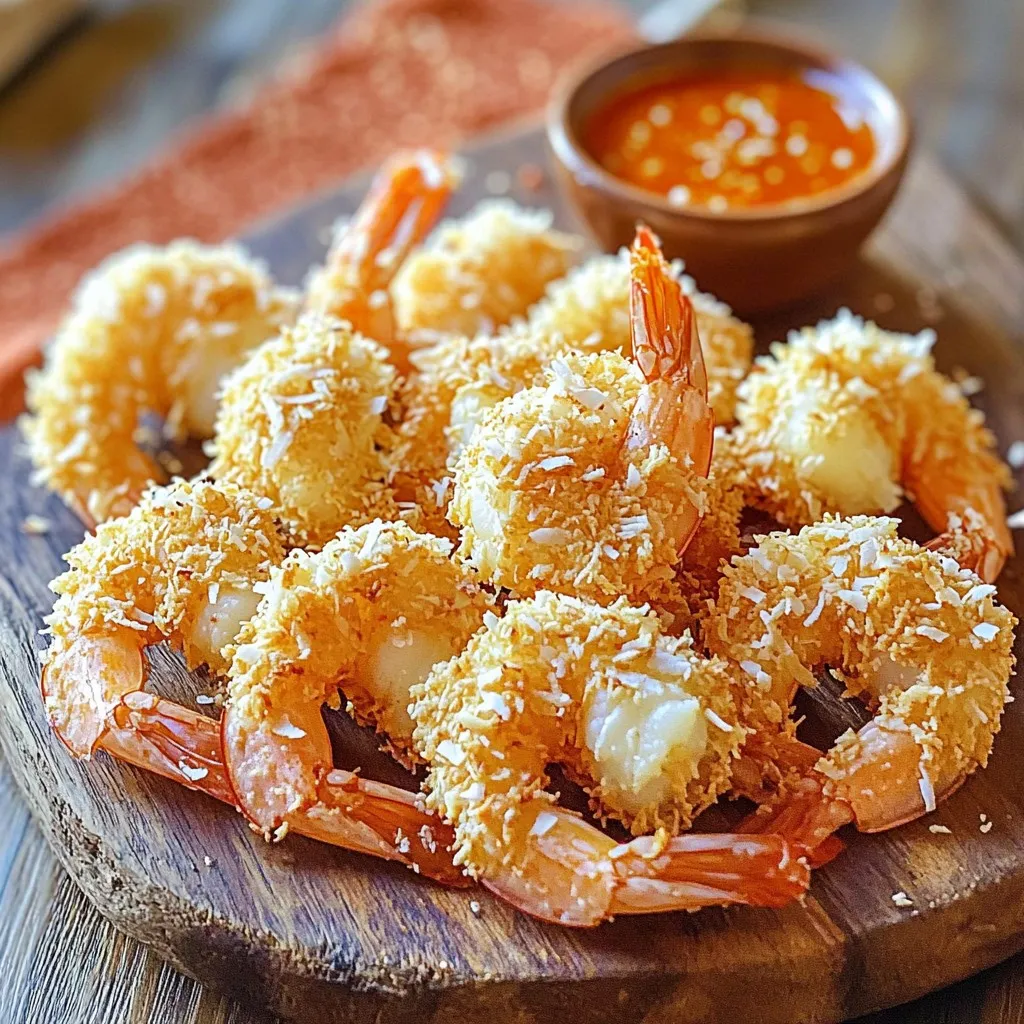
Savory Air Fryer Coconut Shrimp Easy and Crispy Recipe
Are you ready to dive into a delicious dish that’s quick and easy to make? This Savory Air Fryer Coconut Shrimp recipe promises crispy, golden

Air Fryer Parmesan Zucchini Crunchy and Flavorful Snack
Looking for a tasty, guilt-free snack? Air Fryer Parmesan Zucchini brings crunch and flavor right to your kitchen! With simple ingredients like zucchini, Parmesan cheese,
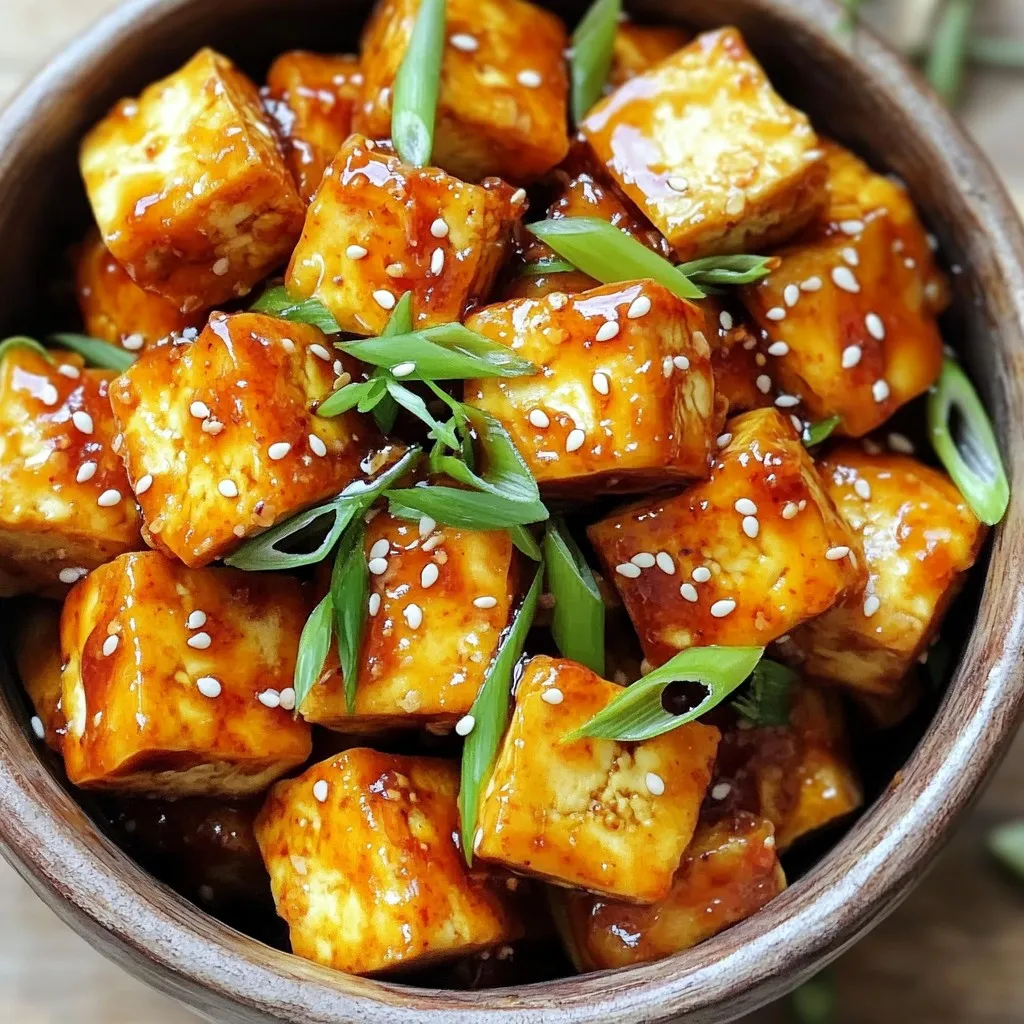
Air Fryer Crispy Tofu with Sweet Chili Delight
Are you ready to elevate your dinner plans? In this article, I’ll show you how to make Air Fryer Crispy Tofu with Sweet Chili Delight,
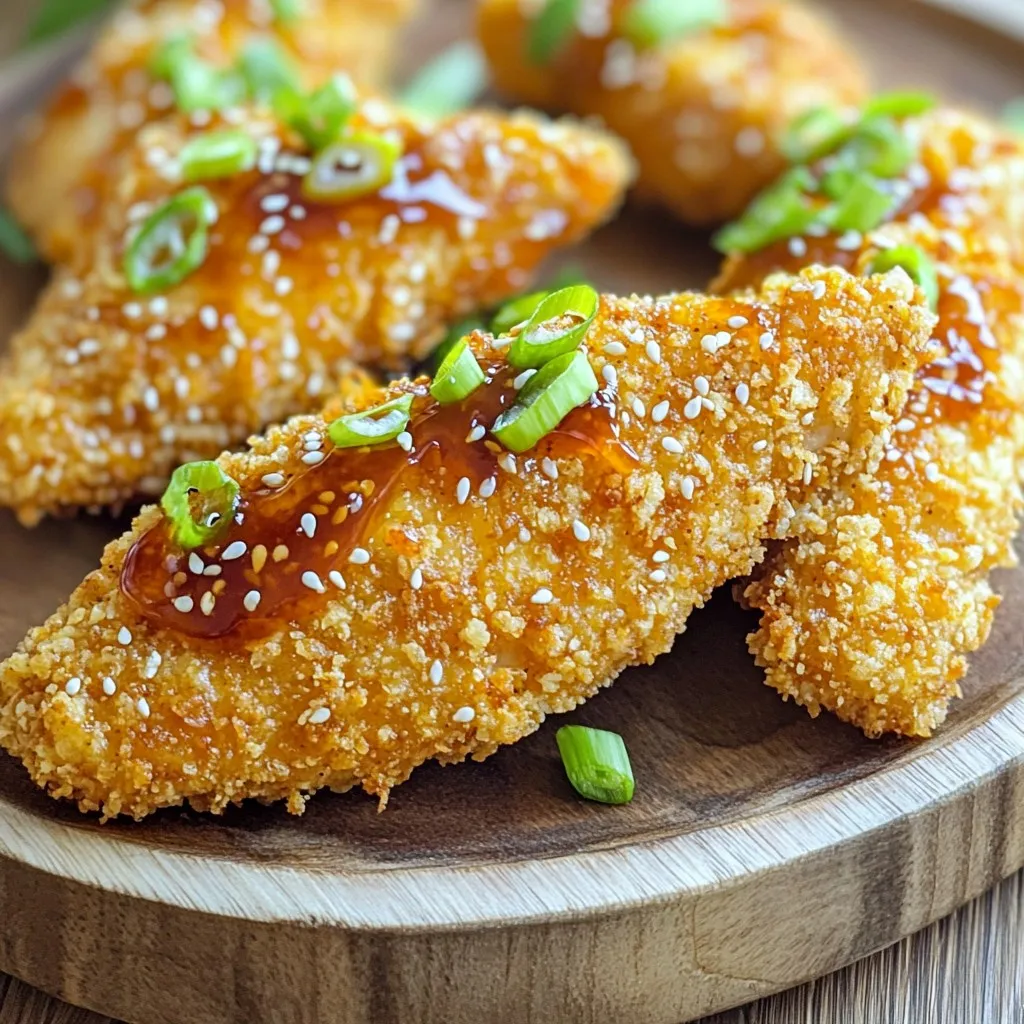
Air Fryer Sweet & Spicy Chicken Tenders Recipe
Get ready to elevate your mealtime with my Air Fryer Sweet & Spicy Chicken Tenders recipe! These tenders are crispy on the outside and bursting