The Best Zucchini Bread Easy to Bake at Home
. To keep your zucchini bread fresh, store it in an airtight container. Place a piece of wax paper between slices to avoid sticking. This method helps retain moisture and flavor. If you have leftovers, refrigerate them for up to one week. Enjoy your bread cold or warm it slightly in the microwave. Freezing zucchini bread is a great way to save it for later. Wrap the bread tightly in plastic wrap and then in aluminum foil. This keeps out air and moisture. It can last in the freezer for about three months. To thaw, leave it in the fridge overnight or at room temperature for a few hours. Avoid microwaving it directly from the freezer. This keeps the texture nice and soft. Homemade zucchini bread can last up to a week in the fridge or three months in the freezer. Check for signs of spoilage, like a sour smell or mold. If the bread feels very dry or crumbly, it’s best to toss it. Always trust your senses. Freshness is key to enjoying the best zucchini bread! Yes, you can use other squash in your bread. Yellow squash works well. You can also try butternut squash for a sweet taste. Just remember to prepare them like zucchini. Grate them and remove excess moisture. This step keeps your bread from being too wet. If you need an egg substitute, you have options. Use 1/4 cup of applesauce for each egg. You can also use mashed banana or yogurt. Flaxseed meal is another great choice. Mix one tablespoon of flaxseed with three tablespoons of water. Let it sit for a few minutes until it thickens. To check if your zucchini bread is done, use a toothpick. Insert it into the center of the loaf. If it comes out clean, your bread is ready. You can also look for a golden-brown crust. The bread should spring back when gently pressed. Yes, mini loafs are a fun option! Adjust your baking time to about 25-30 minutes. Check for doneness with a toothpick as well. Mini loaves are great for sharing or freezing. They bake up nice and cute, too! Zucchini bread brings together simple ingredients and methods for a delicious treat. We covered key ingredients, including how to prepare zucchini and choose sugars. You learned about the steps to mix, bake, and check for doneness. I shared tips to avoid common mistakes and enhance flavor and texture. With variations for gluten-free and vegan options, there's something for everyone. Storing your bread correctly ensures you enjoy it longer. Embrace these techniques and enjoy baking your perfect zucchini bread every time.](https://therecipehatch.com/wp-content/uploads/2025/06/2f102920-2925-4b6e-9e1a-4c000d629c82.webp)
Are you ready to bake the best zucchini bread right at home? This easy recipe will turn your garden-fresh zucchini into a moist and flavorful treat. With simple steps and …
Are you ready to bake the best zucchini bread right at home? This easy recipe will turn your garden-fresh zucchini into a moist and flavorful treat. With simple steps and …
If you crave a warm, tasty dish, look no further than Chicken Buttered Noodles. This easy recipe combines tender chicken and creamy noodles in a way that feels like a …

If you’re craving a sweet, comforting dessert that takes little time to whip up, my Super Easy Peach Cobbler is the answer! With just a few fresh ingredients and simple …

Are you ready to indulge in a scrumptious dessert? My Easy Italian Peach Crumb Cake will make your taste buds dance. This recipe blends sweet peaches with a buttery crumb …
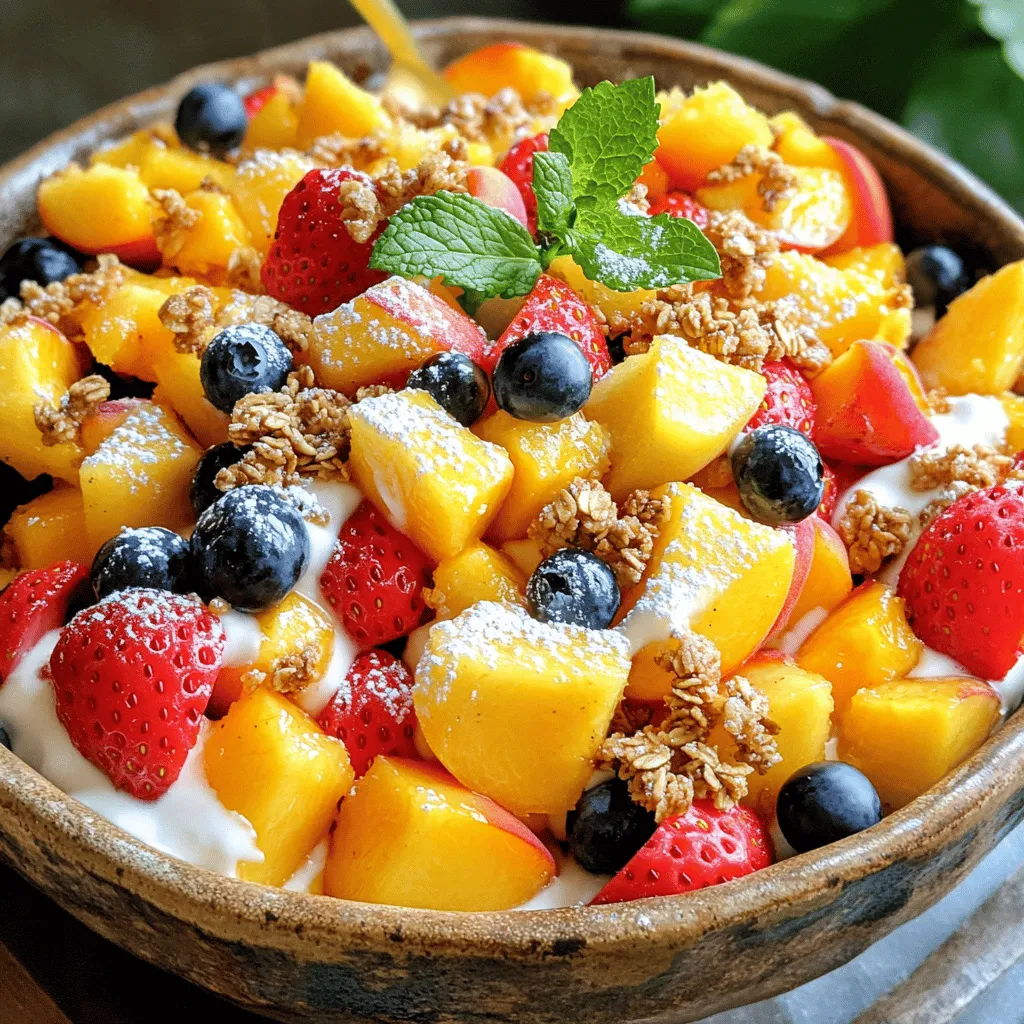
If you love bold flavors that celebrate fresh fruit, you’re in for a treat! My Peach Cobbler Cheesecake Fruit Salad is a delightful mix of sweet peaches, berries, and creamy …

Are you ready for a meal that’s both tasty and easy to make? Honey BBQ Chicken Rice is the perfect dish! With tender chicken marinated in a sweet and tangy …
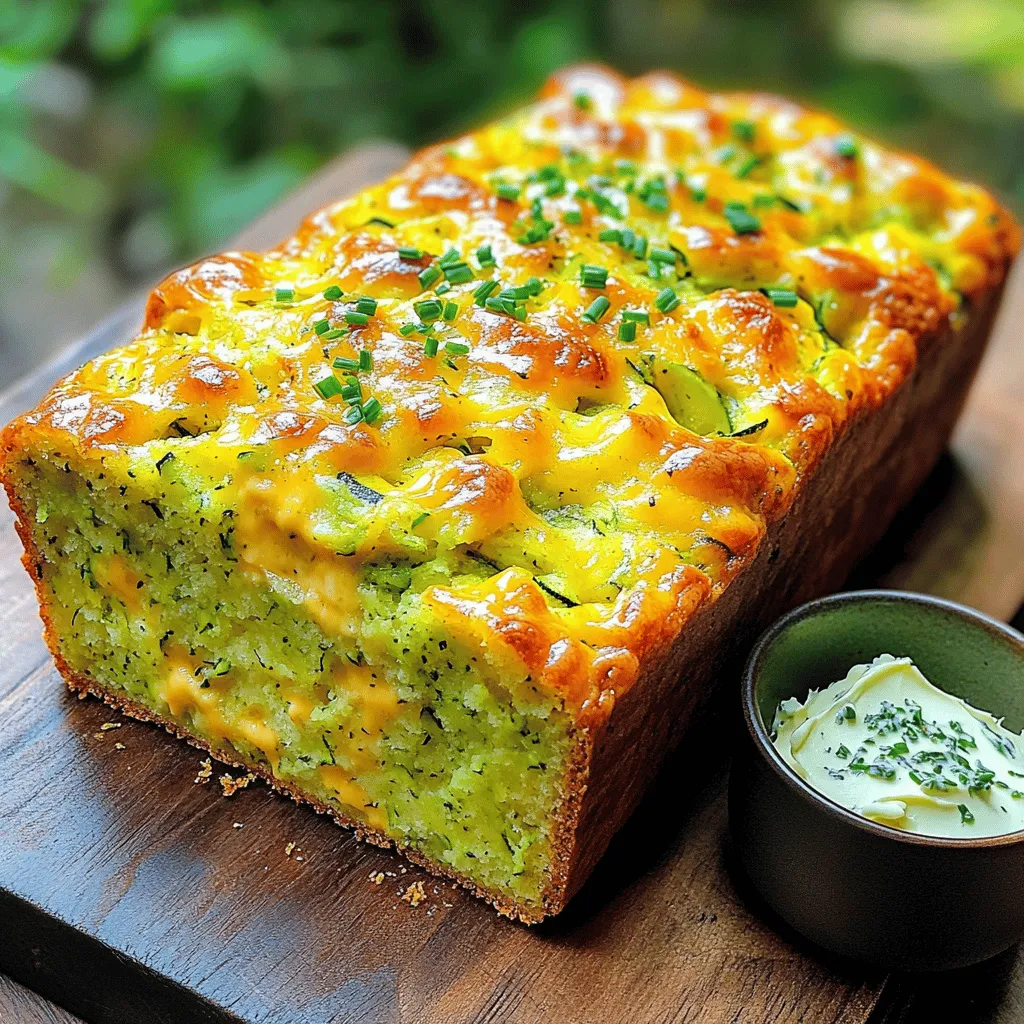
Are you ready to bake something fresh and flavorful? This Zucchini Cheddar Herb Beer Bread is a game-changer! With its blend of savory cheese, fresh herbs, and the unique touch …
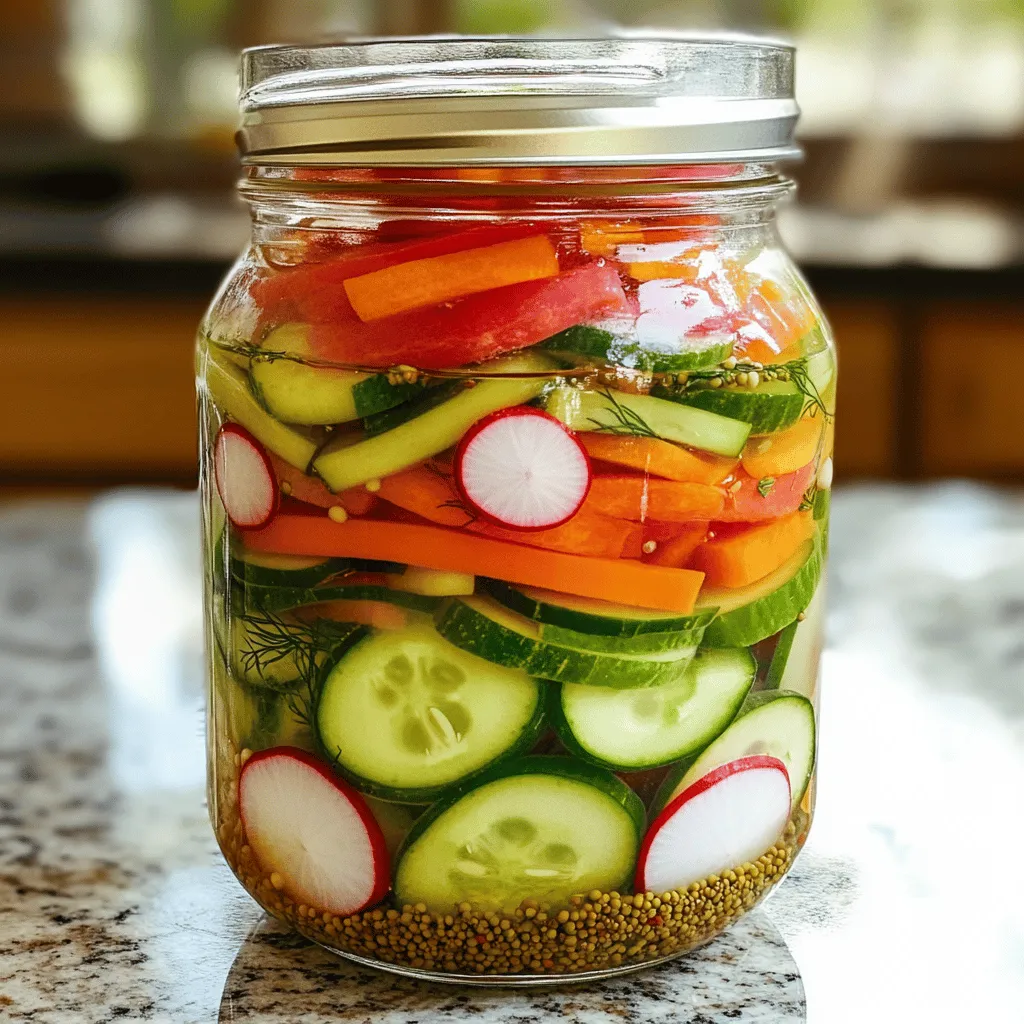
Looking for a quick and easy way to spice up your meals? Easy refrigerator pickled vegetables are the answer! I’ll show you how to turn fresh veggies into crunchy pickles …
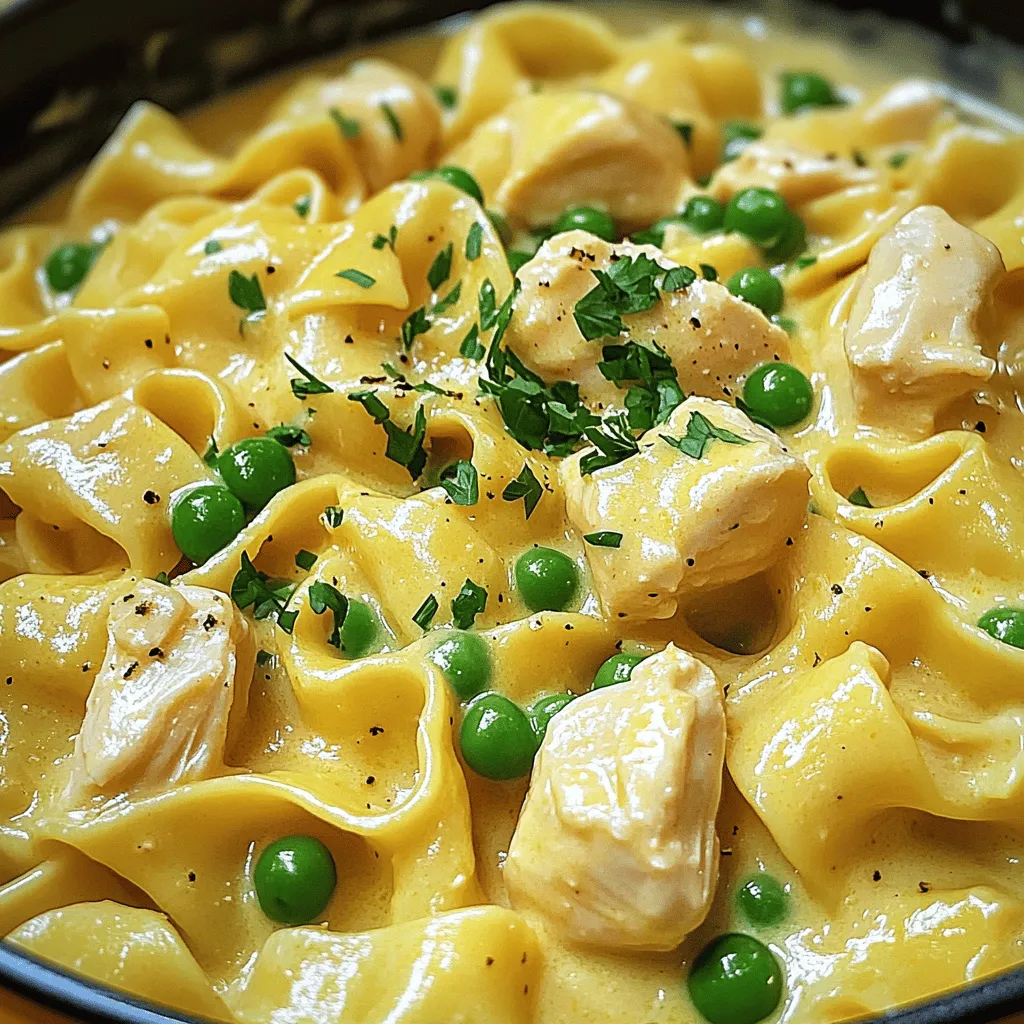
![- 2 cups cooked rice - 2 cups cooked chicken, shredded - 1 cup cream of mushroom soup - 1 cup sour cream - 1 cup chicken broth - 1 cup mixed vegetables (peas, carrots, corn) - 1 teaspoon garlic powder - 1 teaspoon onion powder - 1 teaspoon paprika - 1 cup shredded cheddar cheese - Salt and pepper to taste - 1/2 cup breadcrumbs (for topping) - 2 tablespoons olive oil When cooking, fresh ingredients make a big difference. Choosing quality ingredients helps elevate your dish. I always look for bright colors and firm textures. For example, fresh vegetables should feel crisp and not limp. - Rice: Use short or long-grain rice. Avoid stale packages. - Chicken: Buy organic or free-range chicken for taste and health. - Vegetables: Go for frozen mixed veggies for convenience and freshness. They are often picked at peak ripeness. - Dairy: Check expiration dates on sour cream and cheese. Fresh is best! You can easily swap ingredients if needed. Here are some ideas: - Cream of Mushroom Soup: Use cream of chicken or homemade white sauce. - Sour Cream: Greek yogurt works as a great substitute. - Mixed Vegetables: Use any fresh veggies you have on hand. - Cheese: Try mozzarella or pepper jack for a different flavor. These tips make it easy to customize your creamy angel chicken rice casserole. You can find the full recipe above to see how it all comes together! 1. Start by preheating your oven to 350°F (175°C). This ensures even baking. 2. Grease a 9x13 inch baking dish with a little oil. This helps prevent sticking. 3. In a large bowl, mix the cooked rice, shredded chicken, and mixed vegetables. 4. Add the cream of mushroom soup, sour cream, and chicken broth. Stir until well blended. 5. Season your mixture with garlic powder, onion powder, paprika, salt, and pepper. Taste and adjust if needed. 1. Spread the rice and chicken mixture evenly in the greased baking dish. 2. Sprinkle cheddar cheese on top of the mixture for a creamy texture. 3. In a small bowl, mix breadcrumbs with olive oil. This makes a crunchy topping. 4. Evenly spread the breadcrumb mix over the casserole. 5. Cover the dish with aluminum foil. Bake for 25 minutes. This keeps the moisture in. 6. Remove the foil and bake for another 10-15 minutes. Look for a golden brown top. 7. After baking, let the casserole rest for a few minutes. This helps set the layers. For the full recipe, refer to the earlier section. Enjoy your cooking adventure! To make your creamy angel chicken rice casserole even creamier, try adding more sour cream. This small change brings a rich texture that everyone will love. You can also mix in some cream cheese for extra smoothness. For even cooking, spread the mixture evenly in your baking dish. This helps every bit cook at the same time. Cover it with foil during the first part of baking. This traps steam and keeps everything moist. Using store-bought rotisserie chicken saves time. Just shred it, and you're ready to go! This shortcut lets you skip cooking and focus on mixing your casserole. You can prep ingredients in advance, too. Chop your vegetables the day before. Measure out the rice and seasonings, and keep them in the fridge. This way, you can throw everything together in no time. Serve the casserole with fresh green beans or a simple salad. These sides add color and balance to your meal. For a colorful plate, add garnishes like fresh parsley or sliced green onions. A sprinkle of paprika on top adds a nice touch, too. These small details make your dish look fancy and inviting. For the full recipe, refer to the beginning of this article. {{image_2}} You can make this dish lighter with simple swaps. - Low-fat substitutes: Use low-fat sour cream and reduced-fat cheese. This keeps the creaminess while cutting calories. - Vegetable-loaded options: Add more veggies like spinach, bell peppers, or broccoli. These not only boost nutrition but also enhance flavor. Adding extra flavors can make your casserole shine. - Adding herbs and spices: Try fresh herbs like thyme or basil. They add a pop of freshness. You can also mix in a dash of cayenne for heat. - Different cheese options: Swap cheddar for mozzarella or pepper jack. Each cheese brings a unique twist to the dish. You can easily adjust this recipe for your needs. - Scaling the recipe for larger gatherings: Double the ingredients for a big crowd. Use a larger baking dish to fit everything. - Individual servings in mini dishes: For a fun twist, bake the casserole in small ramekins. This makes serving easy and adds a personal touch. For the complete recipe, check out the [Full Recipe]. Enjoy customizing this creamy angel chicken rice casserole! To keep your creamy angel chicken rice casserole fresh, refrigeration is key. Allow the casserole to cool first. Then, transfer it to an airtight container. This will help keep it moist and full of flavor. Store it in the fridge for up to three days. If you want to save it for longer, freezing is a great option. Portion the casserole into smaller servings. Wrap each portion tightly in plastic wrap. Then, place them in a freezer-safe bag. This way, you can enjoy it later without losing taste. The casserole can last up to three months in the freezer. When it’s time to enjoy your leftovers, reheating properly is important. The best method is using the oven. Preheat it to 350°F (175°C). Place the casserole in an oven-safe dish. Cover it with foil to keep it from drying out. Heat for about 20-25 minutes, or until it is hot throughout. You can also use the microwave for quick reheating. Place a serving on a microwave-safe plate. Cover it with a damp paper towel to maintain moisture. Heat for about 2-3 minutes, checking often to avoid overheating. Maintaining flavor and texture is vital. Avoid reheating multiple times; it can make the dish dry. Instead, only heat what you plan to eat. Enjoy every bite of your delicious creamy casserole! Can I make this dish ahead of time? Yes, you can prepare this casserole a day ahead. Just mix all the ingredients and store it in the fridge. When you're ready to bake, add a few extra minutes to the cooking time. What can I use if I don’t have cream of mushroom soup? You can substitute with cream of chicken soup or a homemade white sauce. Both will add creaminess and flavor without changing the dish too much. How do I know when the casserole is done baking? The casserole is done when the top is golden brown and bubbly. You can also check the center with a knife; it should be hot throughout. What sides pair well with this casserole? This casserole goes great with a simple green salad or garlic bread. You can also serve it with steamed broccoli or green beans for a healthy side. How do I properly store mixed vegetables? Store mixed vegetables in an airtight container in the fridge. Use them within three to four days for the best taste and texture. Can I substitute chicken for another protein? Absolutely! You can use turkey, pork, or even cooked beans for a meatless option. Just make sure to adjust cooking times as needed. For the full recipe of Creamy Angel Chicken Rice Casserole, check out the complete dish instructions! This blog post showed you how to make a tasty Creamy Angel Chicken Rice Casserole. We covered each ingredient you need and tips for choosing fresh ones. I shared steps for prep and baking, plus time-saving tricks. You learned about variations and how to store leftovers well. In the end, making this casserole can be quick and fun. Try it your way and enjoy every bite!](https://therecipehatch.com/wp-content/uploads/2025/06/13dfbd81-a81c-44df-b524-f5527e1e005b.webp)
Looking for a warm and comforting meal? My Creamy Angel Chicken Rice Casserole hits the spot! Packed with tender chicken, creamy goodness, and veggies, it’s a simple dish that pleases …
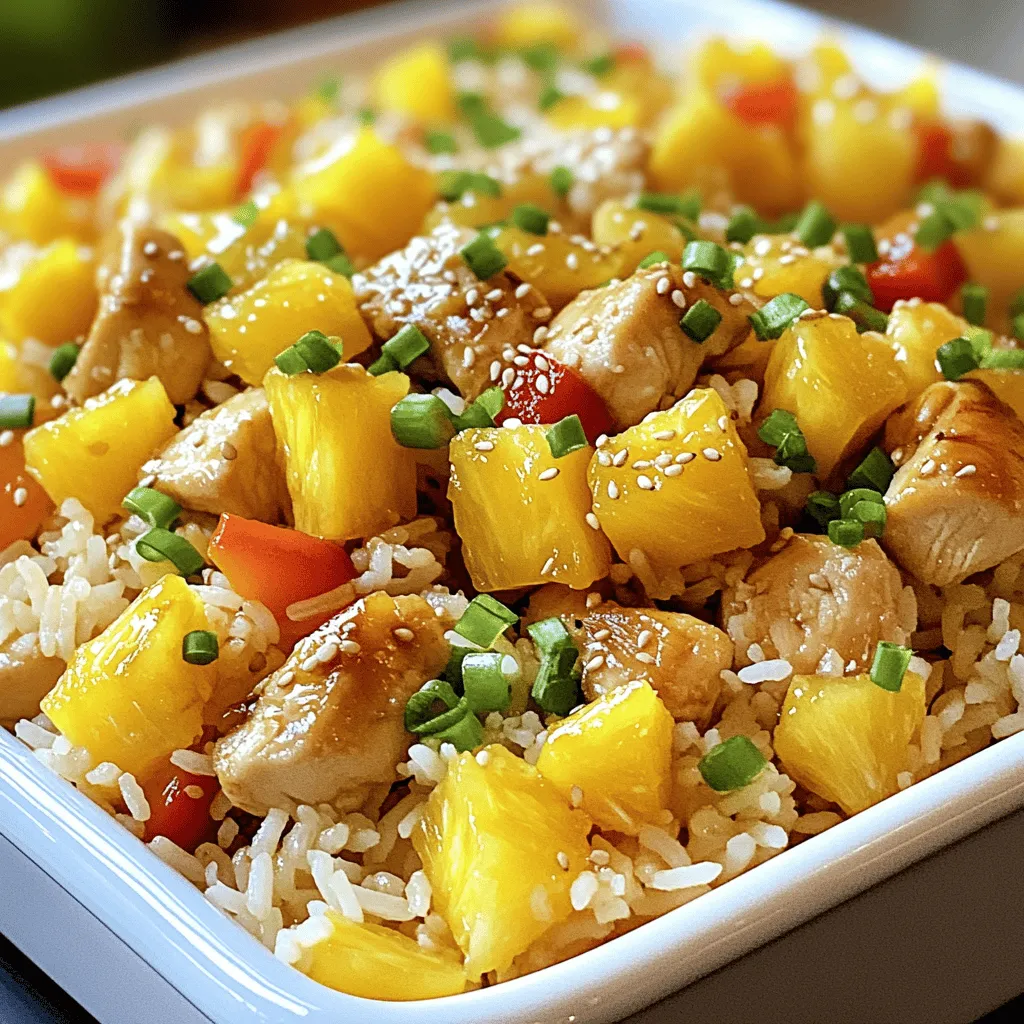
Craving a quick, delicious meal that balances sweet and savory flavors? Look no further than my Sweet and Savory Pineapple Chicken Rice Delight! This easy recipe features juicy chicken, fresh …