Air Fryer Fish Tacos with Slaw Flavorful Delight

Craving a fresh and tasty meal? Let’s dive into the world of Air Fryer Fish Tacos with Slaw! This recipe is quick, easy, and loaded with flavor. I’ll guide you …
Craving a fresh and tasty meal? Let’s dive into the world of Air Fryer Fish Tacos with Slaw! This recipe is quick, easy, and loaded with flavor. I’ll guide you …
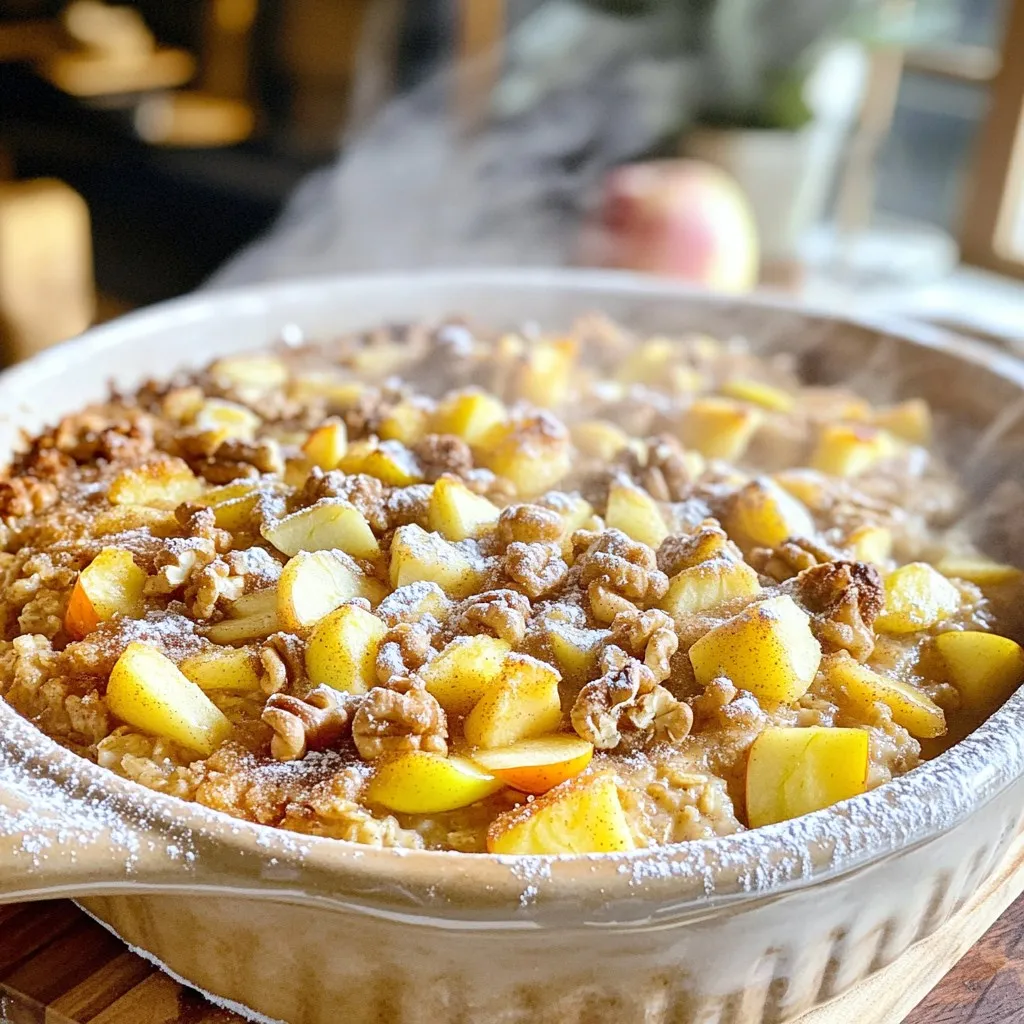
Craving a warm, cozy treat that combines the flavors of fall? You’re in for a treat with my Apple Cider Donut Baked Oatmeal! This delightful recipe brings together the sweet …

If you’re looking for a quick dish that packs a flavorful punch, you’ve found it! Minute Chili Crisp Egg Fried Rice is both easy to make and satisfying. With just …

If you’re craving a warm, soothing meal, look no further than this Slow Cooker White Chicken Chili. Packed with tender chicken, creamy broth, and a kick of flavor, it’s a …

Looking for a quick and tasty meal? The Sun-Dried Tomato Spinach Tortellini is a flavor-packed dish that will wow your taste buds. With just a few fresh ingredients, you can …

Looking for a healthy snack that’s both tasty and easy to make? You’ve found it! My Maple Pecan Granola Clusters are full of crunchy goodness and sweet flavor. You can …

If you’re craving a sweet treat that combines rich flavors and chewy textures, you’re in for a delight. Brown Butter Maple Pecan Blondies are the answer! With the warm notes …

Get ready to elevate your wing game with my Air Fryer Lemon Pepper Crispy Wings Delight Recipe! If you love tasty, crunchy wings that make your mouth water, you’re in …

Are you ready to treat your taste buds? This Caramel Pecan Sticky Bun Monkey Bread is mouthwatering and easy to make! With warm, gooey caramel, crunchy pecans, and fluffy dough, …

Welcome to your new favorite comfort food! This creamy tomato basil tortellini soup is a breeze to make in a slow cooker. With just a few simple ingredients like olive …