One Bowl Cheesy Zucchini Bread Delightful Recipe
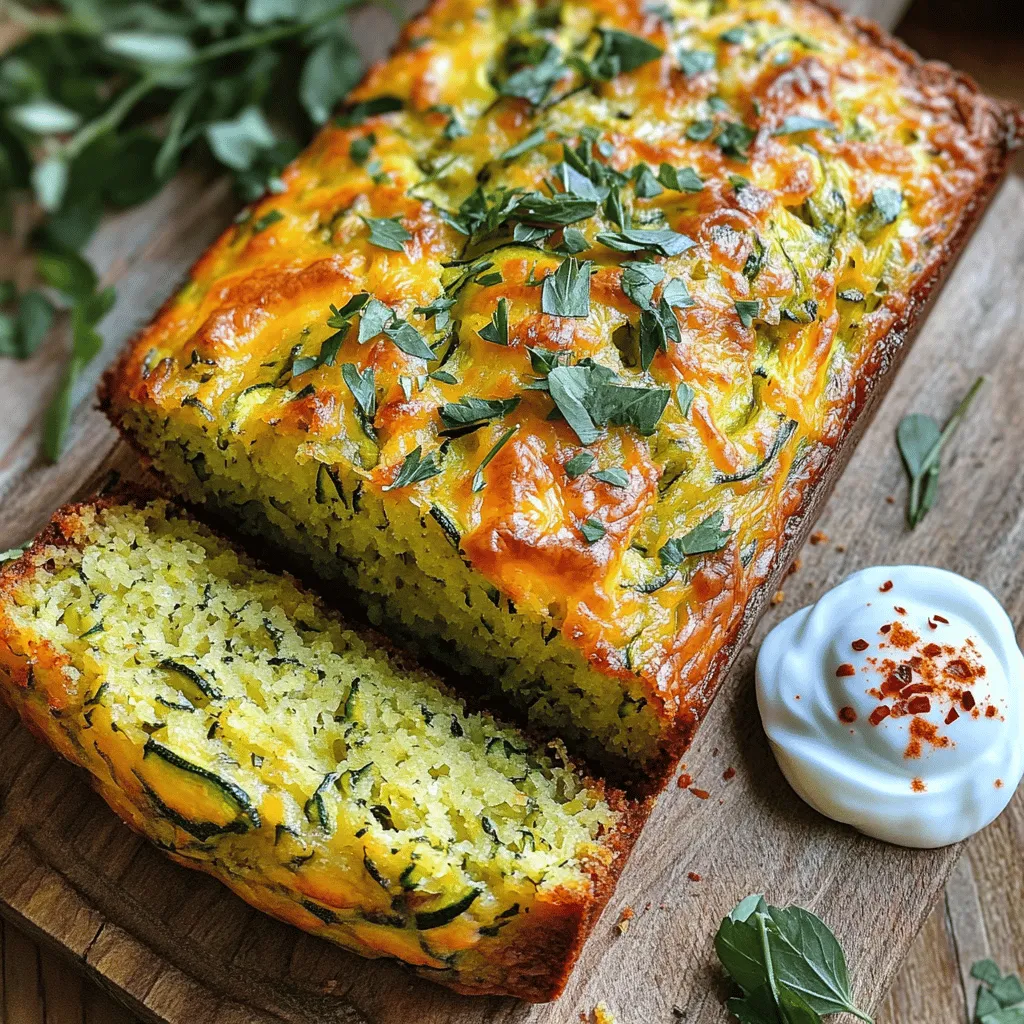
Are you looking for a simple yet delicious recipe to impress family and friends? Look no further! My One Bowl Cheesy Zucchini Bread is quick to make and packed with …
Are you looking for a simple yet delicious recipe to impress family and friends? Look no further! My One Bowl Cheesy Zucchini Bread is quick to make and packed with …

Ready to transform your chicken game? In this post, I’ll guide you through making flavorful and juicy air fryer grilled chicken that will wow your taste buds. With just a …
![- 2 cups grated zucchini (water squeezed out) - 2 cups all-purpose flour - 1 ½ cups granulated sugar - 1 teaspoon baking powder - 1 teaspoon baking soda - 1 teaspoon ground cinnamon - ½ teaspoon salt - ½ cup vegetable oil - 4 large eggs - 1 teaspoon vanilla extract - 1 cup caramel sauce (store-bought or homemade) - 1 cup unsweetened whipped cream - Optional: crushed walnuts or pecans for topping These ingredients make the Caramel Zucchini Poke Cake both moist and sweet. Using zucchini adds a nice texture and extra nutrition. Make sure to squeeze out the water from the zucchini before using it. This step keeps the cake from getting too soggy. You can use store-bought caramel sauce for ease, or you can make your own if you prefer. The whipped cream on top gives a lovely lightness to the cake. If you're feeling adventurous, add some crushed walnuts or pecans for extra crunch. This recipe is simple and uses common ingredients, making it easy to whip up at home. For the full recipe, check out the instructions later in this article! - Preheat the oven to 350°F (175°C). Grease and flour a 9x13-inch baking pan. - In a large bowl, mix the dry ingredients: flour, sugar, baking powder, baking soda, cinnamon, and salt. - In another bowl, prepare the wet mixture. Blend the eggs, vegetable oil, and vanilla extract. Add the grated zucchini and stir until even. - Gradually combine the wet and dry ingredients. Stir gently without overmixing. - Pour the batter into the prepared baking pan. Spread it evenly with a spatula. - Bake for 30-35 minutes. Check if a toothpick comes out clean from the center. - Allow the cake to cool for 10 minutes. Use a skewer to poke holes all over the cake. - Pour caramel sauce over the warm cake. Let it seep into the holes for extra flavor. - Cool the cake completely. Once cooled, spread unsweetened whipped cream on top. - If you like, add crushed walnuts or pecans for a tasty crunch. For the full recipe, check out the details above. Enjoy making this delicious cake! To make your cake perfect, start with the zucchini. First, wash the zucchini well. Then, grate it finely. After grating, place the zucchini in a clean cloth. Squeeze out as much water as you can. This step is key. Too much moisture can make your cake soggy. When choosing zucchini, look for firm, shiny options. Smaller zucchinis often taste better. They have fewer seeds and are less watery. If the skin looks dull or has blemishes, skip it. Fresh zucchini will help your cake rise and taste great. Mixing the batter is critical. Be careful not to overmix. Stir just until the dry and wet ingredients combine. This keeps your cake light and fluffy. Overmixing can lead to a dense texture that nobody wants. For checking if your cake is done, use a toothpick. Insert it in the center of the cake. If it comes out clean, your cake is ready. If there is batter on the toothpick, bake it a bit longer. Always trust your senses and check at least five minutes before the timer goes off. Presentation is key for a stunning dessert. Slice the cake into neat squares. Use a spatula to lift each piece onto a plate. Drizzle more caramel sauce over each slice for a treat. Pair your cake with a scoop of vanilla ice cream. The cold ice cream contrasts nicely with the warm cake. You can also serve it with coffee or tea for a delightful afternoon pick-me-up. For a dessert table, add fresh fruit like strawberries or blueberries. They add color and freshness to the spread. For the [Full Recipe], visit the main article. {{image_2}} You can switch up the cake mix for a fun twist. Use chocolate cake mix instead of the homemade batter. It adds a rich flavor that pairs well with the caramel. If you want a different sweetness, try coconut sugar or honey. These options give a unique taste and still work great. Spice up your cake with a dash of nutmeg or a spoon of vanilla bean. These spices deepen the flavor and make your cake more interesting. You can also add different nuts or toppings. Chocolate chips go well in the batter, or try crushed walnuts for a nice crunch. If you need a gluten-free cake, use almond flour or a gluten-free blend. It gives the same moistness without the gluten. For a vegan option, swap the eggs for flaxseed meal mixed with water. You can also use coconut cream instead of regular whipped cream. These swaps still keep your cake tasty and enjoyable. To keep your Caramel Zucchini Poke Cake fresh, store it in the fridge. First, cover the cake with plastic wrap or aluminum foil. This prevents it from drying out. If you have leftover whipped cream, store it separately in an airtight container. For long-term storage, you can freeze the cake. Cut it into pieces and wrap each piece in plastic wrap. Then place them in a freezer bag. This method helps keep the flavor and texture. In the fridge, the cake stays fresh for about 4 to 5 days. Always check for signs of spoilage before eating. Look for mold or an off smell. If the cake feels dry or hard, it might be past its prime. You can also taste a small piece to see if it still tastes good. If it seems off, it’s better to throw it away. Enjoy your delicious cake while it’s fresh! For the full recipe, check out the link above. Can I use frozen zucchini for this recipe? Yes, you can use frozen zucchini. Just make sure to thaw and drain it well. Squeezing out excess water helps keep the cake light and fluffy. Fresh zucchini is great, but frozen works too! What is the best way to serve Caramel Zucchini Poke Cake? I like to slice it into squares and serve on dessert plates. Drizzle more caramel sauce over each piece for extra sweetness. Adding a dollop of whipped cream makes it even better! How can I make this cake more chocolatey? You can swap some flour for cocoa powder. About ½ cup of cocoa will add rich flavor. You could also mix in chocolate chips for a double chocolate treat. Your taste buds will thank you! Is it possible to make it ahead of time? Absolutely! You can bake the cake a day before. Just store it in the fridge after it cools. Add whipped cream and toppings just before serving to keep them fresh. What are some good topping alternatives for the cake? If you want to mix it up, try using cream cheese frosting instead of whipped cream. Fresh fruits like strawberries or blueberries also add a nice touch. Nuts like pecans or walnuts give a nice crunch too! For the full recipe, check out the [Full Recipe]. In this post, I covered how to make a delicious Caramel Zucchini Poke Cake. We talked about the ingredients you need, the step-by-step instructions, and helpful tips for baking. I also shared fun variations and storage tips. This cake is an easy bake that hides zucchini well in its rich flavor. You can impress your friends and family with this simple recipe. So, gather your ingredients and start baking today! Enjoy every slice you make.](https://therecipehatch.com/wp-content/uploads/2025/07/4075b062-36c4-4d4a-9176-3cc207767d9d.webp)
Get ready to enjoy a sweet and moist treat with my Caramel Zucchini Poke Cake! This recipe is not just easy; it’s a delicious way to use up that garden …
![When making easy gluten-free zucchini bread, the right ingredients make all the difference. Here’s what you need: - Zucchini and flour options - 2 medium zucchinis, grated (about 2 cups) - 1 ½ cups almond flour - ½ cup gluten-free oat flour - Eggs and sweeteners - 3 large eggs - ⅓ cup maple syrup - ⅓ cup coconut oil, melted - 1 teaspoon vanilla extract - Optional add-ins - ½ cup chopped walnuts or pecans - ¼ cup raisins or chocolate chips Using fresh zucchini adds moisture and flavor. Almond flour and gluten-free oat flour create a great texture. Eggs serve as a binder, while maple syrup and coconut oil provide natural sweetness. You can add nuts or dried fruits for extra taste. If you want more details, check the Full Recipe. - Preheat your oven to 350°F (175°C). Grease a 9x5 inch loaf pan. - In a large bowl, mix together: - 1 ½ cups almond flour - ½ cup gluten-free oat flour - ½ teaspoon baking soda - 1 teaspoon baking powder - 1 teaspoon ground cinnamon - ½ teaspoon salt - Whisk these dry ingredients well. - In another bowl, beat 3 large eggs. Add: - ⅓ cup maple syrup - ⅓ cup melted coconut oil - 1 teaspoon vanilla extract - Whisk until smooth. - Stir 2 cups of grated zucchini into the wet mix. - Gradually pour the dry mix into the wet mix. Stir until smooth. - If you want extra flavor, fold in: - ½ cup chopped walnuts or pecans (optional) - ¼ cup raisins or chocolate chips (optional) - Pour the batter into the prepared loaf pan. Spread it evenly. - Bake for 45-55 minutes. Check with a toothpick; it should come out clean. - Remove the loaf from the oven. Let it cool in the pan for 10 minutes. - Transfer to a wire rack to cool completely. - Slice the zucchini bread and serve warm. Add butter or honey on top for extra flavor. - For a nice touch, garnish with fresh mint or a sprinkle of powdered sugar. Enjoy! For the full recipe, check out the complete guide! To make great gluten-free zucchini bread, get the consistency just right. Your batter should be thick but pourable. If it is too dry, add a bit of milk or water. Mix well but do not overwork the batter. This keeps your bread soft and fluffy. Set your oven to 350°F (175°C) for the best results. Bake for about 45-55 minutes. Check for doneness by inserting a toothpick in the center. If it comes out clean, your bread is ready! One common mistake is over-mixing the batter. This can lead to a tough bread. Mix just until you see no dry flour. Another mistake is underbaking or overbaking. Underbaking makes your bread soggy, while overbaking dries it out. Keep an eye on the clock and check early if needed. Spices can add great depth to your zucchini bread. Try adding cinnamon or nutmeg for warmth. You can also use fresh herbs like basil for a twist. When choosing add-ins, think about your taste. Walnuts and raisins bring texture and sweetness. If you love chocolate, add a handful of chips. These choices can make your bread unique! For the complete recipe, refer to the Full Recipe. {{image_2}} When making zucchini bread, you can choose different flours. Almond flour is a great option. It adds a nutty taste and keeps the bread moist. Coconut flour is another choice. It absorbs more liquid, so you may need to adjust the recipe. If you want ease, try a gluten-free baking blend. These blends mix several flours and starches for balanced texture. You can switch up sweeteners in your zucchini bread. Honey adds a rich flavor, while maple syrup gives a lighter taste. These natural options can make your bread even better. If you prefer sugar alternatives, try stevia or erythritol. These options lower calories but keep the sweetness. Mix-ins can elevate your zucchini bread. Try adding different nuts like walnuts or pecans for crunch. You can also use fruits like blueberries or cranberries for added sweetness. If you love chocolate, fold in some chocolate chips. For a warm flavor, consider spices like nutmeg or ginger. These tweaks make every loaf unique and delicious. For the full recipe, check here: [Full Recipe]. You can store zucchini bread at room temperature or in the fridge. If you eat it in a few days, room temperature works fine. Just wrap it in plastic wrap or put it in a zip-top bag. Keep it in a cool, dry place. For longer storage, try the fridge. Use an airtight container to keep it fresh. This option helps it last longer and keeps it moist. To freeze zucchini bread, first let it cool completely. Then, wrap it tightly in plastic wrap. Use aluminum foil or a freezer bag for extra protection. This way, it won't get freezer burn. When you want to eat it, simply take it out. Let it thaw in the fridge overnight. If you're in a hurry, you can thaw it on the counter for a few hours. Zucchini bread lasts about 3-4 days at room temperature. In the fridge, it lasts about a week. If you freeze it, it can stay good for up to 3 months. Look for signs of spoilage like mold or an off smell. If you see any, it's best to toss it. Keep your zucchini bread fresh to enjoy that yummy flavor! For the full recipe, check out the recipe section. Yes, you can make this recipe vegan. Replace the eggs with alternatives. Use 1/4 cup of unsweetened applesauce for each egg. You can also use flaxseed meal. Mix 1 tablespoon of flaxseed with 2.5 tablespoons of water. Let it sit for a few minutes until it thickens. Both options work well in this recipe. Absolutely! This recipe is great for kids. Zucchini adds moisture and nutrients. It is low in calories and high in vitamins. The nuts and optional add-ins like raisins or chocolate chips add healthy fats and energy. Kids love the sweet taste, making it a tasty snack or breakfast. To make this recipe dairy-free, use coconut oil instead of butter. This recipe already uses coconut oil, which is a perfect substitute. If desired, you can also skip adding any dairy-based toppings. Enjoy the bread plain or with a dairy-free spread. We covered a lot about making delicious zucchini bread. First, we explored key ingredients like zucchini, flour, and sweeteners. Then, I shared step-by-step instructions for preparation, baking, and cooling, plus serving tips. Next, we discussed baking tricks and common mistakes to avoid. After that, we looked at tasty variations and how to store zucchini bread properly. In closing, with the right techniques and a few adjustments, you can make a tasty treat everyone will enjoy. Happy baking!](https://therecipehatch.com/wp-content/uploads/2025/07/f4505754-7b95-4cff-94dd-cf1a623a386d.webp)
Looking for a delicious and easy gluten-free treat? This Easy Gluten Free Zucchini Bread recipe is quick, tasty, and perfect for all your baking needs. Packed with fresh zucchini and …
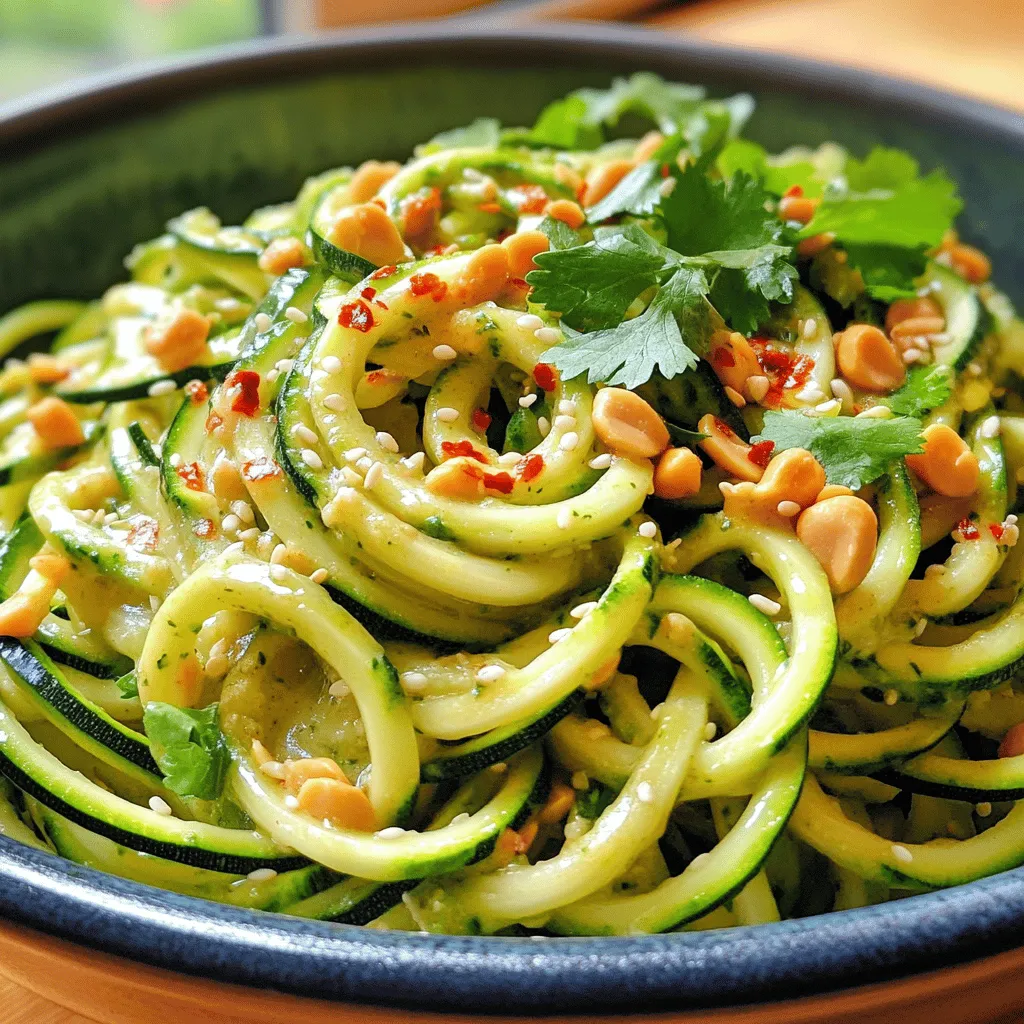
Craving a dish that packs a punch with bold flavors? Look no further! My Spicy Garlic Chinese Zucchini Noodles offer a delightful twist on classic stir-fry. This dish is quick …
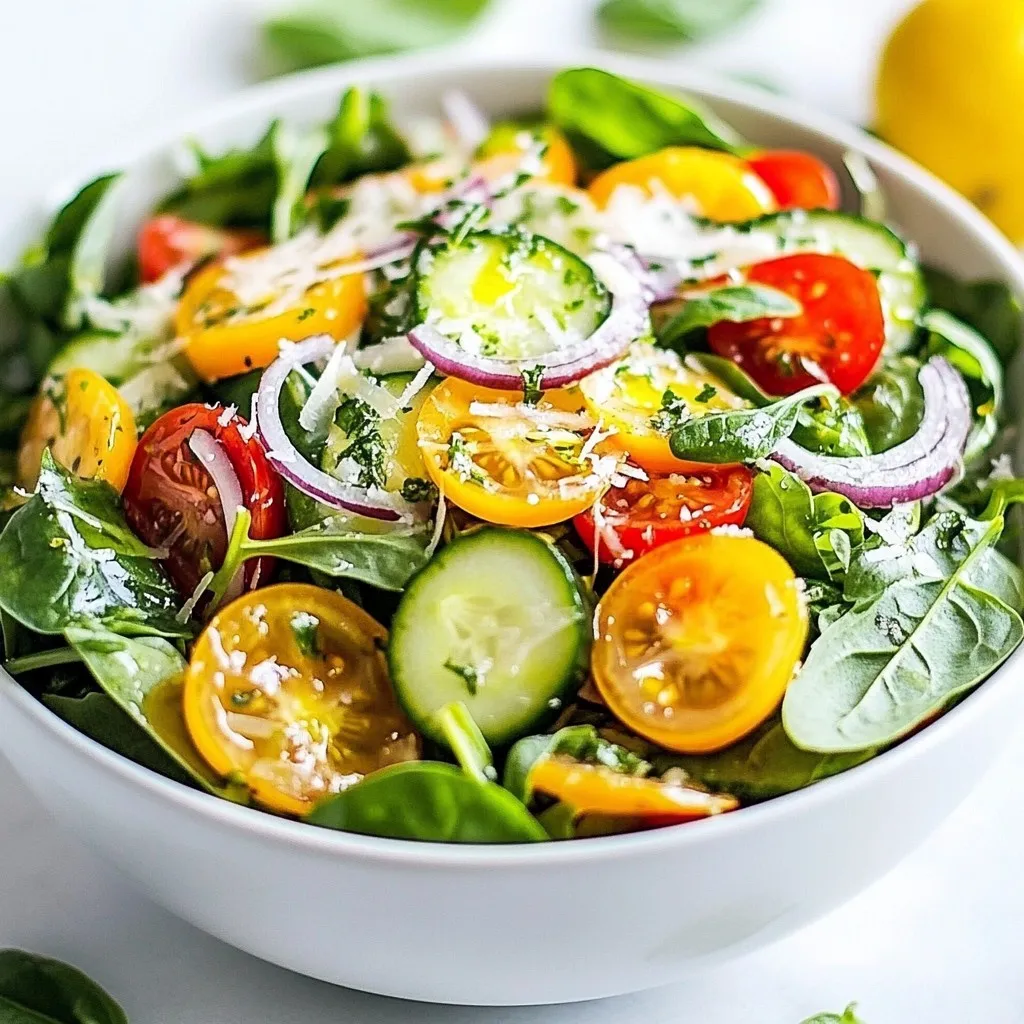
If you want a fresh and quick meal, try my Minute Lemon Parmesan Salad. Packed with greens, cherry tomatoes, and a zesty dressing, this dish brings bright flavors to your …
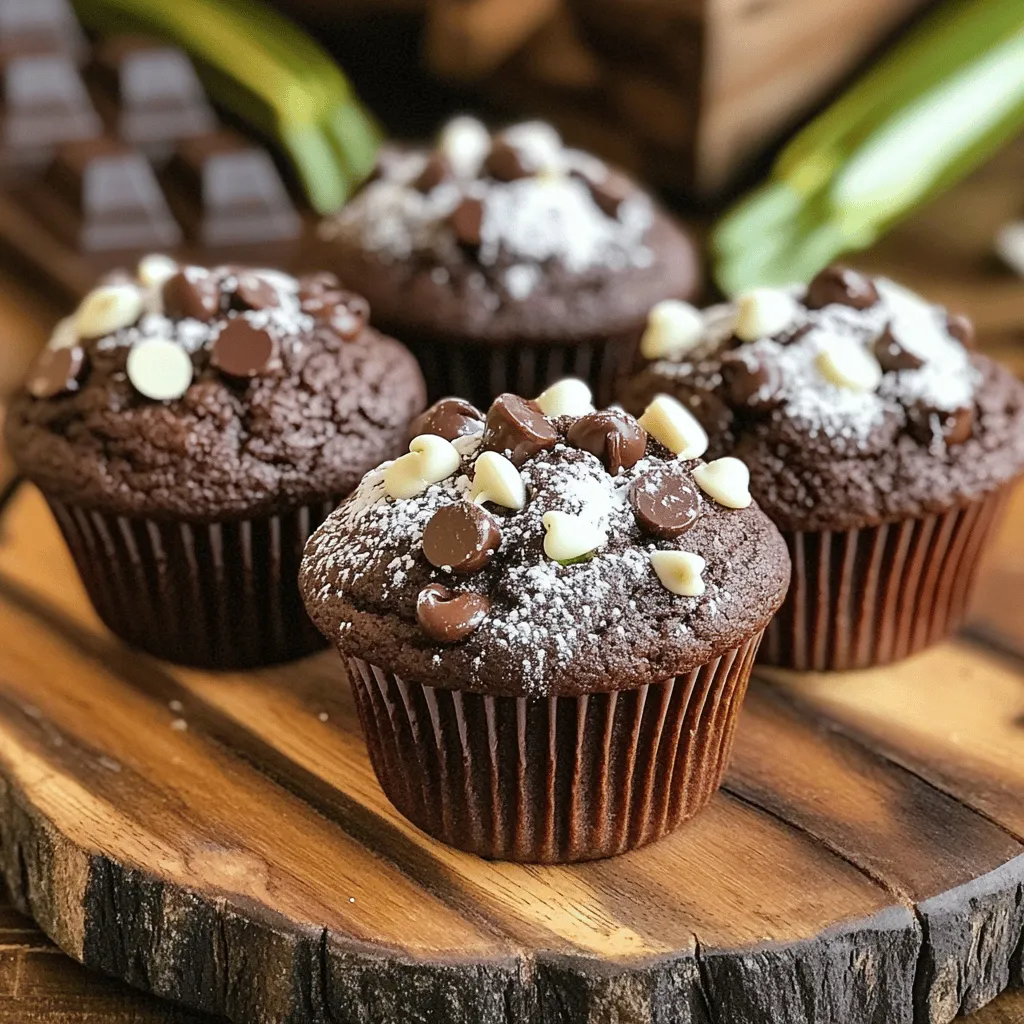
If you’re craving a sweet treat that packs a healthy punch, these Bakery Style Double Chocolate Zucchini Muffins are for you! I’m here to guide you through a simple recipe …

Looking for a simple and delicious way to cook zucchini? You’ll love this Easy Air Fryer Zucchini Parmesan recipe! It combines crispy, golden zucchini with melty cheese for a dish …
![- 2 medium zucchinis, sliced into thin strips - 1 cup whole wheat breadcrumbs - 1/2 cup grated Parmesan cheese (optional) - 1 teaspoon garlic powder - 1 teaspoon onion powder - 1 teaspoon Italian seasoning - Salt and pepper to taste - 2 eggs, beaten - Cooking spray or olive oil spray To make these healthy air fryer zucchini fries, start with fresh zucchinis. Look for ones that are firm and bright. Slice them into thin strips. This helps them cook evenly. You can choose to add Parmesan cheese for a cheesy twist. Next, gather your seasonings. Garlic powder, onion powder, and Italian seasoning add flavor. Don’t forget salt and pepper! These simple ingredients boost the taste of your fries. For the coating, use whole wheat breadcrumbs. They add a nice crunch and are healthier than regular breadcrumbs. The eggs will help the breadcrumbs stick to the zucchini. Finally, cooking spray or olive oil spray is key. It helps achieve that crispy texture we all love. Now, you are ready to make these delicious zucchini fries! For the full recipe, check out the steps to get the perfect crunch. - Preheat to 400°F (200°C). Preheating helps to cook the zucchini fries evenly. A hot air fryer gives you that crispy texture. - Mix dry ingredients in a bowl. In a shallow bowl, combine: - 1 cup whole wheat breadcrumbs - 1/2 cup grated Parmesan cheese (optional) - 1 teaspoon garlic powder - 1 teaspoon onion powder - 1 teaspoon Italian seasoning - Salt and pepper to taste Mix these ingredients well. This mixture adds flavor and crunch to your fries. - Beat eggs in a separate bowl. In another bowl, crack and beat 2 eggs. This will help the breadcrumbs stick to the zucchini. - Coating process. Take a zucchini strip and dip it into the egg. Let any excess egg drip off. Next, place it in the breadcrumb mixture. Press gently to make sure it sticks. Repeat for all zucchini strips. - Place zucchini fries in the air fryer basket. Arrange the coated zucchini fries in a single layer. Do not overcrowd the basket. This allows hot air to circulate for even cooking. - Cooking duration and flipping. Air fry the zucchini fries for about 10-12 minutes. Flip them halfway through for even browning. Look for a golden brown color for the perfect crisp. Enjoy your healthy air fryer zucchini fries! For the complete recipe, check the Full Recipe section. To get that perfect crisp, avoid overcrowding the air fryer basket. If you crowd them, they won't cook evenly. Give each fry space to breathe. This helps hot air circulate around them. Also, use cooking spray to add extra crispness. A light mist on top makes a big difference. When selecting zucchinis, look for firm and fresh ones. They should feel heavy for their size. Avoid any with soft spots or blemishes. Fresh zucchinis taste better and hold up well during cooking. Cut the zucchini into thin strips for even cooking. Aim for about ¼ inch thick. This size allows them to cook through but still stay crunchy. Consistent sizes also mean they’ll cook at the same rate. If you follow these tips, you're sure to have delicious zucchini fries. Want the full recipe? Check out the [Full Recipe]. {{image_2}} You can change the texture of your zucchini fries by using different coatings. Almond flour is a great choice for those who want a low-carb option. It gives a nutty taste and a nice crunch. Gluten-free breadcrumbs also work well. They keep the fries crispy without gluten. Simply swap out the whole wheat breadcrumbs for either option. Adding spices makes your zucchini fries even better. Try paprika for a smoky flavor or cayenne pepper for some heat. You can mix these spices into your coating mixture. Just one teaspoon of either spice can make a big difference. Feel free to experiment with other spices too. This way, you can create a flavor that fits your taste. Cheese can turn a good dish into a great one. If you love cheese, sprinkle some on your fries before cooking. Parmesan cheese adds a nice salty flavor. You can also try mozzarella for a gooey texture. Just remember to adjust the cooking time if you add cheese. With so many options, you can make these fries your own. For the full recipe, refer back to the beginning of this article. To store cooked zucchini fries, first let them cool down. Place them in an airtight container. Make sure to use parchment paper to separate layers. This keeps them from getting soggy. You can store these fries in the fridge for up to three days. For best taste, eat them within two days. To reheat zucchini fries, use the air fryer for best results. Set it to 350°F (175°C). Heat the fries for about 5 minutes. This helps them stay crispy. You can also use a regular oven. Just spread them out on a baking sheet. Bake at 350°F (175°C) for 10 minutes. Avoid using a microwave, as it will make them soft. To freeze zucchini fries, prep them first. After coating, spread them on a baking sheet in a single layer. Freeze for about 1 hour. Once frozen, transfer them to a freezer bag. Remove as much air as possible. You can freeze them for up to three months. When ready to cook, you can air fry them straight from the freezer. Just add a few extra minutes to the cooking time. Try this method to enjoy crispy zucchini fries anytime! Yes, you can use regular breadcrumbs. They will give you a different taste and texture. Whole wheat breadcrumbs add more fiber. This makes the fries healthier. Regular breadcrumbs are often lighter and crispier. If you want a healthier option, stick with whole wheat. You can use several egg substitutes. Try using unsweetened applesauce or mashed banana. You can also use a mix of ground flaxseed and water. Just combine one tablespoon of flaxseed with two and a half tablespoons of water. Let this sit for a few minutes. This mixture acts like an egg for coating. Zucchini fries go great with many sauces. You can serve them with classic ketchup or ranch dressing. For a twist, try a garlic aioli or spicy mayo. You can also mix Greek yogurt with lemon and herbs for a fresh dip. These sauces will enhance the flavor of your crispy fries. This guide covered everything you need to make tasty air fryer zucchini fries. You learned about the main ingredients, step-by-step prep, and tips for the perfect crunch. Remember to pick fresh zucchinis and avoid overcrowding your air fryer. Experiment with different coatings and flavors to make each batch unique. Enjoy crispy, healthy fries with your favorite dipping sauce. Now you can create these delicious snacks anytime!](https://therecipehatch.com/wp-content/uploads/2025/07/c682ba1a-b1a4-4bc8-89f1-97c3f7fdf3d2.webp)
Looking for a delicious snack that’s packed with flavor and good for you? These Healthy Air Fryer Zucchini Fries are just what you need! With just a few simple ingredients …
![- 2 medium zucchinis - 1 teaspoon salt - 1/2 cup all-purpose or whole wheat flour - 1/4 cup grated Parmesan cheese - 2 large eggs - 1/4 cup fresh parsley - 2 green onions - 1 teaspoon garlic powder - 1/2 teaspoon black pepper - Olive oil for frying To create these zucchini fritters, you need fresh ingredients. Start with two medium zucchinis. They should feel firm and look shiny. Salt helps remove excess moisture from the zucchini. You can use all-purpose flour or whole wheat flour. Parmesan cheese adds a nice flavor. Eggs bind the fritters together. Fresh parsley gives color and taste. Green onions add a mild onion flavor. Garlic powder enhances the dish with a warm taste. Black pepper adds a bit of spice. Finally, use olive oil for frying. Zucchini is a superfood. It's low in calories and high in water content. This means you can enjoy it without guilt. It's rich in vitamins A and C, which are great for your skin and immune health. Zucchini is also a source of fiber. Fiber helps with digestion and keeps you full longer. Antioxidants in zucchini help protect your body from free radicals. Eating zucchini fritters gives you a tasty way to enjoy these health benefits. For the full recipe, check out the [Full Recipe]. First, start by grating the zucchinis. Use a box grater or a food processor for speed. Place the grated zucchini in a colander. Sprinkle one teaspoon of salt over it. This salt helps draw out excess moisture. Let the zucchini sit for about 15 minutes. After that, rinse the zucchini under cold water. This step removes the salt. Next, take a clean kitchen towel and squeeze the zucchini. Remove as much moisture as you can. This is key for making crispy fritters. Too much moisture will make them soggy. In a large bowl, combine the grated zucchini, flour, Parmesan cheese, eggs, parsley, green onions, garlic powder, and black pepper. Mix these ingredients until they blend well. You want a thick batter but not dry. If it seems too wet, add a little more flour. This will help your fritters hold their shape. Now it's time to cook! Heat a skillet over medium heat. Add enough olive oil to coat the bottom of the pan. You want a nice layer for frying. Once the oil is hot, scoop a heaping tablespoon of the zucchini mixture. Carefully place it in the skillet. Press it down gently to form a fritter. Fry the fritters for about 3 to 4 minutes on each side. Look for a golden brown color. This means they are crispy and ready to eat. Remove them from the pan and place them on a paper towel-lined plate. This helps absorb any extra oil. Continue frying the remaining batter, adding more oil as needed. For the full recipe, refer to the recipe section. Enjoy your crispy and flavorful zucchini fritters! To make crispy zucchini fritters, moisture removal is key. Start by grating your zucchinis and sprinkling them with salt. Let them sit for about 15 minutes. This step helps draw out excess water. Rinse the zucchinis to remove the salt, then squeeze them in a towel. You want them as dry as possible. The frying temperature matters too. Heat your skillet over medium heat. Add enough olive oil to coat the bottom. If the oil is too hot, the fritters will burn. If it’s too cool, they will turn soggy. Aim for a nice golden brown on each side. I love serving zucchini fritters with a dollop of Greek yogurt. It adds a creamy texture that complements the crunch. You can also try sour cream or a tangy dip. A sprinkle of fresh parsley brightens the dish and adds color. Serve them warm for the best flavor. Pair the fritters with a light salad or roasted veggies. This adds a fresh element to the meal. You can also stack them up for a fun presentation. One common mistake is overmixing the batter. This can make the fritters tough. Mix until just combined to keep them light and fluffy. Another mistake is undercooking the fritters. They should be golden brown and crispy on the outside. If they look pale, give them more time. Always ensure they are cooked through for the best taste and safety. For the full recipe, check out the section above. Enjoy making your delicious, healthy fritters! {{image_2}} You can switch up the veggies in your fritters. Try using carrots, sweet potatoes, or even spinach. These options add different flavors and colors. For a gluten-free option, replace the all-purpose flour with almond flour or chickpea flour. Both work well and keep the fritters tasty. Adding herbs and spices can change the whole dish. Fresh dill or basil brings a nice touch. You might also try a pinch of cayenne pepper for some heat. Cheese can also boost the flavor. Feta or goat cheese adds a creamy texture. You can mix it in or sprinkle it on top just before serving. You can serve fritters as a main dish or a side. If you want a filling meal, pair them with a protein like chicken or fish. Fritters go great with salads and dips. A fresh cucumber salad or a yogurt dip complements them well. Try out these combinations to find your favorite. To store your leftover zucchini fritters, allow them to cool first. Place them in an airtight container. This keeps them fresh and tasty. You can use glass or plastic containers for this. Make sure the container seals well to prevent air from getting in. Your fritters will stay good in the fridge for up to three days. You can freeze fritters before or after cooking. If you freeze them before cooking, spread them in a single layer on a baking sheet. Once frozen, transfer them to a freezer bag. When you want to eat them, you can cook them straight from the freezer. If they are cooked, let them cool first, then wrap them tightly. To reheat, bake them at 375°F for about 15 minutes. This will make them warm and crispy again. For freshness, store fritters in the fridge. They last about three days. If you freeze them, they are good for up to three months. If you notice any off smells or discoloration, it is best to discard them. Always trust your senses. If the fritters look or smell strange, do not eat them. You can use alternatives like almond flour, chickpea flour, or ground oats. These options work well for binding. Simply replace the flour in the recipe with any of these choices. Each will add its own flavor and texture. Yes, you can bake zucchini fritters! Preheat your oven to 400°F (200°C). Place the fritters on a baking sheet lined with parchment paper. Brush them lightly with olive oil. Bake for about 20-25 minutes, flipping halfway through. They may not be as crispy, but they will still taste great! Zucchini fritters pair well with many sides. Try serving them with Greek yogurt or sour cream. A fresh salad or homemade tomato salsa adds a nice touch too. You can also serve them with a light dip, like tzatziki, for extra flavor. Look for a golden brown color and a crispy texture. When you press on them, they should feel firm. If they fall apart or feel mushy, they need more time. Cooking for 3-4 minutes on each side usually gives perfect fritters. Enjoy your cooking adventure with the Full Recipe! Zucchini fritters are easy and fun to make. You learned about key ingredients and their benefits. We covered how to prep zucchini and mix the batter for crispiness. Remember to remove moisture and avoid overmixing. You can try different veggies and spices to change the flavor. Store leftovers properly so you can enjoy them later. Follow these steps, and you will have delicious fritters every time. Now, it's time to get cooking and enjoy your tasty creations!](https://therecipehatch.com/wp-content/uploads/2025/07/57f0098e-98e8-43cc-9aed-d06eaf2ba2d6.webp)
Looking for a tasty way to eat more vegetables? Try my Healthy Zucchini Fritters! They’re crisp, flavorful, and packed with nutrition. Zucchini is low in calories and a great source …