Slow Cooker Creamy Potato Corn Chowder Delightful Recipe
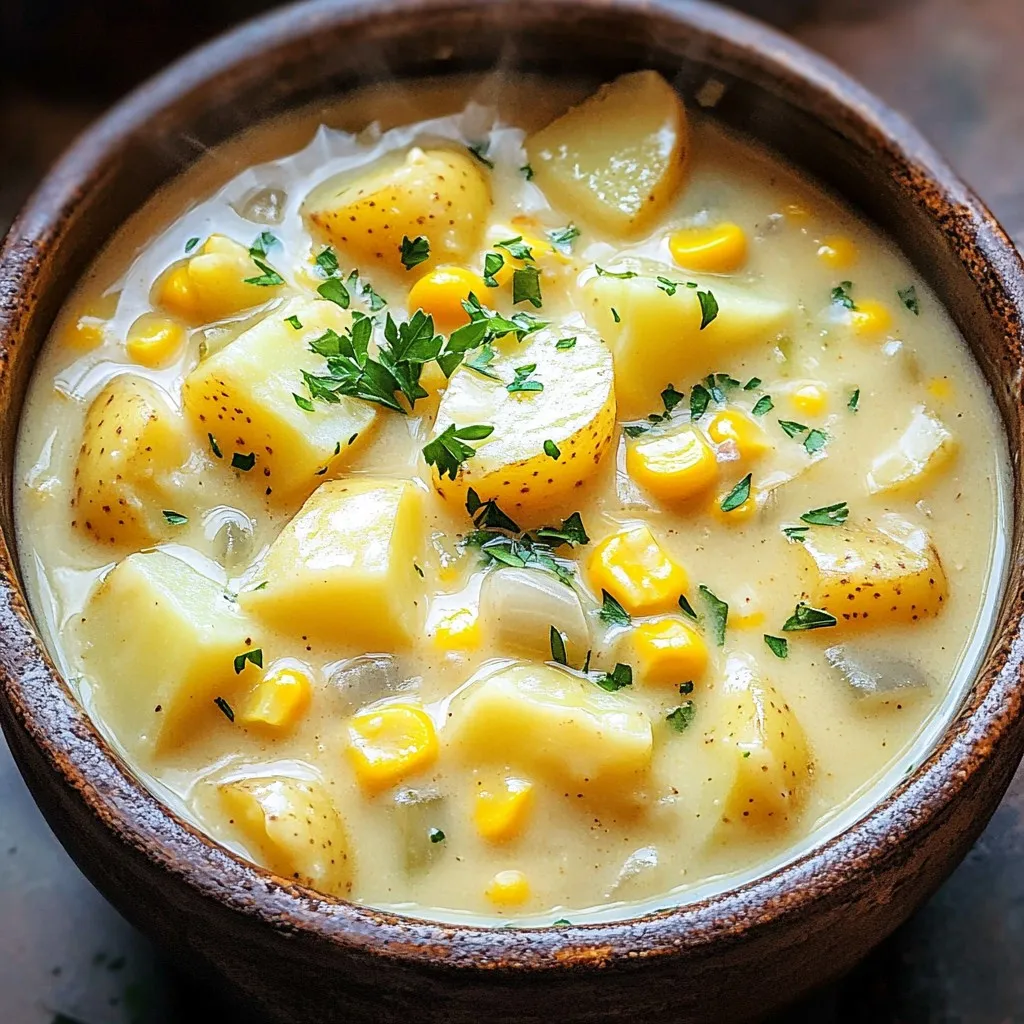
If you’re craving comfort food that’s easy to make, you’ll love this Slow Cooker Creamy Potato Corn Chowder. With simple ingredients like potatoes, corn, and rich cream, you can whip …