Extra Fudgy Vegan Brownie Cake Delightful and Rich
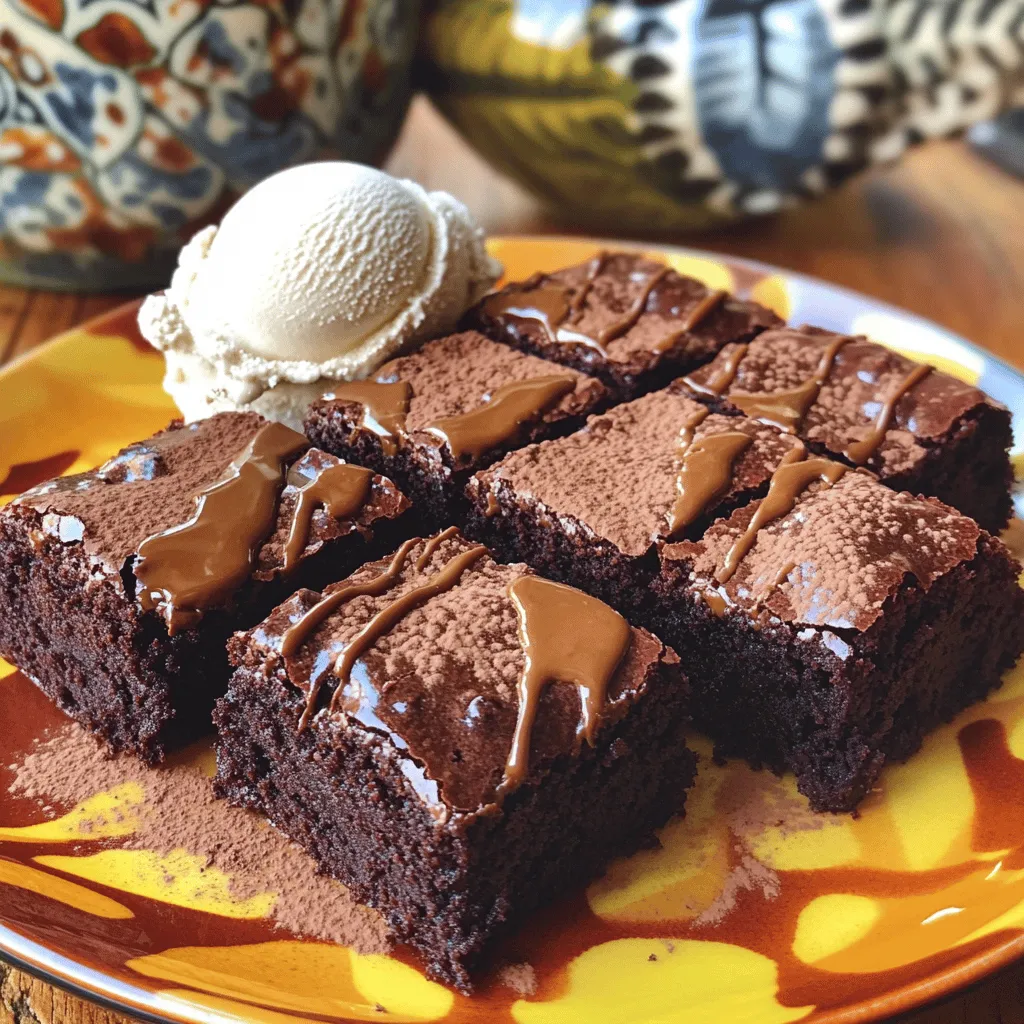
Ready to indulge in a rich, fudgy treat that’s completely vegan? My Extra Fudgy Vegan Brownie Cake is not only delicious but also easy to make. Whether you’re a seasoned …
Ready to indulge in a rich, fudgy treat that’s completely vegan? My Extra Fudgy Vegan Brownie Cake is not only delicious but also easy to make. Whether you’re a seasoned …

Looking for a simple yet tasty dish? You’re in the right spot! This easy marinated grilled chicken is full of flavor and super simple to make. With just a few …

Looking for the perfect party appetizer that wows? Try my Deviled Eggs with Cowboy Caviar! This tasty twist on a classic combines creamy, seasoned eggs with zesty, colorful cowboy caviar. …
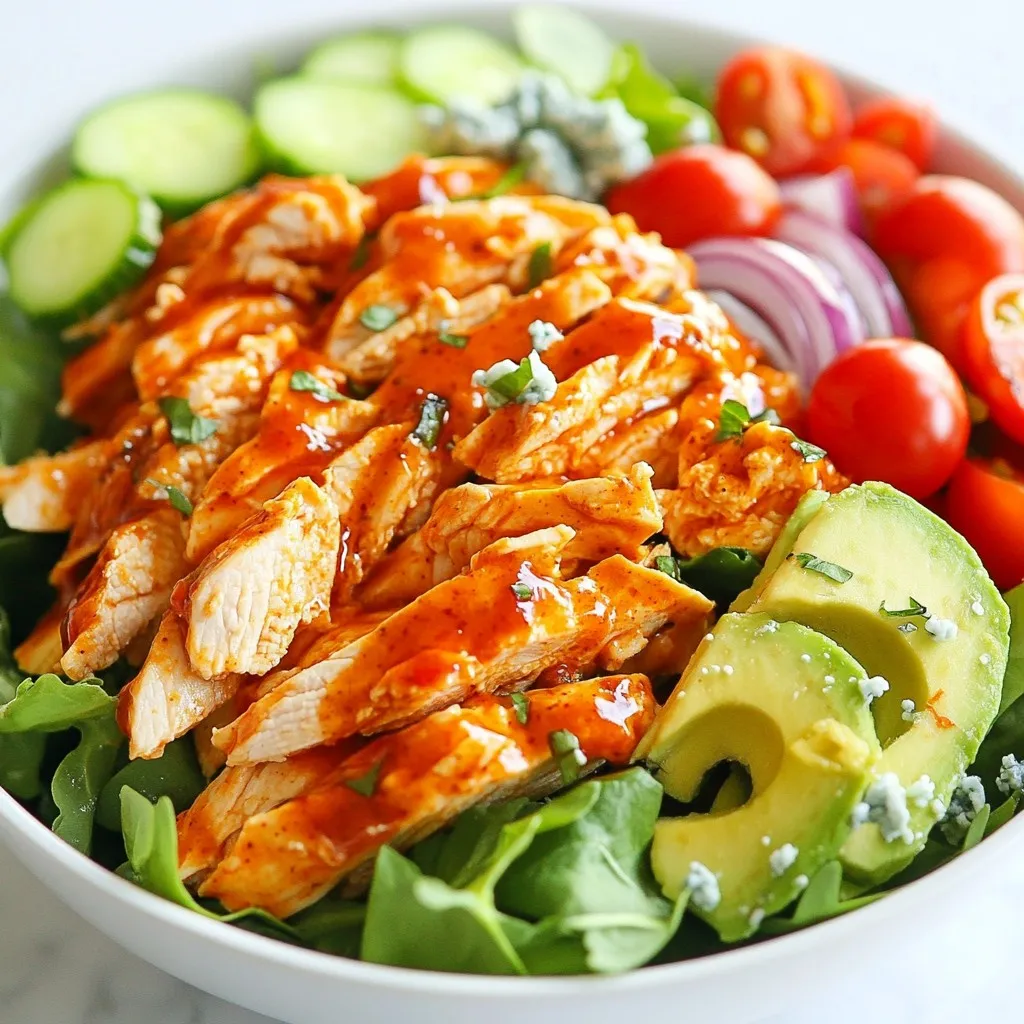
Looking for a meal that packs a punch? Buffalo Chicken Salad is a flavor-packed delight that satisfies every craving! With tender shredded chicken tossed in spicy buffalo sauce and vibrant …

Looking for a guilt-free dessert that satisfies your chocolate cravings? I’ve got you covered with my Healthy Low-Calorie Greek Yogurt Brownies Recipe. These rich, fudgy treats use Greek yogurt to …

If you’re craving a dish that bursts with flavor and is super easy to make, you’re in for a treat! Garlic Butter Baked Chicken gives you juicy, tender bites that …
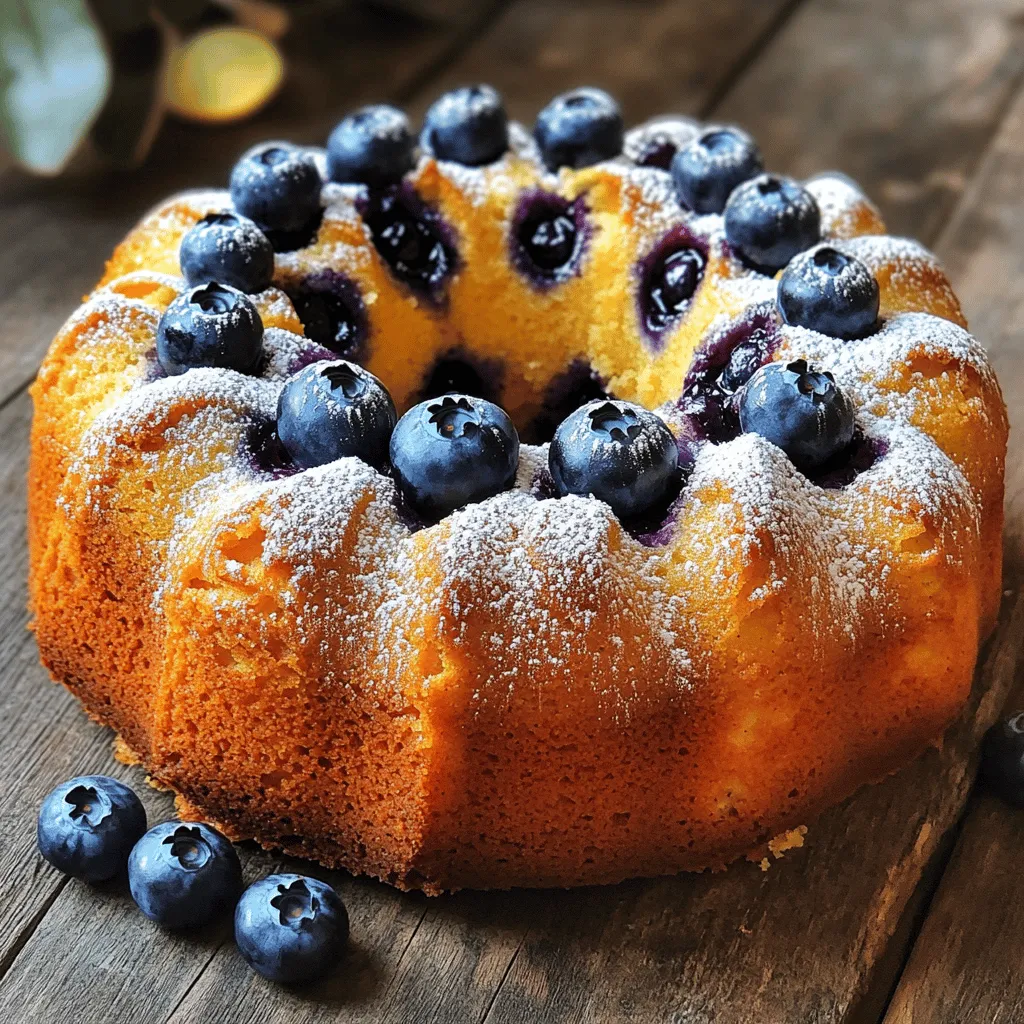
Are you ready for a breakfast treat that blends rich flavor with the sweetness of blueberries? Dive into my Rich Buttery Blueberry Breakfast Cake Recipe Delight! This cake is perfect …
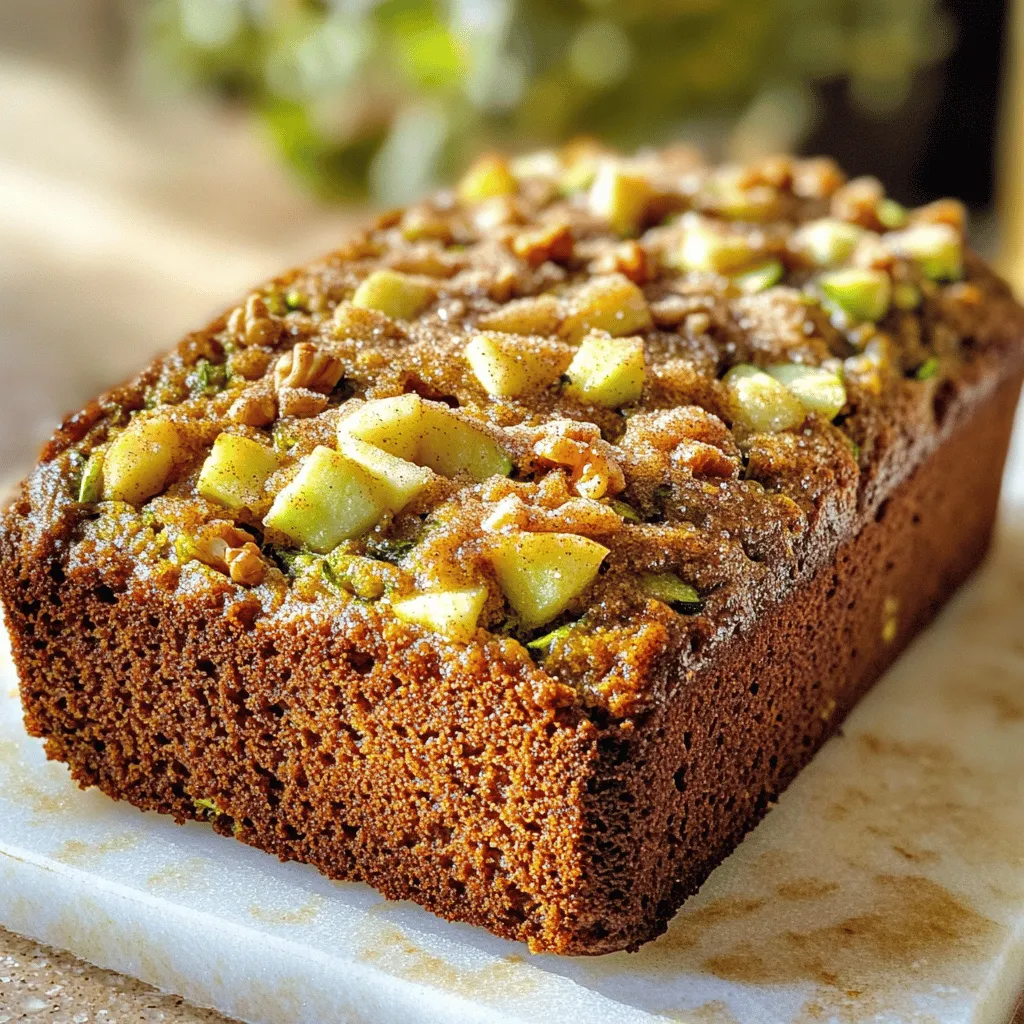
Looking for a new twist on classic quick bread? My Cinnamon Apple Zucchini Bread is sure to delight. It’s simple to make, packed with flavor, and perfect for breakfast or …

If you’re looking for a tasty and healthy snack, you’ve found it! Baked Parmesan Yellow Squash Rounds are easy to make and full of flavor. I’ll guide you through selecting …
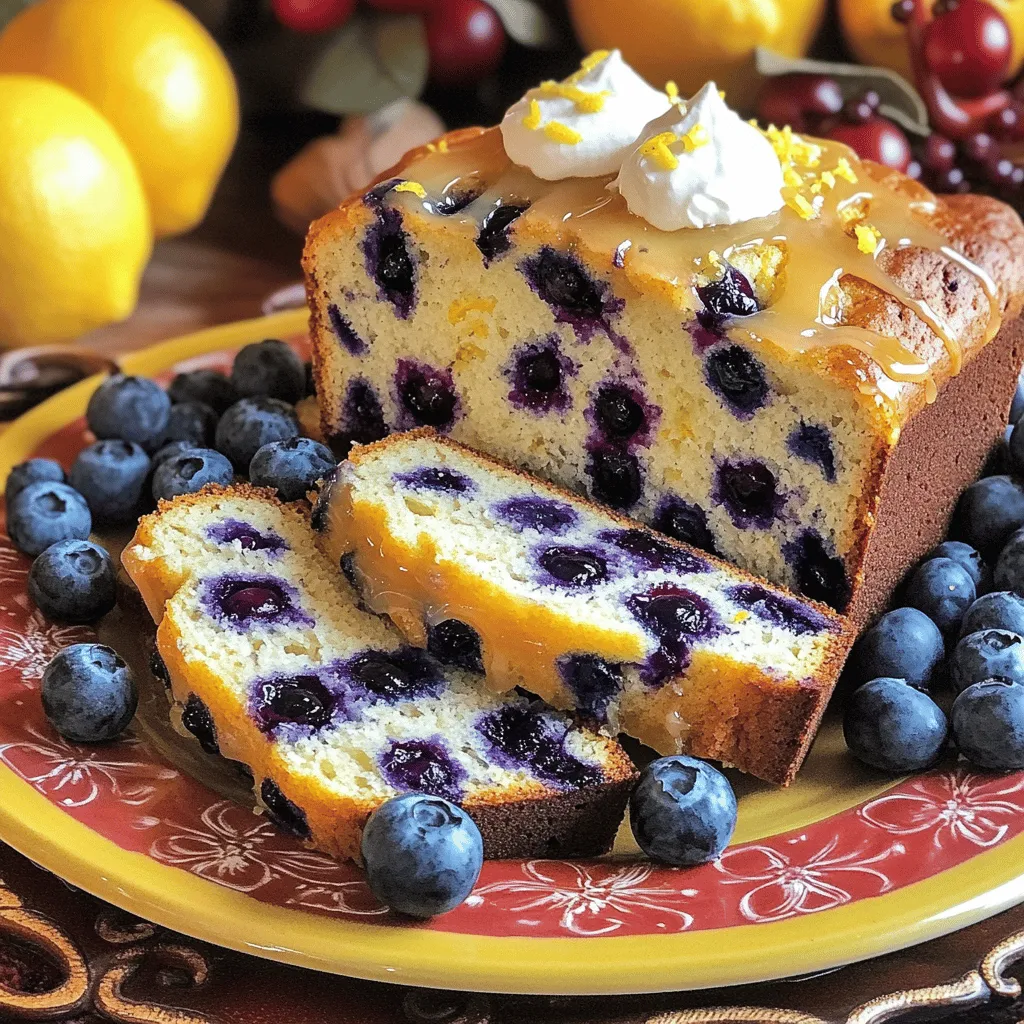
Are you ready to bake something delightful? This Lemon Blueberry Bread is a vibrant treat that combines tangy lemon and sweet blueberries in every bite. Not only is it simple …