Air Fryer Apple Pie Bombs Delicious Dessert Treat

Craving a sweet treat that’s easy and fun to make? You’re in for a delight with these Air Fryer Apple Pie Bombs! Imagine biting into a warm biscuit filled with …
Craving a sweet treat that’s easy and fun to make? You’re in for a delight with these Air Fryer Apple Pie Bombs! Imagine biting into a warm biscuit filled with …

Are you ready for a sweet fall treat that melts in your mouth? These Pumpkin Cheesecake Truffles are a delightful blend of creamy pumpkin and rich cream cheese, rolled in …
. Enjoy the process of baking this tasty loaf! Preheating the Oven and Preparing the Pan Start by preheating your oven to 350°F (175°C). Grease a 9x5 inch loaf pan with cooking spray or butter. Lining the bottom with parchment paper helps with easy removal later. Mixing Dry Ingredients In a medium bowl, whisk together the dry ingredients. This includes 2 cups of all-purpose flour, 1 teaspoon of baking powder, 1 teaspoon of baking soda, 1 teaspoon of ground cinnamon, 1/4 teaspoon of ground nutmeg, and 1/4 teaspoon of salt. Set this bowl aside for later. Mixing Wet Ingredients In a large mixing bowl, cream 1/2 cup of softened unsalted butter and 1 cup of granulated sugar. Mix it until it’s light and fluffy. This should take about 2-3 minutes. Then, add 2 large eggs one at a time. Mix well after each egg. Now, stir in 1 cup of apple cider and 1 teaspoon of vanilla extract until everything is just combined. Creaming Butter and Sugar Creaming the butter and sugar is key. This step adds air to your batter. It helps the loaf rise and stay fluffy. Adding Eggs and Flavorings Adding the eggs one at a time is important. This keeps the mixture smooth. The apple cider gives the loaf its rich flavor. Incorporating Dry and Wet Mixtures Gradually mix the dry ingredients into the wet ingredients. Use a gentle hand to avoid overmixing. Once mixed, fold in 1 cup of finely diced apples. This adds a lovely texture. Pouring Batter into the Pan Pour the batter into the prepared loaf pan. Use a spatula to smooth the top. This helps it bake evenly. Preparing the Cinnamon Sugar Topping In a small bowl, mix 1/4 cup of brown sugar with 1/4 teaspoon of cinnamon. Sprinkle this mixture evenly over the batter in the pan. Baking Time and Doneness Bake your loaf in the preheated oven for 50-60 minutes. Check for doneness by inserting a toothpick into the center. If it comes out clean, it’s ready! The top should be golden brown. You can find the full recipe for the Moist Apple Cider Doughnut Loaf Cake in the recipe section. Enjoy! - Ensuring Moisture and Texture: Use fresh apple cider for the best taste. It adds flavor and moisture. Make sure to cream the butter and sugar until fluffy. This step helps keep your loaf light and airy. - Recommended Baking Time and Temperature: Bake your loaf at 350°F (175°C). Check it around 50 minutes. Your loaf should be golden brown and a toothpick should come out clean. - How to Check for Doneness: Insert a toothpick in the center. If it comes out clean, your loaf is done. If not, bake for a few more minutes and test again. - Choosing the Best Apples for Flavor: Opt for tart apples like Granny Smith or Honeycrisp. They balance sweetness and flavor in your cake. - Organic vs. Conventional Apples: Organic apples have fewer pesticides. They often taste better too. If you can, choose organic for your baking. - Serving Suggestions: Slice your loaf and serve warm. It pairs well with a scoop of vanilla ice cream. - Garnish Ideas: Dust the top with powdered sugar. Add a sprinkle of cinnamon for extra flair. You can also top it with warm apple slices for a delightful touch. {{image_2}} You can make this moist apple cider doughnut loaf cake even more fun. - Adding Nuts or Dried Fruits: Chopped walnuts or pecans add a nice crunch. You can also try raisins or dried cranberries for a sweet twist. Just fold them in gently when mixing the batter. - Incorporating Other Spices: If you love spice, add some ginger or allspice. A dash of cardamom can give it a warm flavor. Experiment and see what you like best. Some folks have different diets. Here are some easy swaps. - Gluten-Free Alternatives: Use gluten-free flour blends instead of regular flour. They work great in this recipe. Just make sure the blend has xanthan gum for the right texture. - Vegan Substitutions: To make it vegan, swap the butter for coconut oil or vegan butter. Instead of eggs, use flax eggs or applesauce. These changes keep the cake moist and tasty. This loaf cake is great for many occasions. - Pairing with Beverages: A hot cup of cider or coffee goes well with this cake. You can also serve it with herbal tea for a cozy treat. - Perfect Occasions for Serving: This cake is perfect for fall gatherings, brunch, or even as a sweet treat after dinner. It adds a warm touch to any table. Don't forget to check the Full Recipe for all the steps to make this delightful cake! You can store your loaf cake in two ways: at room temperature or in the fridge. If you plan to eat it within two days, keep it at room temp. Just wrap it in plastic wrap. This keeps it fresh and moist. If you want to save it longer, put it in the fridge. Use an airtight container to avoid drying out. The cold air in the fridge can make cakes lose moisture. To freeze the loaf, first, let it cool completely. Then, wrap it tightly in plastic wrap. You can also use aluminum foil for extra protection. This way, it won’t get freezer burn. For best results, eat it within three months. To thaw, move it to the fridge overnight. If you want to eat it warm, just pop it in the oven for a few minutes. This moist apple cider doughnut loaf cake lasts about three days at room temperature. In the fridge, it stays good for about a week. If frozen, it can last up to three months. Always check for signs of spoilage, like a sour smell or mold. Enjoy your delicious cake while it’s fresh for the best taste! You can find the full recipe above. Can I make this recipe in advance? Yes, you can make this loaf cake ahead of time. It tastes great after a day or two. Just store it in an airtight container. What should I do if my doughnut loaf is too dry? If your loaf is dry, try adding a bit more apple cider. You can also brush it with melted butter. This helps add moisture back into the cake. Can I use apple juice instead of apple cider? Apple juice can work, but it lacks the rich flavor of apple cider. If you use juice, consider adding a splash of vinegar for tang. How do I adapt baking recipes for high altitudes? At high altitudes, reduce sugar by one to two tablespoons. Increase flour by one to two tablespoons. You might also need to bake longer. What is the best way to prevent cakes from sticking to the pan? Greasing the pan well with butter or cooking spray helps. Line the bottom with parchment paper, too. This makes for easy removal. What can I use instead of butter? You can use vegetable oil or applesauce as a butter substitute. Both will keep your loaf moist and tasty. Is there a substitute for eggs in baking? Yes, you can use flaxseed meal or chia seeds mixed with water. This works well to bind your ingredients together. This blog covered all aspects of making a moist apple cider doughnut loaf. You learned about the ingredients, preparation steps, and tips for success. I shared variations and ways to store leftovers, ensuring your cake stays fresh. Baking is both an art and a science, so follow these tips closely. Enjoy sharing this delightful treat with friends and family. You now have the tools to bake a delicious loaf full of flavor. Happy baking!](https://therecipehatch.com/wp-content/uploads/2025/07/42b20169-2119-44ed-a59e-5122e6257bd2.webp)
Fall is the perfect time for baking, and my Moist Apple Cider Doughnut Loaf Cake is a treat you don’t want to miss! Picture a soft loaf, bursting with spices …

If you crave a dessert that dances with flavor, the Amazing Italian Cream Cake is for you. Picture layers of fluffy cake smothered in rich cream cheese frosting, complete with …

Get ready to enjoy a moist and rich treat: Chocolate Zucchini Muffins! I promise these muffins are a game-changer. Imagine sweet chocolate with a hint of fresh zucchini—it’s a delicious …

If you crave a dish that’s both savory and juicy, you’re in the right place! In this blog post, I’ll guide you through making Grilled Sesame Chicken, a meal that …
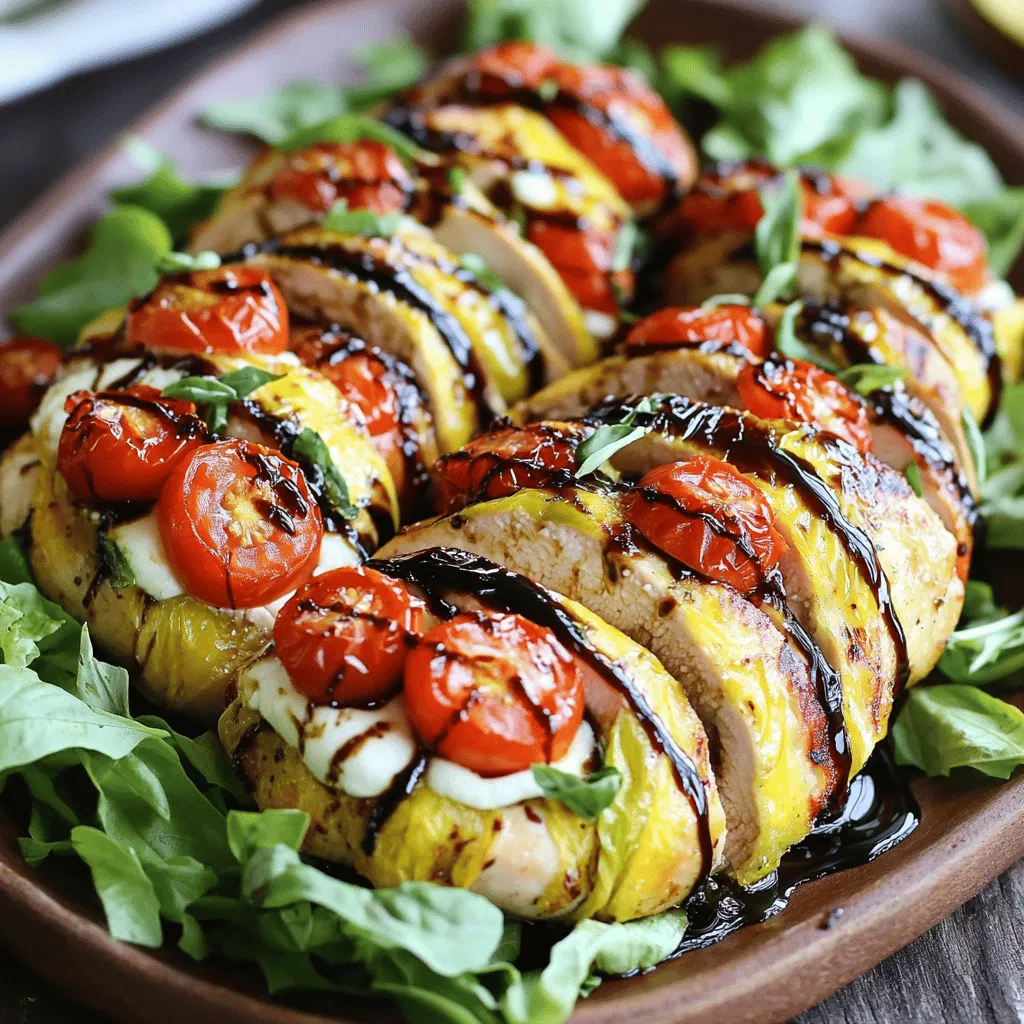
Looking for a fresh dinner idea that’s easy and bursting with flavor? Caprese Chicken is your answer! This dish combines juicy chicken with ripe tomatoes, creamy mozzarella, and fragrant basil, …

Looking to spice up your pantry with a delightful, crunchy treat? Refrigerator dilly beans are the perfect solution! In just a few simple steps, you’ll create a zesty snack packed …
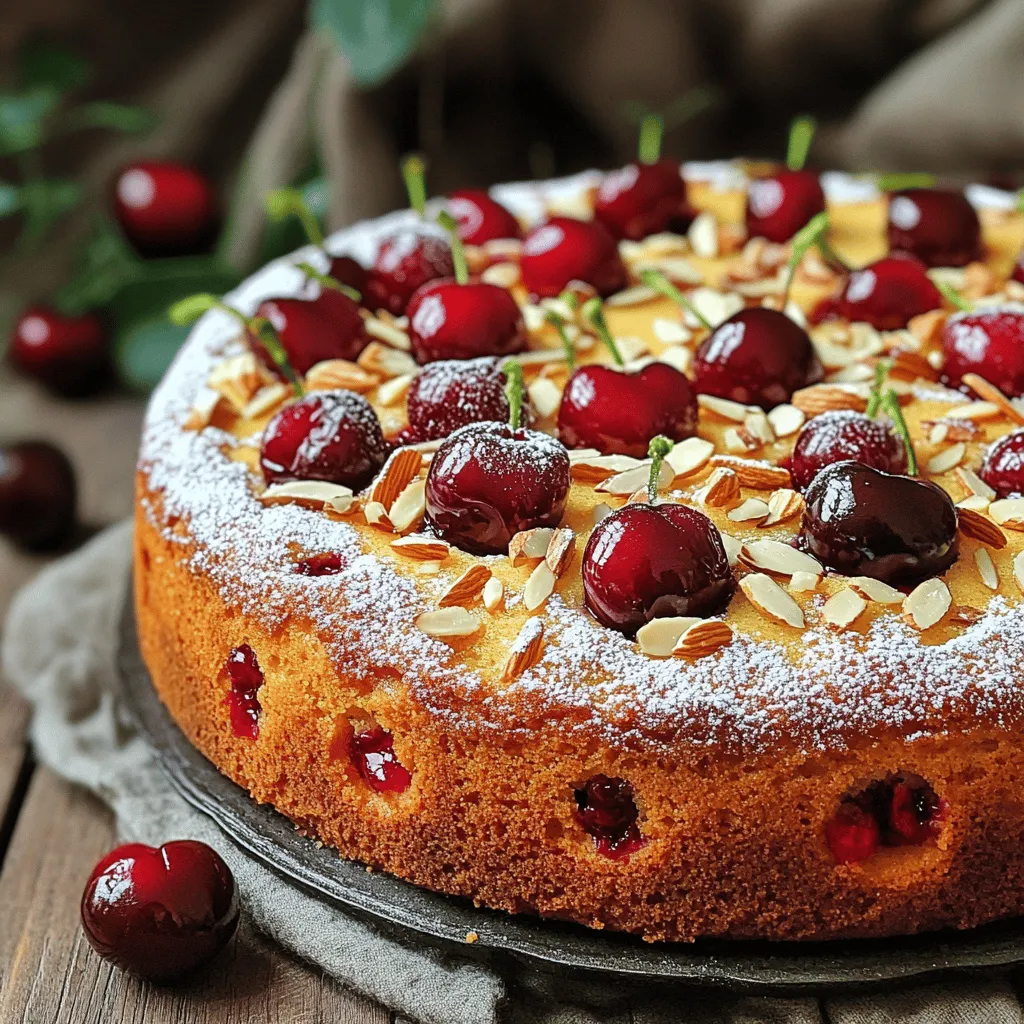
Are you ready to bake a cake that delights every taste bud? This cherry almond cake is a must-try! I’ll show you how to mix fresh cherries with a sweet …

Welcome to a creamy delight that combines comfort and zest: Creamy Honey Pepper Chicken Mac and Cheese! This dish will thrill your taste buds and warm your heart. In this …