Apple Cider Donut Mug Cake Quick and Tasty Treat

Craving a quick and tasty dessert? Try my Apple Cider Donut Mug Cake! This easy recipe brings fall flavors right to your microwave in under five minutes. With simple ingredients …
Craving a quick and tasty dessert? Try my Apple Cider Donut Mug Cake! This easy recipe brings fall flavors right to your microwave in under five minutes. With simple ingredients …
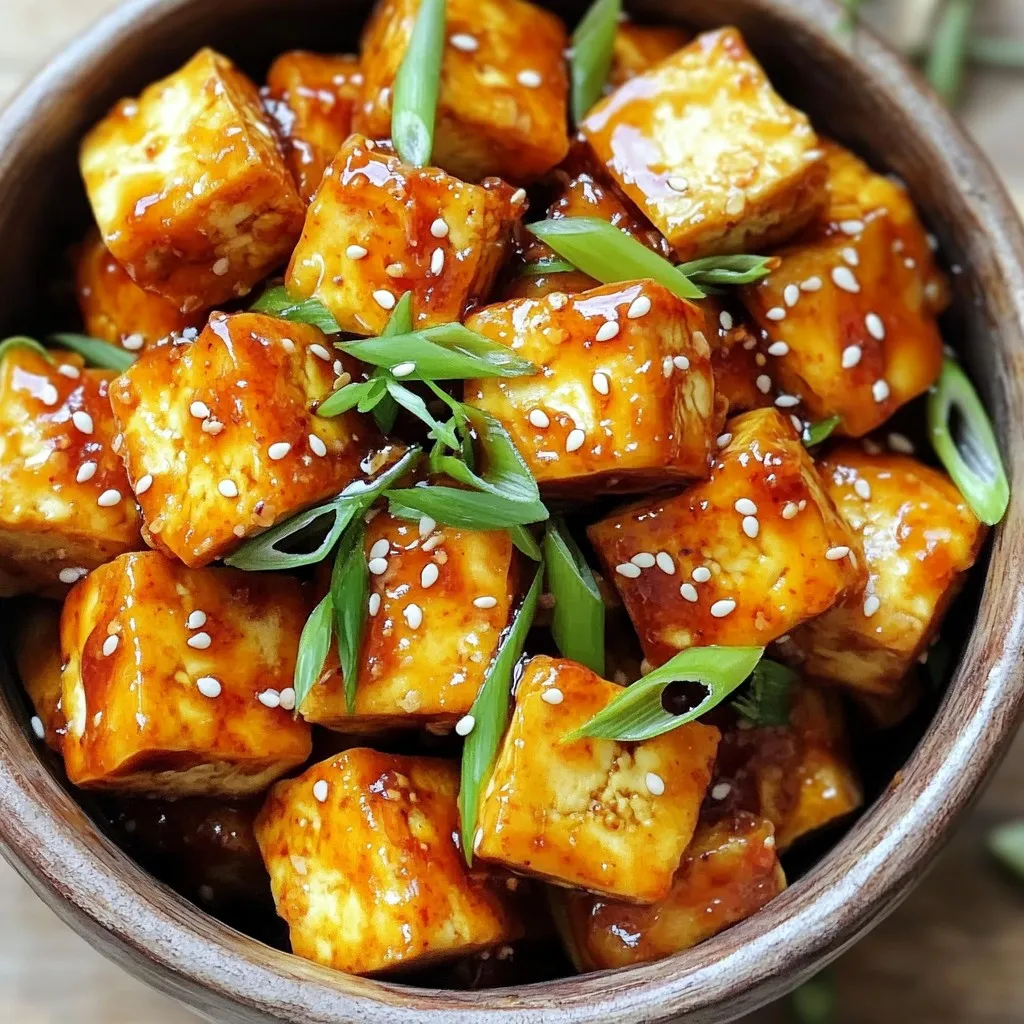
Are you ready to elevate your dinner plans? In this article, I’ll show you how to make Air Fryer Crispy Tofu with Sweet Chili Delight, a dish that’s both tasty …
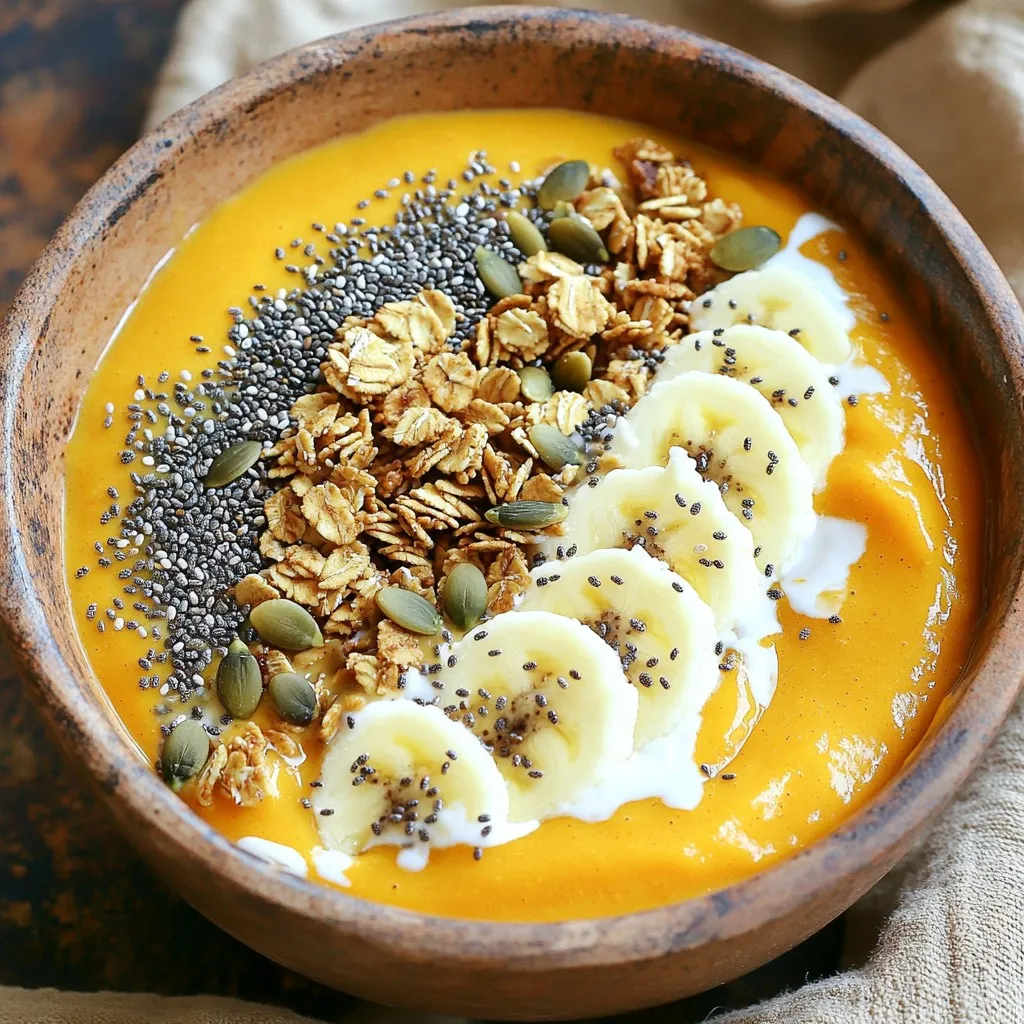
Looking for a tasty treat that’s packed with protein? Try my High-Protein Pumpkin Pie Smoothie Bowl Delight! This simple recipe blends the rich flavors of pumpkin pie with health-boosting ingredients. …

If you’re looking for a warm and comforting dish, you’ve found it! My Slow Cooker Cheesy Broccoli Potato Soup is rich, creamy, and packed with flavor. Perfect for chilly days …

Are you ready to indulge in a dish that’s creamy, flavorful, and oh-so-satisfying? Welcome to my Creamy Garlic Parmesan Chicken Meatballs Delight. I’ll guide you through making juicy chicken meatballs …
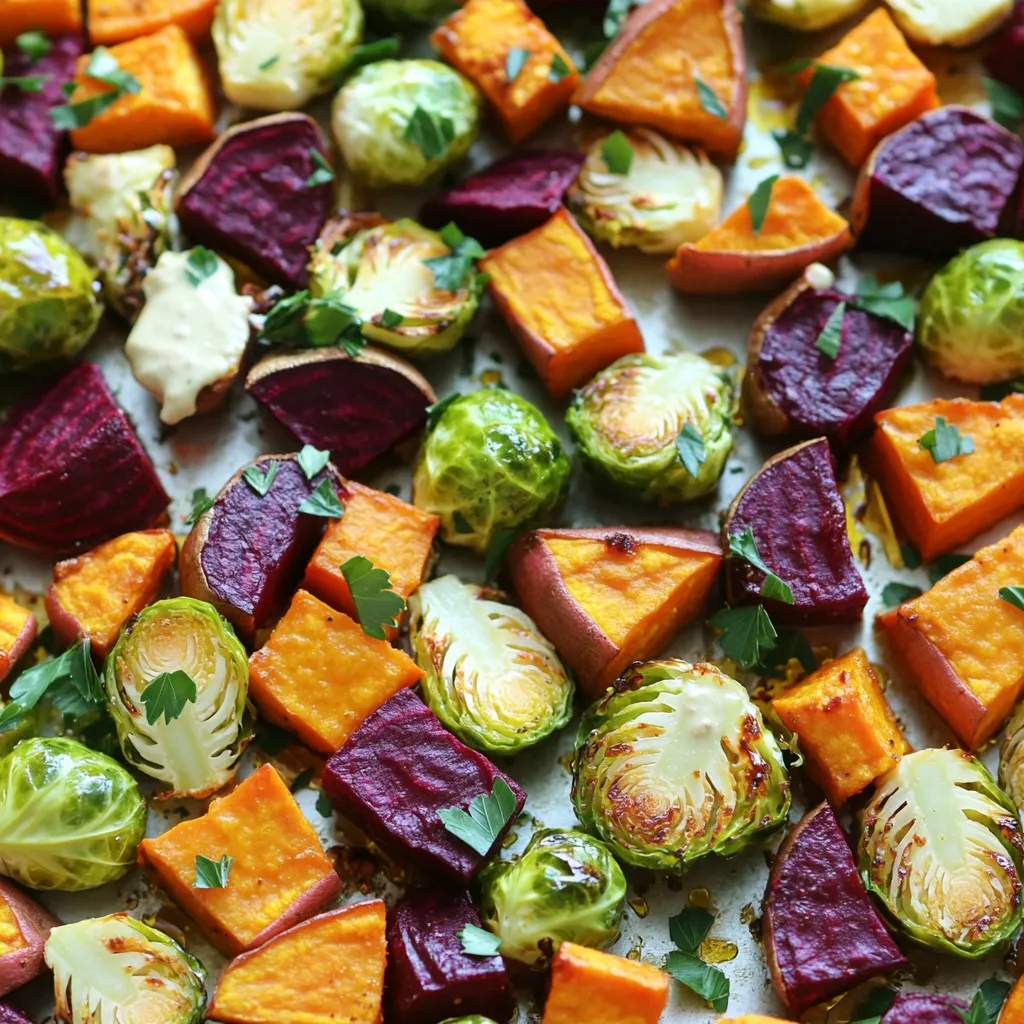
Get ready to embrace the fall season with my delicious Sheet-Pan Fall Veggies with Tahini Drizzle recipe! This easy dish features vibrant vegetables, roasted to perfection and topped with a …
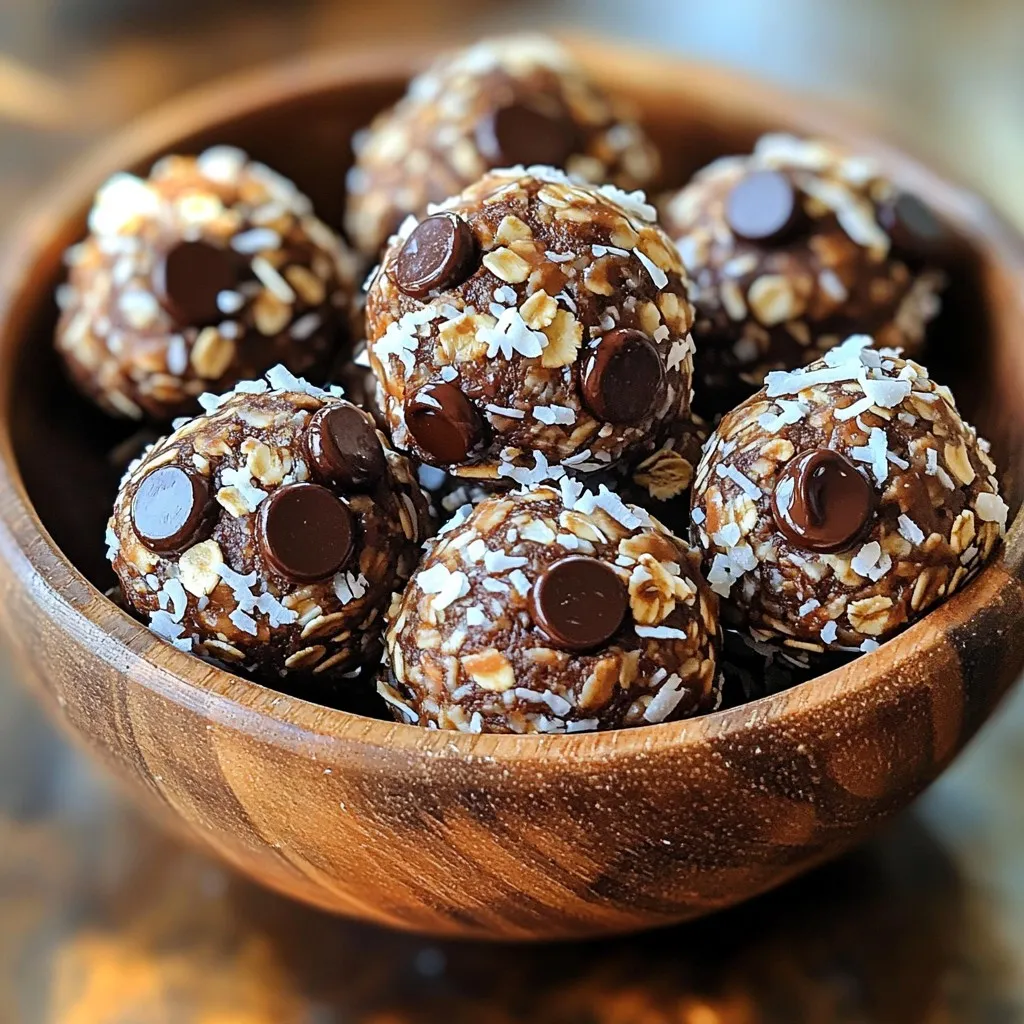
Are you ready to fuel your day with something delicious and easy? These No-Bake Chocolate Coconut Energy Bites are the perfect treat for busy lives. Packed with wholesome ingredients like …

Craving a sweet treat that’s easy to make? Brown butter maple blondies are perfect! With their rich flavor and soft texture, you will love these fresh and tasty delights. In …

Get ready to elevate your mealtime with my Air Fryer Sweet & Spicy Chicken Tenders recipe! These tenders are crispy on the outside and bursting with flavor inside. Using simple …

If you’re looking for a quick, tasty meal, I have the perfect recipe for you! Minute Chili Crisp Egg Noodles are easy to whip up and bursting with flavor. With …