Cinnamon Applesauce Bread Perfectly Moist and Easy
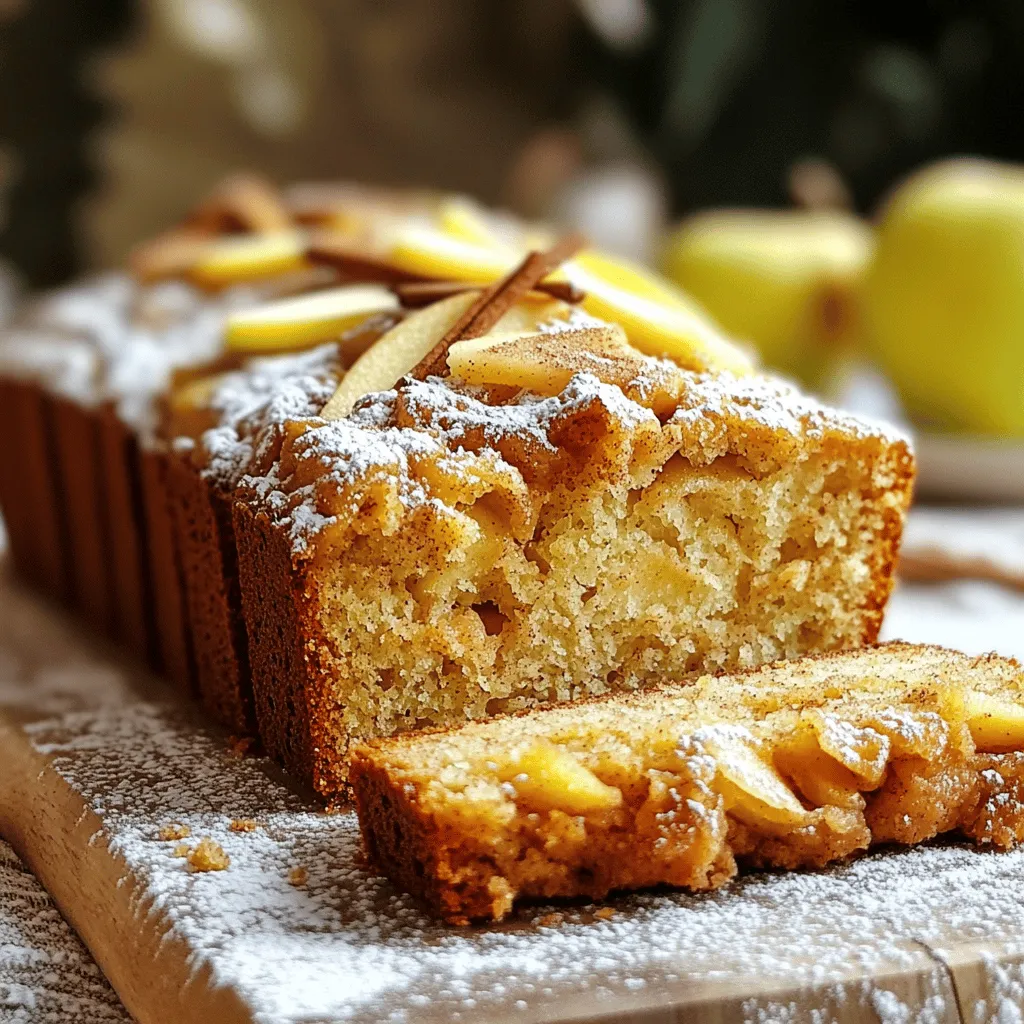
Are you ready to bake a treat that’s both easy and delicious? My Cinnamon Applesauce Bread is perfectly moist and bursting with flavor! In this post, I’ll share essential tips, …
Are you ready to bake a treat that’s both easy and delicious? My Cinnamon Applesauce Bread is perfectly moist and bursting with flavor! In this post, I’ll share essential tips, …

Are you ready to bake something special? Herb & Garlic Swirl Rolls are a game-changer for your meals. Their warm, rich flavors will make your kitchen smell amazing. I’ll guide …
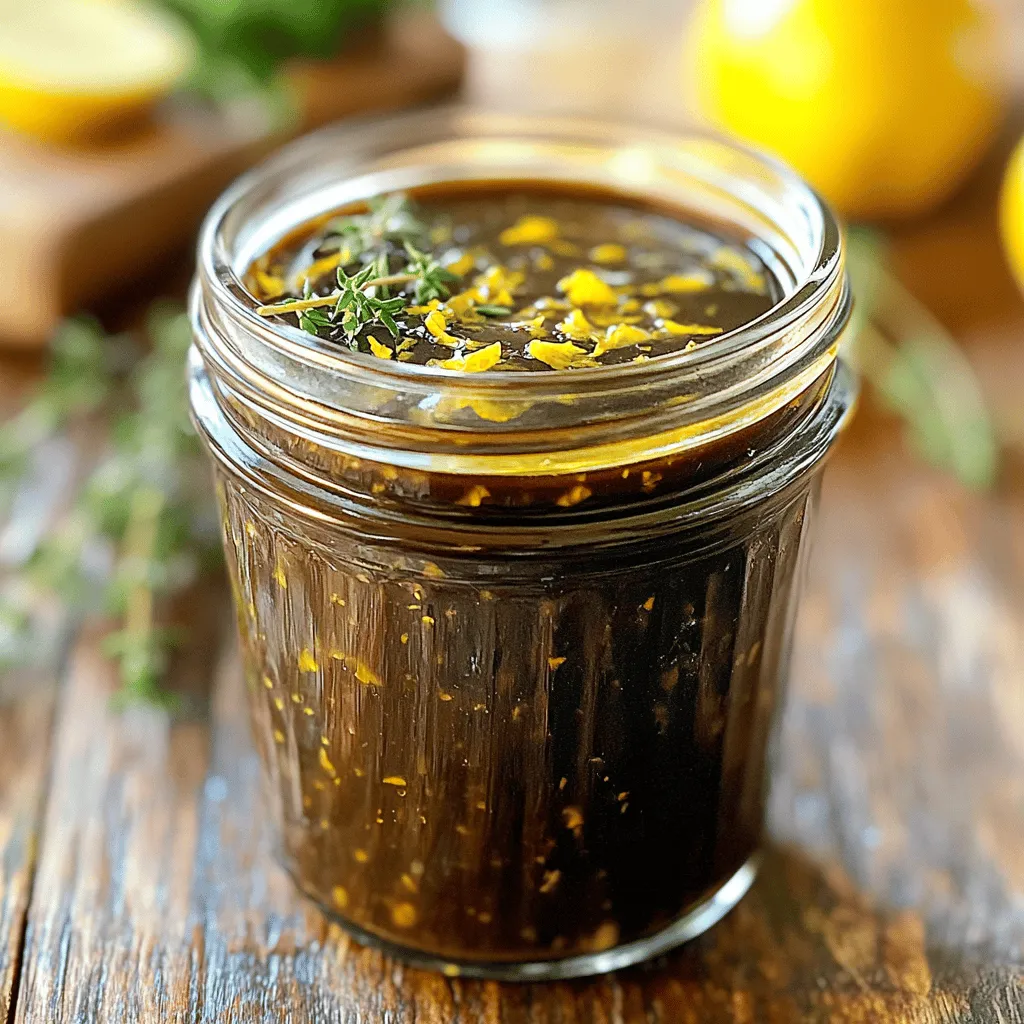
Looking to add a burst of flavor to your meals? Balsamic vinaigrette is simple to make and delicious! In this guide, I’ll walk you through the easy steps to create …
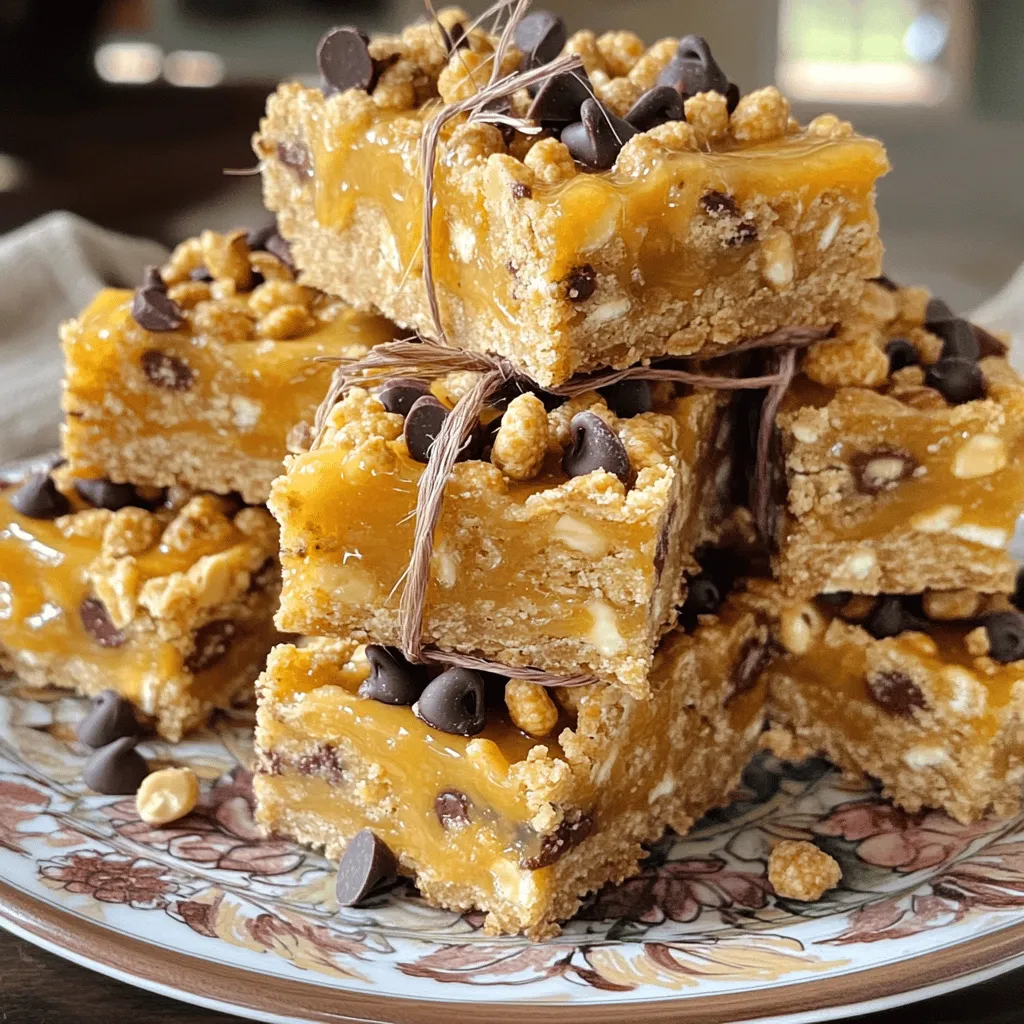
Are you craving a sweet and crunchy snack that’s easy to make? Look no further! My Easy No-Bake Cheerio and Peanut Butter Bars bring together simple ingredients for a tasty …
![To make a tasty white chicken chili, you need some key items. Here are the main ingredients: - 2 tablespoons olive oil - 1 medium onion, diced - 3 cloves garlic, minced - 1 pound boneless, skinless chicken breasts, diced - 1 can (15 oz) great northern beans, drained and rinsed - 1 can (4 oz) diced green chilies - 1 teaspoon ground cumin - 1 teaspoon chili powder - ½ teaspoon paprika - 4 cups low-sodium chicken broth - 1 cup corn (fresh or frozen) - 1 cup heavy cream - Salt and pepper to taste These ingredients come together to create a creamy, rich flavor that warms the soul. You can make your chili even better with some fun toppings. Here are a few ideas: - Fresh cilantro - Slices of avocado - Crumbled tortilla chips - Shredded cheese - Sour cream These garnishes add texture and extra flavor. You can mix and match based on what you like! Want to spice things up? Here are some great add-ins you can try: - Jalapeños for heat - Lime juice for brightness - Black beans for more protein - Bell peppers for sweetness These add-ins can change the taste and make your chili unique. Feel free to experiment and find your favorite combo! For the complete recipe, check out the Full Recipe. First, gather all your ingredients. This makes cooking easy and fun. You need olive oil, diced onion, minced garlic, and diced chicken. The onion adds sweetness. The garlic brings a nice aroma. Heat the olive oil in a large pot over medium heat. Add the onion and cook for about five minutes. You want it soft and clear. Stir in the garlic and cook for one more minute. This step builds a great base for your chili. Next, add the diced chicken to the pot. Season it with ground cumin, chili powder, paprika, salt, and pepper. Mix well to coat the chicken. Cook it for about five to seven minutes. You want it browned on all sides. This step adds flavor and makes the chicken tender. The spices will give your chili a warm kick. Now, it’s time to bring everything together. Add the great northern beans, diced green chilies, and chicken broth to the pot. Stir well and bring the mixture to a gentle simmer. Let it cook uncovered for 20 minutes. This allows the flavors to meld nicely. After that, add corn and heavy cream. Stir again and let it simmer for another ten minutes. The chili should thicken slightly. Taste it and adjust the seasoning if needed. Serve hot, and don’t forget to check the [Full Recipe] for detailed instructions on garnishing! For a creamy white chicken chili, aim for a thick but smooth base. Start by using heavy cream to add richness. If you find it too thick, you can add more chicken broth. Stir it well to blend. Keep simmering until it reaches your desired thickness. A gentle simmer helps meld all the flavors. Boost the taste of your chili by adding fresh herbs. Cilantro and lime juice add a bright touch. You can also try a splash of hot sauce if you like spice. Toasting the spices before adding them can deepen their flavor. Experiment with different amounts to find your perfect balance. Serve your chili in bowls, topped with fresh cilantro and avocado slices. For extra crunch, add tortilla chips on the side. You can also pair it with a light salad or cornbread. These sides complement the chili well and make it a complete meal. For the full recipe, check out the detailed steps above! {{image_2}} You can easily spice up your white chicken chili. Add jalapeños for heat. You might also use chipotle peppers in adobo sauce. This will give a smoky taste. Adjust the amount to fit your spice level. If you enjoy heat, add cayenne pepper or hot sauce too. Taste as you go, and find your perfect flavor. To make a vegetarian version, skip the chicken. Use more beans instead. Black beans or pinto beans work well. You can also add diced sweet potatoes for texture. Substitute vegetable broth for chicken broth. This keeps the flavor rich and hearty. Add extra veggies like bell peppers or zucchini for more nutrition. You can switch up the beans and proteins in this recipe. Try cannellini beans or kidney beans for a different flavor. If you want more protein, use turkey or tofu. Both options blend well with the spices. Feel free to mix and match until you find your favorite. Each change can give a new taste and texture to your chili. For the full recipe, check out the detailed instructions above. After enjoying your white chicken chili, let it cool first. Then, place it in an airtight container. This keeps it fresh and tasty. Store it in the fridge for up to three days. Always label the container with the date. This step helps you use it before it spoils. If you want to keep white chicken chili longer, freezing works well. Use freezer-safe containers or bags. Make sure to leave some space for expansion. You can freeze it for up to three months. Thaw it overnight in the fridge before reheating. This keeps the flavors intact. To reheat, use a pot on low heat. Stir it often to prevent sticking. You can add a splash of broth or cream if it’s too thick. Another option is to use the microwave. Heat it in short bursts, stirring in between. This helps it heat evenly without losing its flavor. You can use half-and-half or whole milk instead of heavy cream. These options give a nice creaminess. If you want a lighter choice, try sour cream or Greek yogurt. Mix it in at the end for a tangy taste. Yes, leftover chicken works great in this chili. Just chop it into small pieces. Add it in while cooking the beans and broth. This saves time and adds flavor. White chicken chili is usually mild to medium in spice. The diced green chilies add some heat. If you like it spicier, add more chili powder or fresh jalapeños. Adjust to your taste for the perfect kick! Many side dishes go well with white chicken chili. Consider serving: - Cornbread for a sweet touch - Tortilla chips for crunch - A fresh green salad for brightness - Rice for a hearty addition These sides enhance your meal and add variety. White chicken chili is a simple yet tasty dish. We discussed key ingredients, including proteins and spices. I shared easy steps to prepare and cook it. You learned great tips for texture and flavor. Variations can make it spicy or vegetarian. Finally, I covered storage and reheating methods. Now, you have all you need to make this dish shine. Enjoy your cooking adventure!](https://therecipehatch.com/wp-content/uploads/2025/07/89466853-fbac-4b91-ade5-c0f8bda27767.webp)
Looking for a warm, easy dish for cold nights? My White Chicken Chili recipe packs loads of flavor without fuss. You need just a few simple ingredients to create a …

Ready to savor fall flavors without the guilt? This healthy pumpkin spice latte recipe is simple and delicious! You’ll learn how to create a creamy, spiced drink that warms your …
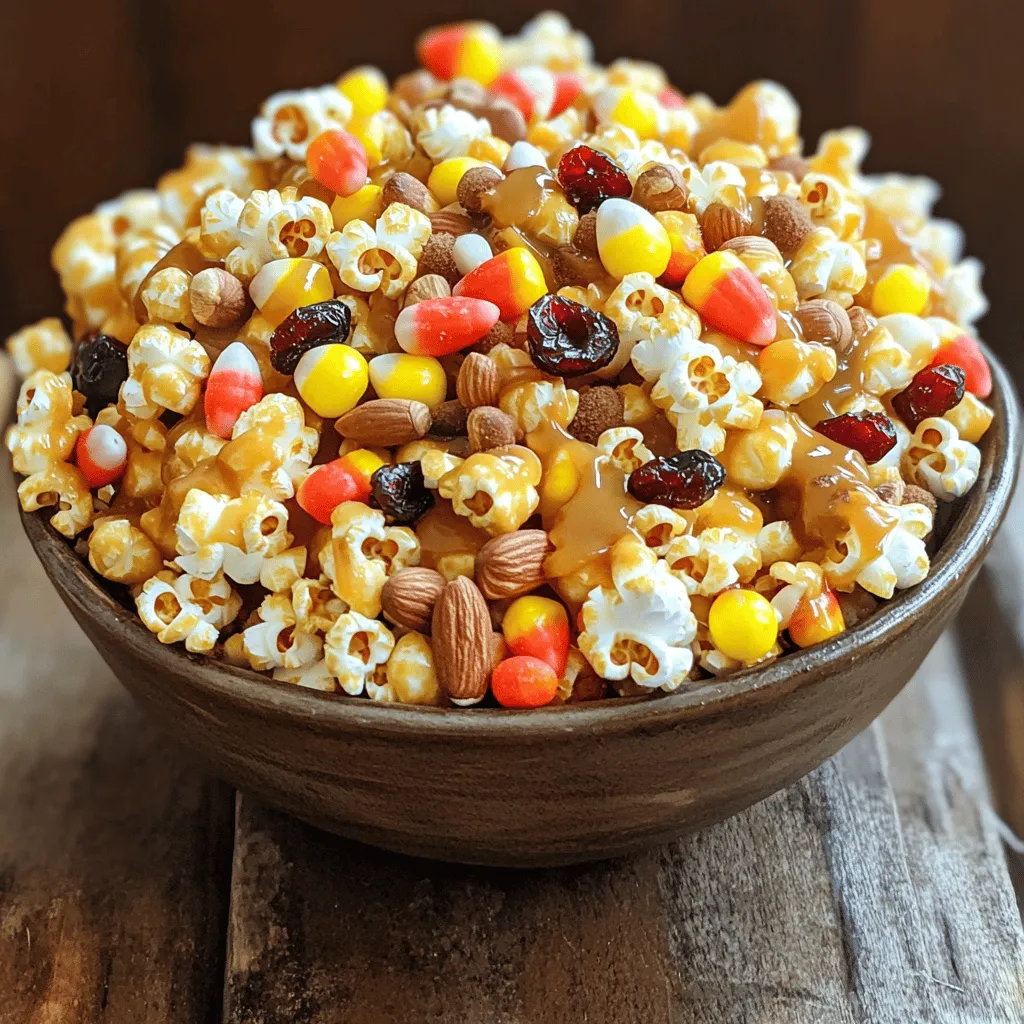
Fall brings crisp air and colorful leaves, making it the perfect time for tasty snacks. I’m excited to share my Fall Harvest Caramel Corn Mix recipe, a sweet and crunchy …

Are you ready to impress your taste buds? Toffee Apple Pie is more than a dessert; it’s a sweet experience! With layers of spiced apples, buttery crust, and rich caramel, …

Craving a simple yet delicious snack? Grilled cheese roll-ups are the answer! These tasty bites are easy to make and perfect for any meal. You just need a few basic …

Are you ready for a family feast that’s fun and filling? Monster Mac and Cheese is here to take your dinner game to the next level. This cheesy delight is …