Quick & Delicious Apple Pie Bars Easy Step-by-Step Recipe
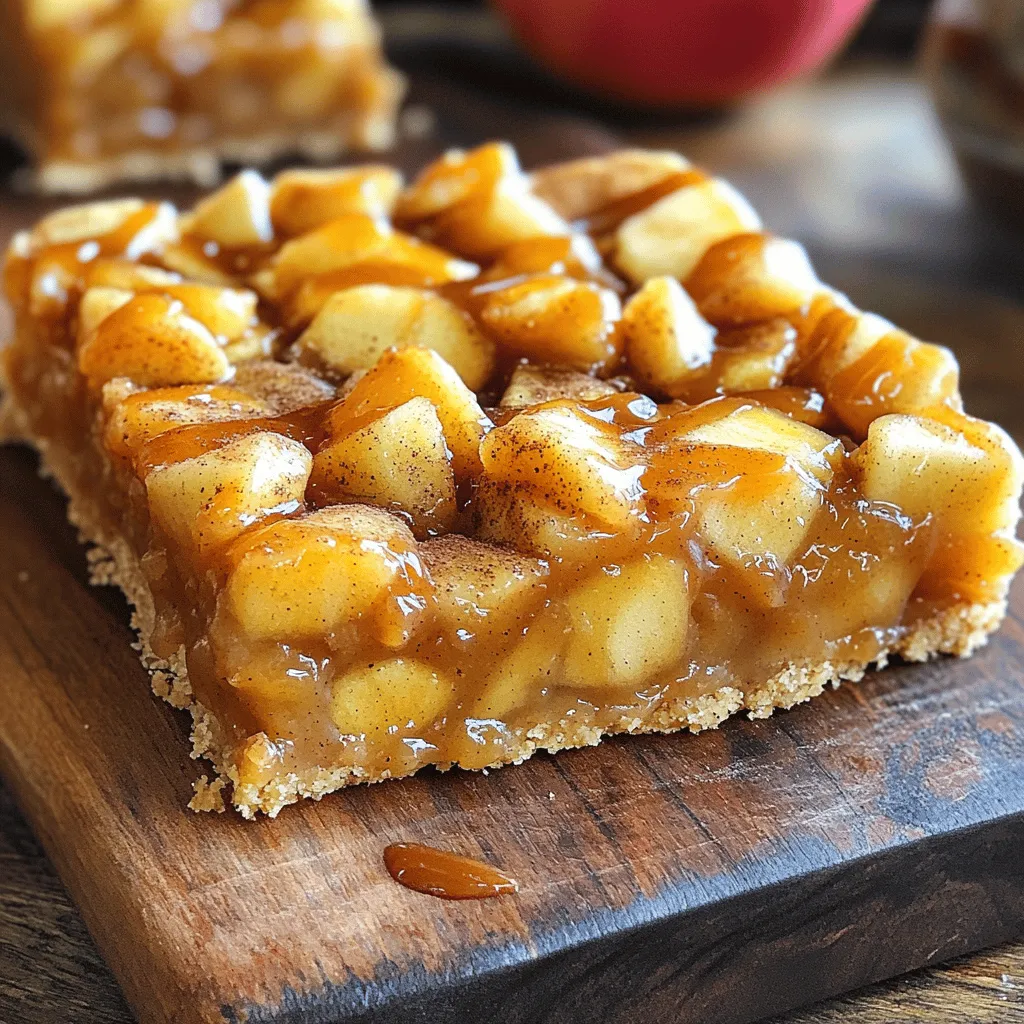
Are you craving a sweet treat that’s quick and easy to make? Look no further! In this article, I’ll guide you through my favorite recipe for Quick & Delicious Apple …
Are you craving a sweet treat that’s quick and easy to make? Look no further! In this article, I’ll guide you through my favorite recipe for Quick & Delicious Apple …
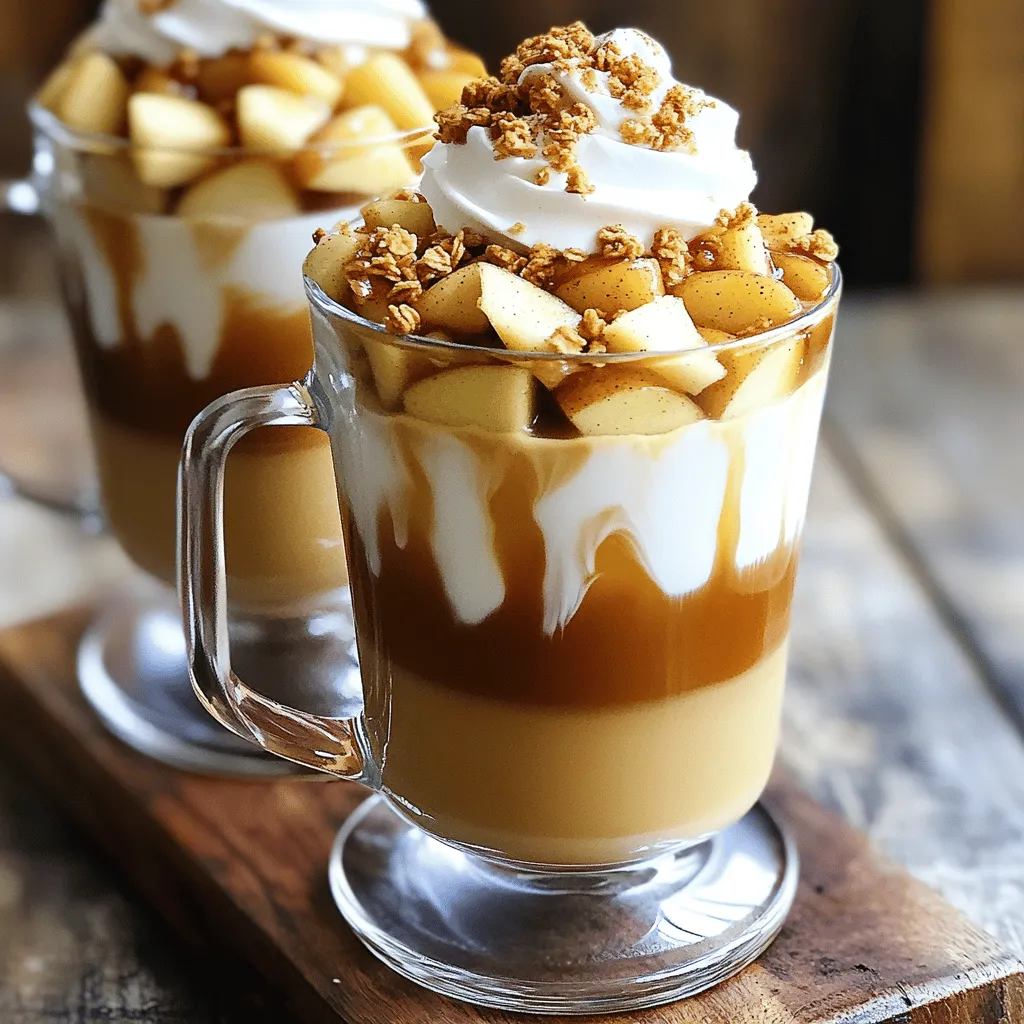
Ready to treat yourself to a cozy, delicious drink? This Irresistible Apple Crisp Macchiato blends rich flavors with a hint of fall. I’ll show you how to create this easy …

Are you ready to elevate your meals with minimal effort? My Easiest Canned Tomatoes Recipe is your ticket to quick, delicious flavor. With just a few simple ingredients and quick …
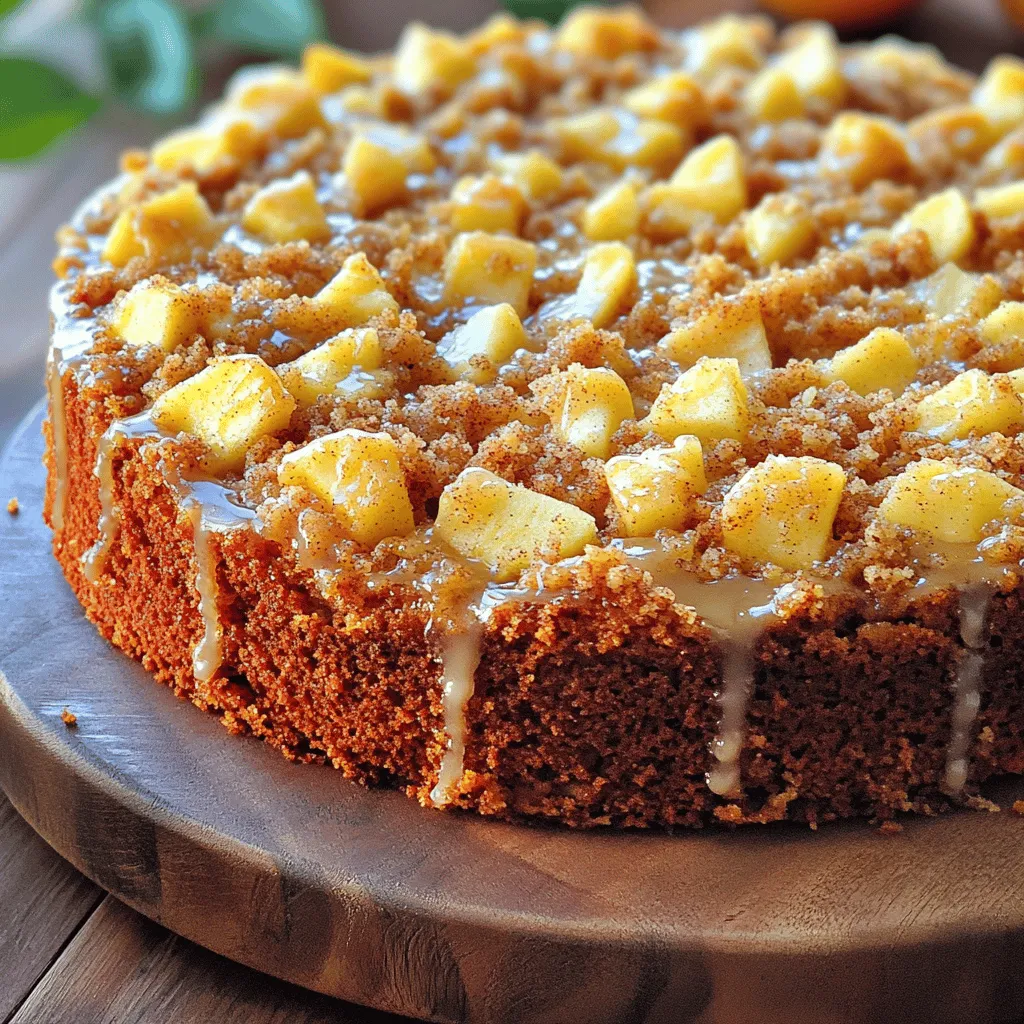
Welcome to Apple Crumb Cake with Cinnamon Drizzle Delight! If you love cozy desserts, this cake is a must-try. With its warm apples, sweet crumb topping, and a drizzle of …
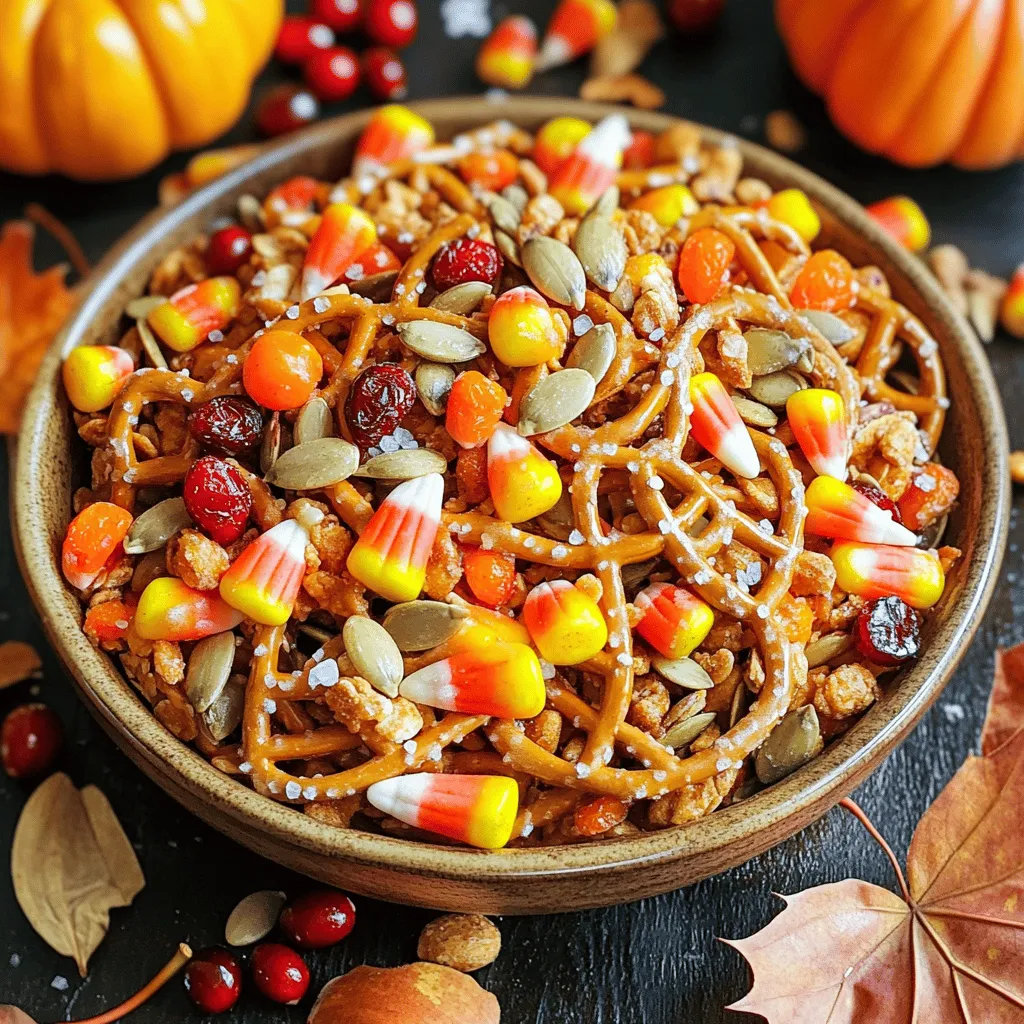
As the leaves turn and the air cools, it’s the perfect time to indulge in a delicious Fall Snack Mix. Imagine crunchy nuts, sweet dried fruits, and a hint of …
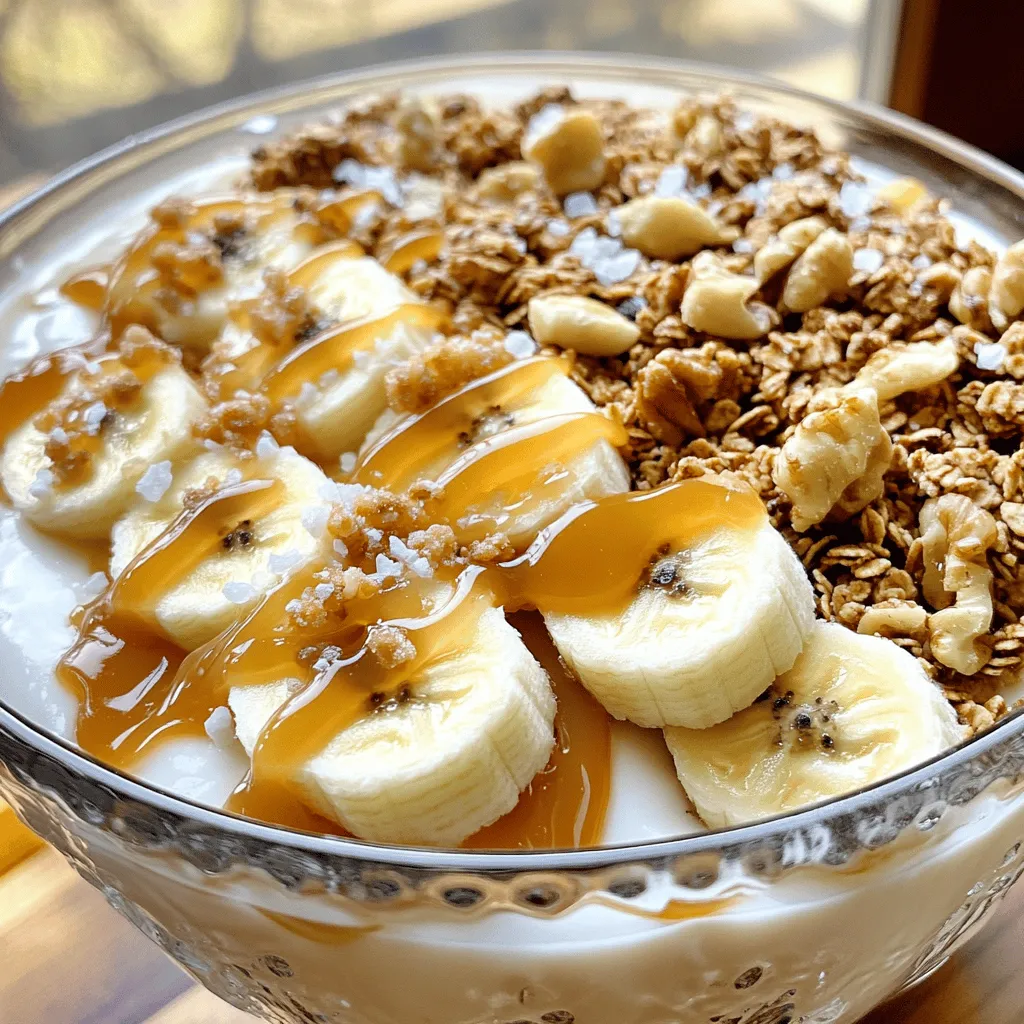
Indulging in a Salted Caramel Banana Yogurt Bowl is the perfect way to treat yourself! This simple and delicious recipe combines creamy Greek yogurt with sweet bananas and rich salted …
![- 1/2 cup unsalted butter (plus 2 tablespoons for browning) - 1/2 cup whole milk, warmed - 1/4 cup granulated sugar - 1/4 cup packed brown sugar - 1/2 teaspoon salt - 2 1/4 teaspoons active dry yeast (1 packet) - 1 large egg, at room temperature - 1 cup pumpkin puree (fresh or canned) - 3 1/2 cups all-purpose flour (plus more for dusting) - 1 tablespoon ground cinnamon - 1/2 teaspoon ground nutmeg - 1/4 teaspoon ground ginger - 1/4 teaspoon ground cloves - 1 cup powdered sugar (for frosting) - 2-3 tablespoons milk (for frosting) - Chopped pecans or walnuts - A pinch of sea salt for extra depth - Vanilla extract for a sweet touch - 1/2 cup = 4 ounces - 1 cup = 8 ounces - 1 tablespoon = 3 teaspoons For the best taste, I recommend sticking to the listed ingredients. However, feel free to add nuts or a splash of vanilla. This can give your rolls a unique twist. If you’re unsure about measuring, use a kitchen scale. It helps make baking much easier. You can find the full recipe in the article for perfect results. Start by browning your butter. In a small pot, melt 1/2 cup of unsalted butter. Cook it over medium heat. Stir often until it turns a nice golden brown. You will smell a nutty aroma in about five minutes. Let it cool a bit. Next, activate the yeast. In a mixing bowl, combine the warmed milk, granulated sugar, and the active dry yeast. Wait about 5 to 10 minutes until it looks frothy. This shows your yeast is alive! Now mix in the wet ingredients. Add the cooled browned butter, egg, pumpkin puree, and salt into the yeast mixture. Stir until it's smooth. To make the dough, gradually add 2 cups of flour, cinnamon, nutmeg, ginger, and cloves into the wet mixture. Keep stirring until everything is combined. Then, add more flour until the dough is soft. Knead the dough on a floured surface for 5 to 7 minutes. You may need more flour to keep it from sticking. The dough should feel smooth and elastic. Place the dough in a greased bowl. Cover it with a damp towel or plastic wrap. Let it rise in a warm spot for about an hour, or until it doubles in size. For the filling, take a small bowl. Mix brown sugar, cinnamon, and 2 tablespoons of melted butter that isn’t browned. This will give your rolls a sweet and spicy flavor. After the dough has risen, punch it down gently. Roll it out on a floured surface into a rectangle, about 14 by 18 inches. Spread the filling evenly over the dough. Start from one edge and carefully roll the dough into a tight log. Cut the rolled dough into 12 equal pieces. Place them in a greased baking dish, cut side up. Cover the rolls and let them rise again for about 30 minutes until they look puffy. Preheat your oven to 350°F (175°C). Bake the rolls for 25 to 30 minutes, or until the tops are lightly golden. While they bake, prepare the frosting. Mix powdered sugar with 2 to 3 tablespoons of milk until it becomes drizzling consistency. Once your rolls are out of the oven and slightly cooled, drizzle the frosting over the top. Serve these warm for the best experience. For the complete process, check the Full Recipe. To get the best brown butter, heat the butter slowly in a small pan. Stir it often. Watch closely as it changes color. You want a rich, golden-brown hue. It should smell nutty. This process adds depth to your rolls. Remember, don’t rush it; take your time. You can tell if your dough is ready by doing a simple test. Poke the dough with your finger. If it springs back slowly, it’s ready. If it stays down, give it more time to rise. The dough should also feel soft and smooth. This means you’ve kneaded it just right. For the perfect frosting, mix powdered sugar with milk in a bowl. Start with two tablespoons of milk. Stir until smooth. If it’s too thick, add more milk, one teaspoon at a time. Drizzle the frosting over warm rolls. This makes a lovely glaze that melts into the rolls. For a fun twist, add a pinch of cinnamon to the frosting. This adds extra flavor and warmth. Check the [Full Recipe] for more details! {{image_2}} To make gluten-free brown butter pumpkin cinnamon rolls, switch out all-purpose flour. Use a gluten-free flour blend instead. Look for a blend that has xanthan gum, which helps with texture. It’s key to get a fluffy roll. Follow the same steps in the recipe. Just be mindful of the dough's texture. It might feel different. Let the dough rise well to ensure your rolls are light and airy. If you want to make vegan brown butter pumpkin cinnamon rolls, there are simple swaps. Replace the egg with a flax egg. To make a flax egg, mix 1 tablespoon of flaxseed meal with 2.5 tablespoons of water. Let it sit for about 5 minutes until it gels. Use plant-based butter instead of regular butter. Almond or oat milk works great in place of whole milk. These changes keep your rolls soft and tasty without any animal products. You can change the spices in your rolls for unique flavors. Try adding cardamom for a different twist. It pairs well with pumpkin. You can also add a bit of cocoa powder to the filling for a chocolatey surprise. For a bit of heat, mix in some ground ginger or allspice. Play around with extracts too! A splash of vanilla or almond extract can take your rolls to the next level. Always taste as you go to find what you love best. For the full recipe, check out the detailed steps provided earlier. Enjoy experimenting! To keep your brown butter pumpkin cinnamon rolls fresh, let them cool first. Place them in an airtight container. They can last for up to three days at room temperature. If you need to store them longer, put them in the fridge. Just be sure to wrap them tightly to avoid drying out. When you want to enjoy your leftover rolls, reheating is key. You can use a microwave or an oven. For the microwave, heat one roll for about 15-20 seconds. For the oven, preheat it to 350°F (175°C). Wrap the rolls in foil and warm them for about 10 minutes. This way, they stay soft and tasty. If you want to make your rolls last even longer, freezing is a great option. After they cool, wrap each roll in plastic wrap. Then, place them in a freezer bag. They can stay in the freezer for up to three months. When you're ready to eat, let them thaw in the fridge overnight. Then, reheat using the tips above. This method keeps them delicious! For the complete process, check the Full Recipe. Yes, you can use canned pumpkin. It saves time and works well. Just make sure to choose pure pumpkin, not pumpkin pie filling. Canned pumpkin has a smooth texture and rich flavor. This makes it easy to blend into the dough. I often use canned pumpkin when I want a quick treat. To help the rolls rise, use warm milk and yeast. Warm ingredients activate the yeast, which helps the dough rise. Let the dough rest in a warm place, away from drafts. Cover it with plastic wrap or a damp towel. You should see the dough double in size in about an hour. Patience is key! Yes, you can make the dough ahead of time. After kneading, place it in a greased bowl and cover it. You can let it rise for about 30 minutes, then chill it in the fridge. When you are ready, bring it back to room temperature. This way, you can enjoy fresh rolls with less work! For the full recipe, check the link above. This blog post covers everything you need for brown butter pumpkin cinnamon rolls. You learned about key ingredients, flavor options, and how to measure them. I explained each step from dough to filling to baking. Tips for perfect rolls and ways to adapt the recipe are also included. Lastly, I shared storage methods and answered common questions. Enjoy making these rolls, whether for a special occasion or a cozy treat. Happy baking!](https://therecipehatch.com/wp-content/uploads/2025/07/28b365a1-3575-4566-9ff9-1d46fe0bb81d.webp)
If you love warm, gooey treats, you’re in for a delightful surprise! These Brown Butter Pumpkin Cinnamon Rolls combine rich flavors and fragrant spices, making them the perfect fall indulgence. …
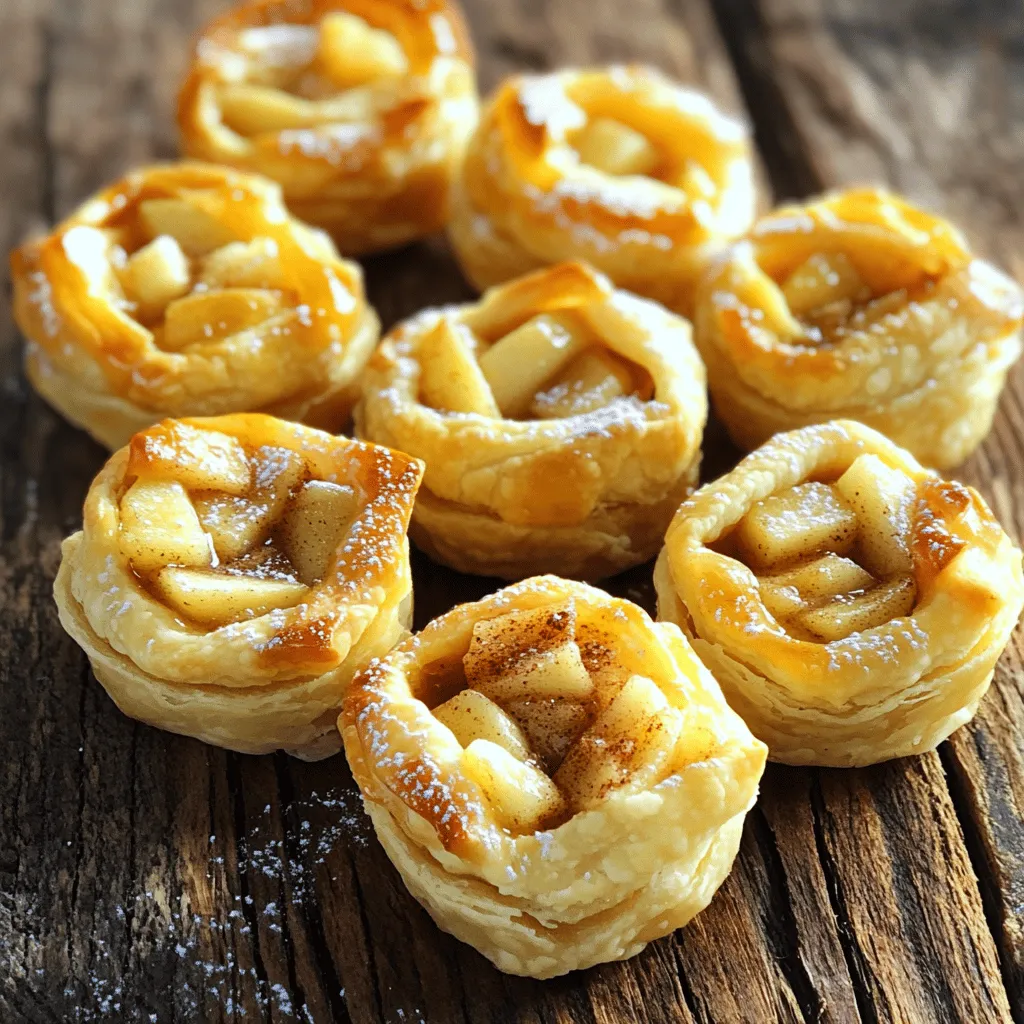
Do you crave a sweet treat that’s simple to make? Look no further! My delightful Apple Pie Bites are here to satisfy your dessert dreams. With juicy apples, warm spices, …

Get ready to fall in love with fall flavors! My Soft Batch Apple Cider Gingersnap Cookies blend warm spices and sweet cider for a taste sensation. These cookies are not …
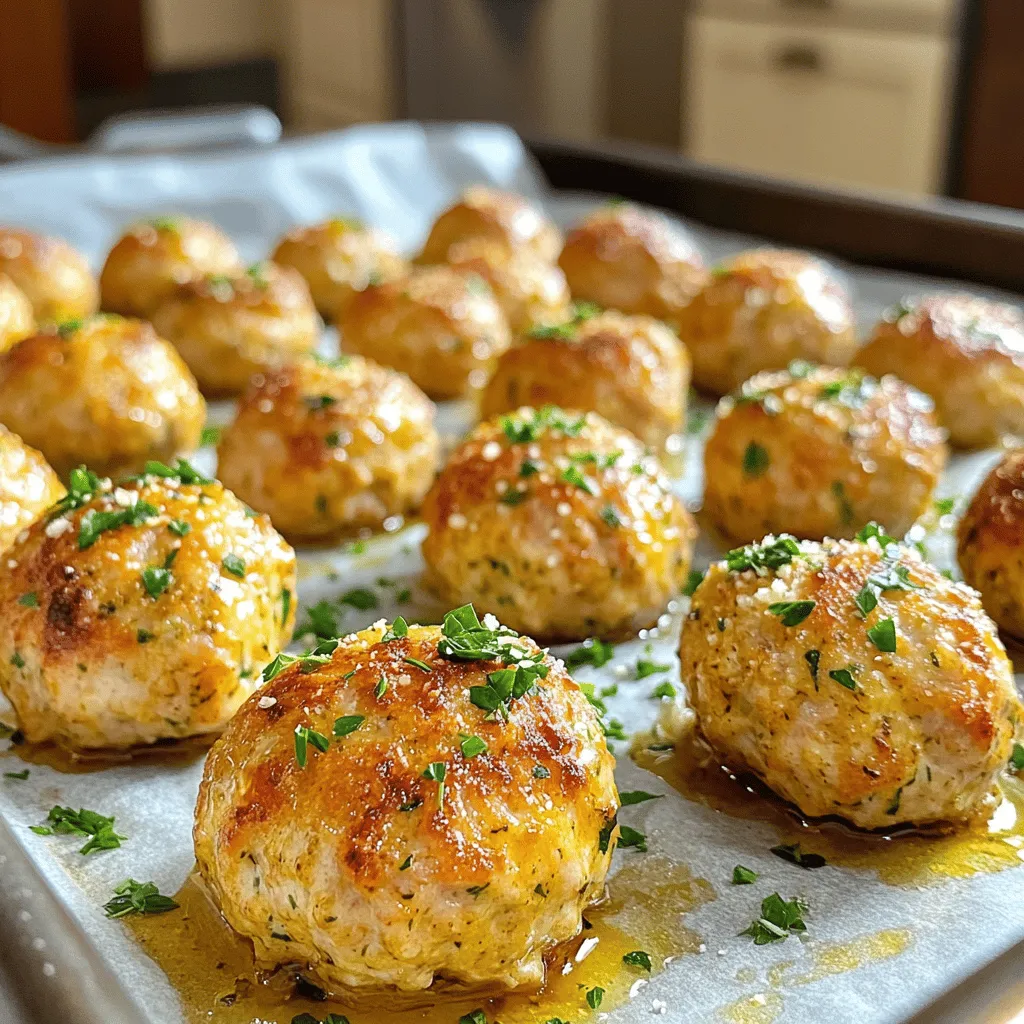
Looking for an easy, tasty dinner? Try these 5-ingredient chicken meatballs! With just ground chicken, breadcrumbs, Parmesan, parsley, and an egg, you’ll have a quick meal ready in no time. …