Protein Pumpkin Pie Overnight Oats Flavorful Delight
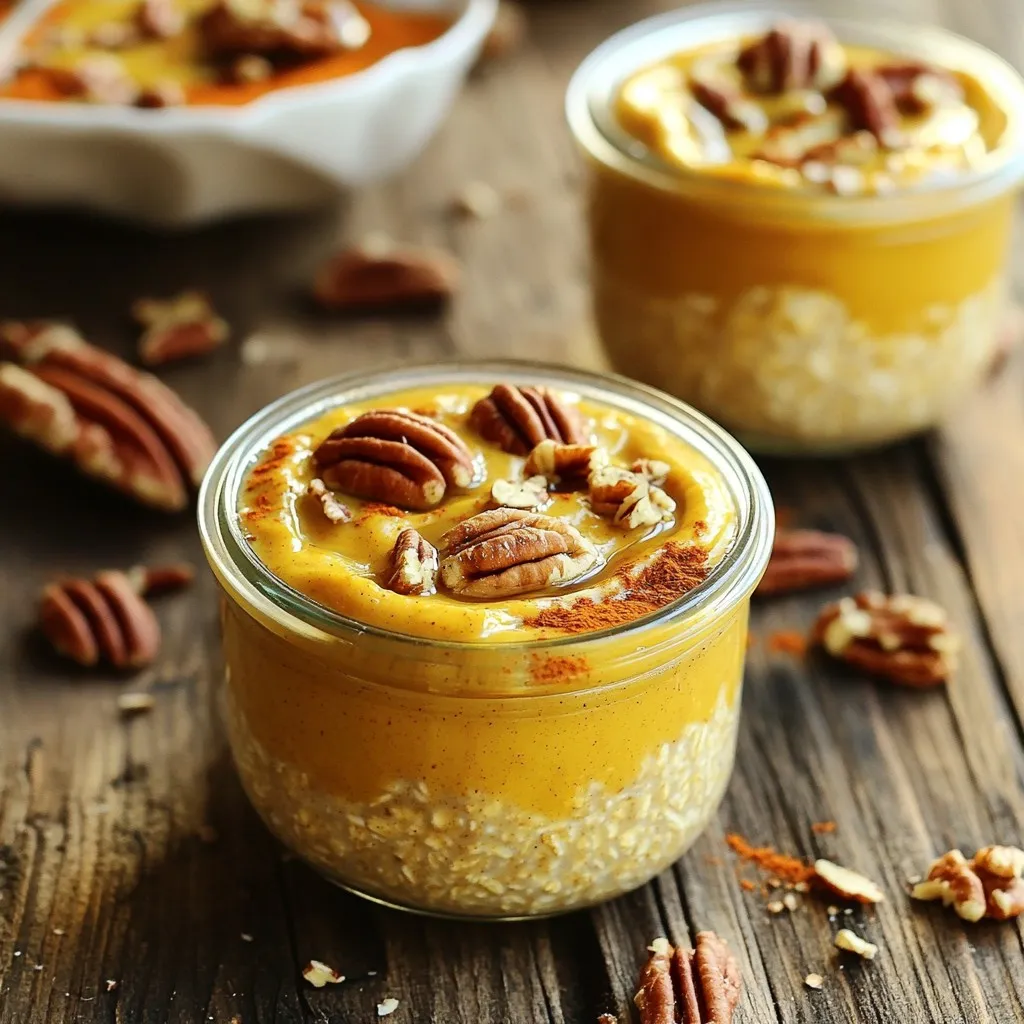
Are you ready to enjoy a tasty twist on your breakfast routine? Protein Pumpkin Pie Overnight Oats are the perfect blend of good-for-you ingredients and sweet, fall-inspired flavor. In this …