Air Fryer Honey Garlic Chicken Wings Crispy Delight

Craving a crispy treat that bursts with flavor? Let’s dive into making Air Fryer Honey Garlic Chicken Wings! These wings are sticky, sweet, and loaded with garlic goodness. You only …
Craving a crispy treat that bursts with flavor? Let’s dive into making Air Fryer Honey Garlic Chicken Wings! These wings are sticky, sweet, and loaded with garlic goodness. You only …
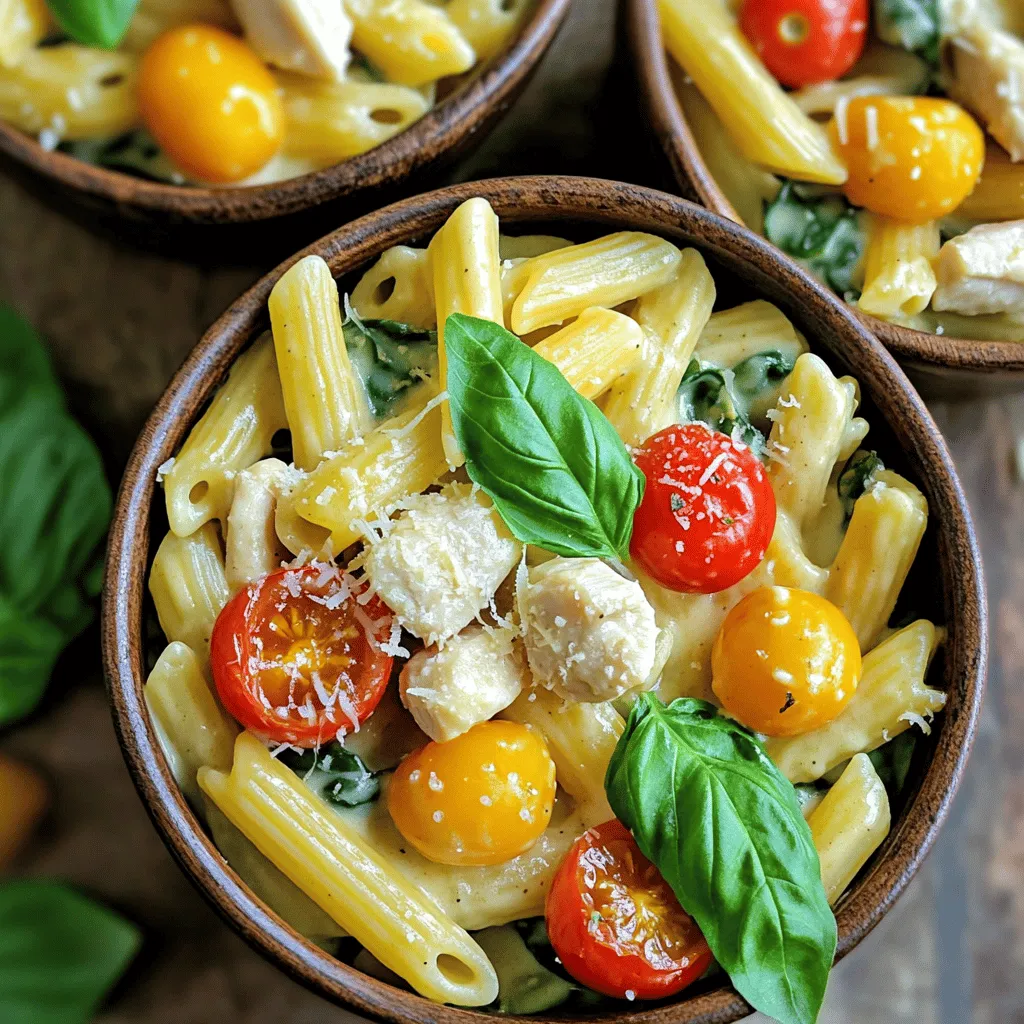
Welcome to my kitchen! Today, I’m excited to share a recipe for One-Pot Creamy Tuscan Chicken Pasta Delight. This dish combines tender chicken, savory herbs, and creamy pasta, all cooked …

Are you ready to spice up your dinner routine? Taco Stuffed Sweet Potatoes are a fun and healthy twist on taco night. They are easy to make, packed with flavor, …
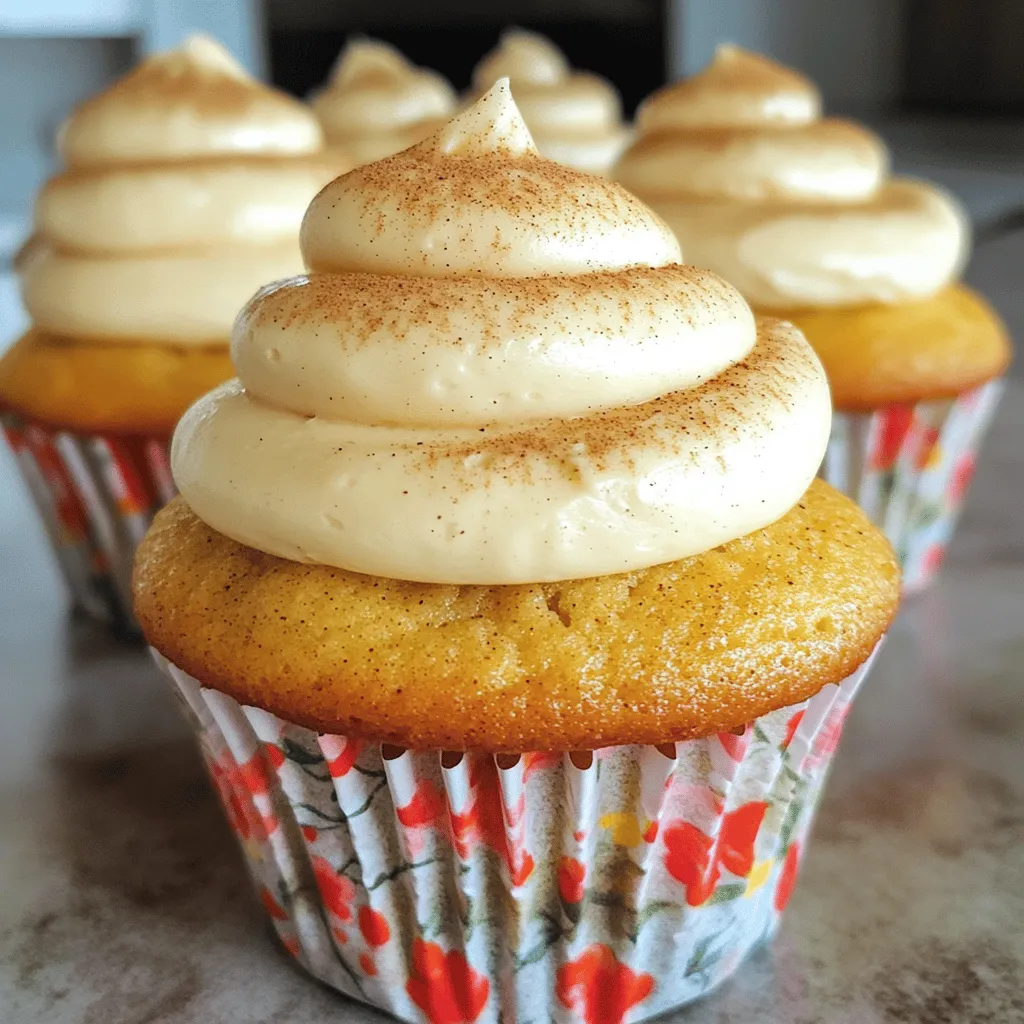
If you love the warm, spicy taste of chai, you’ll adore these Chai Latte Cupcakes! Imagine a fluffy cupcake bursting with flavor, topped with creamy frosting that melts in your …
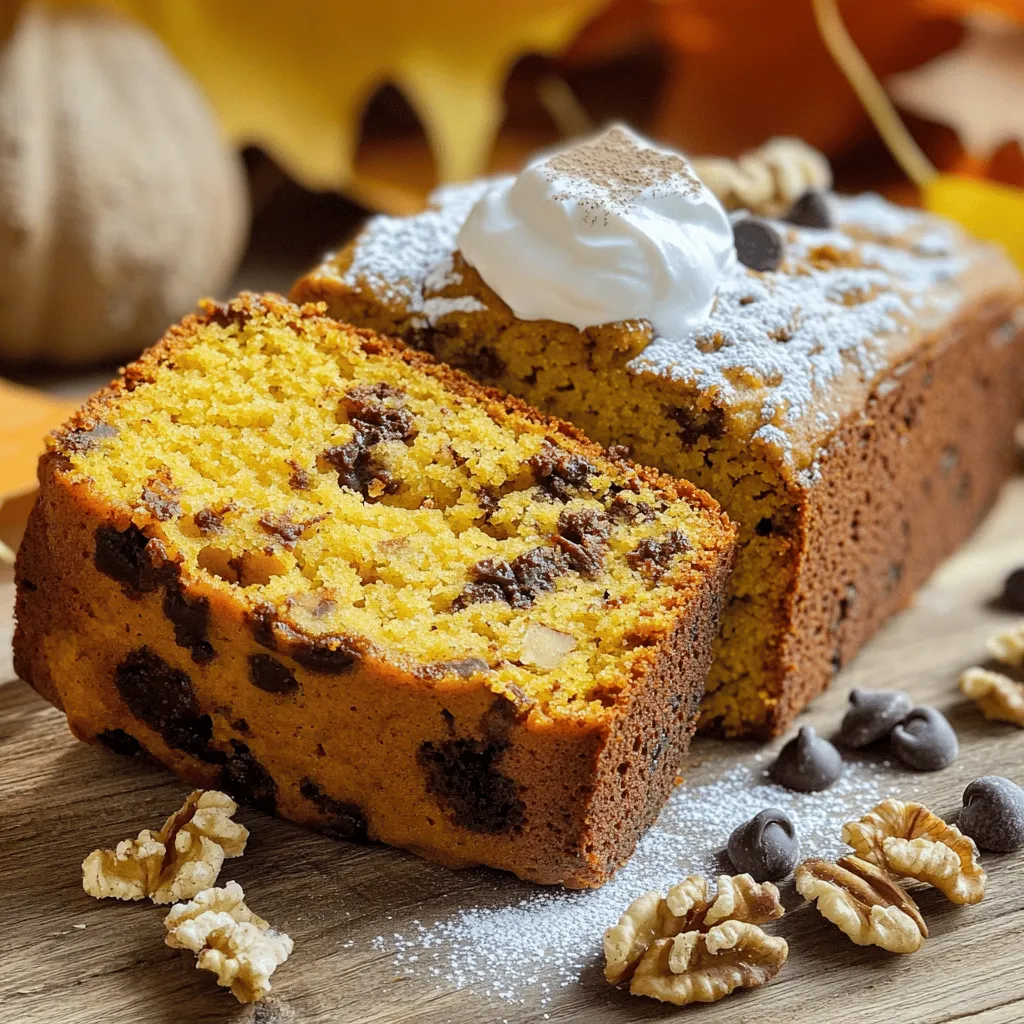
Are you ready to enjoy a slice of guilt-free bliss? My Healthy Pumpkin Bread is the perfect treat for those who crave something sweet without the extra calories. With wholesome …

Looking for a healthy snack that fills you up and tastes great? Try my Pumpkin Protein Muffins! They’re not just super easy to make, but they’re also packed with protein …
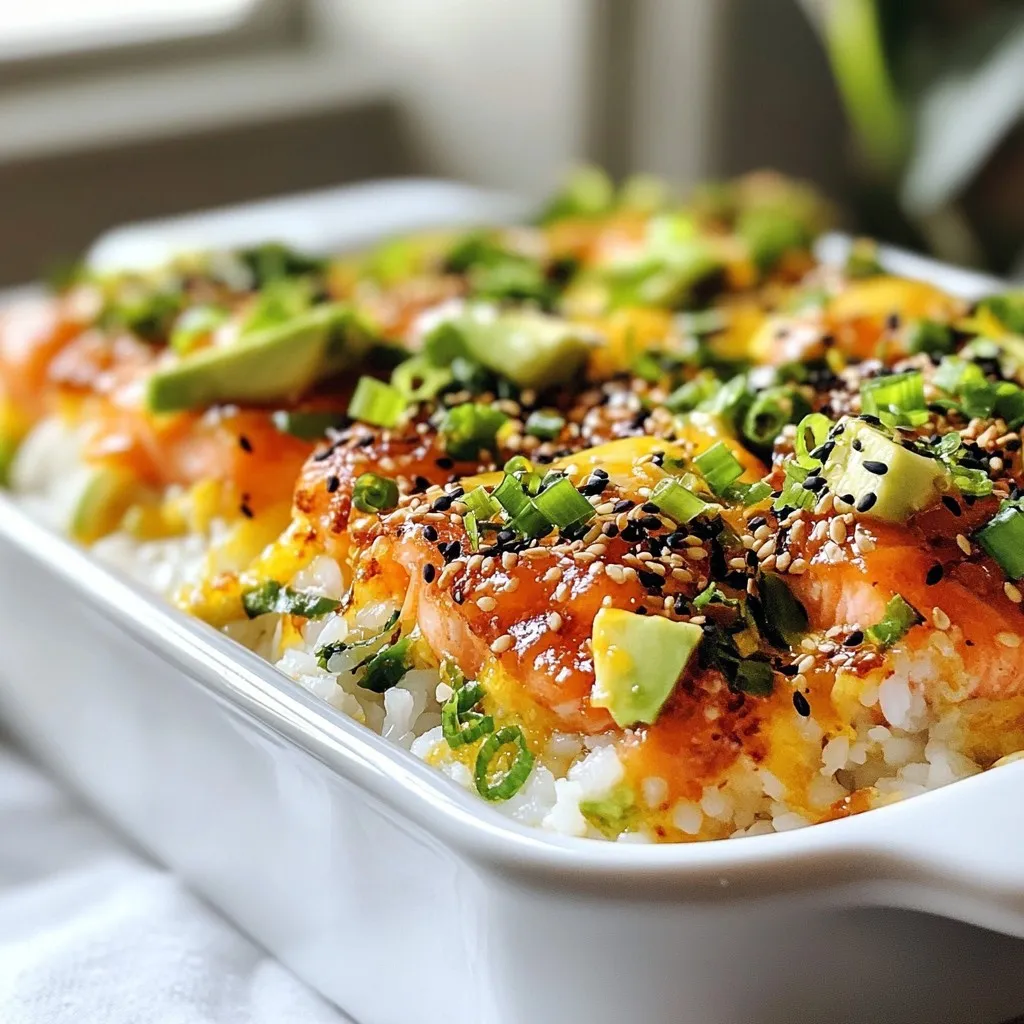
Are you ready to spice up your dinner routine? This Spicy Salmon Sushi Bake is simple and packed with flavor. I’ll guide you through each step, from cooking the sushi …
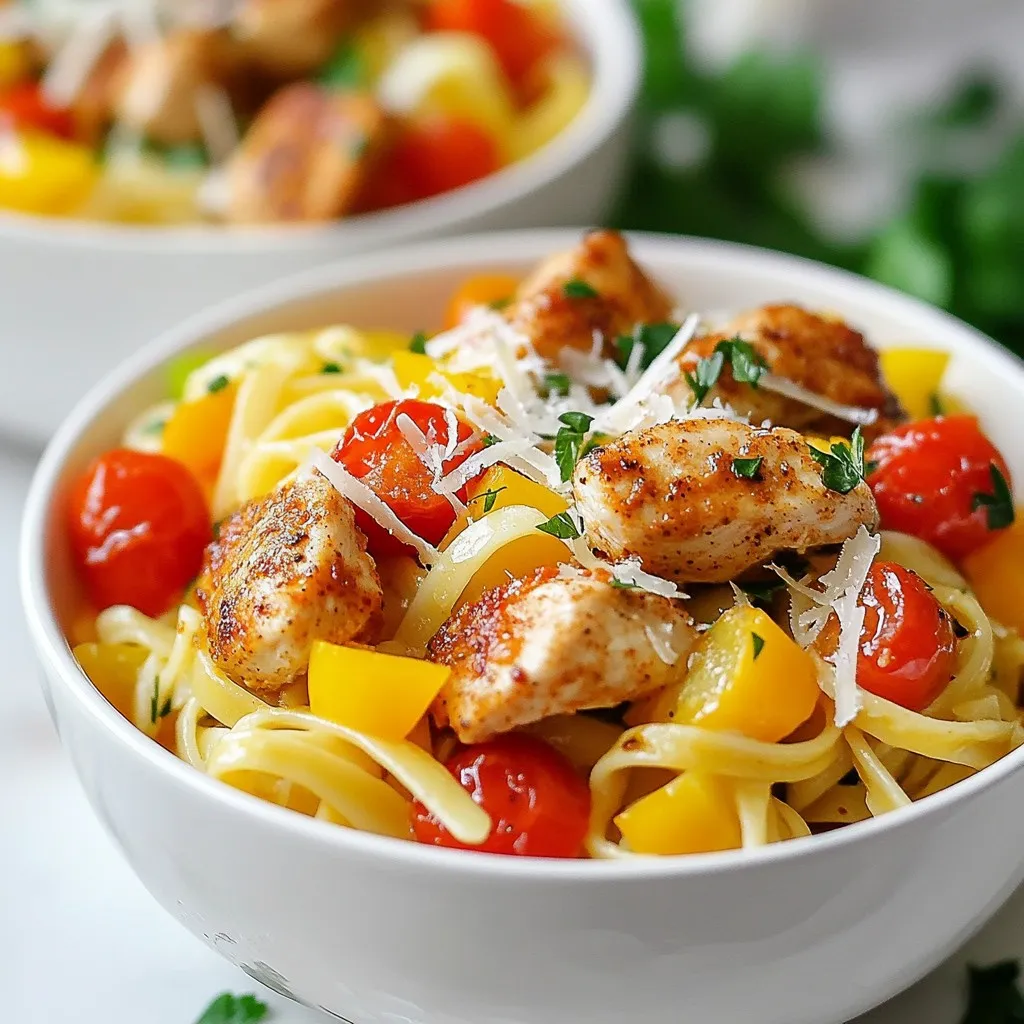
Are you craving a dinner that’s both flavorful and easy to make? Look no further! Cajun Chicken Pasta is the perfect dish to satisfy your hunger and spice up your …
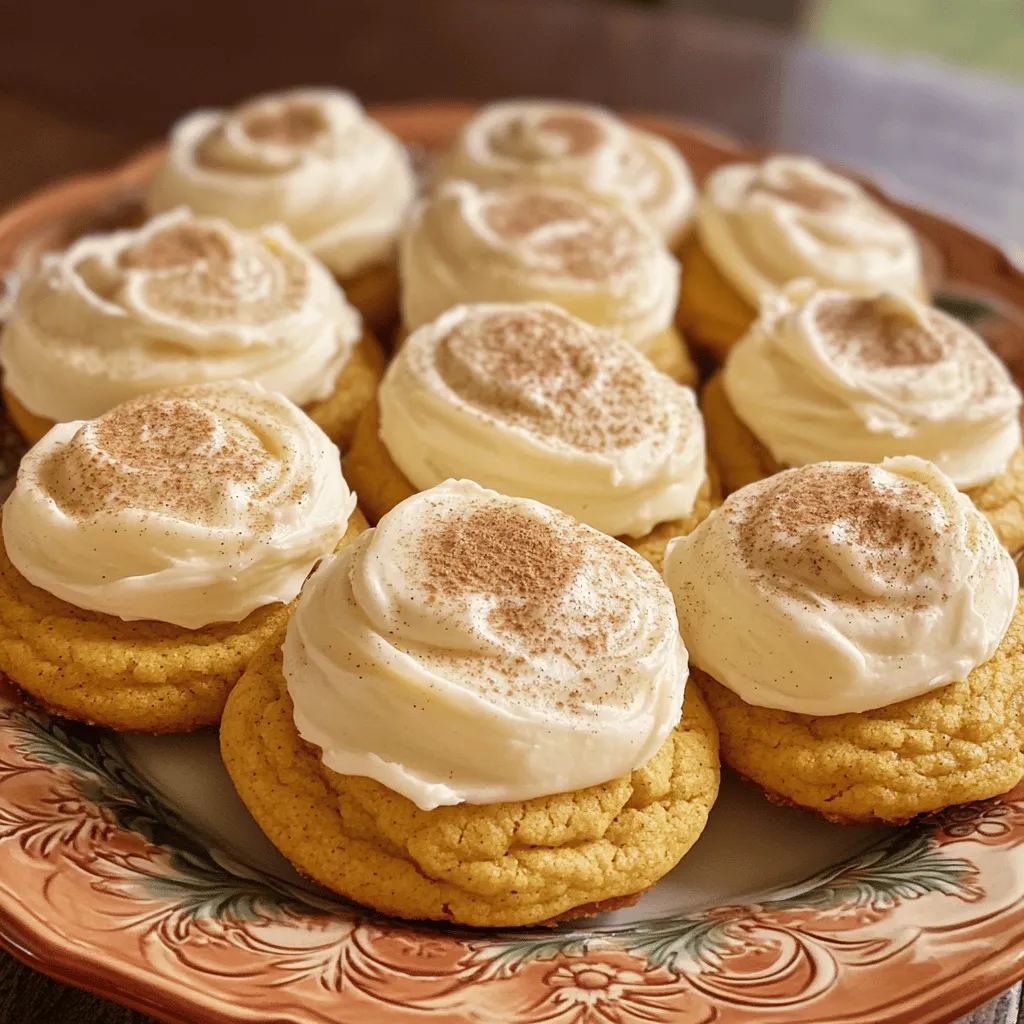
If you love pumpkin treats, you’ll adore these Soft Pumpkin Cookies with Cream Cheese Frosting! They are fluffy, sweet, and packed with warm spices. Imagine biting into a cookie that …
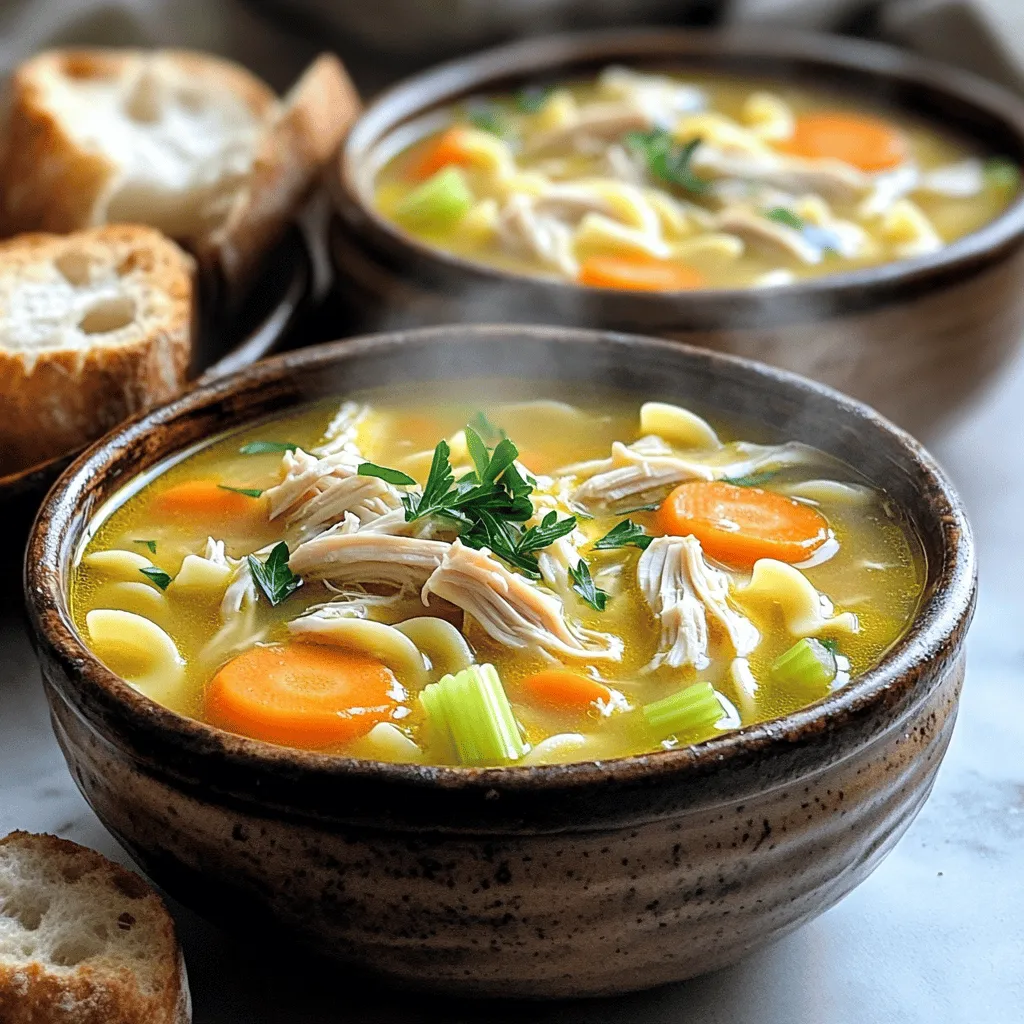
Do you love a warm, homemade meal that’s easy to prepare? My Slow Cooker Chicken Noodle Soup recipe brings comfort in every bowl. With just a few simple ingredients, you …