Cheese and Chorizo Stuffed Jalapeños Delightful Snack
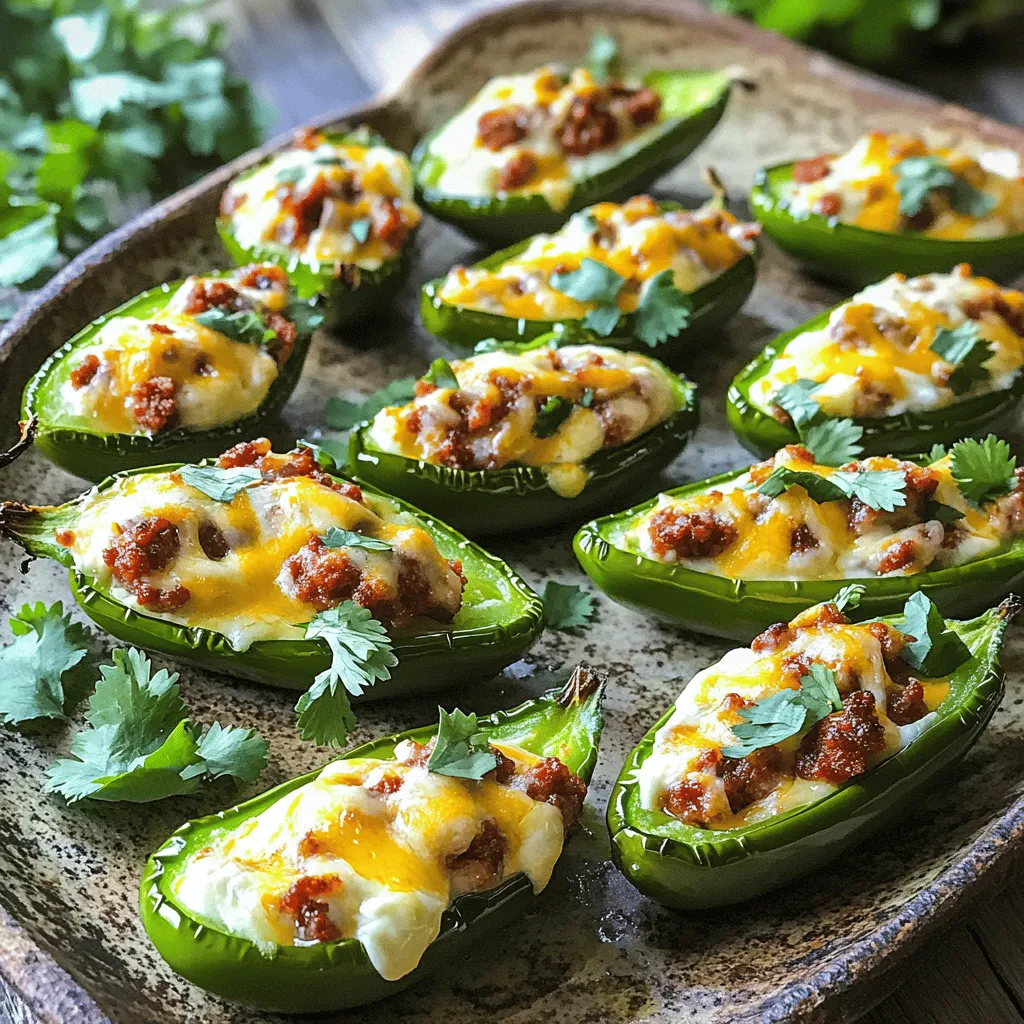
If you’re craving a snack that packs a punch, look no further! Cheese and chorizo stuffed jalapeños are the perfect blend of spicy and cheesy. These tasty bites are easy …
If you’re craving a snack that packs a punch, look no further! Cheese and chorizo stuffed jalapeños are the perfect blend of spicy and cheesy. These tasty bites are easy …
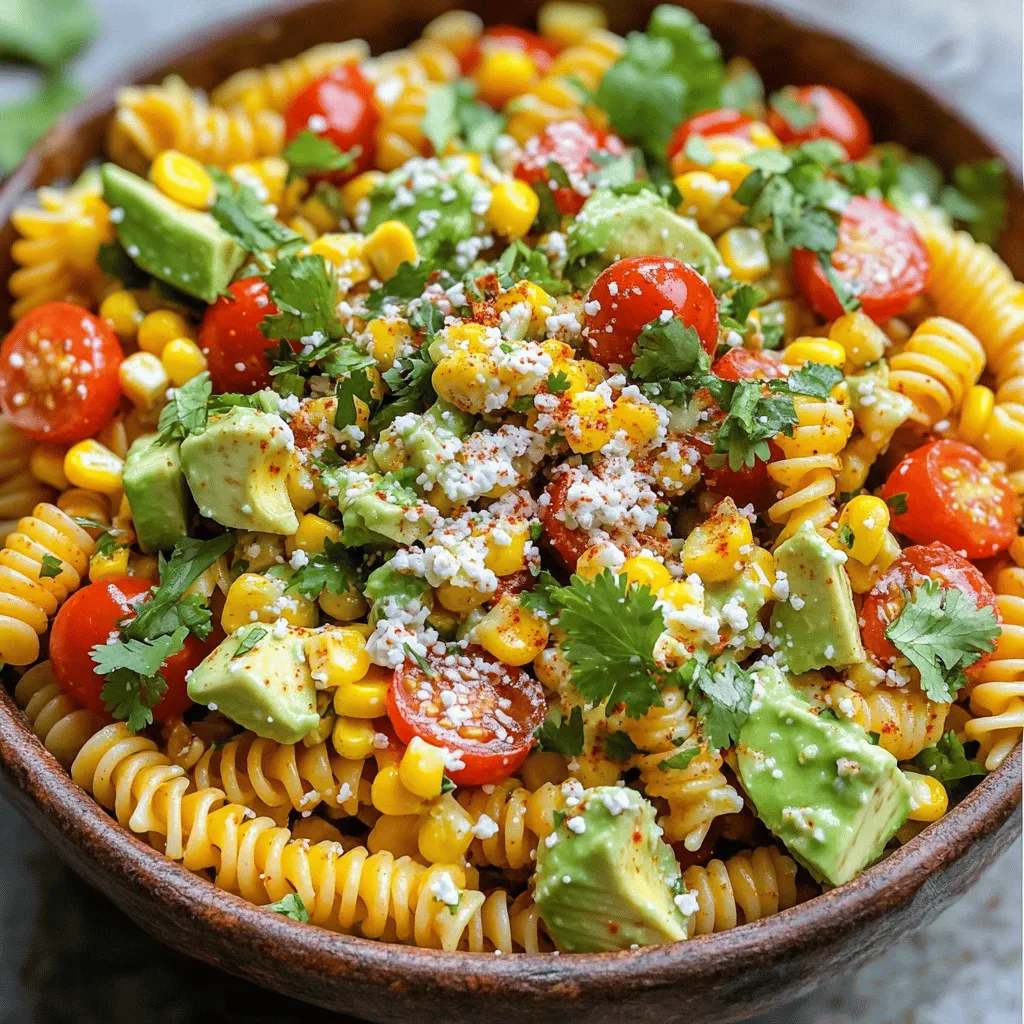
Are you ready to try a dish that bursts with flavor? Mexican Street Corn Pasta Salad combines creamy, tangy, and sweet notes in one vibrant bowl. I’ll show you how …
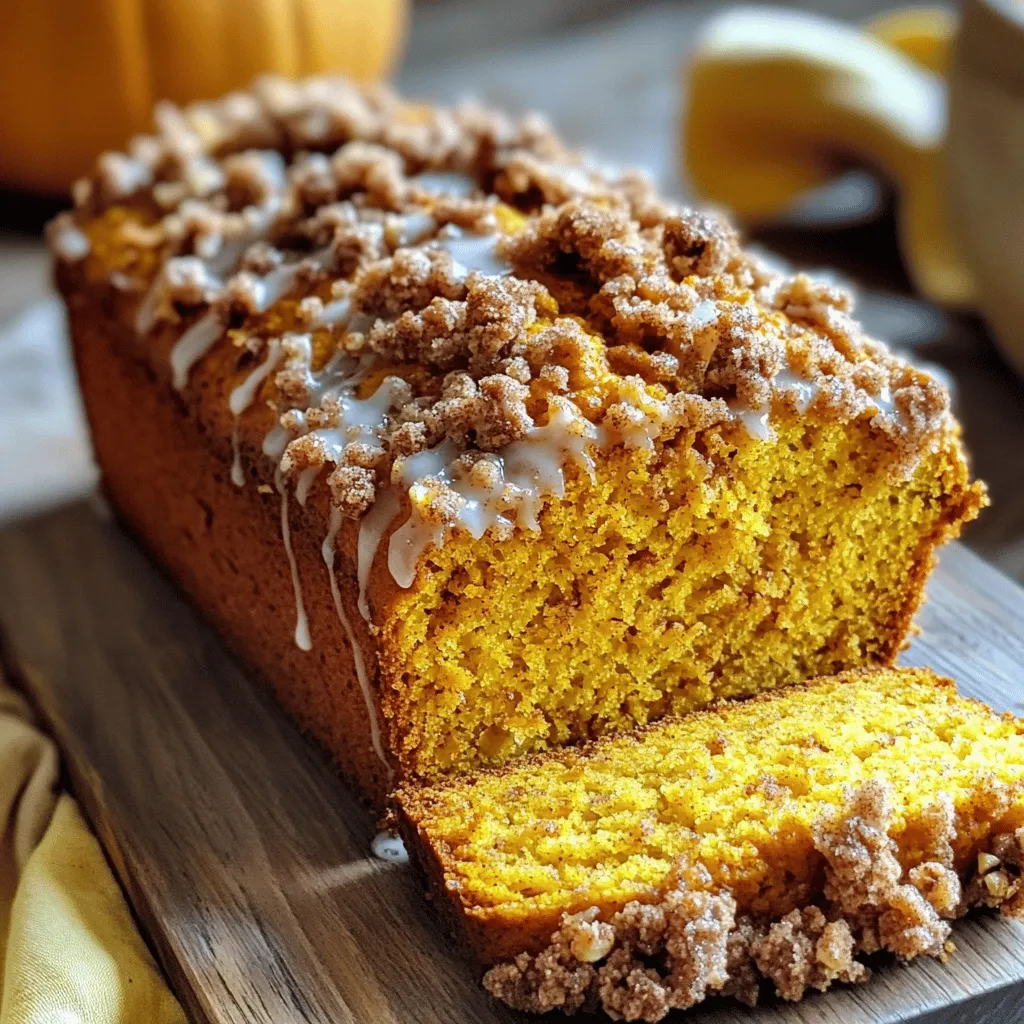
Fall is here, and it’s time to bake something warm and inviting! My Pumpkin Streusel Bread recipe combines the rich taste of pumpkin with a crunchy streusel topping. You will …
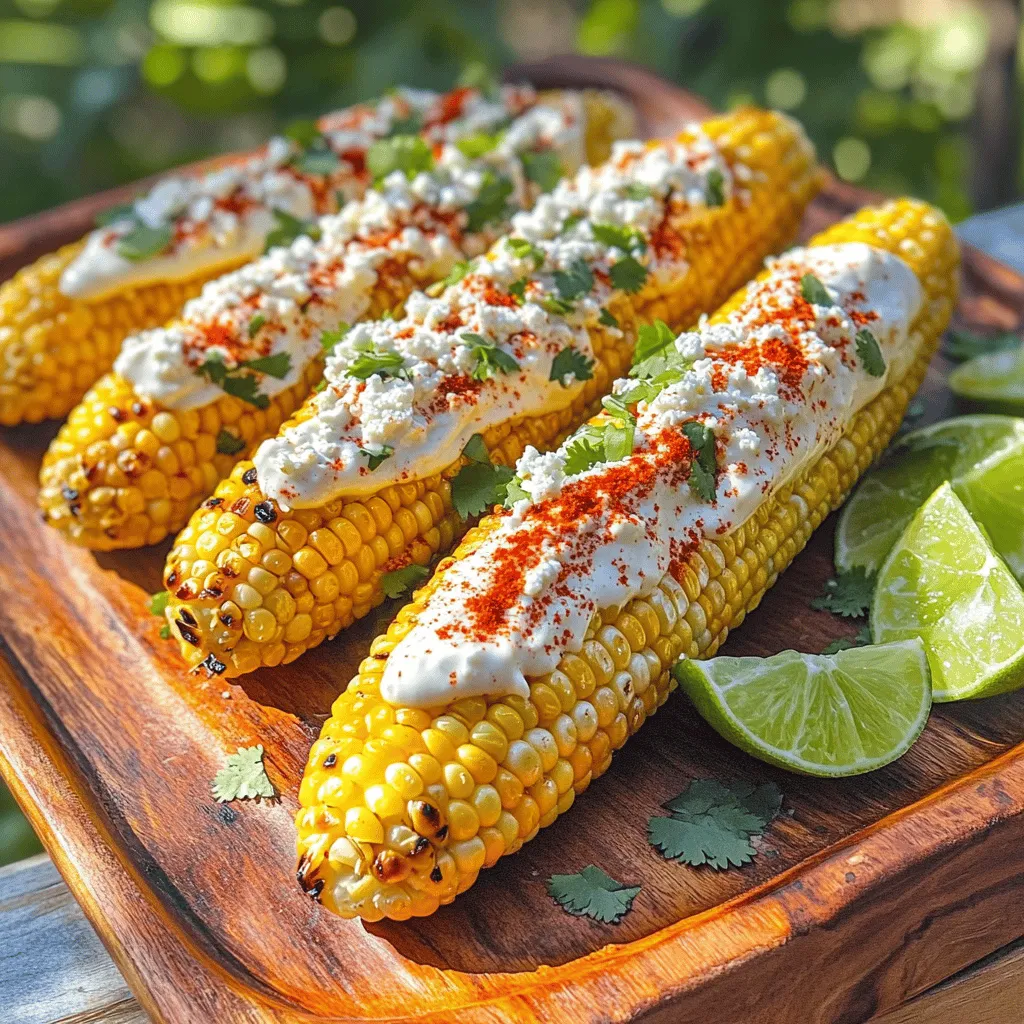
Are you ready to bring the vibrant taste of Mexico to your kitchen? This Elote Mexican Street Corn recipe is easy to make and bursting with flavor. Fresh ingredients and …
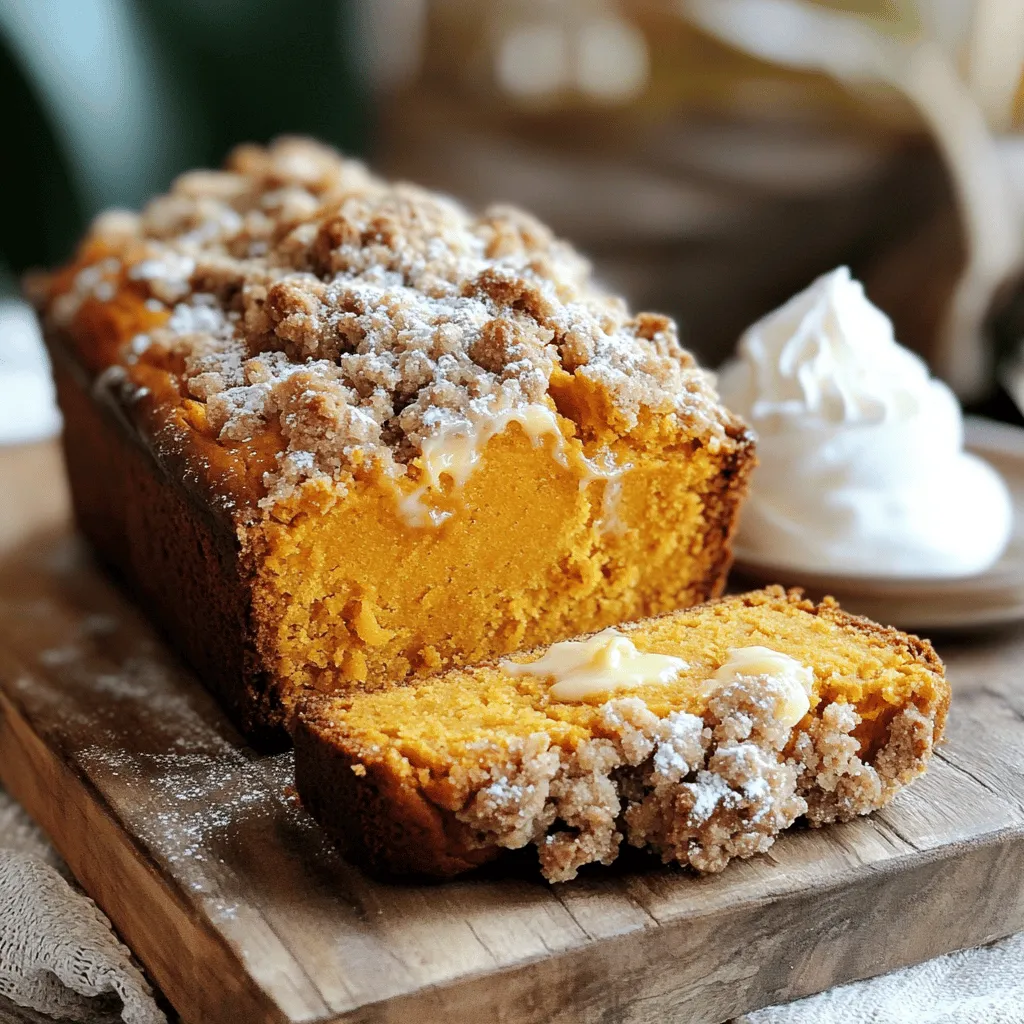
Fall is here, and it’s time to indulge in a warm slice of Streusel Pumpkin Loaf! This simple recipe packs a punch of flavor, thanks to rich spices and a …
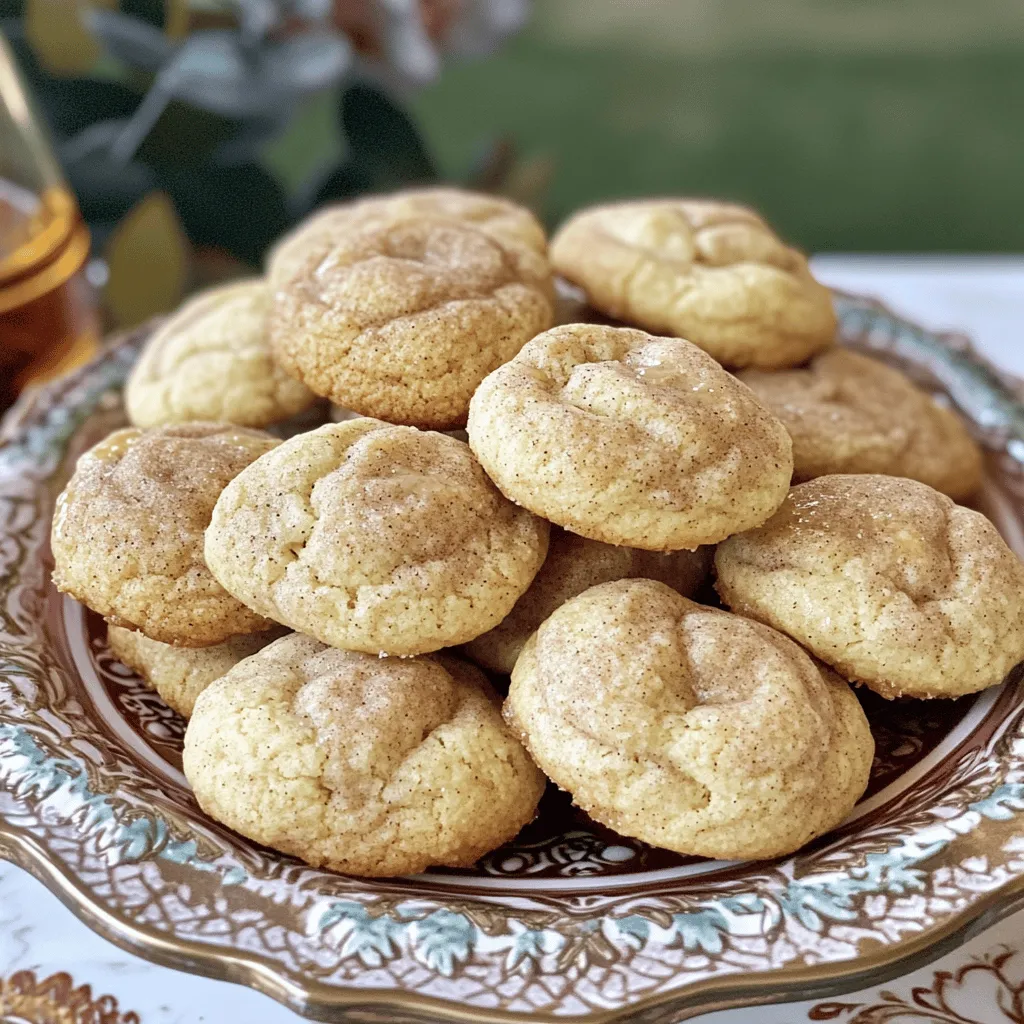
Craving a warm, tasty treat? These Maple Snickerdoodles are the answer! With their soft, chewy texture and rich, maple flavor, they will quickly become your favorite cookie. In this post, …

Pumpkin lovers, rejoice! These Mini Pumpkin Cream Cheese Muffins are your new fall favorite. Soft, moist, and filled with creamy goodness, they bring warmth and joy to every bite. With …

Are you ready to indulge in a delicious treat? Tiramisu Latte blends the rich flavors of coffee and dessert in one cup. In this guide, I’ll show you how to …
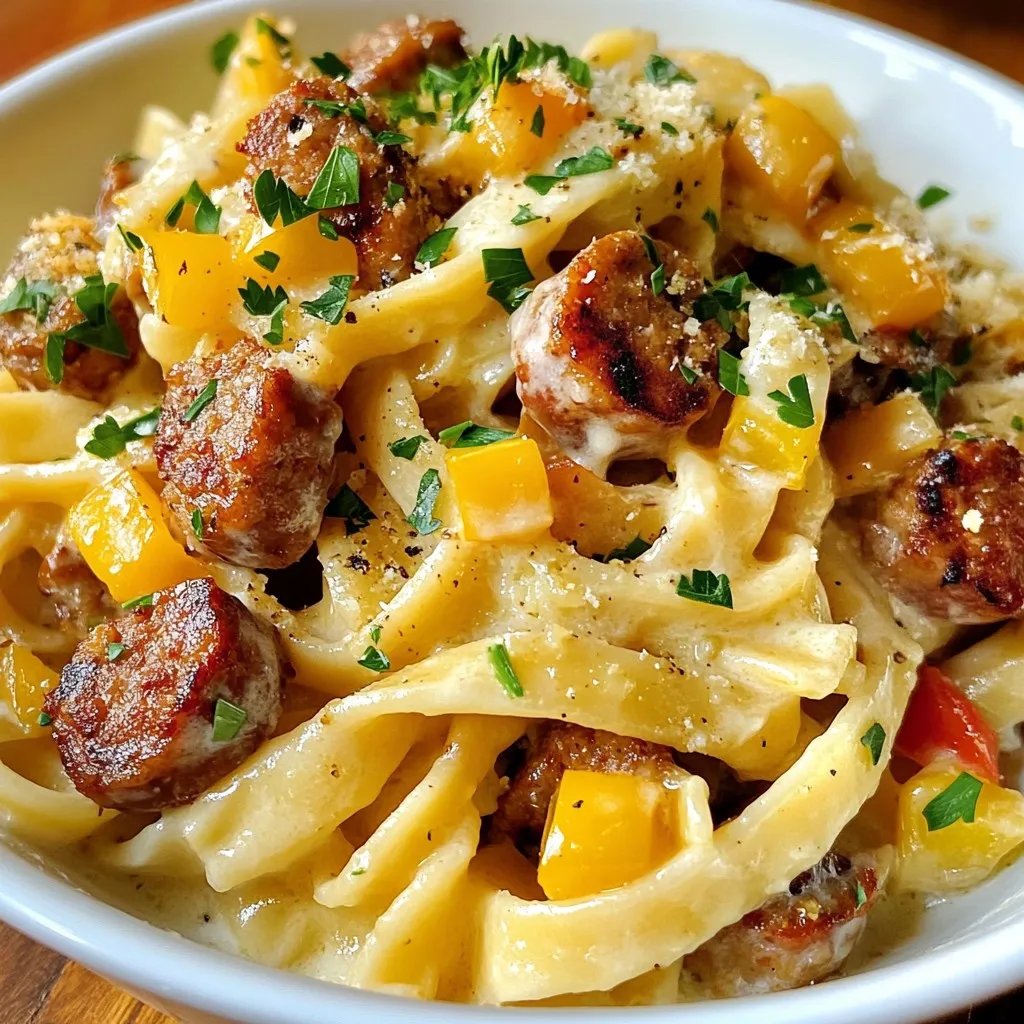
Are you ready to spice up your dinner routine? Cajun Sausage Alfredo Pasta blends creamy goodness with a kick of flavor. This quick and simple meal is perfect for busy …

Looking for a quick and tasty meal? BBQ Chicken Coleslaw Wraps are here to save the day! This easy recipe is packed with flavor and simple ingredients. You can whip …