One-Pot Creamy Spinach Artichoke Pasta Delight
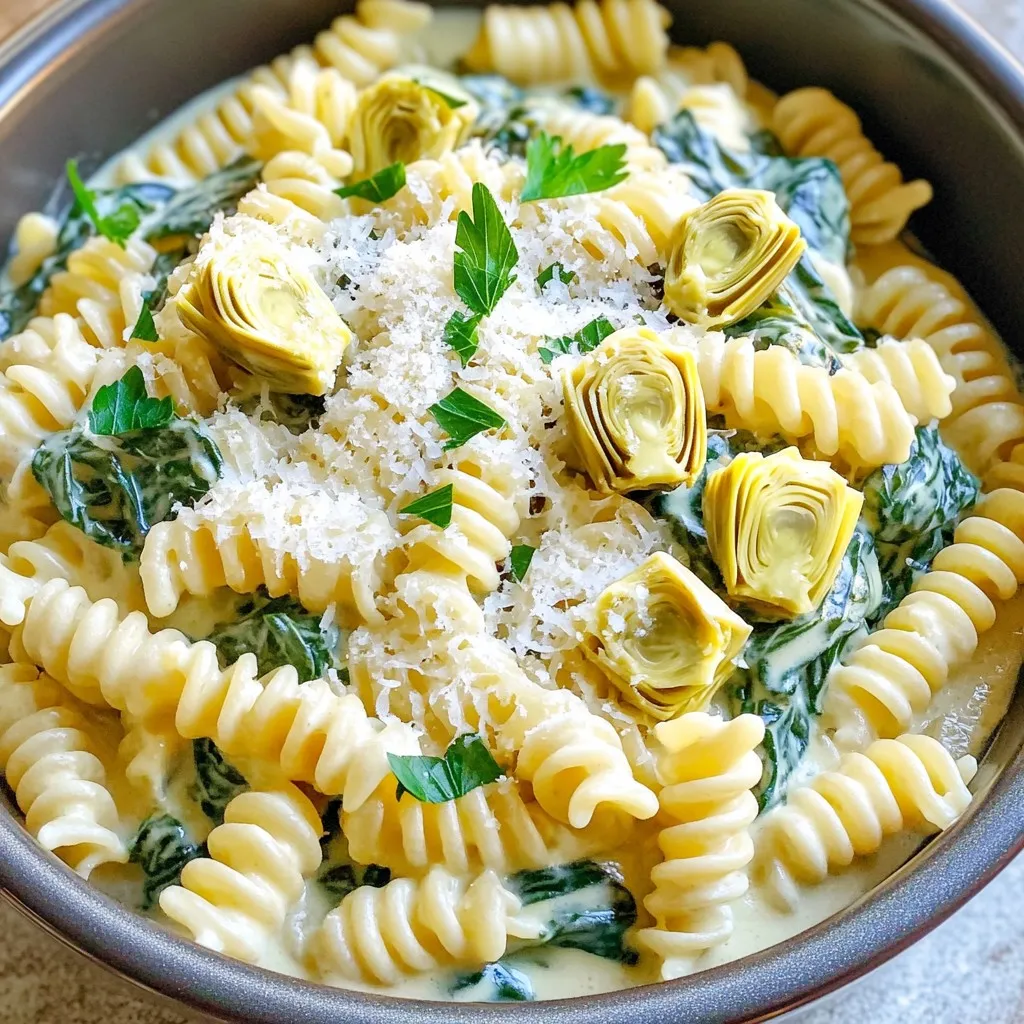
Are you ready to whip up a creamy, dreamy dish that everyone will love? In this blog post, I’ll show you how to make a One-Pot Creamy Spinach Artichoke Pasta …
Are you ready to whip up a creamy, dreamy dish that everyone will love? In this blog post, I’ll show you how to make a One-Pot Creamy Spinach Artichoke Pasta …
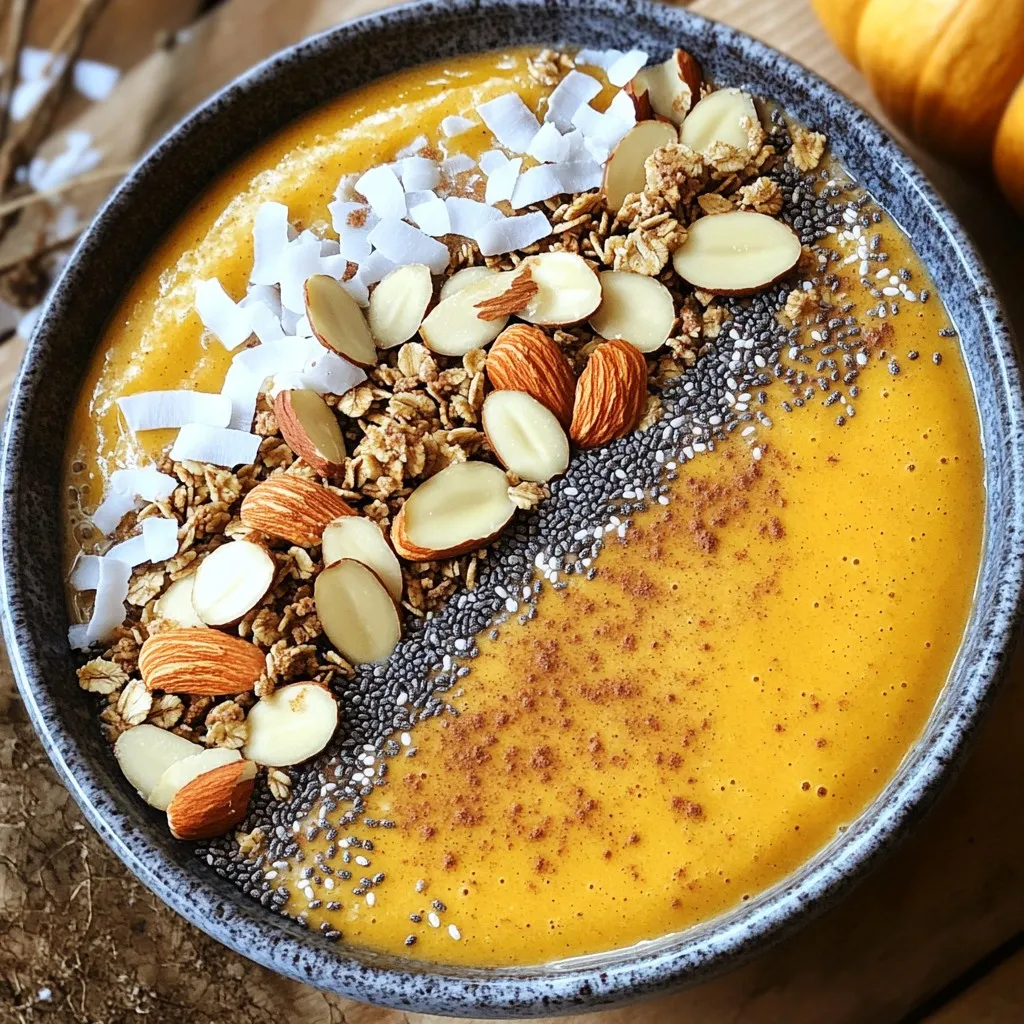
Fall is here, and it’s time to indulge in the creamy warmth of a Pumpkin Spice Smoothie Bowl. Not only is it delicious, but I’ve added an extra protein boost …
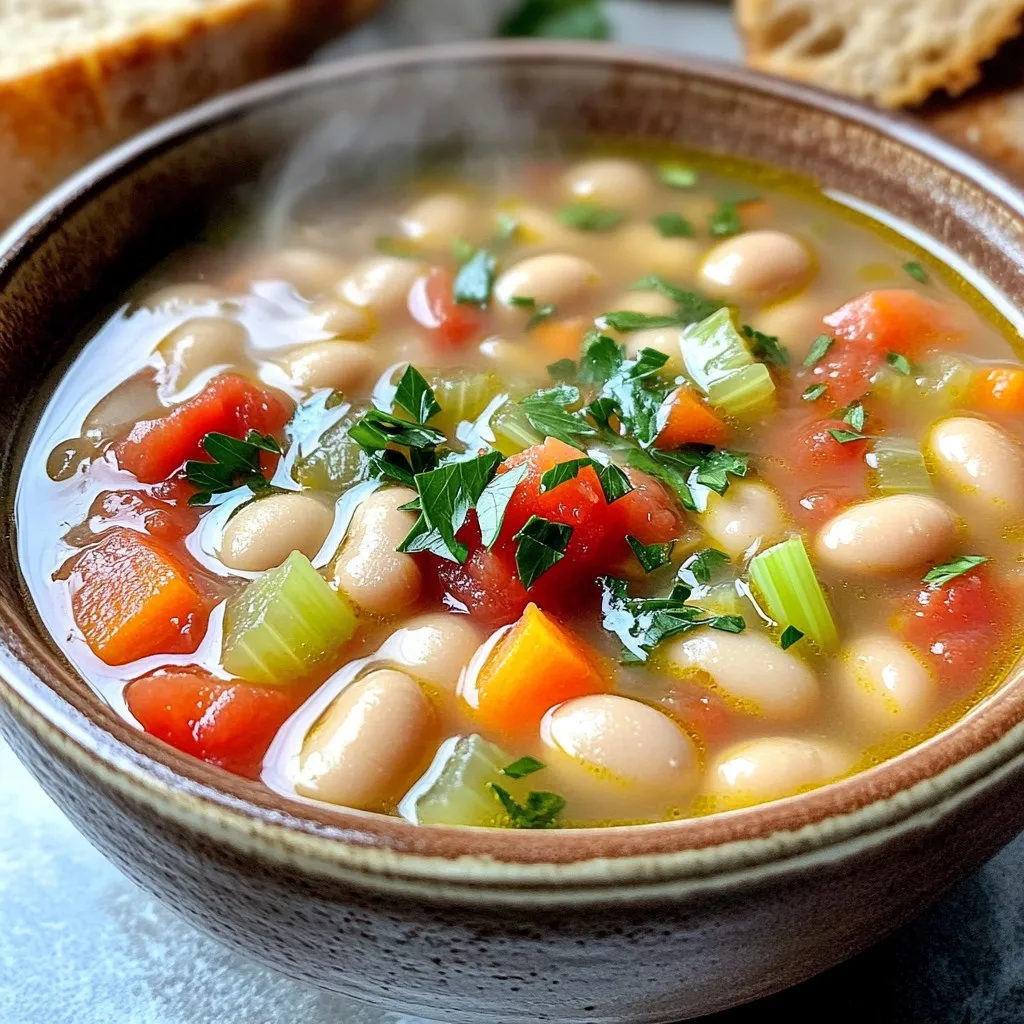
Looking for a warm and tasty dish? Slow Cooker Tuscan White Bean Soup is your answer! This soup is packed with rich flavors and healthful ingredients. You’ll love how easy …

Looking for a quick and healthy snack? These No-Bake Chocolate Coconut Energy Bars are just what you need! They’re simple to make and pack a flavor punch. Using just a …
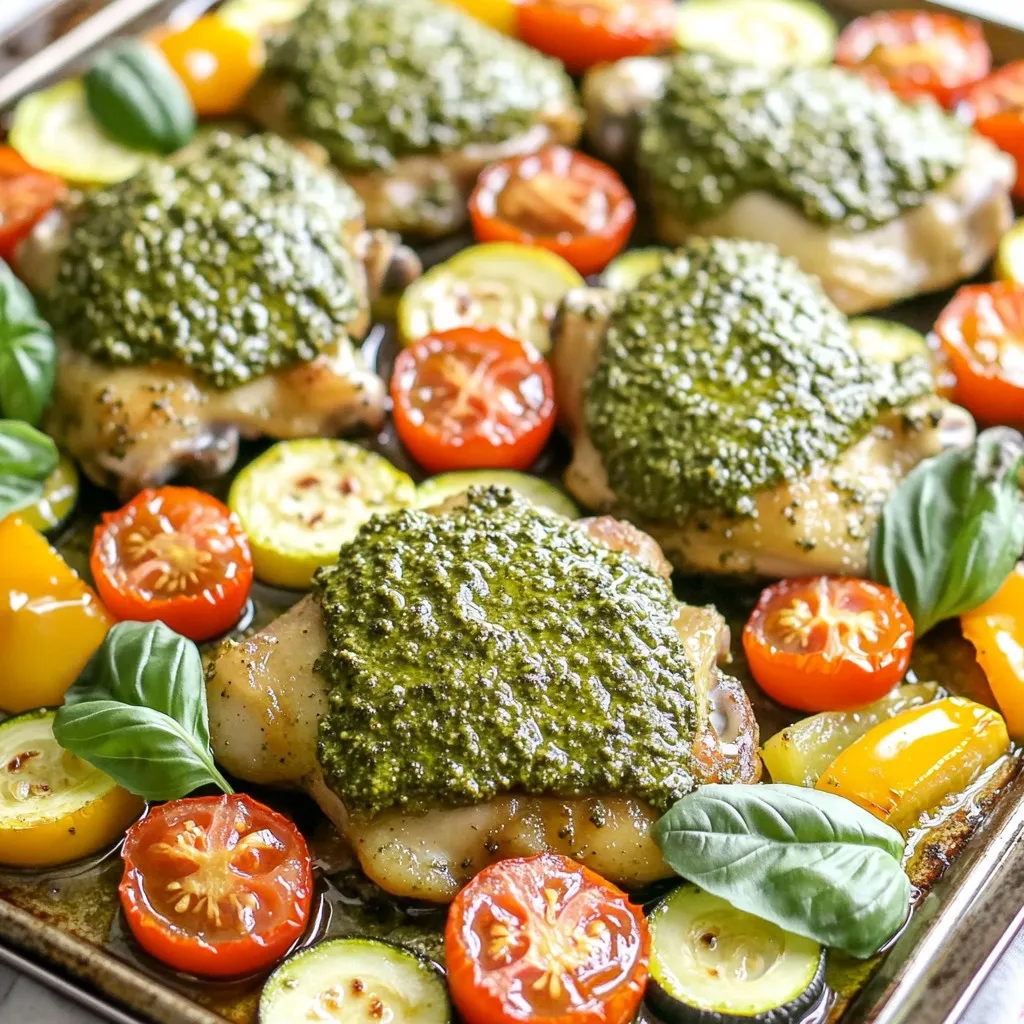
Are you ready to elevate your weeknight dinners with minimal fuss? The Pesto Chicken & Cherry Tomato Sheet Pan Delight is here to save you time and delight your taste …
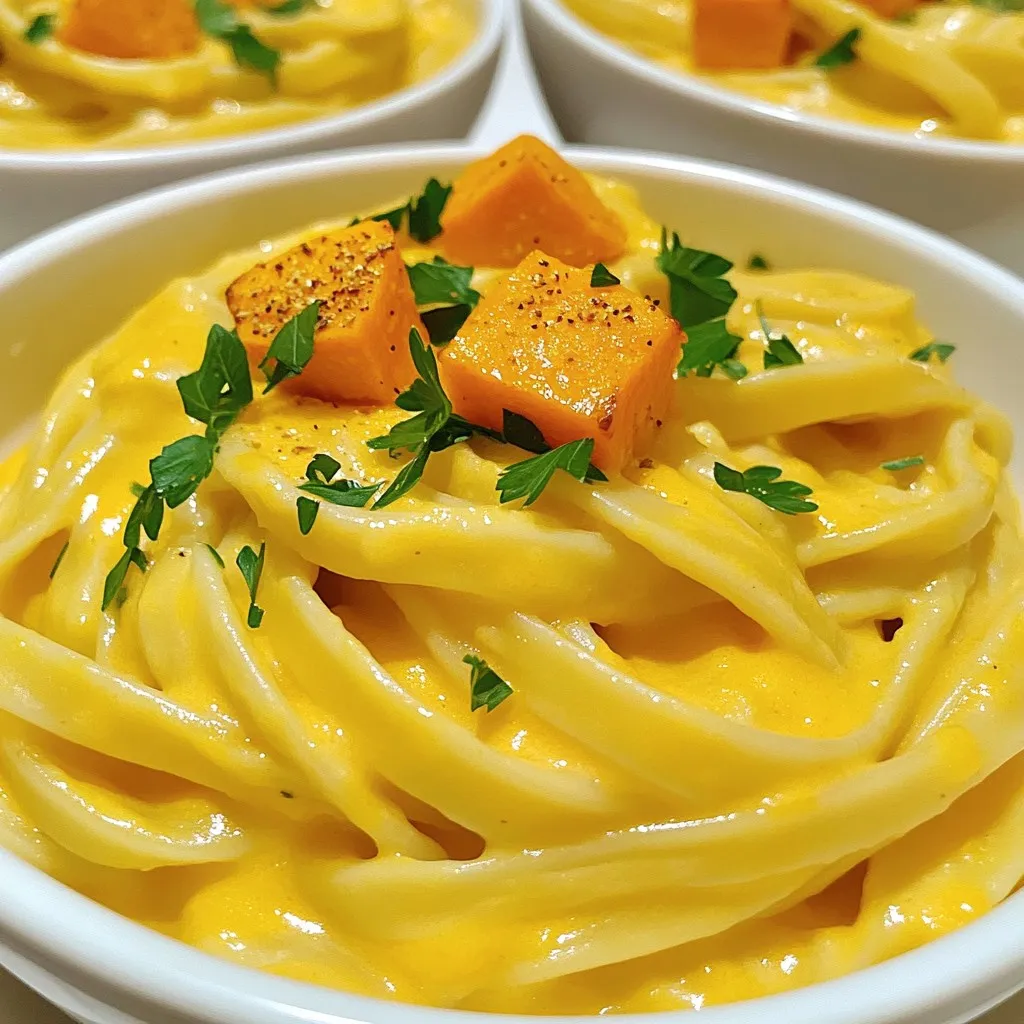
Are you ready to enjoy a warm bowl of creamy goodness? My Creamy Butternut Squash Alfredo Pasta is rich, smooth, and packed with flavor. This dish blends the sweetness of …

Love donut holes but want a healthier twist? You’re in for a treat with my Air Fryer Maple Cinnamon Donut Holes! These bite-sized wonders are easy to make and packed …
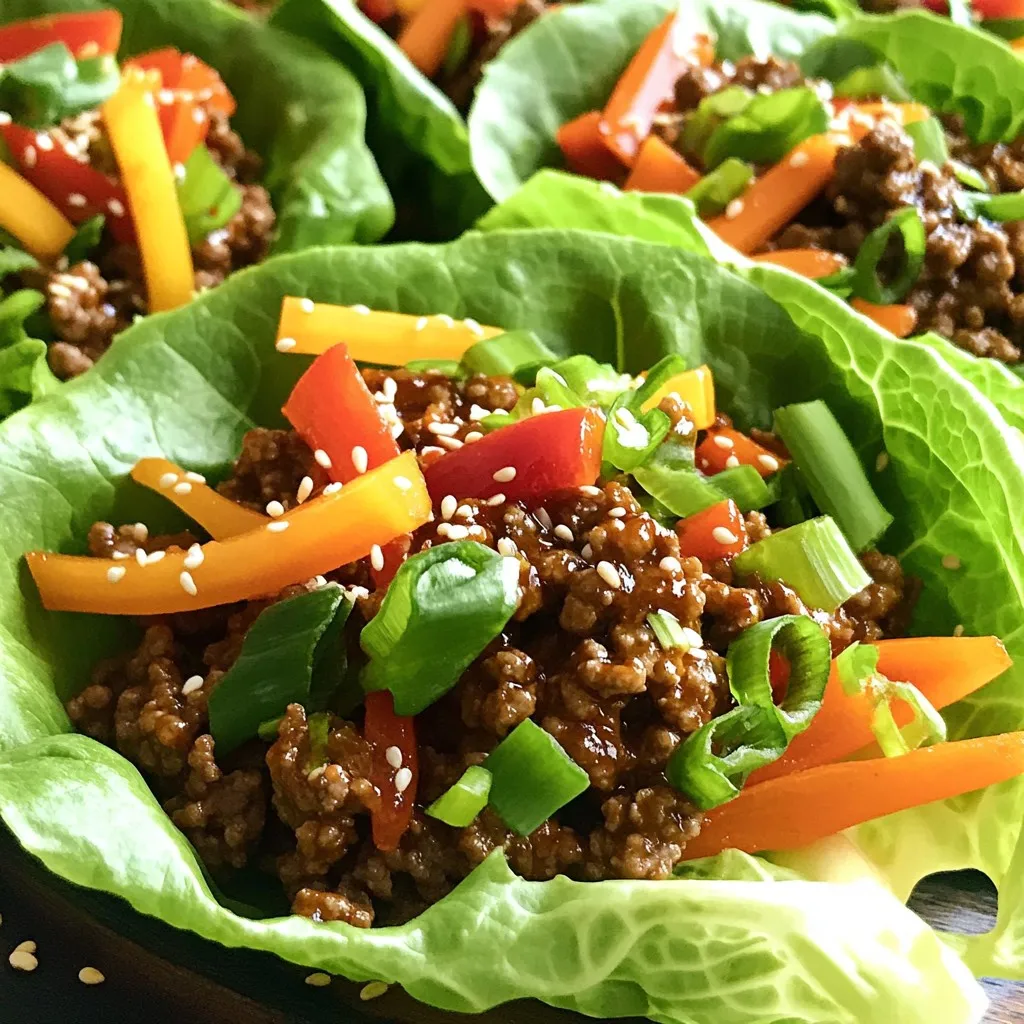
Looking for a quick and tasty meal that packs a punch? You’ve come to the right place! These Minute Chili Garlic Beef Lettuce Wraps make dinner fun and easy. With …
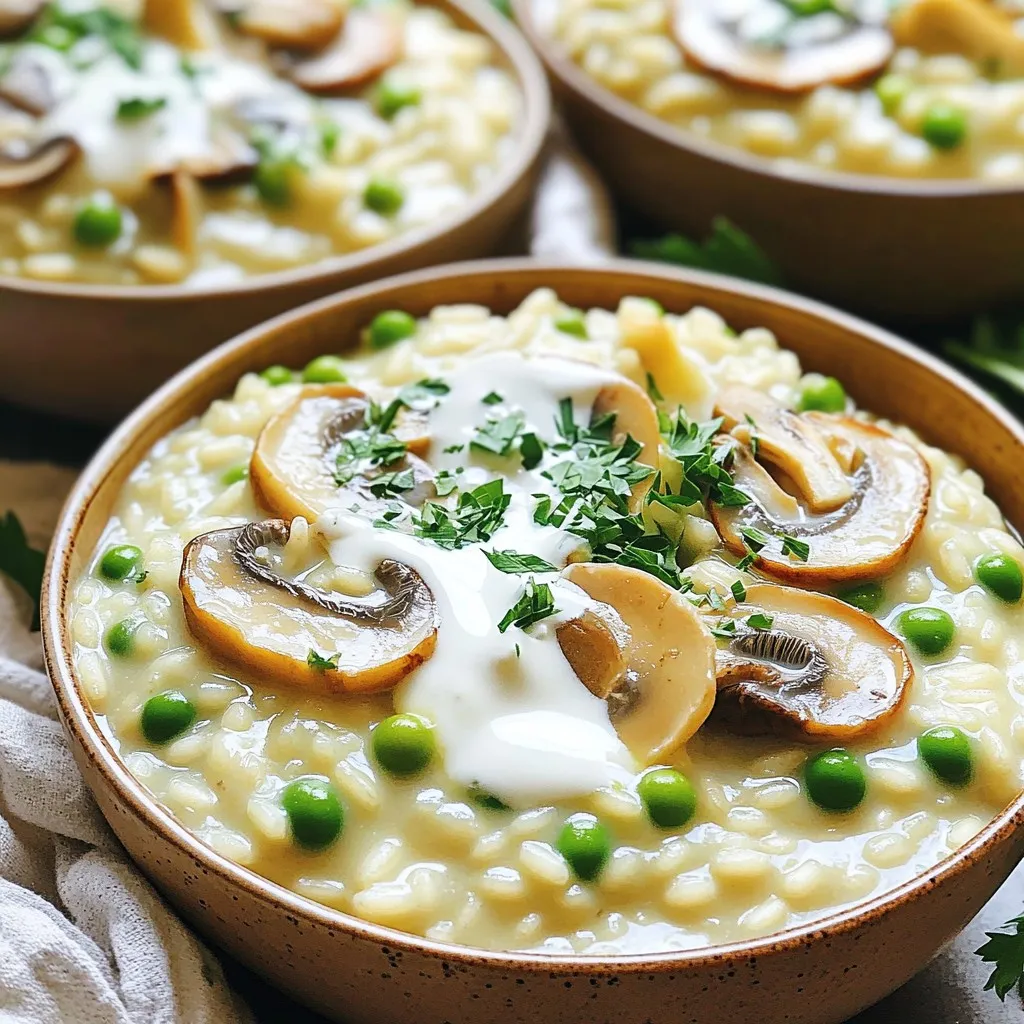
Are you ready to make a creamy, dreamy mushroom risotto without the hassle? My Slow Cooker Creamy Mushroom Risotto is the easiest way to enjoy this classic dish. You’ll love …

Looking to spice up your dinner routine? This Pineapple Chicken and Rice Skillet is your answer! It’s a one-pan meal packed with juicy chicken, sweet pineapple, and colorful veggies. Not …