Stuffed Bell Pepper Soup Flavorful and Hearty Dish
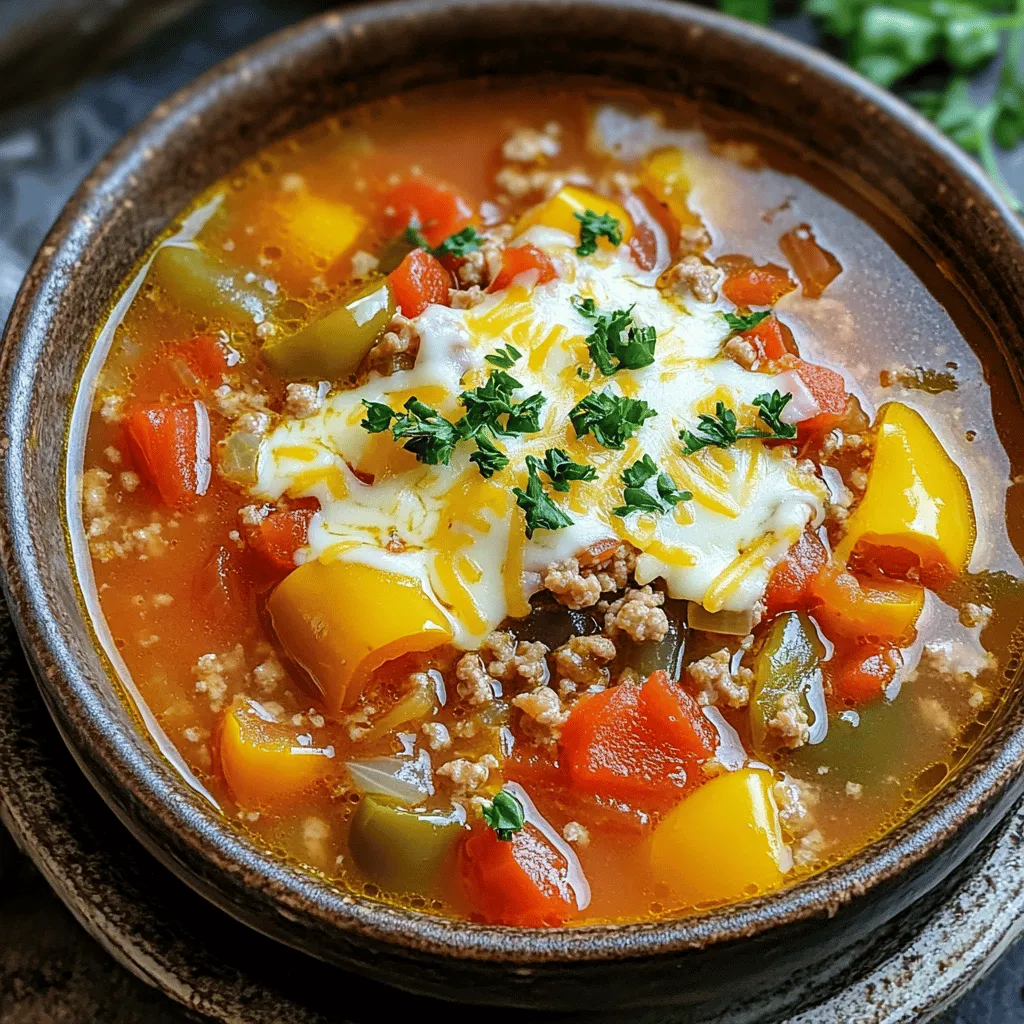
Are you ready to warm your soul with a bowl of Stuffed Bell Pepper Soup? This dish is packed with vibrant veggies, hearty meat, and rich flavors that will leave …
Are you ready to warm your soul with a bowl of Stuffed Bell Pepper Soup? This dish is packed with vibrant veggies, hearty meat, and rich flavors that will leave …

If you’re searching for an easy and tasty dinner, you’re in the right place! One-Pot Creamy Tuscan Chicken Pasta is a simple dish that combines rich flavors and creamy goodness …

Are you ready to indulge in a treat that will make your taste buds dance? Maple Glazed Donut Holes are the perfect sweet snack, combining rich flavors with a soft, …

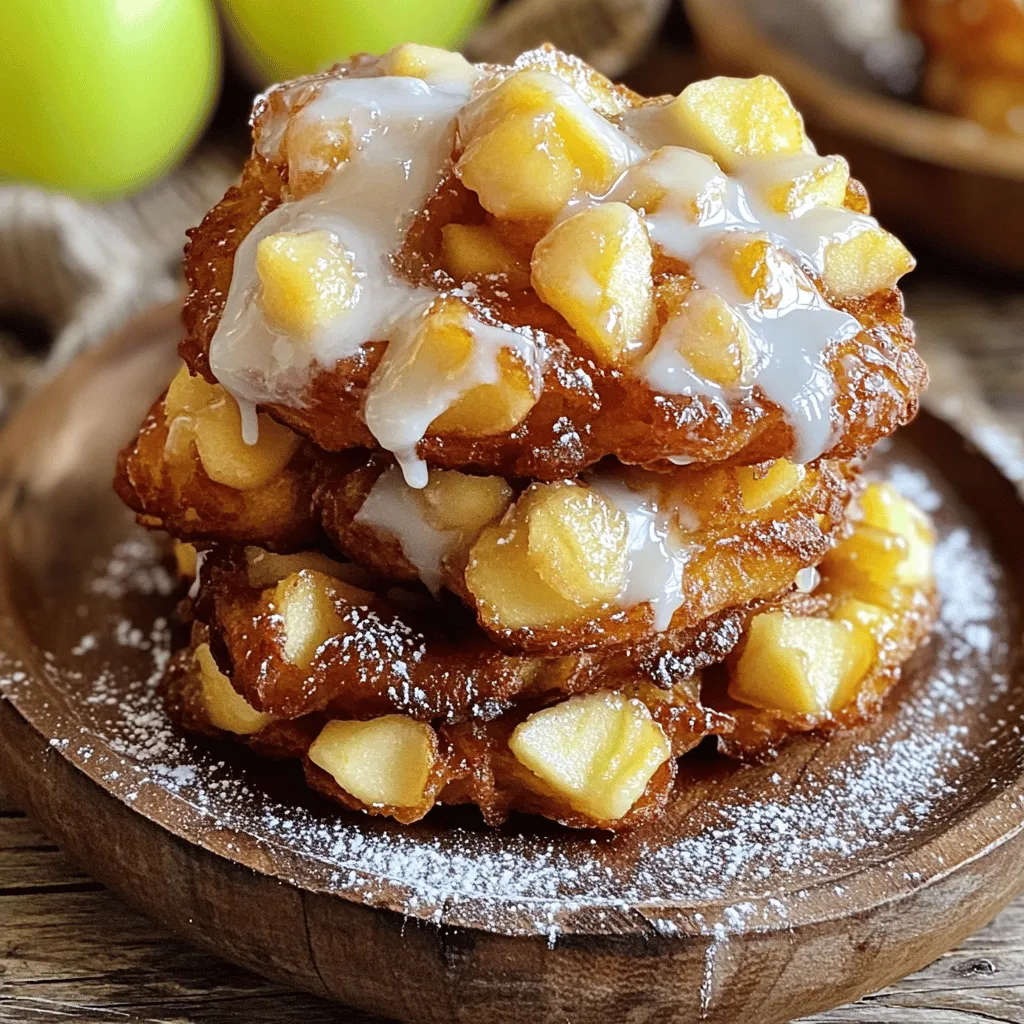
Craving a sweet treat that’s quick and easy? With my Air Fryer Apple Fritter Bites, you can enjoy a tasty snack in no time! These bites pack all the apple …

Are you ready to savor a delicious Homemade Cinnamon Dolce Latte? This delightful coffee treat warms your soul and fills your home with cozy scents. With just a few simple …

Love pumpkin and cheesecake? Then you’ll adore these Pumpkin Cheesecake Truffles! With simple ingredients and easy steps, you can create a creamy, spiced treat that’s perfect for any occasion. I’ll …
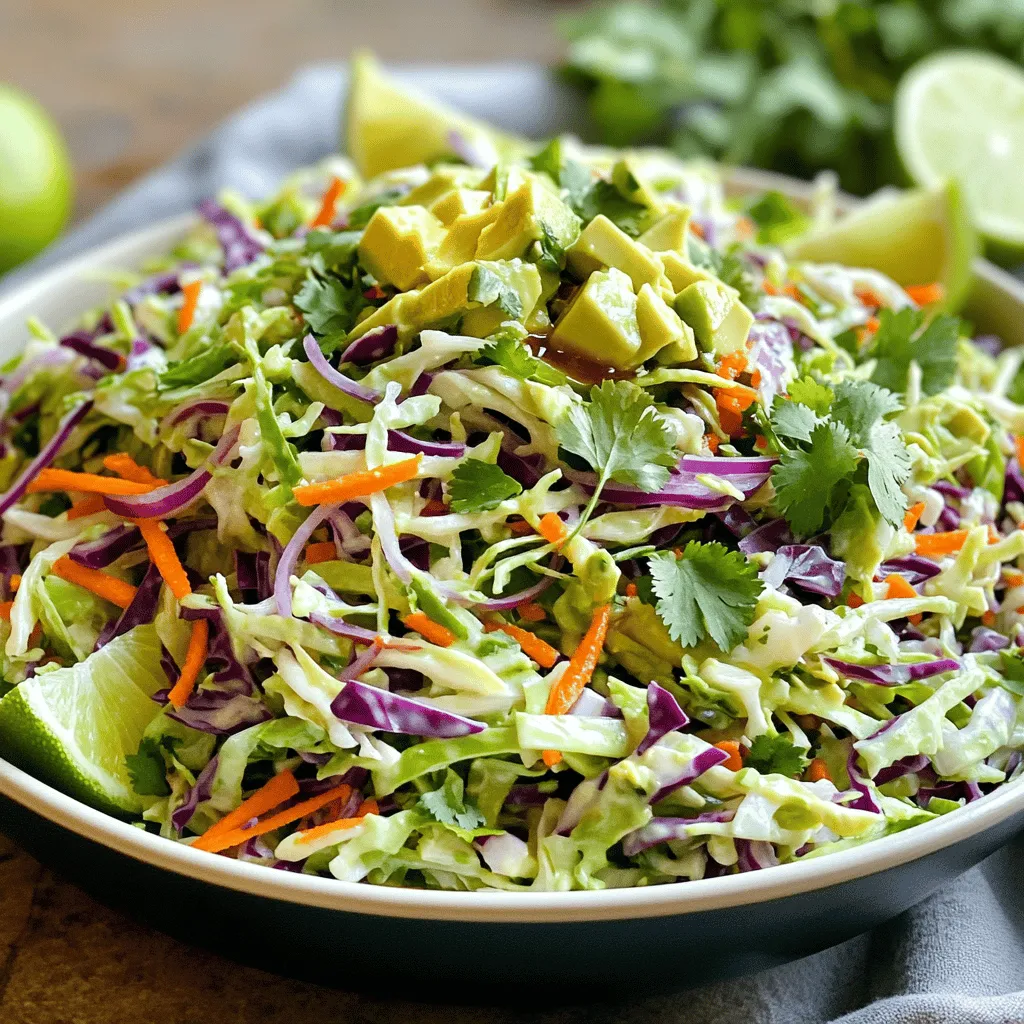
Cilantro Lime Slaw is a vibrant and zesty side dish that brightens up any meal. Packed with fresh veggies and a tangy dressing, this slaw is both healthy and delicious. …

If you love warm, spiced treats with a soft bite, you’re in for a treat! These Soft Chai Spice Cookies are a delight to bake and eat. With a few …

Who doesn’t love a sweet treat that’s easy to make and delicious? S’mores hand pies are your perfect answer for satisfying a craving or impressing guests. With gooey chocolate, fluffy …
Are you ready to indulge in a treat that’s soft, sweet, and bursting with flavor? These Glazed Baked Apple Fritters are the perfect way to satisfy your cravings. With just …