Pumpkin Cold Foam Creamy and Delightful Recipe
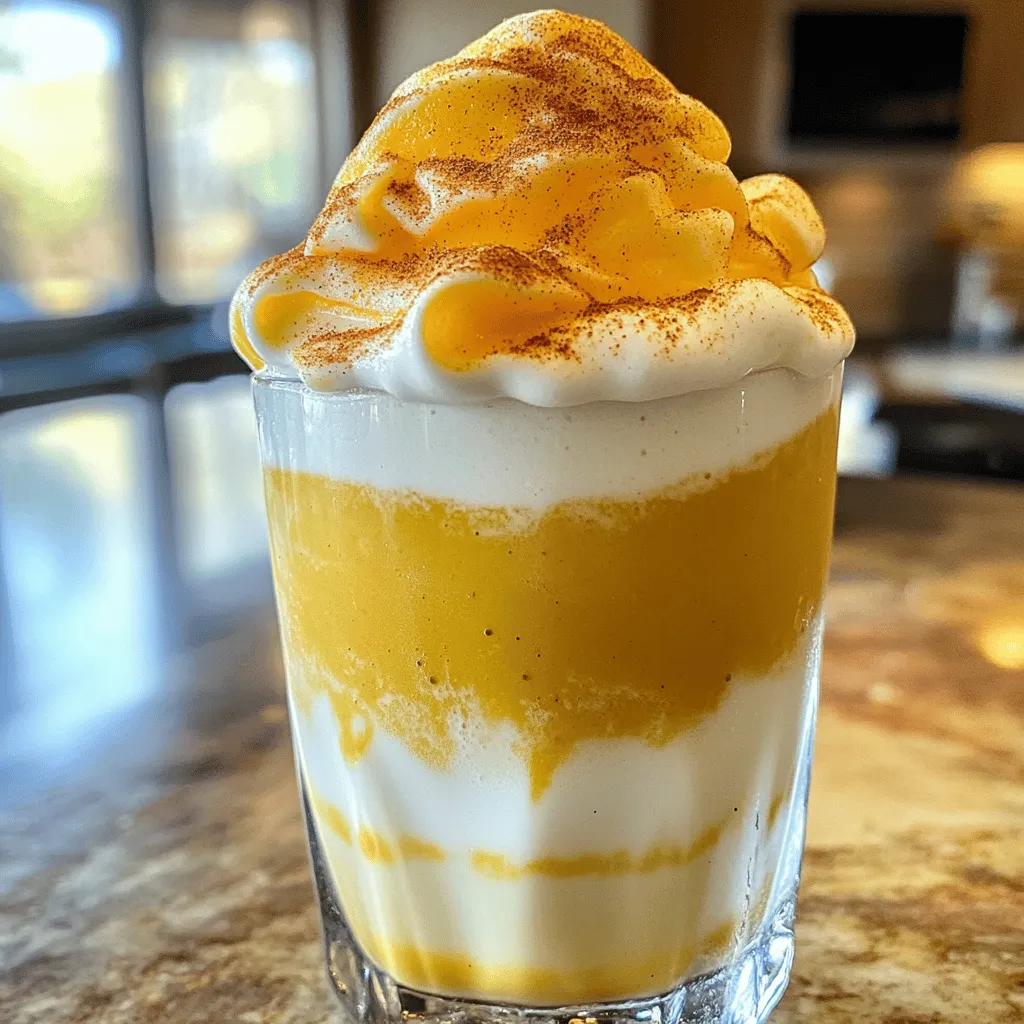
Are you ready to elevate your fall drinks? Let’s dive into the world of Pumpkin Cold Foam! This creamy, delightful treat can turn any beverage into a seasonal favorite. With …
Are you ready to elevate your fall drinks? Let’s dive into the world of Pumpkin Cold Foam! This creamy, delightful treat can turn any beverage into a seasonal favorite. With …
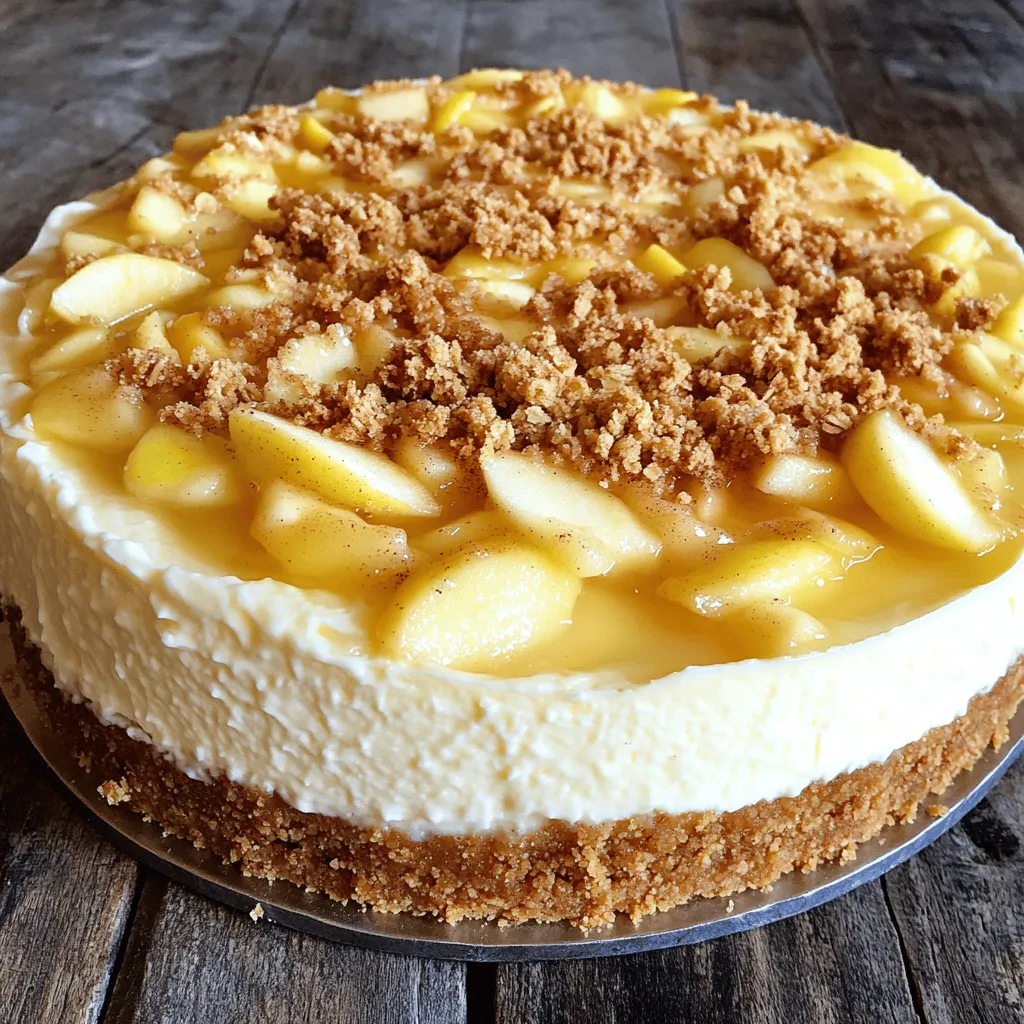
If you’re craving something unique and delicious, look no further! My Creamy Apple Crumble Cheesecake combines smooth cream cheese with fresh apples and a crunchy crumble. This dessert is a …
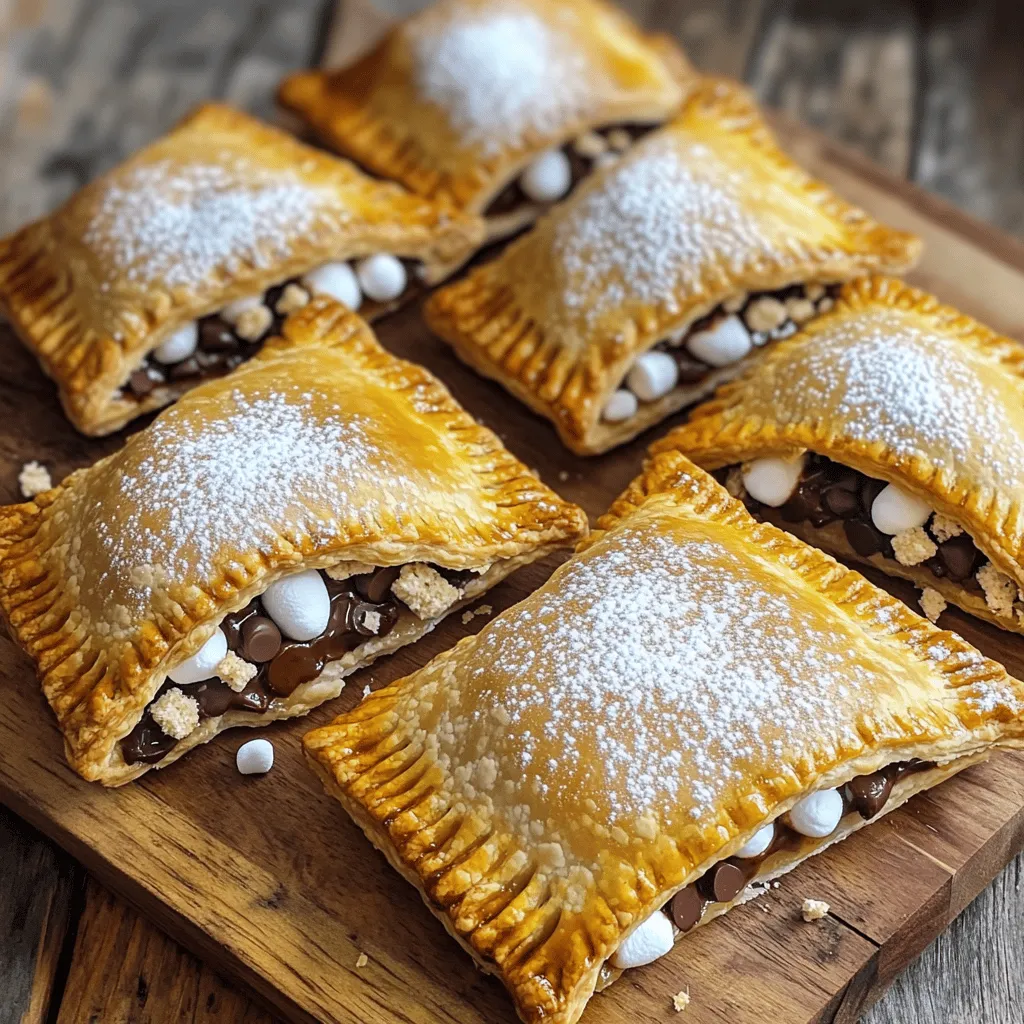
S’mores Hand Pies are the perfect treat for anyone who loves sweet snacks. Imagine biting into a warm, flaky crust filled with gooey chocolate, melty marshmallows, and crunchy graham crackers. …
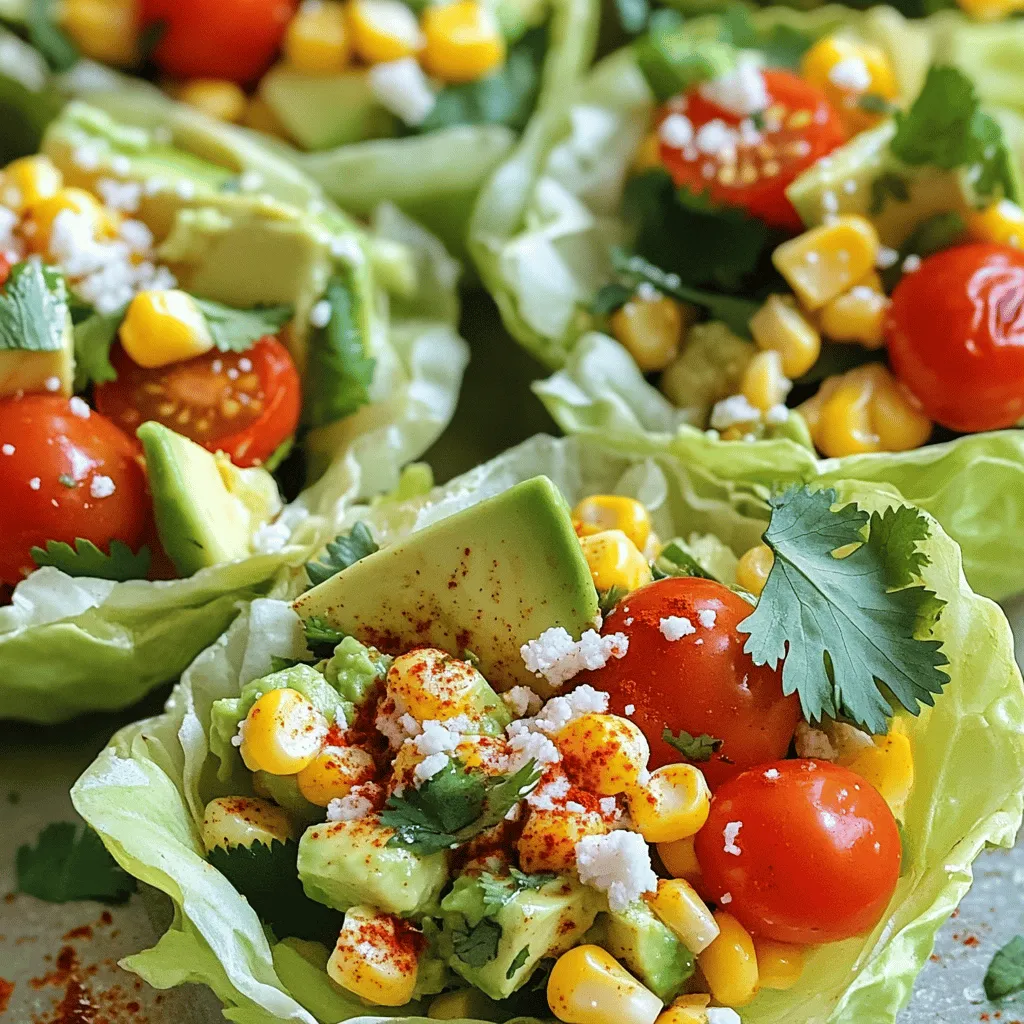
Looking for a crowd-pleasing appetizer? Street Corn Salad Cups are your answer! They pack vibrant flavors and are fun to eat. In this article, I’ll share easy steps and cool …
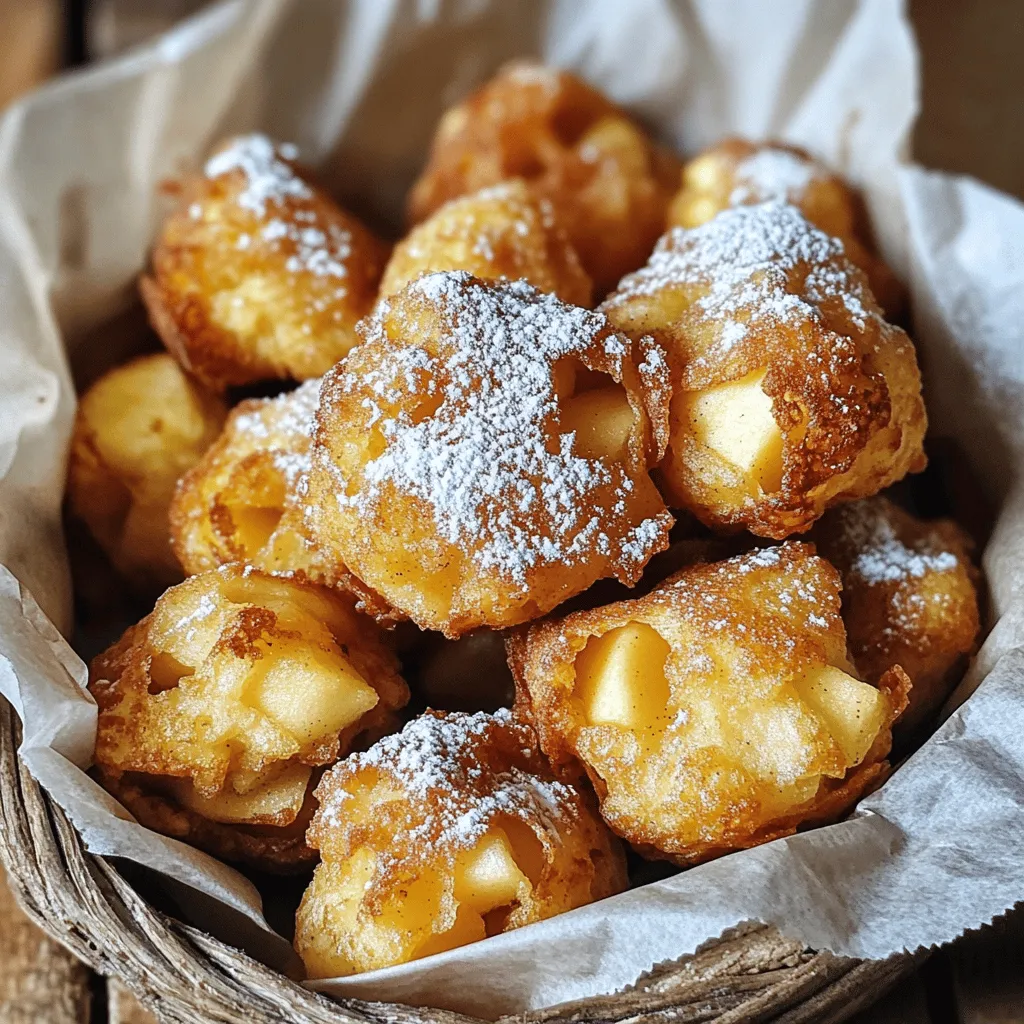
Craving a sweet treat that’s easy to make? Look no further! In this guide, I’ll show you how to whip up delicious Apple Fritter Bites that are sure to impress. …
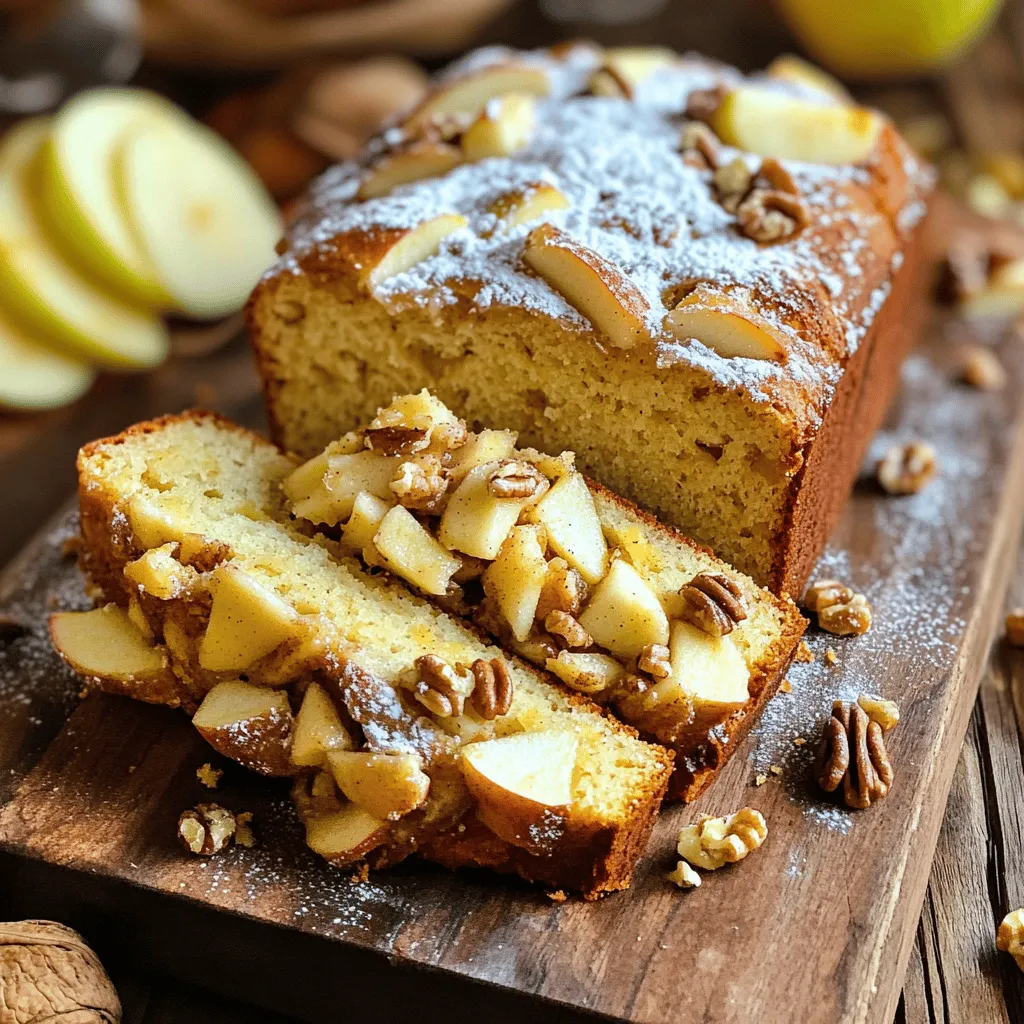
Are you ready to indulge in a warm, sweet delight? This Country Apple Fritter Bread recipe combines juicy apples and warm spices to create a cozy treat. It’s perfect for …
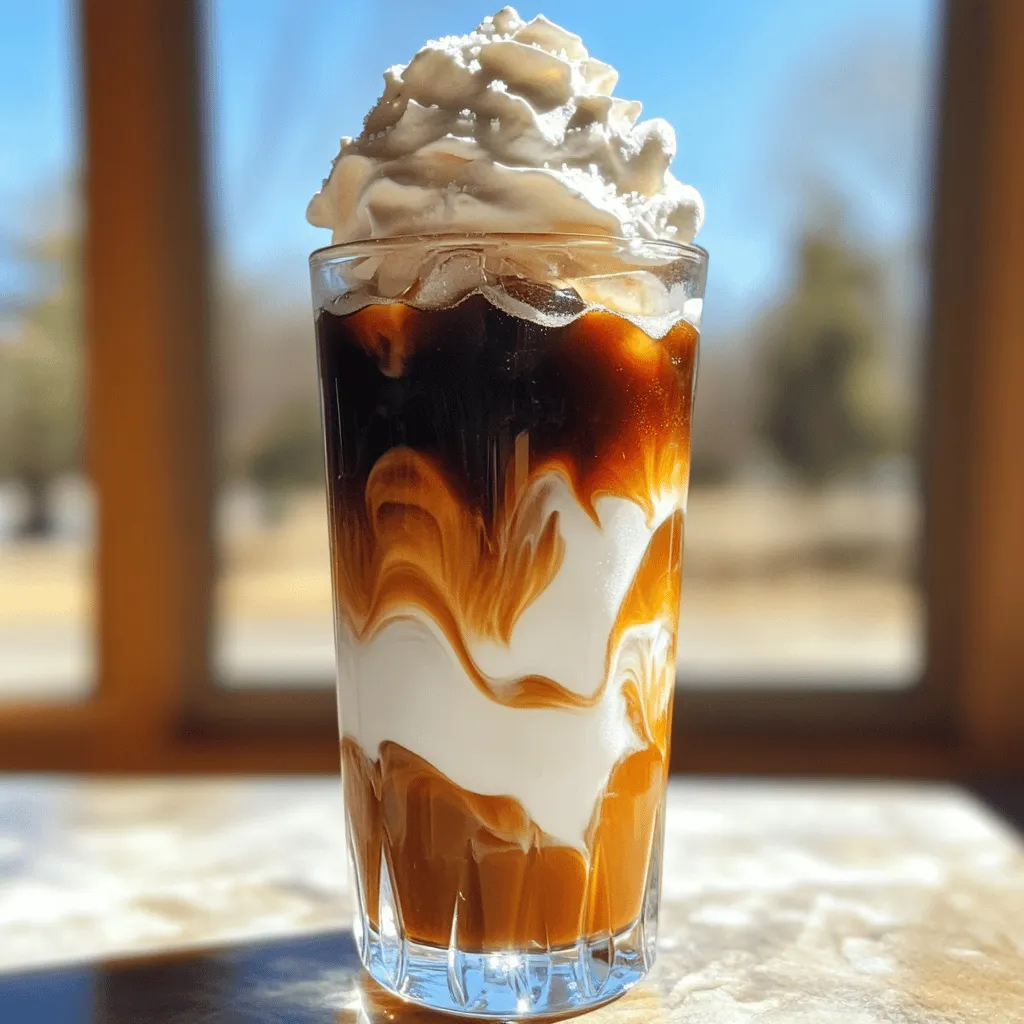
Looking for a cool drink to beat the heat this summer? Try my Brown Sugar Vanilla Iced Coffee! This tasty treat combines rich coffee, sweet brown sugar, and smooth vanilla …
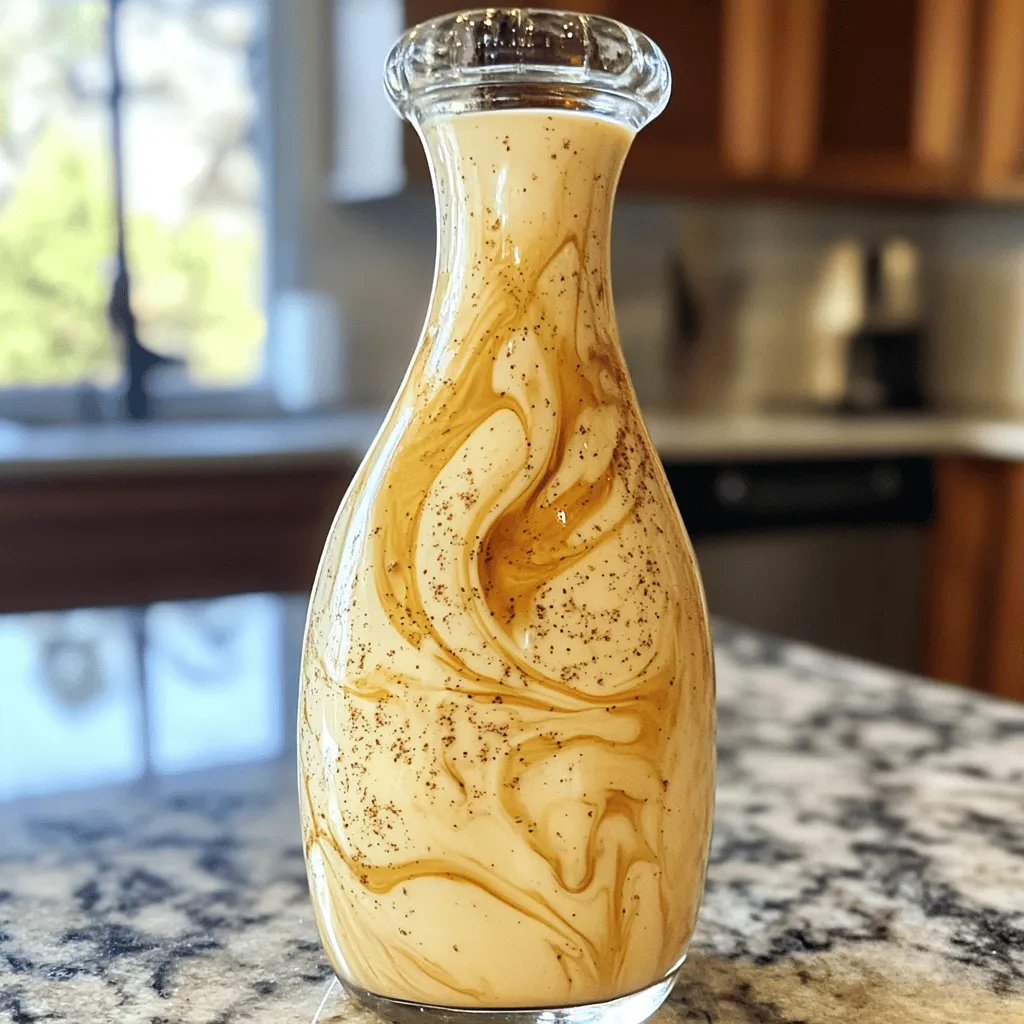
Are you ready to upgrade your morning coffee? Making homemade vanilla bean coffee creamer is easy and delicious! With just a few simple ingredients, you can create a rich, smooth …
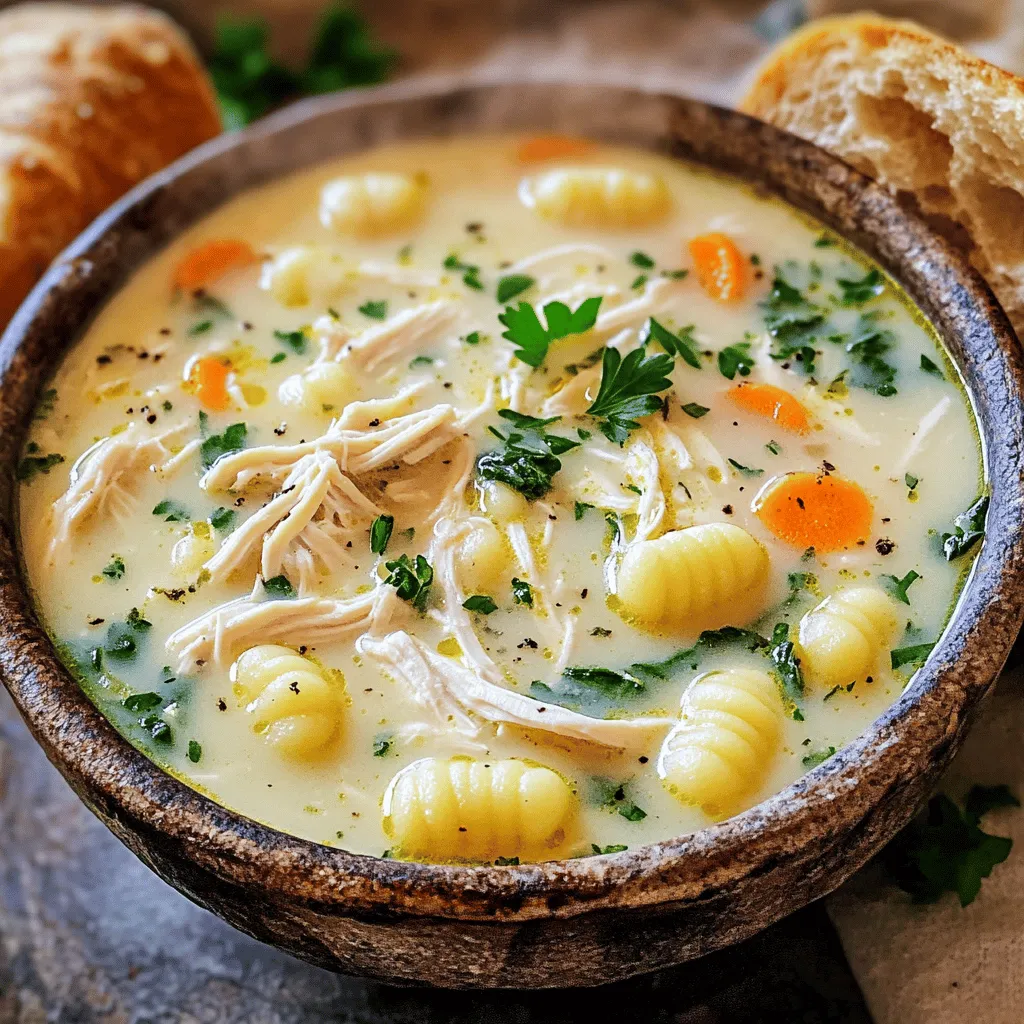
Looking for a warm and comforting meal? Try my Slow Cooker Chicken Gnocchi Soup! This simple recipe blends tender chicken, fresh veggies, and creamy broth to create a delicious dish. …
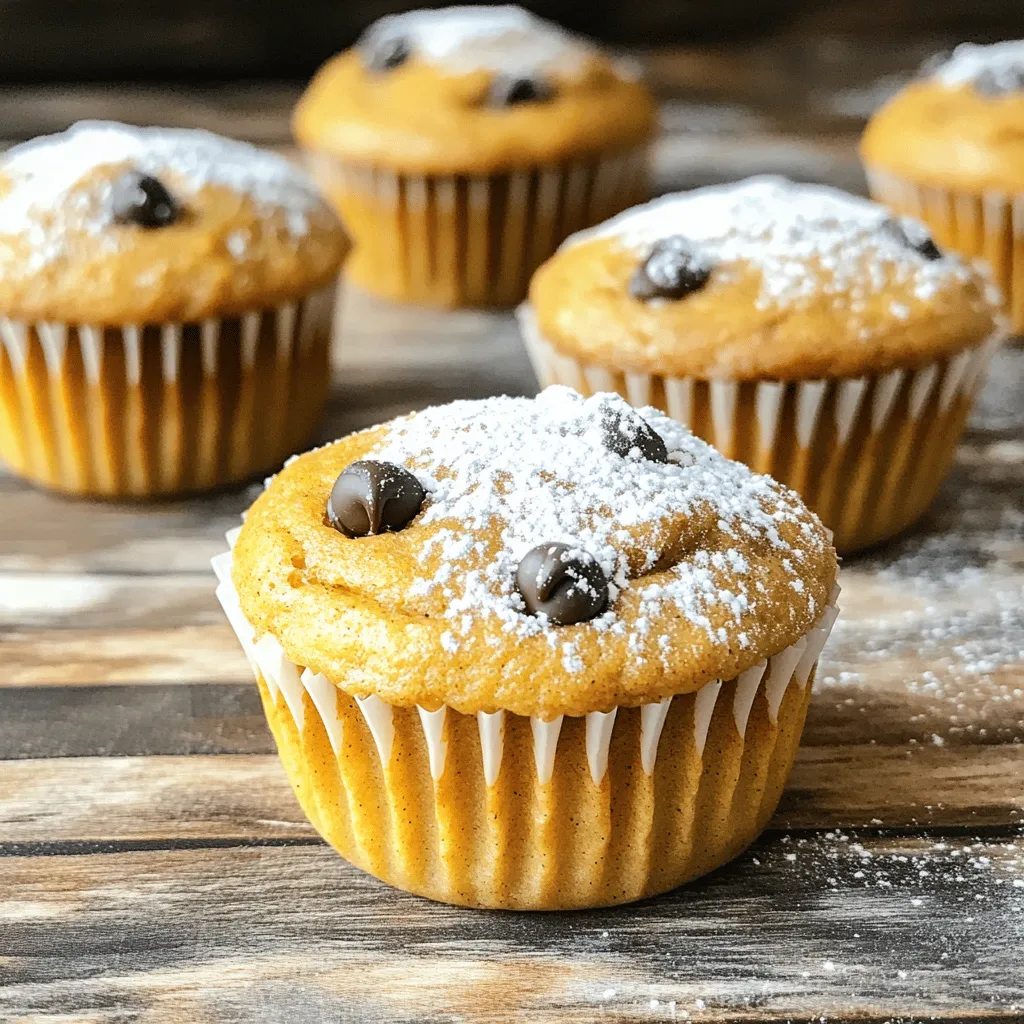
Are you ready to bake a treat that’s both healthy and easy? Flourless pumpkin muffins are a game-changer. They pack in flavor without the flour. In this simple recipe, I’ll …