Caramel Apple Cinnamon Rolls Delightful and Easy Recipe
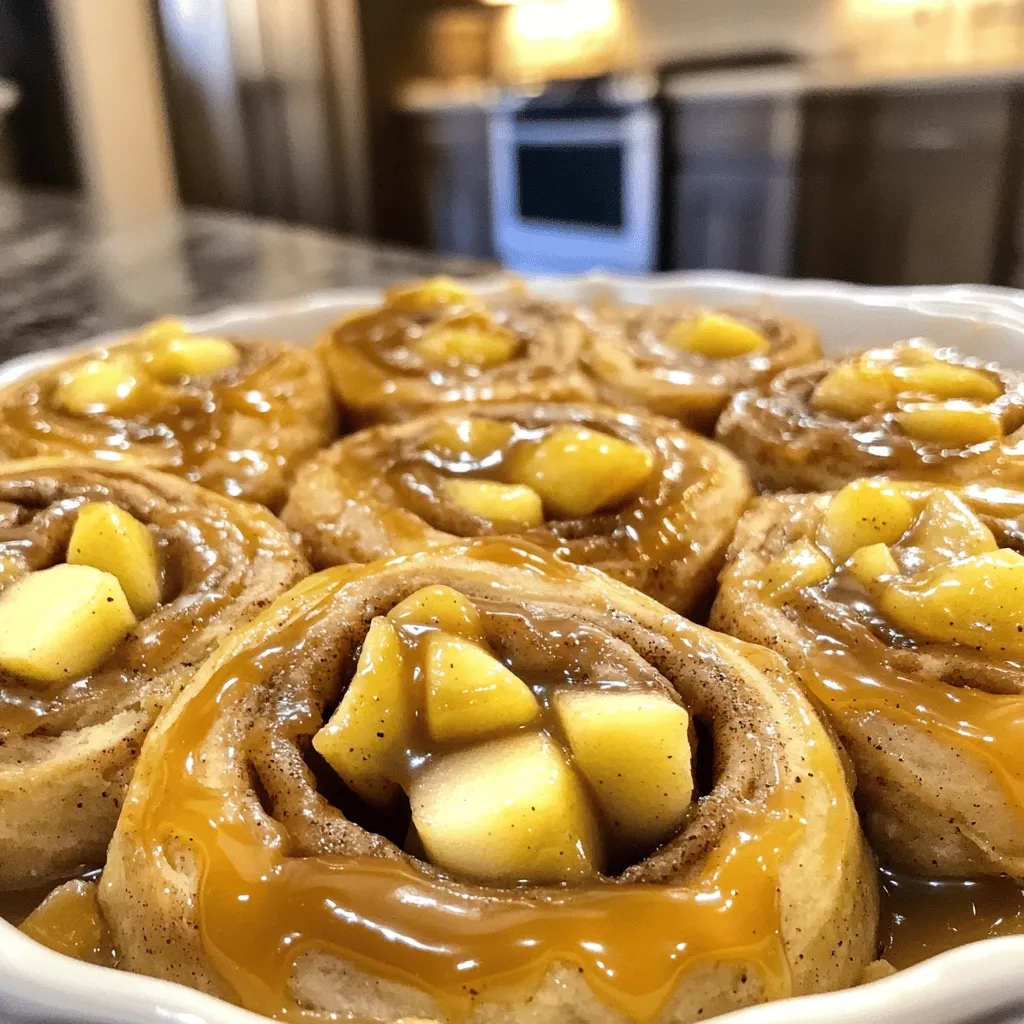
Are you ready to impress your family with a sweet treat? I have an easy recipe for delightful Caramel Apple Cinnamon Rolls that will have everyone begging for more. The …
Are you ready to impress your family with a sweet treat? I have an easy recipe for delightful Caramel Apple Cinnamon Rolls that will have everyone begging for more. The …

Looking for a tasty breakfast that’s easy to prepare? This Delicious Cinnamon Roll French Toast Casserole is the answer. With just a few simple ingredients like refrigerated cinnamon rolls, eggs, …
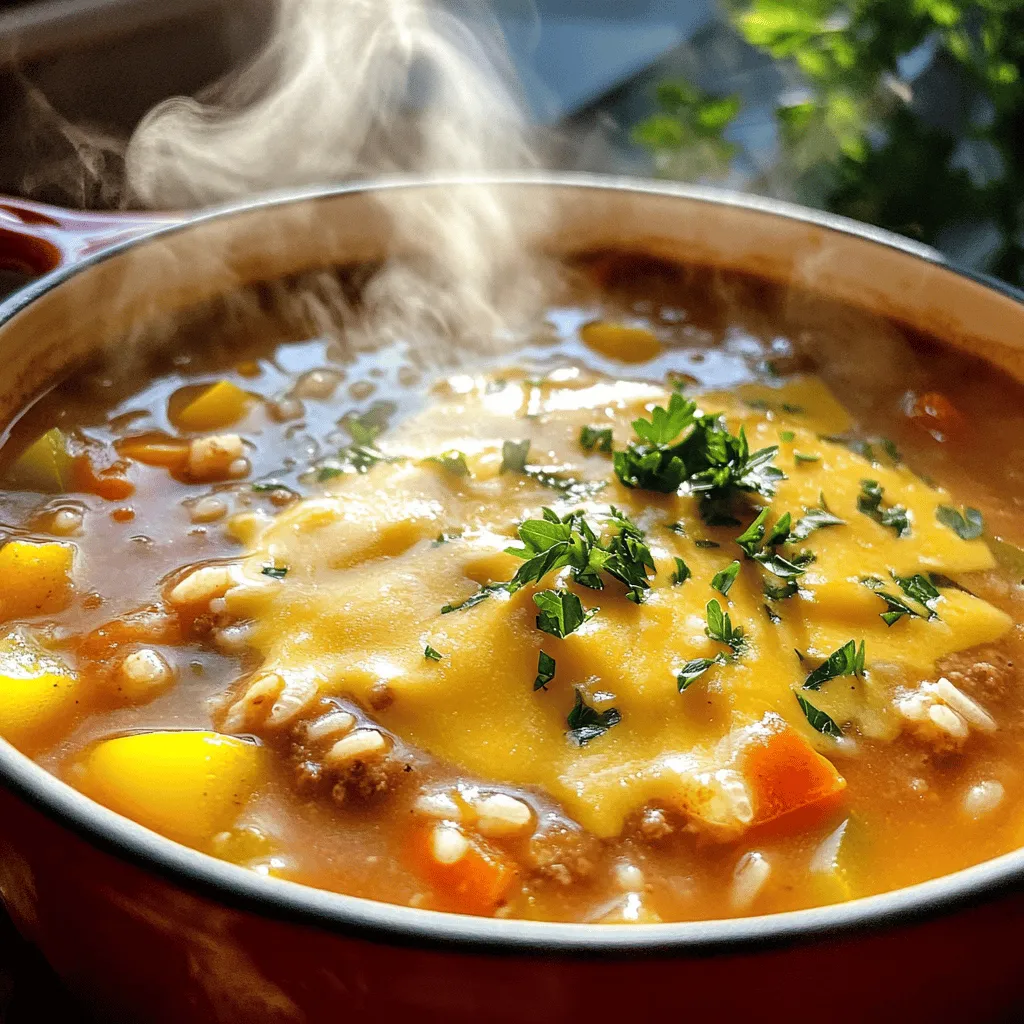
Warm up your day with my Cheesy Stuffed Pepper Soup, a cozy meal that’s full of flavor! This recipe is easy to make and perfect for chilly evenings. Packed with …
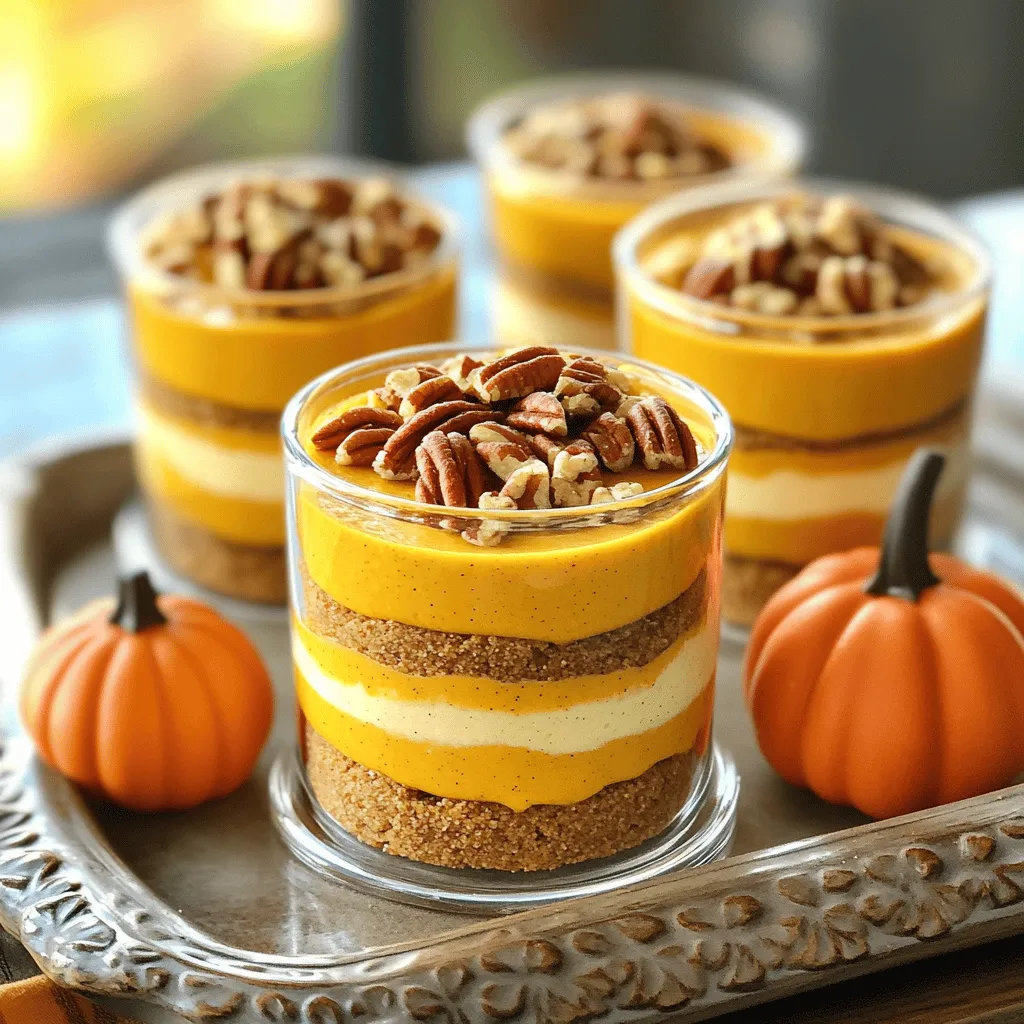
Craving a fall treat that’s creamy and easy? Look no further! These No-Bake Pumpkin Cheesecake Cups are perfect for any occasion. With just a few simple ingredients like cream cheese …
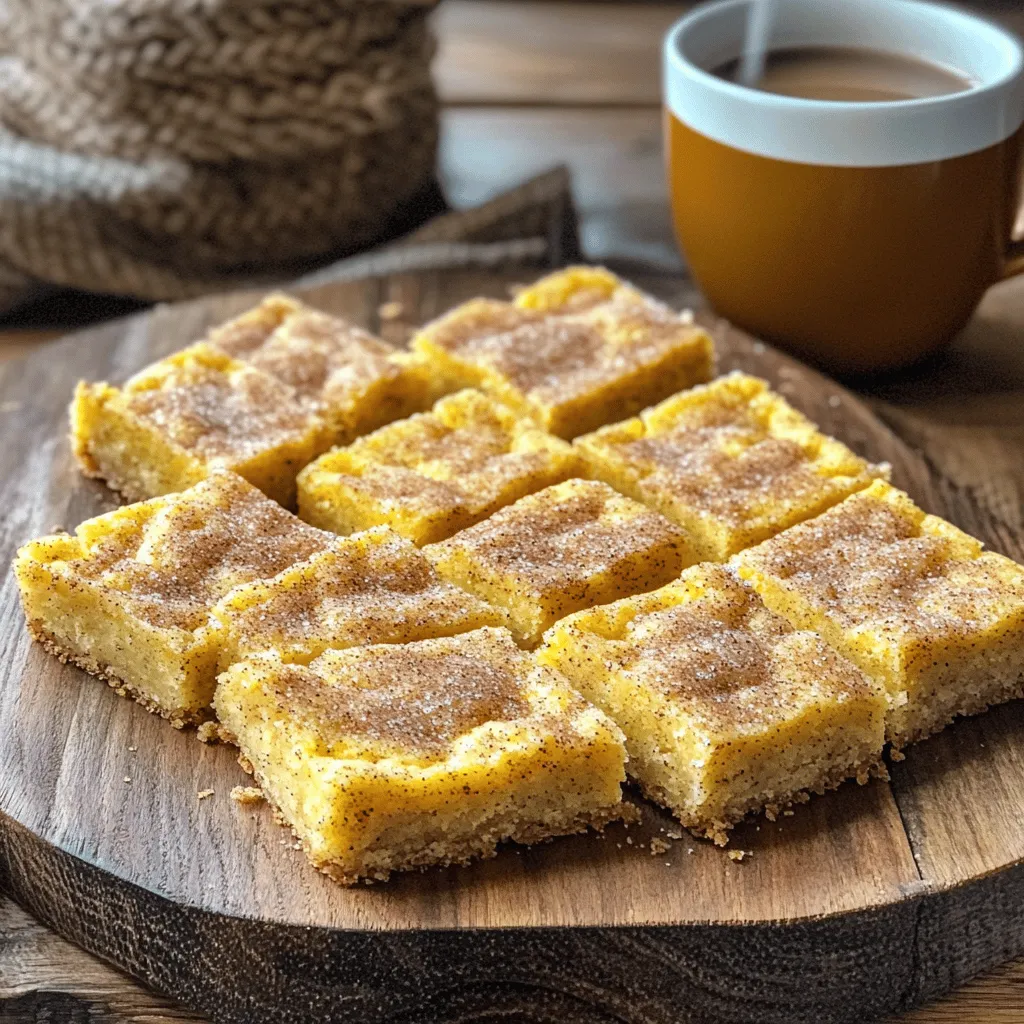
Craving a cozy treat that blends warm spices with sweet goodness? Look no further! My Spiced Chai Snickerdoodle Bars are the perfect pick-me-up, combining the aroma of chai with the …
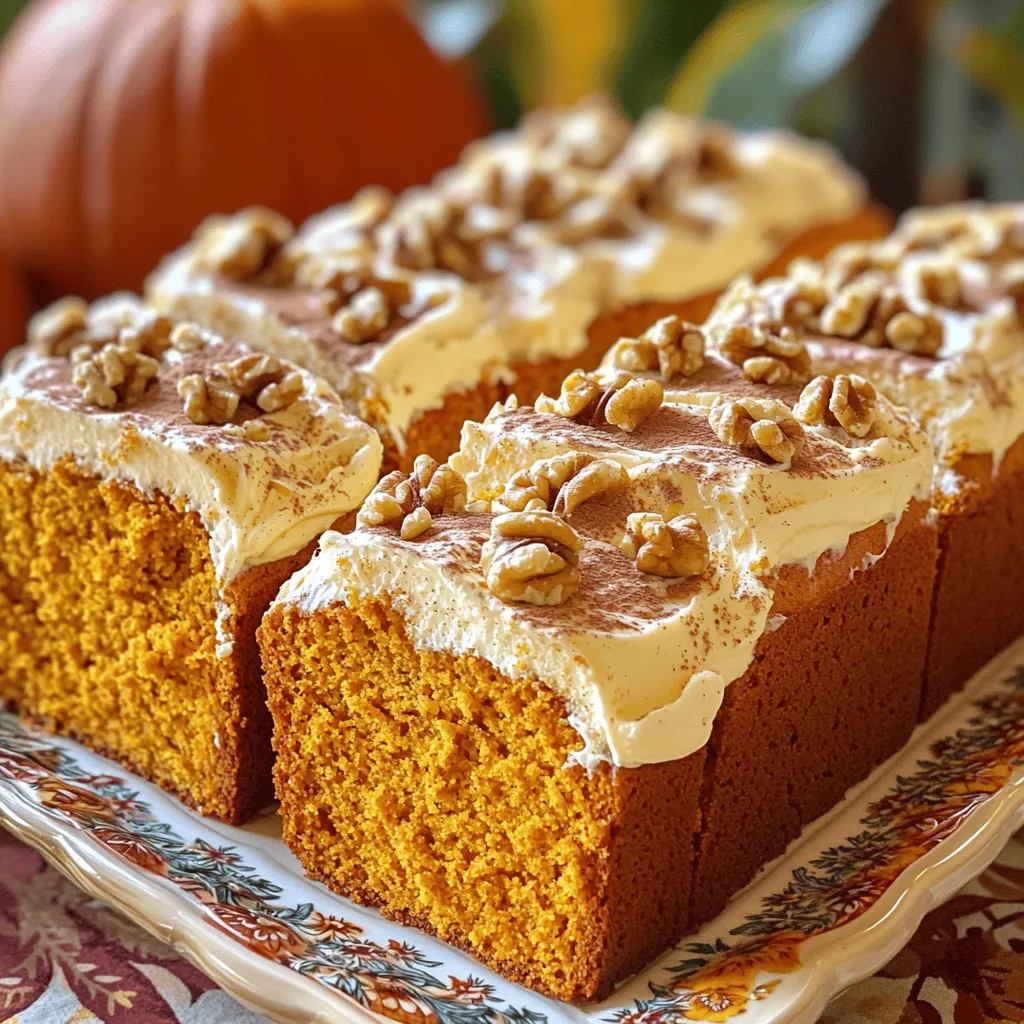
Are you ready to indulge in the ultimate fall treat? In this blog, I’ll show you how to make moist pumpkin bread topped with luscious cream cheese frosting. This easy …

Are you ready to savor the rich flavors of India without the fuss? My Slow Cooker Chicken Korma recipe brings you a delicious meal with minimal effort. Packed with spices …

Get ready to indulge in fall’s flavors with my Pumpkin Cheesecake Cookies! These soft and chewy treats blend creamy cheesecake goodness with warm pumpkin spice. Whether you’re hosting a gathering …

Are you ready to sip on something special this season? Blackberry Hot Chocolate is a rich and cozy delight you won’t want to miss. With a luscious mix of dark …
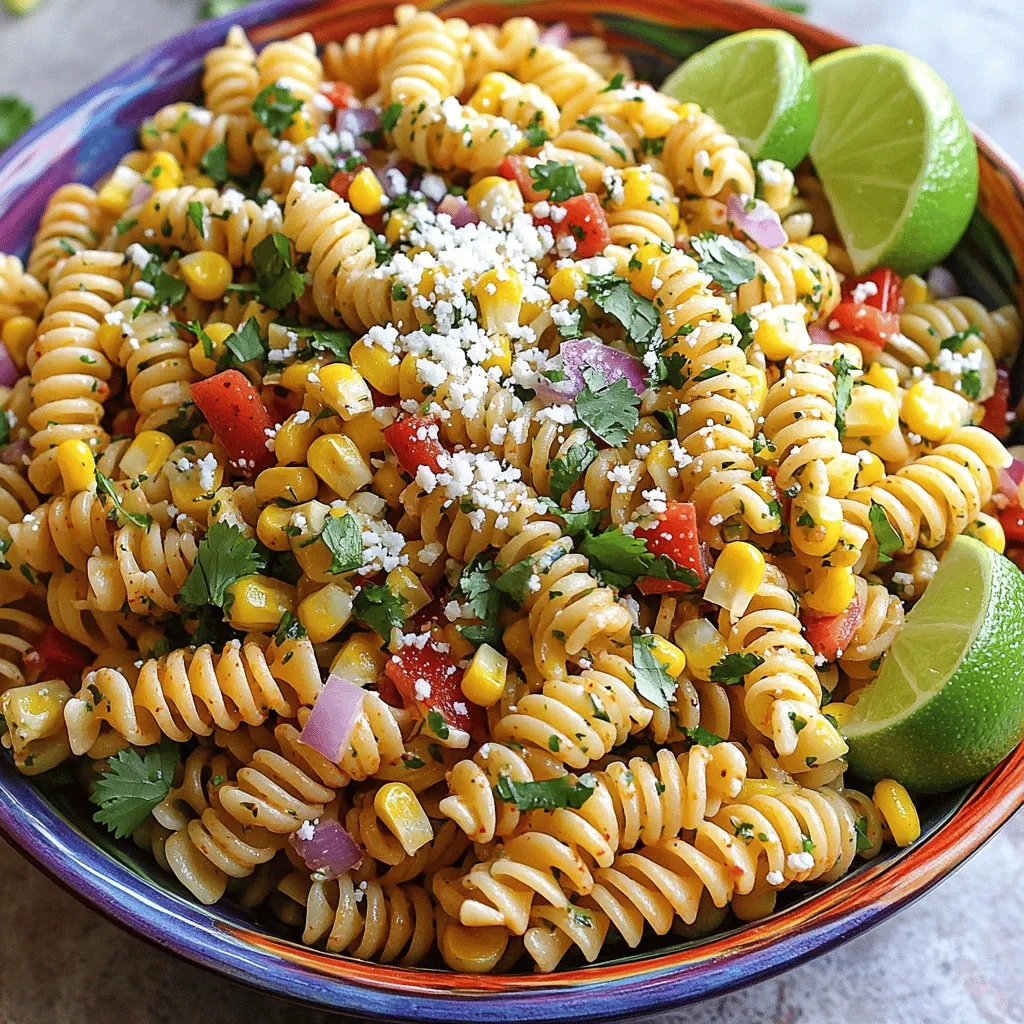
Looking for a fresh side dish that packs a punch? Mexican Street Corn Pasta Salad combines vibrant flavors with easy-to-find ingredients. This dish features sweet corn, zesty jalapeño, and creamy …