Garlic Parmesan Spaghetti Simple and Tasty Recipe
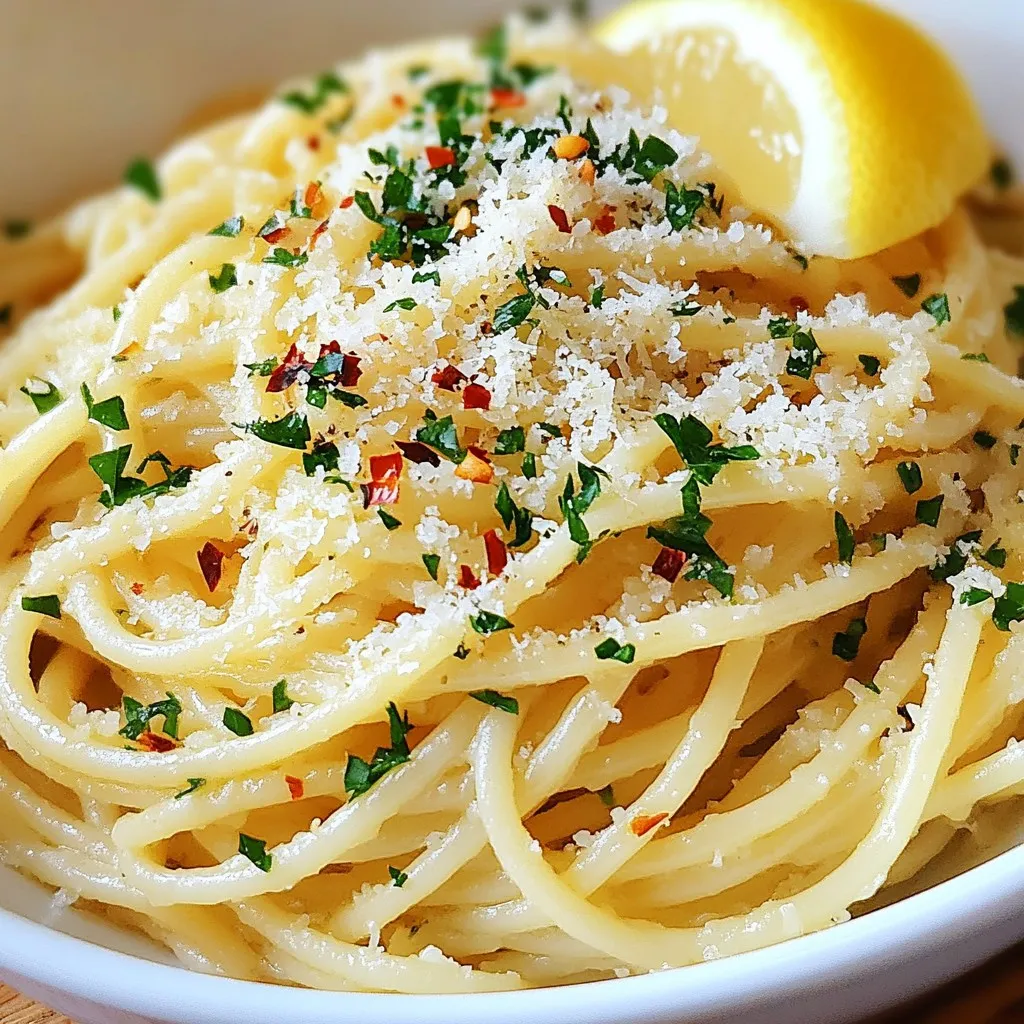
Garlic Parmesan Spaghetti is a quick and easy dish that packs a ton of flavor. Whether you’re a busy parent or just want a tasty meal, this simple recipe will …
Garlic Parmesan Spaghetti is a quick and easy dish that packs a ton of flavor. Whether you’re a busy parent or just want a tasty meal, this simple recipe will …
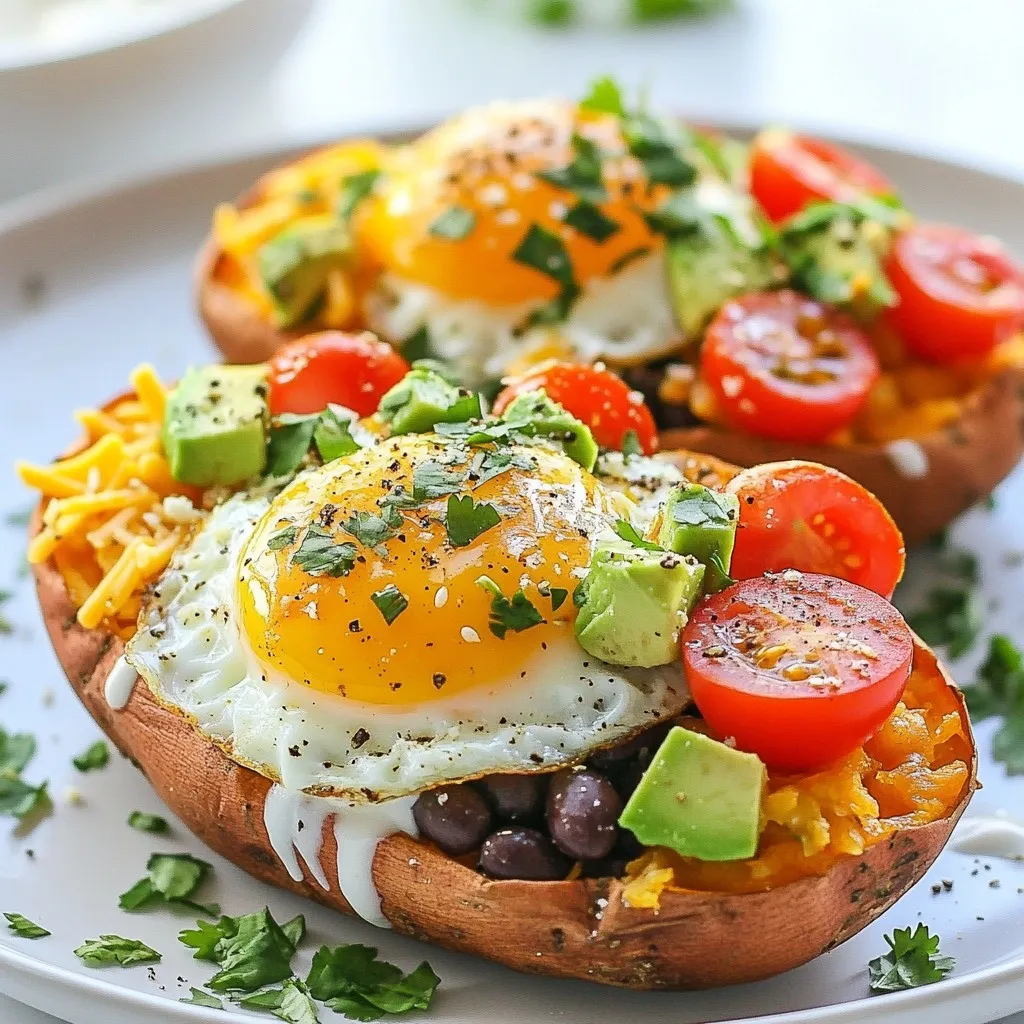
Start your day right with loaded breakfast sweet potatoes, a dish bursting with flavor! Imagine sweet, tender potatoes topped with eggs, black beans, and creamy avocado. This easy recipe is …

If you’re craving a sweet treat but want to keep it simple, I’ve got just the recipe for you! These two-ingredient donuts are quick to make and only need self-rising …
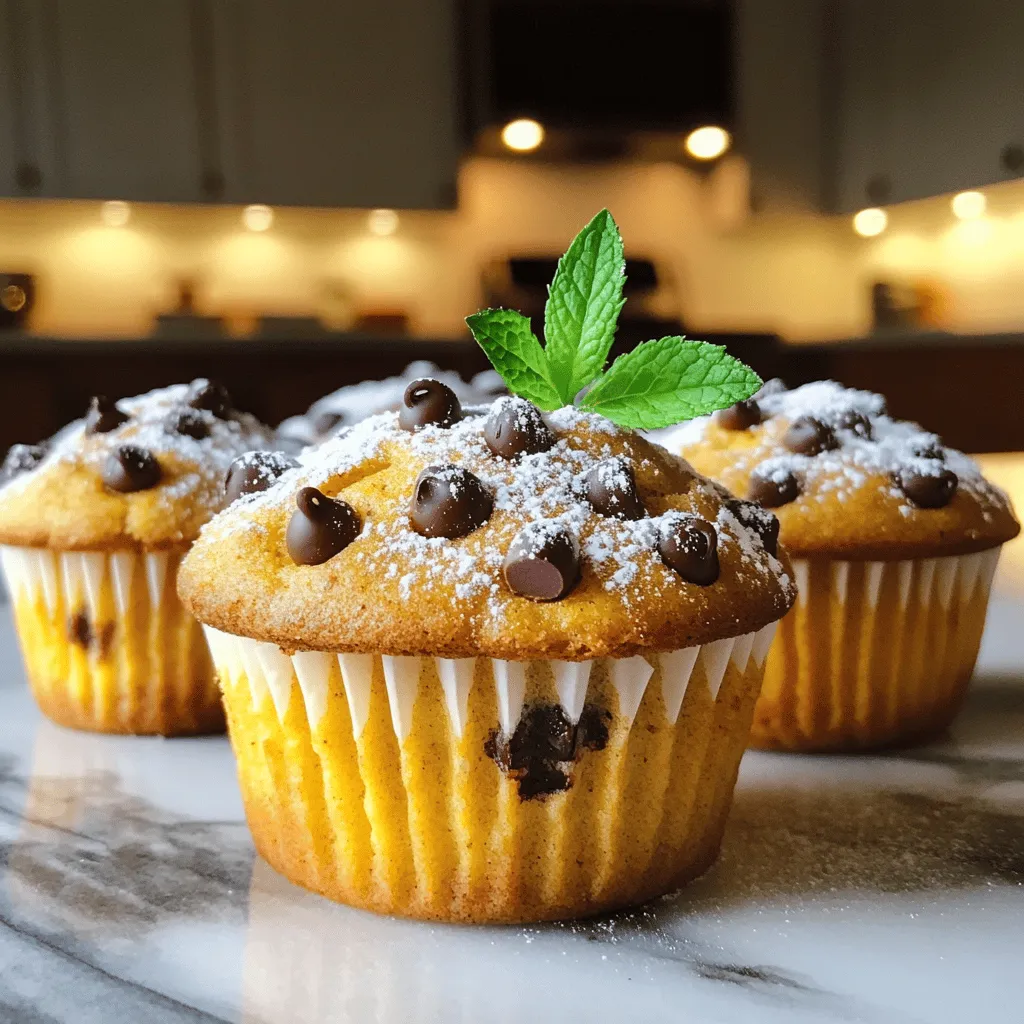
If you’re longing for a cozy and delicious way to start your day, these Pumpkin Chocolate Chip Muffins are the answer! Packed with warm spices and rich chocolate, they’ll make …

Fall is here, and it’s time to savor the season with a Pumpkin White Mocha! This delightful drink blends rich pumpkin puree, sweet white chocolate, and warm spices for a …
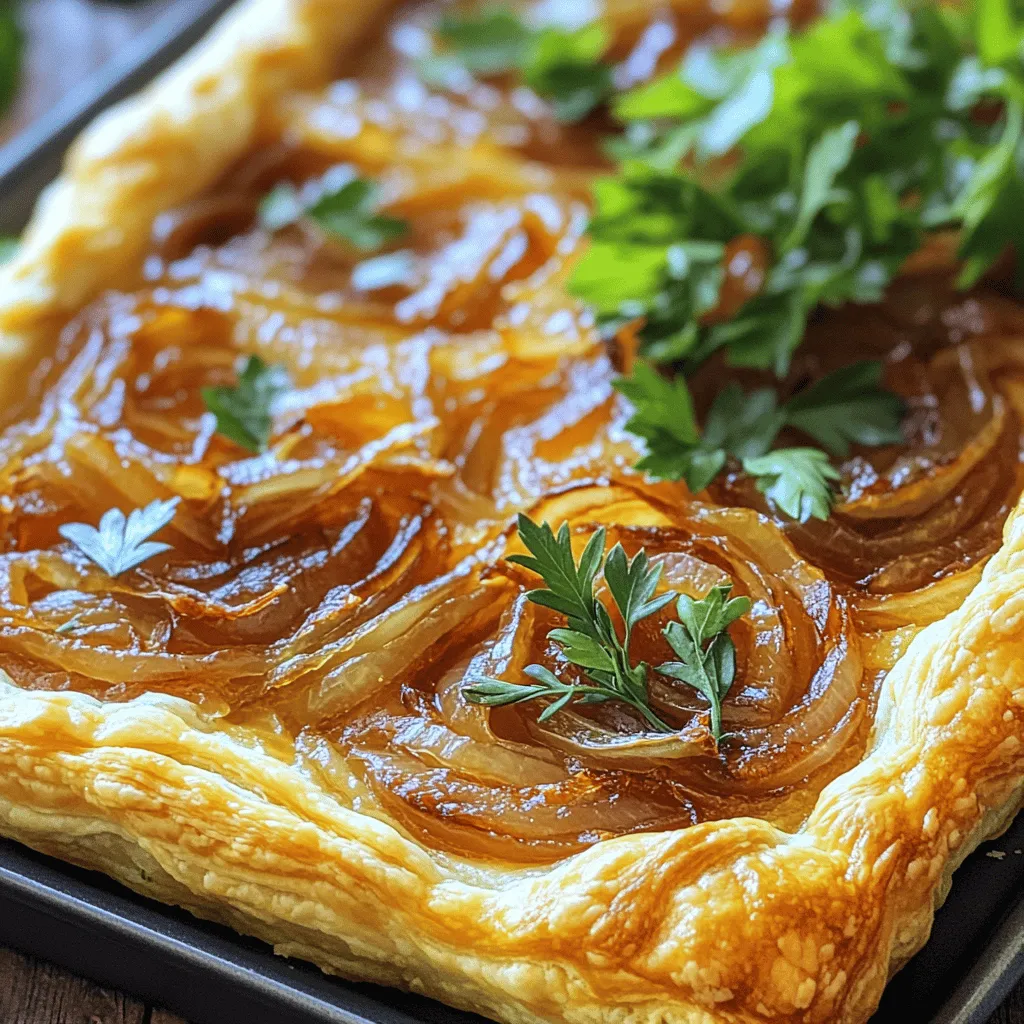
If you’re craving a dish that bursts with savory flavor, my Caramelized Onion Gruyère Tart is the answer. This dish combines sweet, tender onions with rich Gruyère cheese, all wrapped …
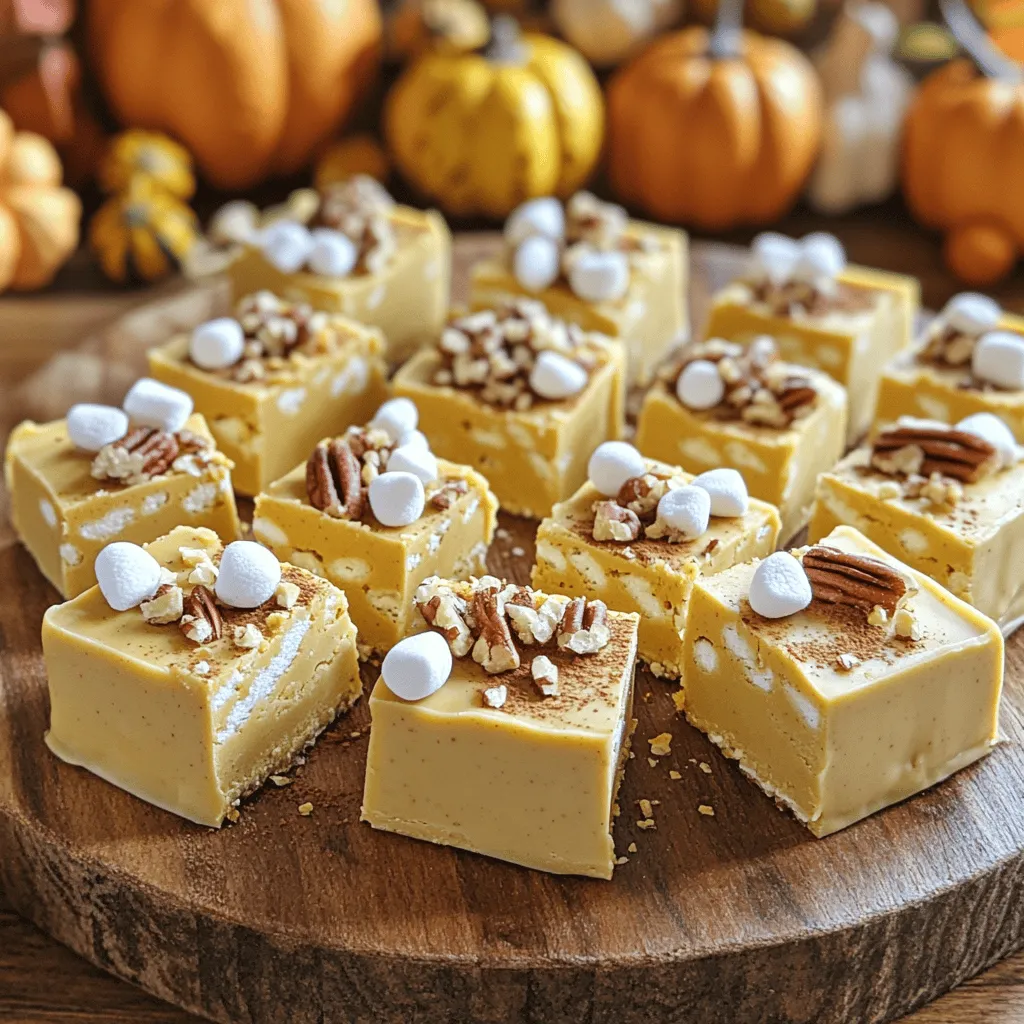
Get ready to wow your friends and family this holiday season with my Pumpkin Pie Fudge recipe! This sweet treat combines creamy white chocolate and rich pumpkin, creating a dessert …
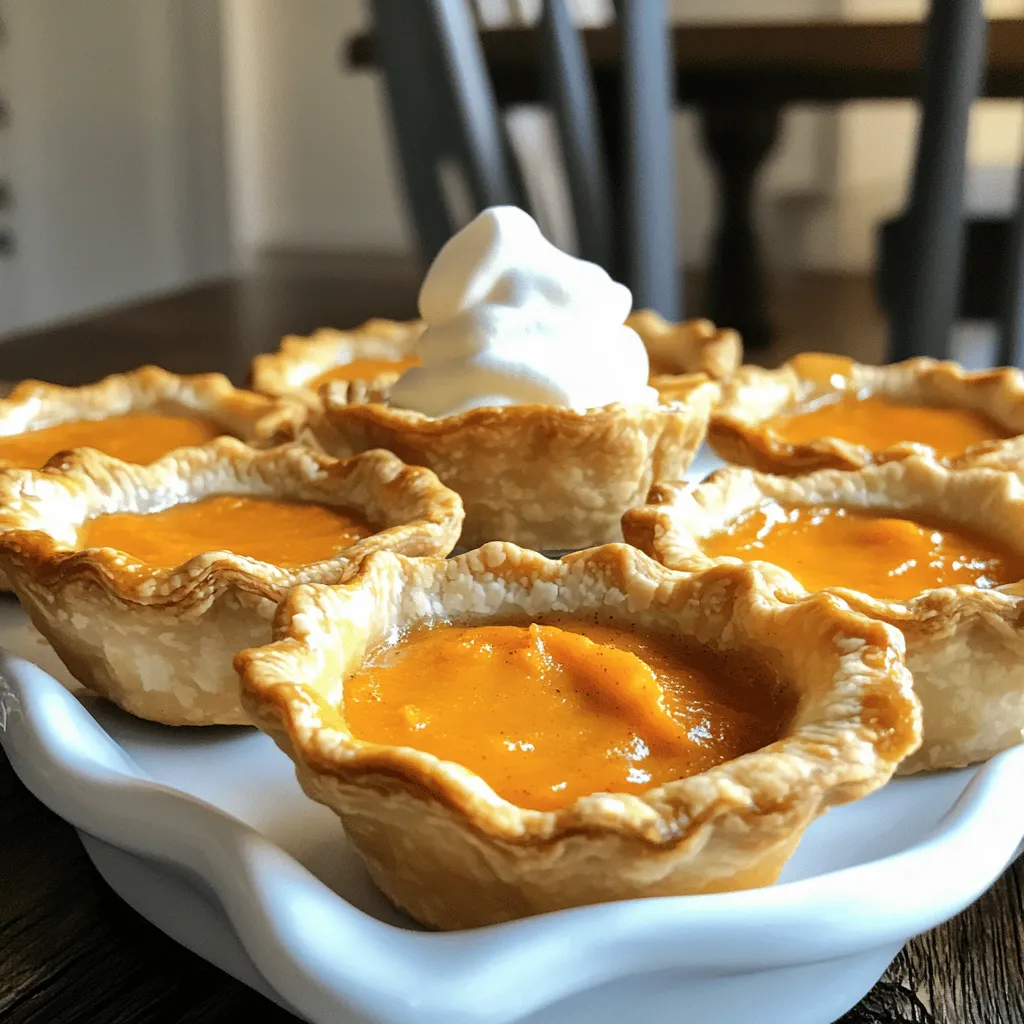
If you love sweet potatoes and crave a tasty treat, you’re in for a delight! Today, I’ll show you how to make delightful mini sweet potato pies with a creamy …

Are you ready to enjoy a Dairy Free Pumpkin Spice Latte that’s rich and creamy? This simple recipe uses plant-based ingredients to give you the cozy flavors of fall without …
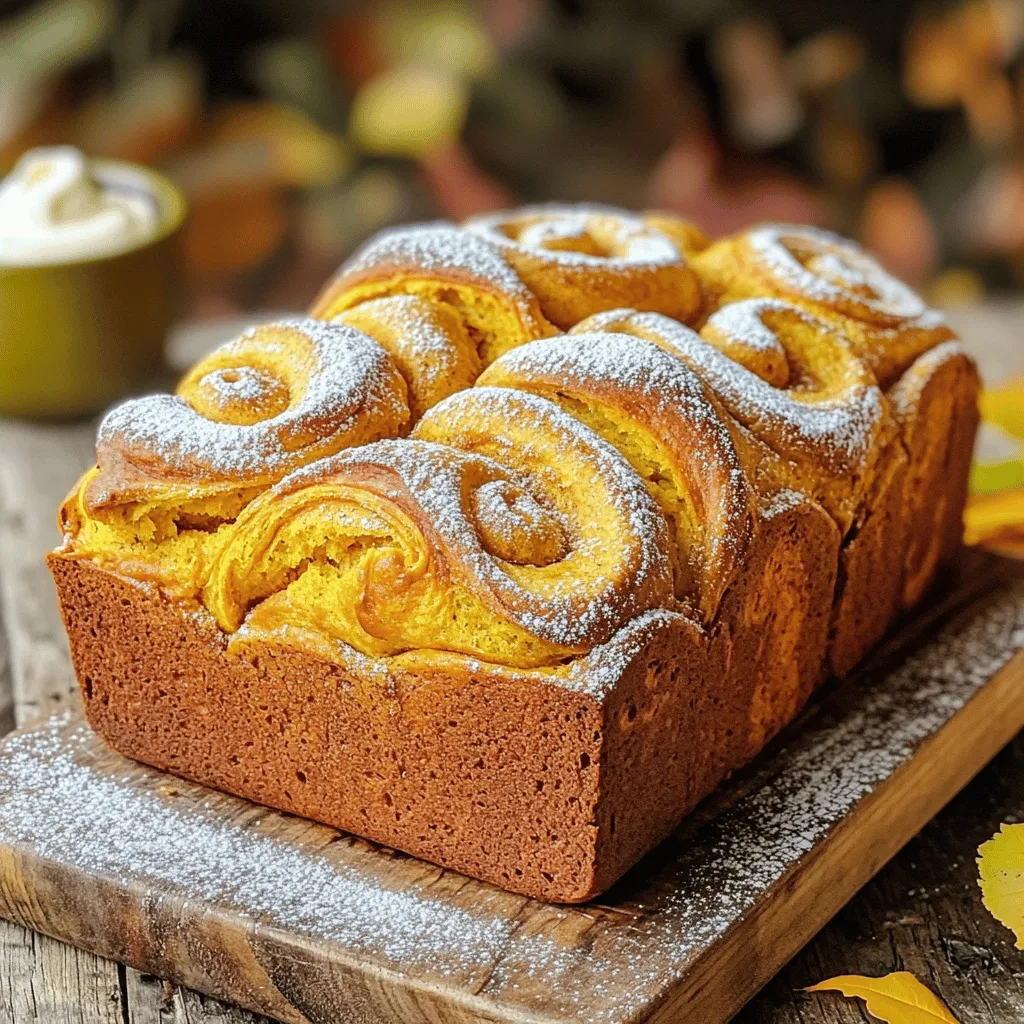
Have you ever wished you could recreate that warm, spicy goodness of Starbucks pumpkin bread at home? Well, you’re in the right place! This easy recipe will guide you through …