Pumpkin Cream Cold Brew Simple and Tasty Recipe
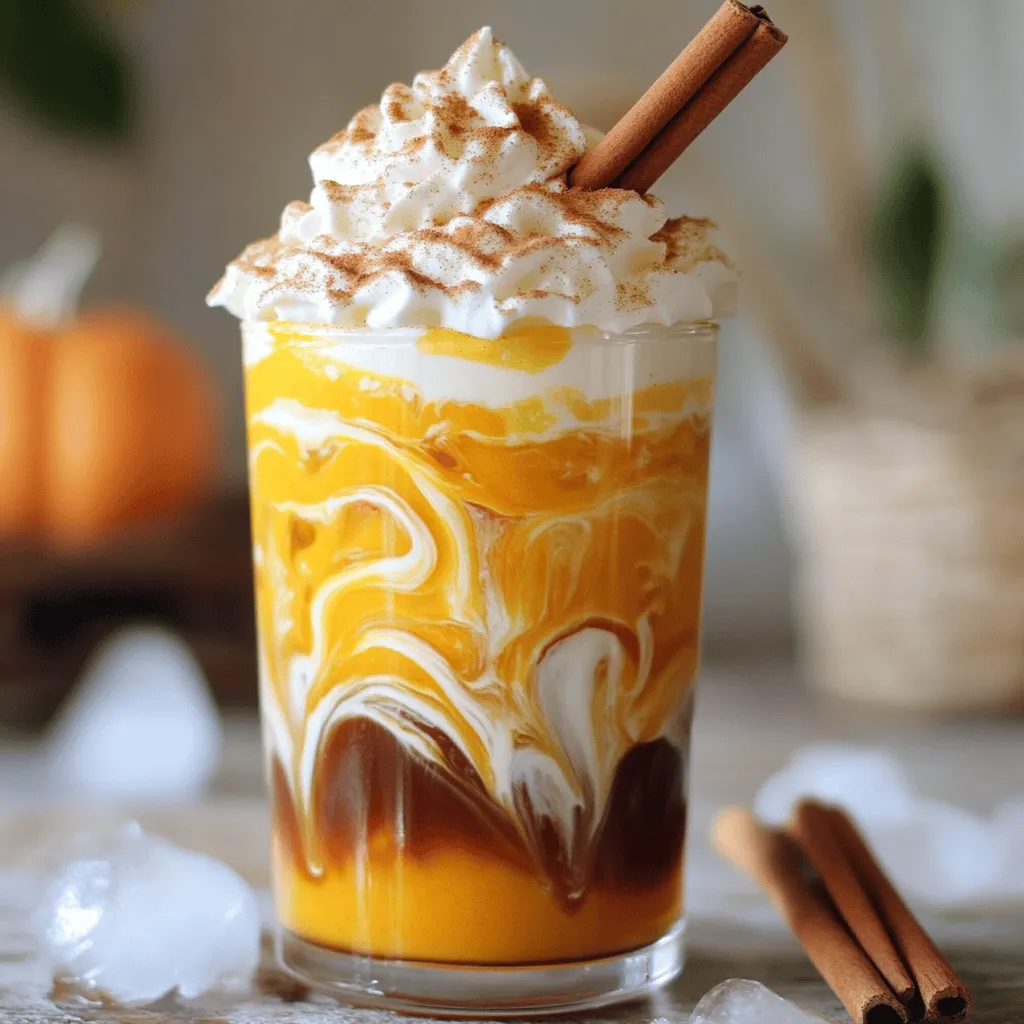
Looking to spice up your coffee routine? My Pumpkin Cream Cold Brew recipe is simple and oh-so-tasty! This delightful drink combines cold brew coffee with creamy pumpkin goodness, perfect for …