Creamy Coconut Chickpea Curry Flavorful and Easy Dish

Are you ready to dive into a bowl of creamy goodness? This Creamy Coconut Chickpea Curry is not just easy to make; it’s bursting with flavor! Using simple ingredients like …
Are you ready to dive into a bowl of creamy goodness? This Creamy Coconut Chickpea Curry is not just easy to make; it’s bursting with flavor! Using simple ingredients like …
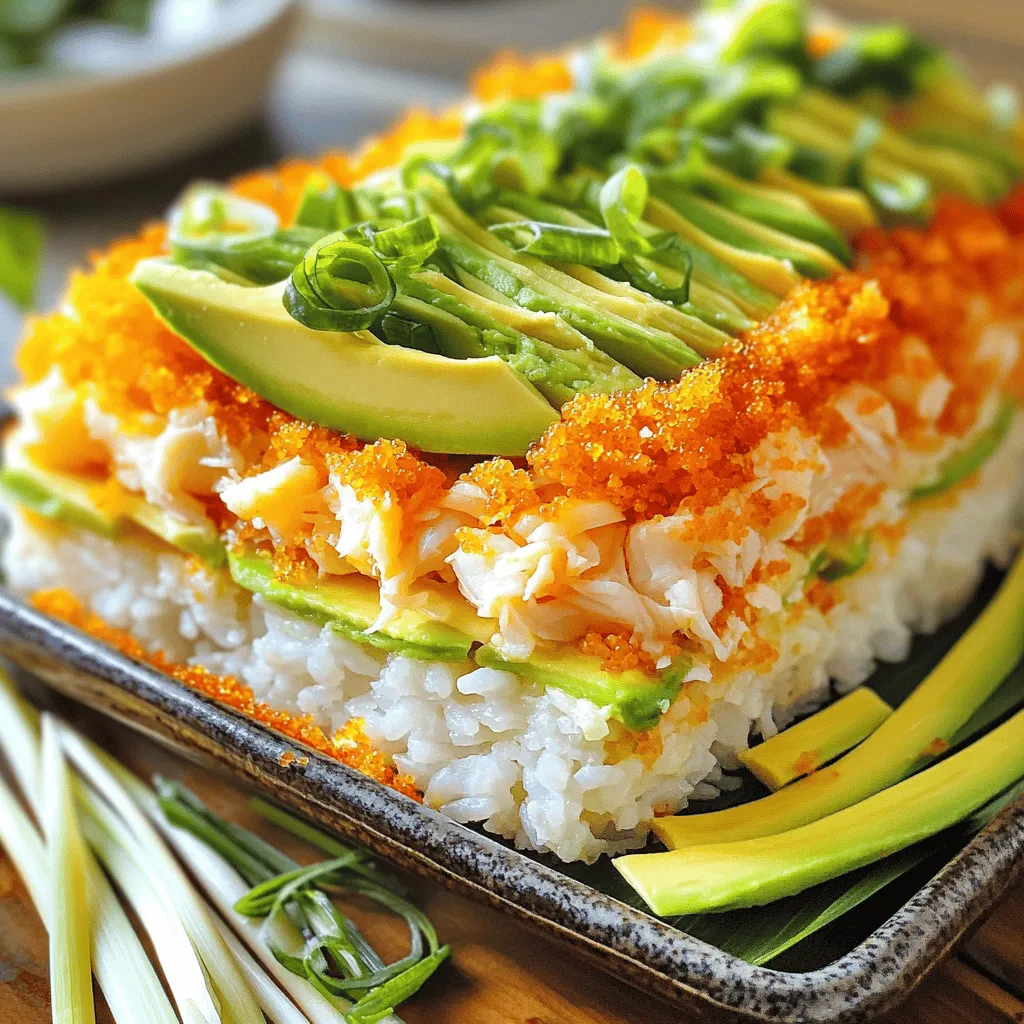
If you love sushi and want an easy twist, then you’ll adore TikTok Sushi Bake! This fun recipe is simple, quick, and packed with flavor. I’ll guide you through each …
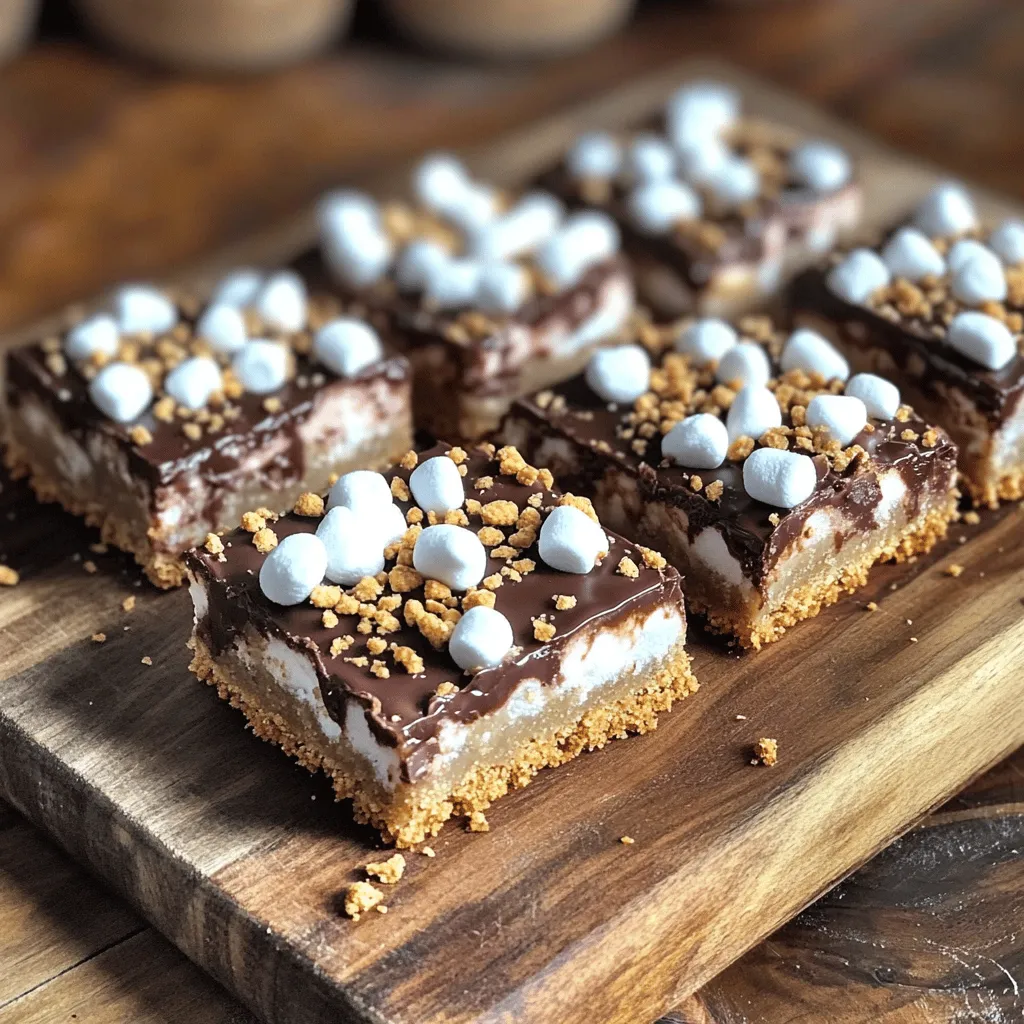
Craving a sweet, campfire-inspired treat? Try these S’mores Cookie Bars! This easy recipe combines rich chocolate, gooey marshmallows, and crunchy graham crackers in one delicious dessert. Perfect for any occasion, …
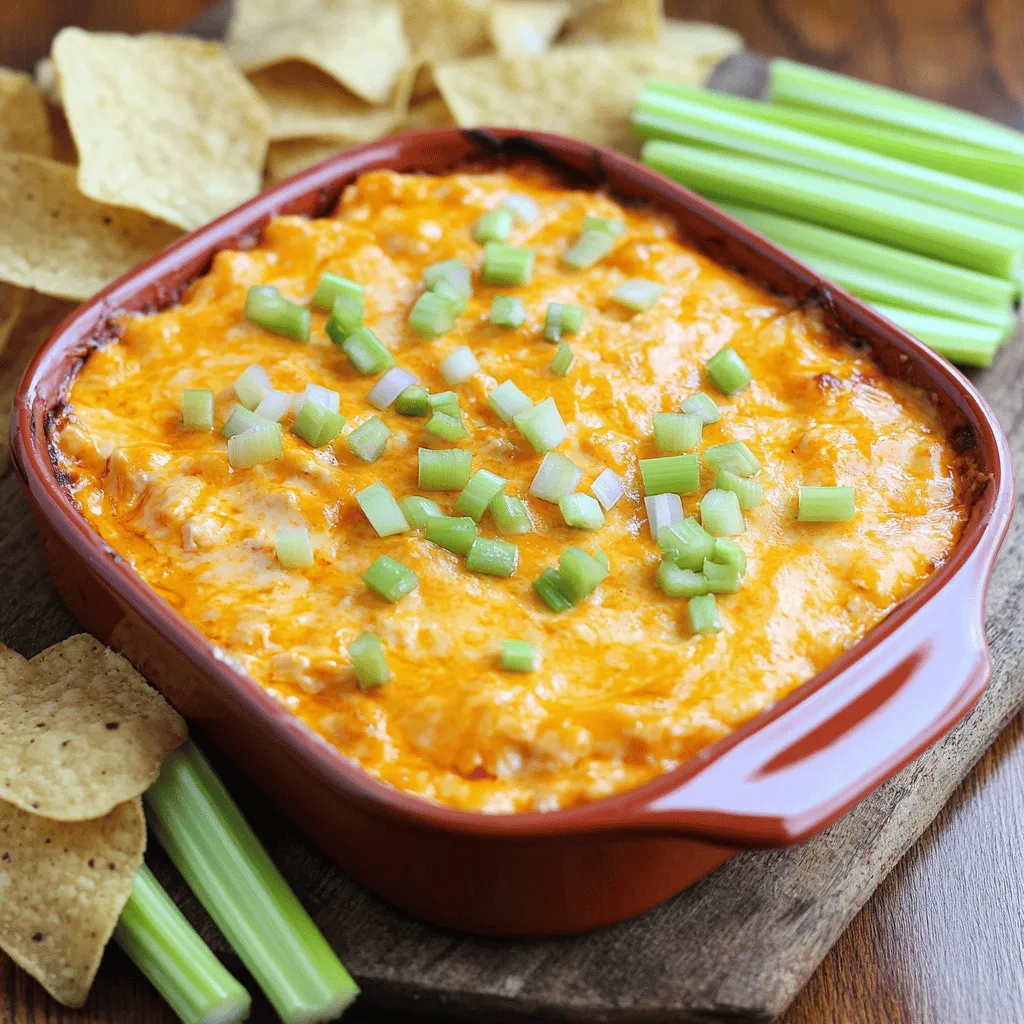
Are you ready to dive into the ultimate comfort food? This Buffalo Chicken Dip is creamy, flavorful, and perfect for any gathering. With easy steps and simple ingredients, you’ll wow …

Are you ready to bake a delicious Lemon Blueberry Pound Cake? This treat bursts with fresh flavors that brighten any day. I’ll share the best ingredients and simple steps to …
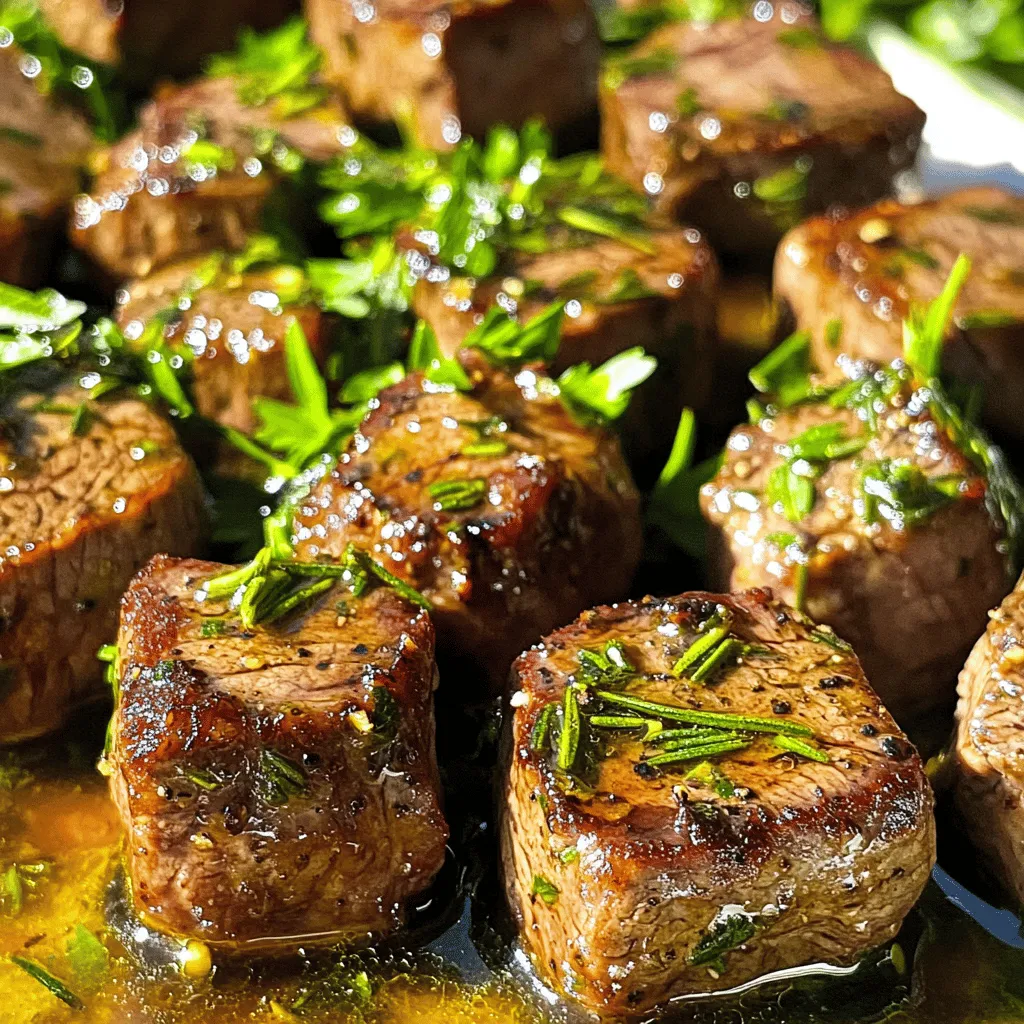
Welcome to the world of Garlic Butter Steak Bites! This dish combines juicy steak, rich butter, and fragrant garlic into a simple bite-sized delight. Whether you’re a seasoned cook or …
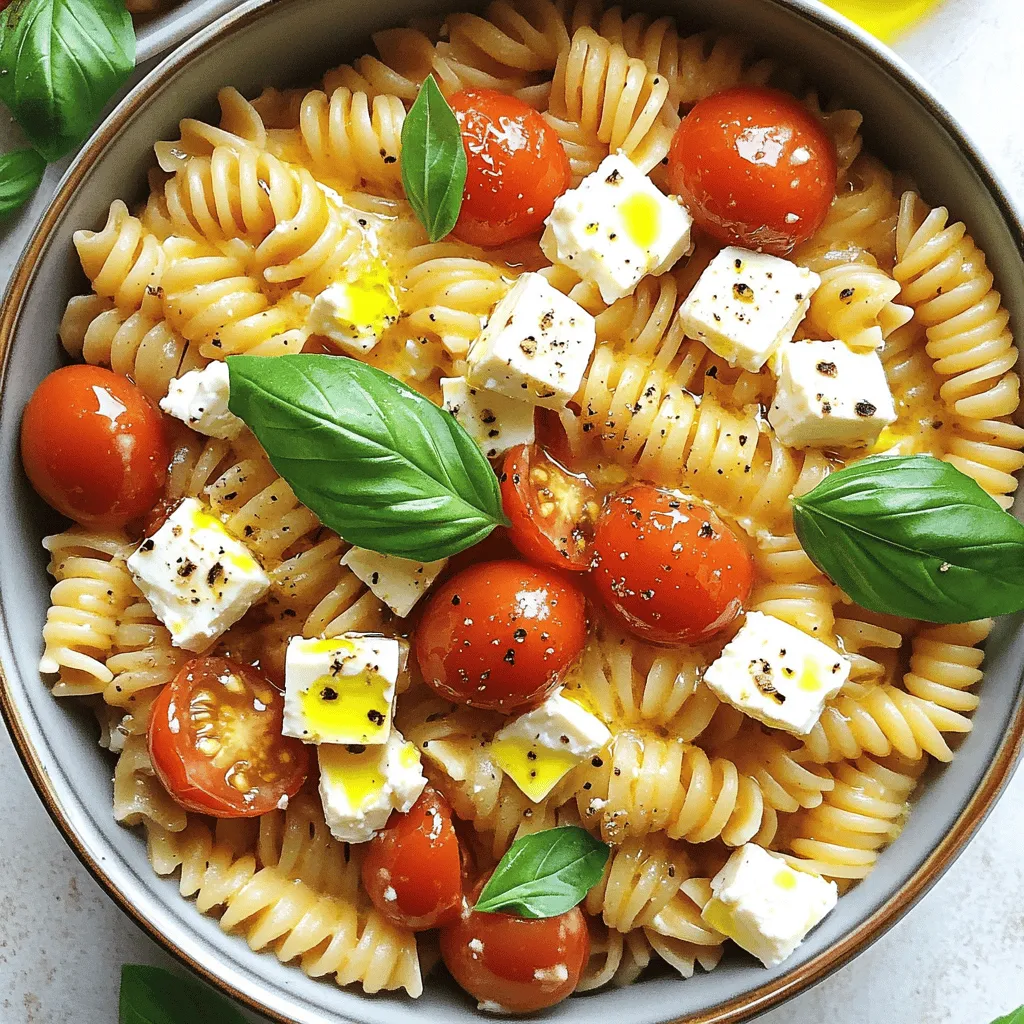
Are you ready for a dish that is as simple as it is delicious? Feta Tomato Pasta packs bright, bold flavors in one easy meal. This recipe transforms everyday ingredients …
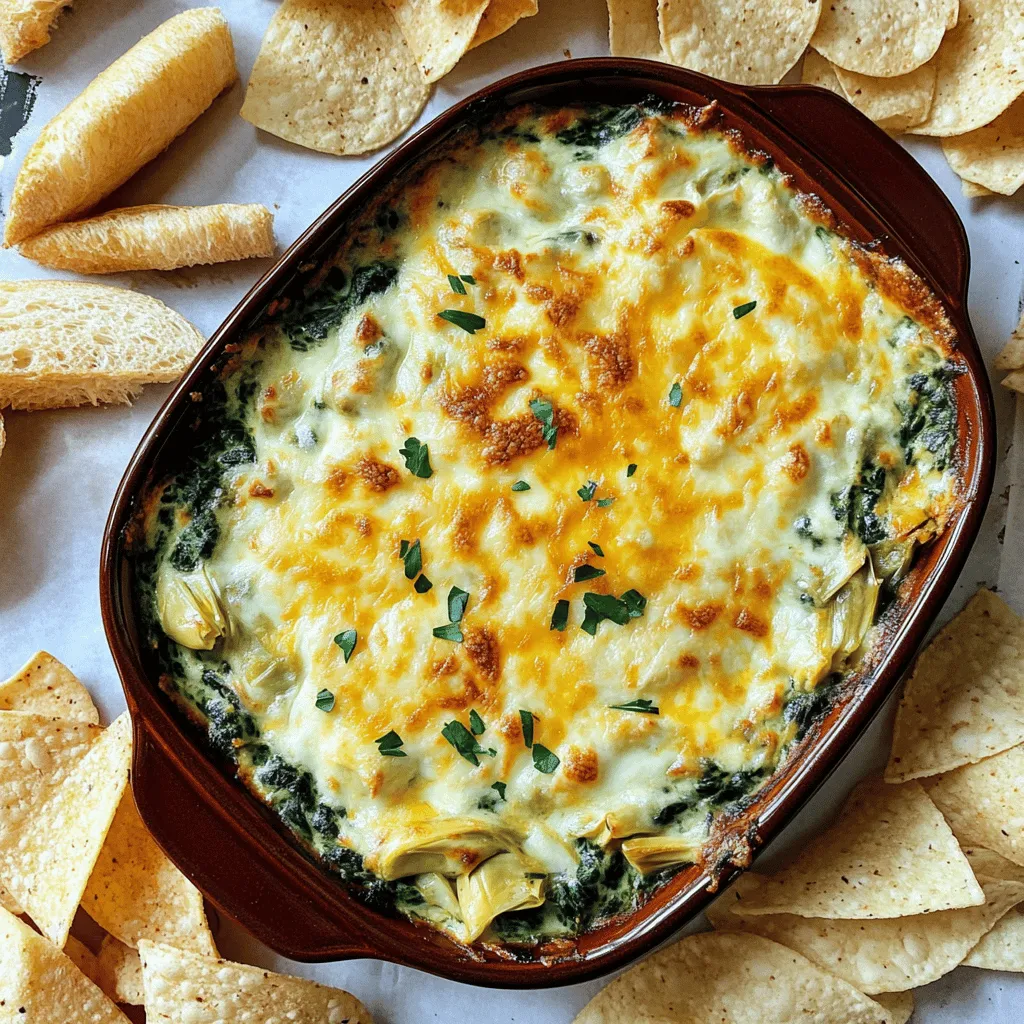
Are you ready to impress your friends with a warm and cheesy delight? This Cheesy Spinach Artichoke Dip is a crowd-pleaser that’s both delicious and simple to make! With just …

Craving a rich, creamy dish that’s ready in no time? Let me introduce you to Instant Pot Chicken Tikka Masala. This simple and tasty recipe combines tender chicken with bold …

Ready for a snack that’s both fun and delicious? These Cheesy Taco Sticks are the answer! With simple ingredients like pizza dough, cheddar cheese, and seasoned beef, you can whip …