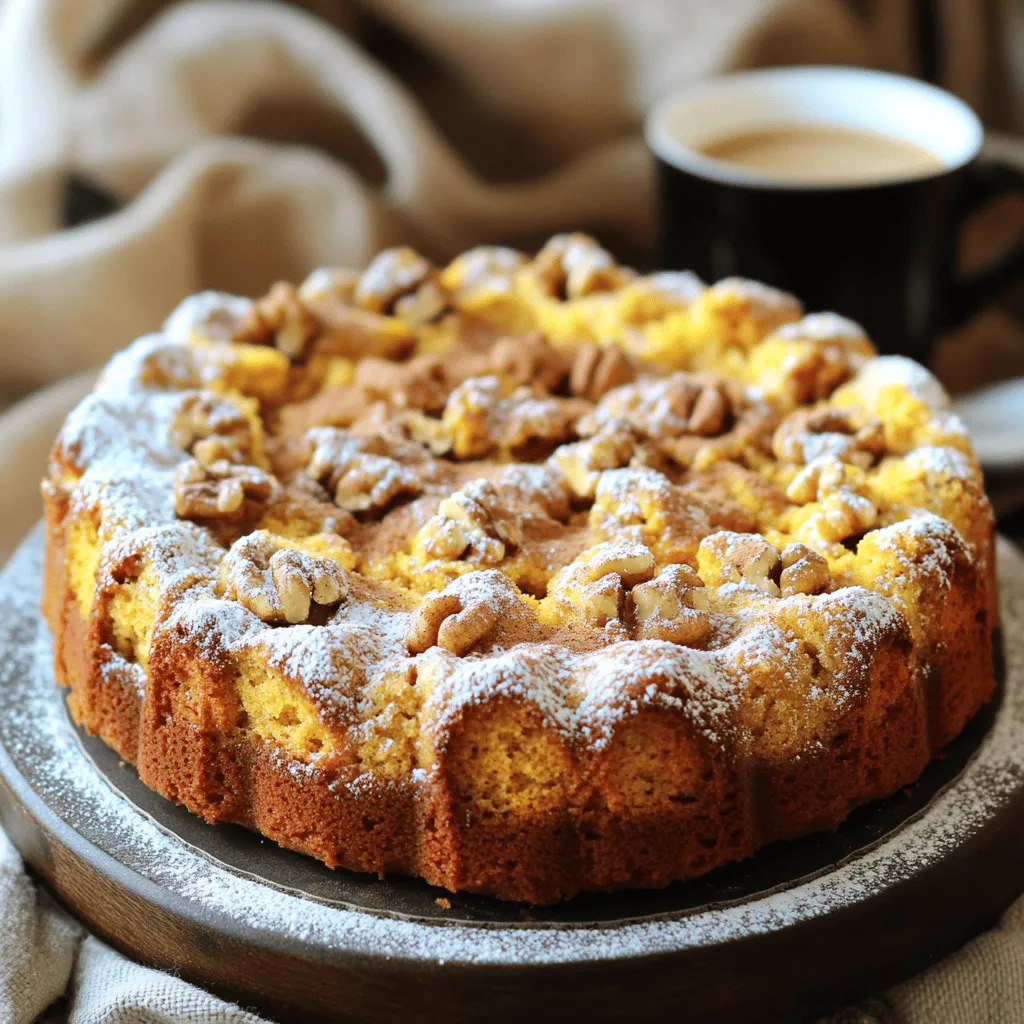
Easy Pumpkin Spice Cake Flavorful and Simple Recipe
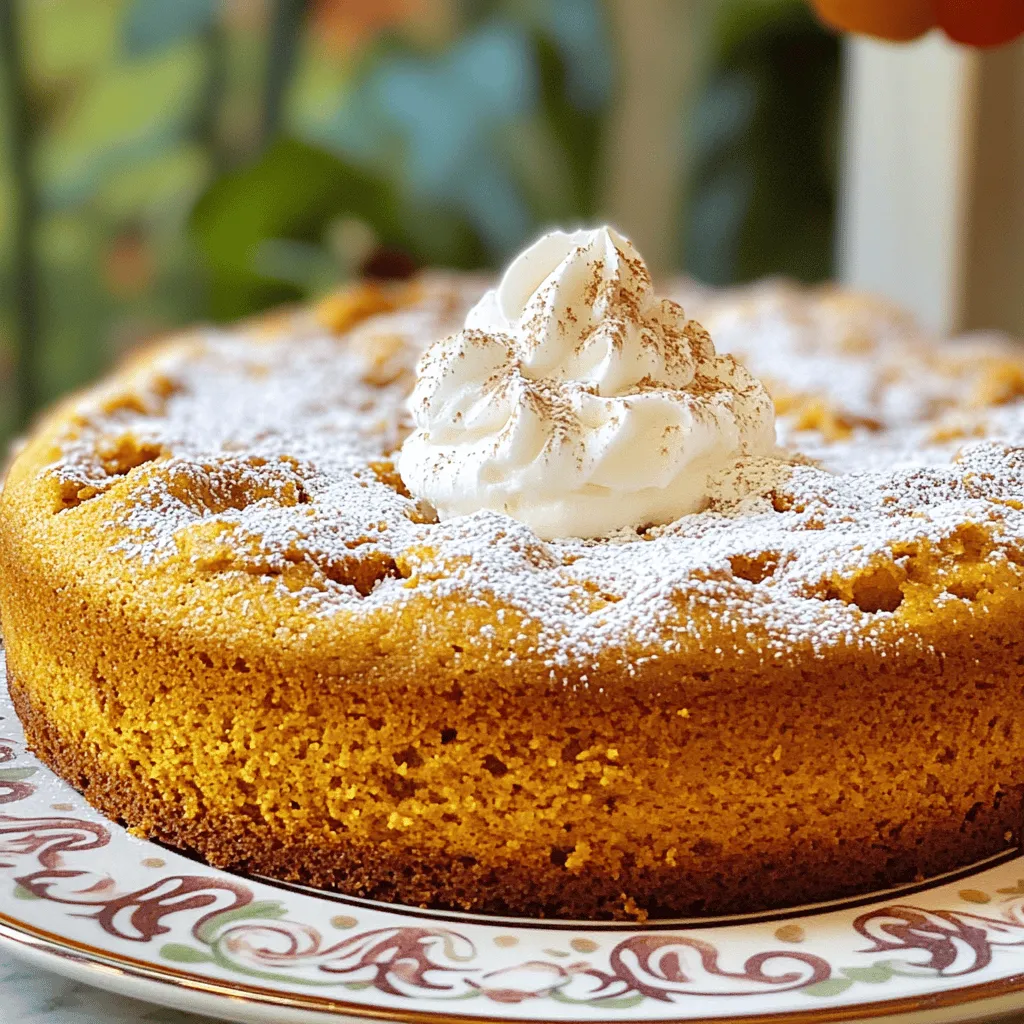
If you love pumpkin spice, you’ll adore this easy pumpkin spice cake recipe. It’s flavorful, simple, and perfect for any occasion. With just a few common ingredients and straightforward steps, …