Milky Way Cheesecake Brownies Simple and Tasty Treat
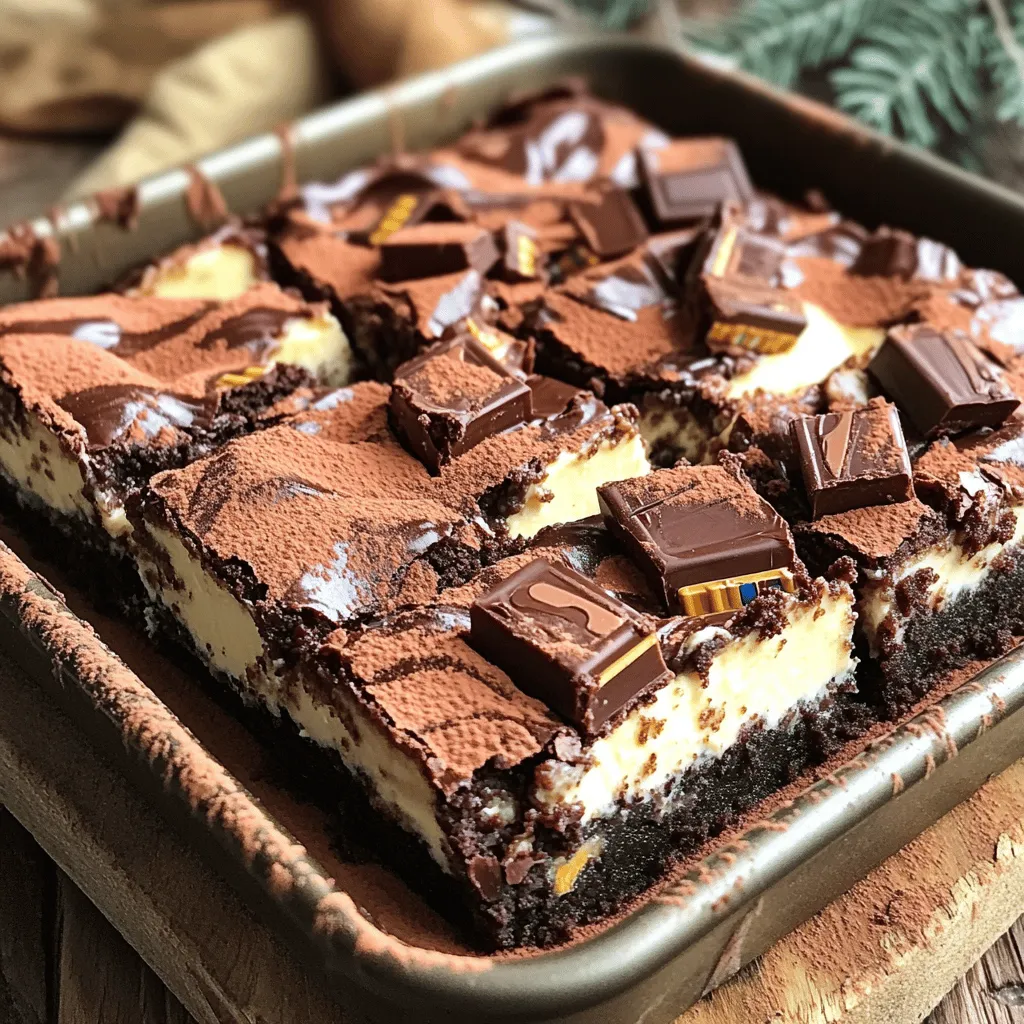
Do you crave a sweet treat that packs a punch? Look no further than Milky Way Cheesecake Brownies! This dessert combines rich chocolate brownies with a creamy cheesecake layer, making …