Blueberry Grilled Cheese Irresistible Flavor Combo
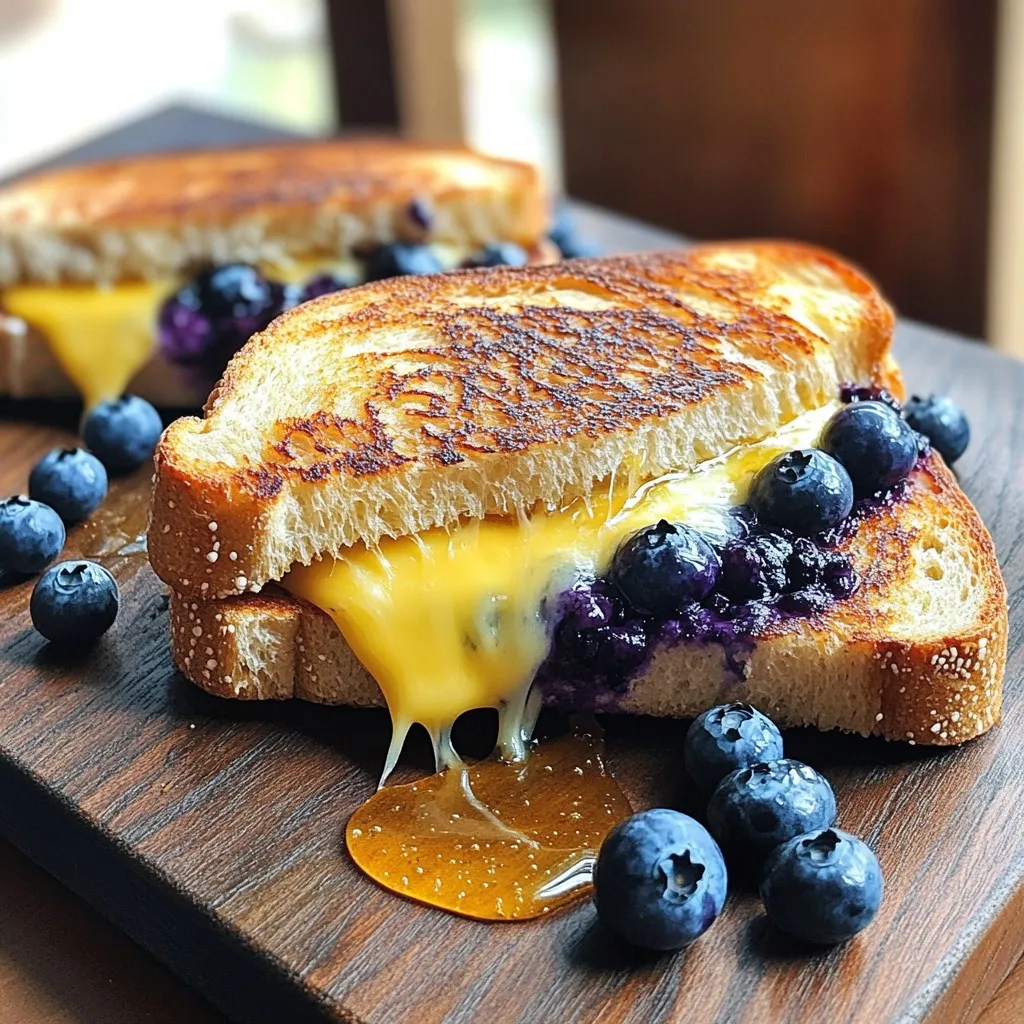
Are you ready to take your grilled cheese game to the next level? The Blueberry Grilled Cheese combines sharp cheddar with fresh blueberries for a sweet and savory treat. This …
Are you ready to take your grilled cheese game to the next level? The Blueberry Grilled Cheese combines sharp cheddar with fresh blueberries for a sweet and savory treat. This …

Craving a fun dessert that brings together the best of both worlds? Look no further! Fruity Pebbles Cheesecake Tacos are a tasty twist on classic sweets. With a crispy taco …
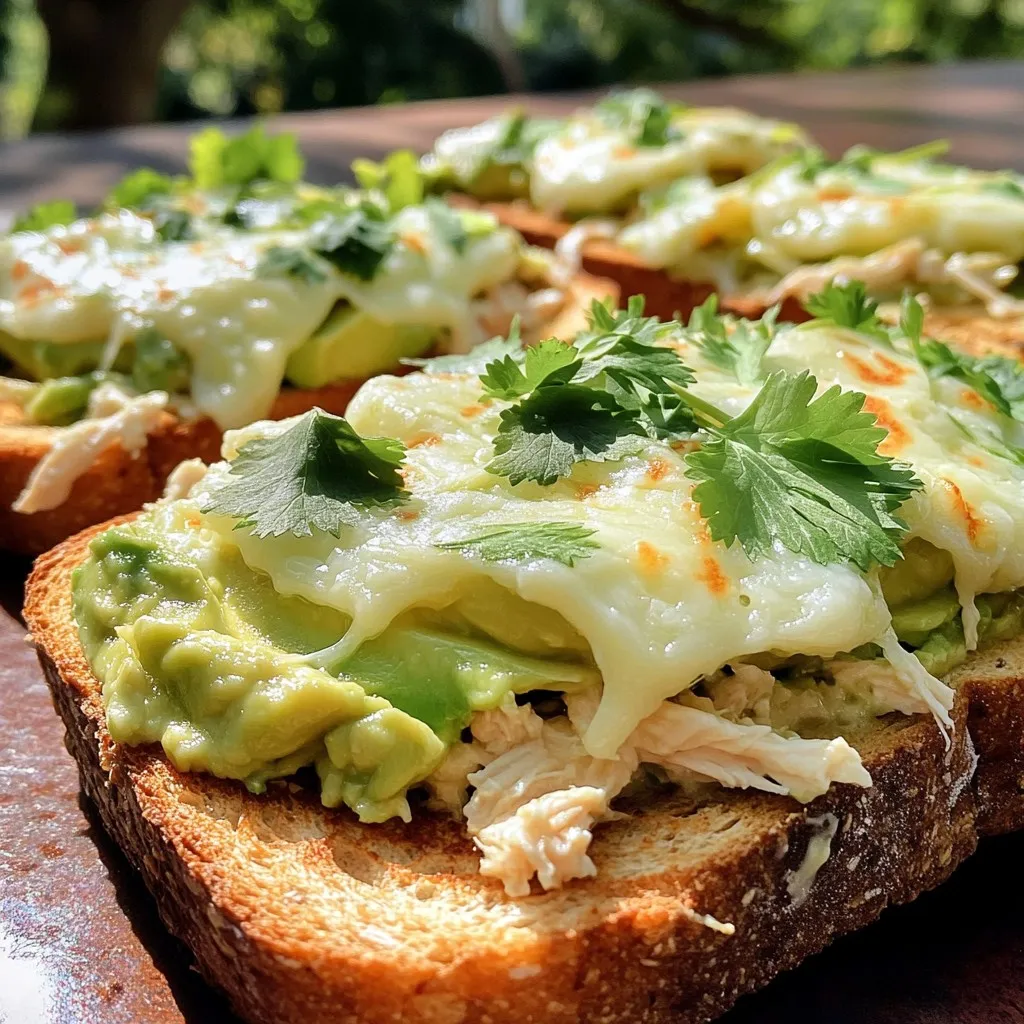
If you’re craving a dish that’s both simple and bursting with flavor, then the Chicken Avocado Melt is for you! I’ll guide you through each step, ensuring juicy chicken, creamy …
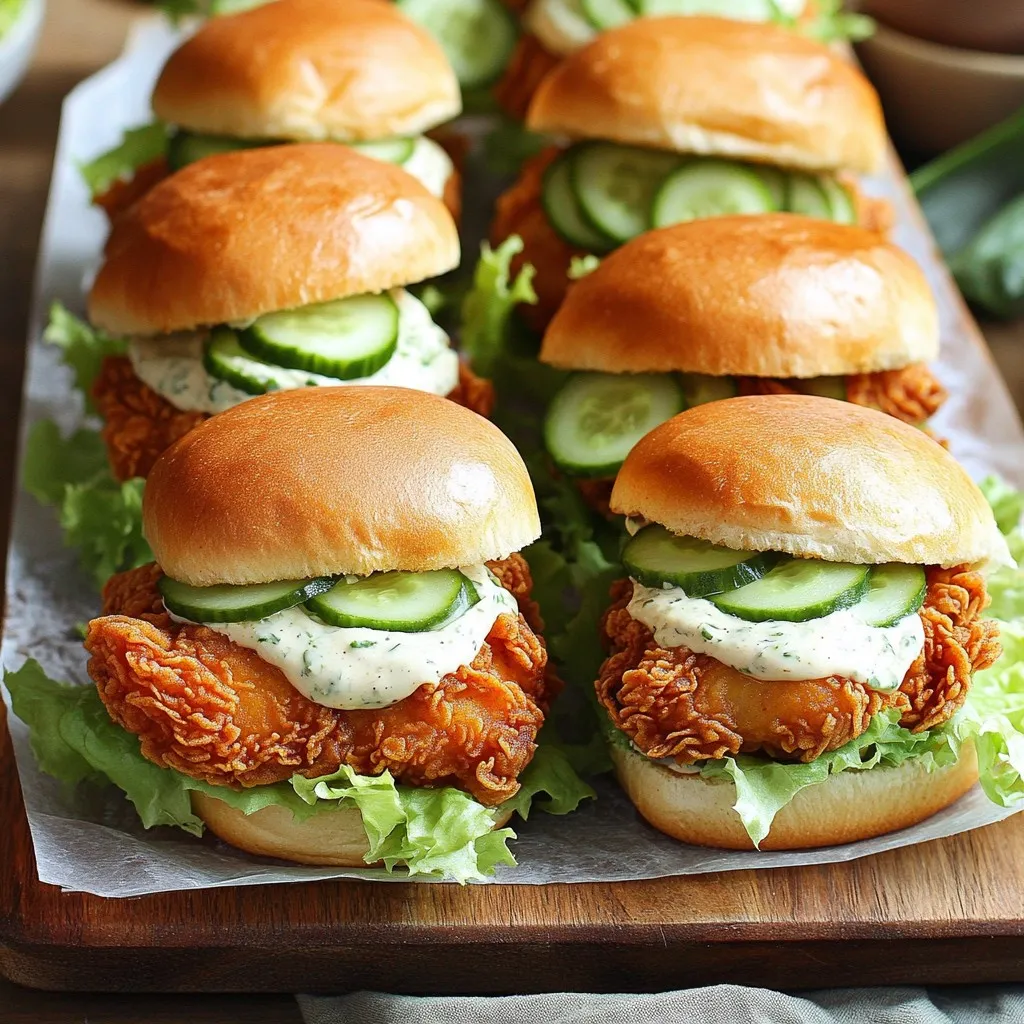
Looking for a fun twist on dinner? Bang Bang Chicken Sliders are your answer! These savory bites blend juicy chicken with a spicy, creamy sauce that will make your taste …
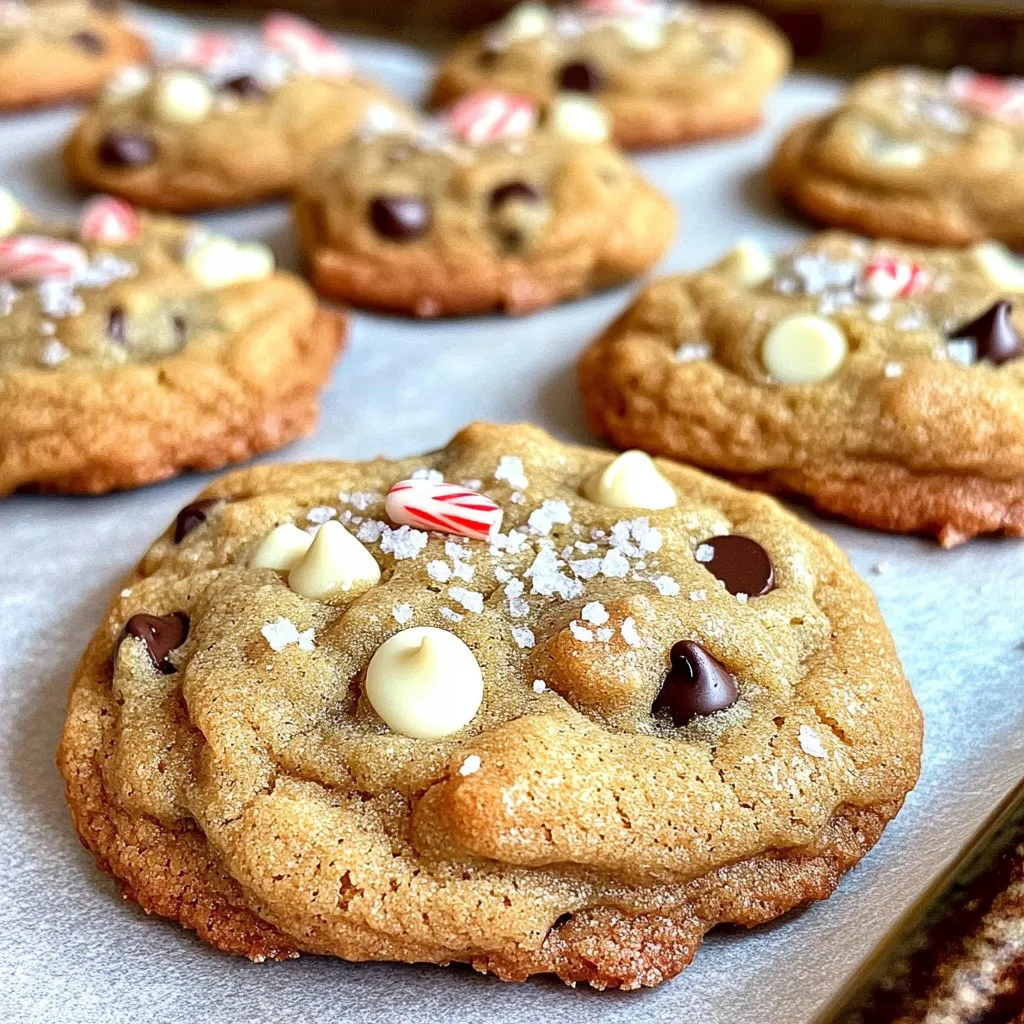
Get ready to indulge in the ultimate winter treat: Winter Wonderland Chocolate Chip Cookies! These cookies blend rich chocolate with sweet peppermint for a delightful twist. With simple ingredients and …

Are you ready to savor the bold flavors of Mediterranean chicken gyros? This easy recipe will guide you through every step, from marinating tender chicken thighs to whipping up a …

Are you ready to turn dinner into a fun experience? This Pretzel Crusted Chicken with Mustard Cheddar Sauce is your answer! It combines crispy pretzel coating with creamy, tangy sauce …
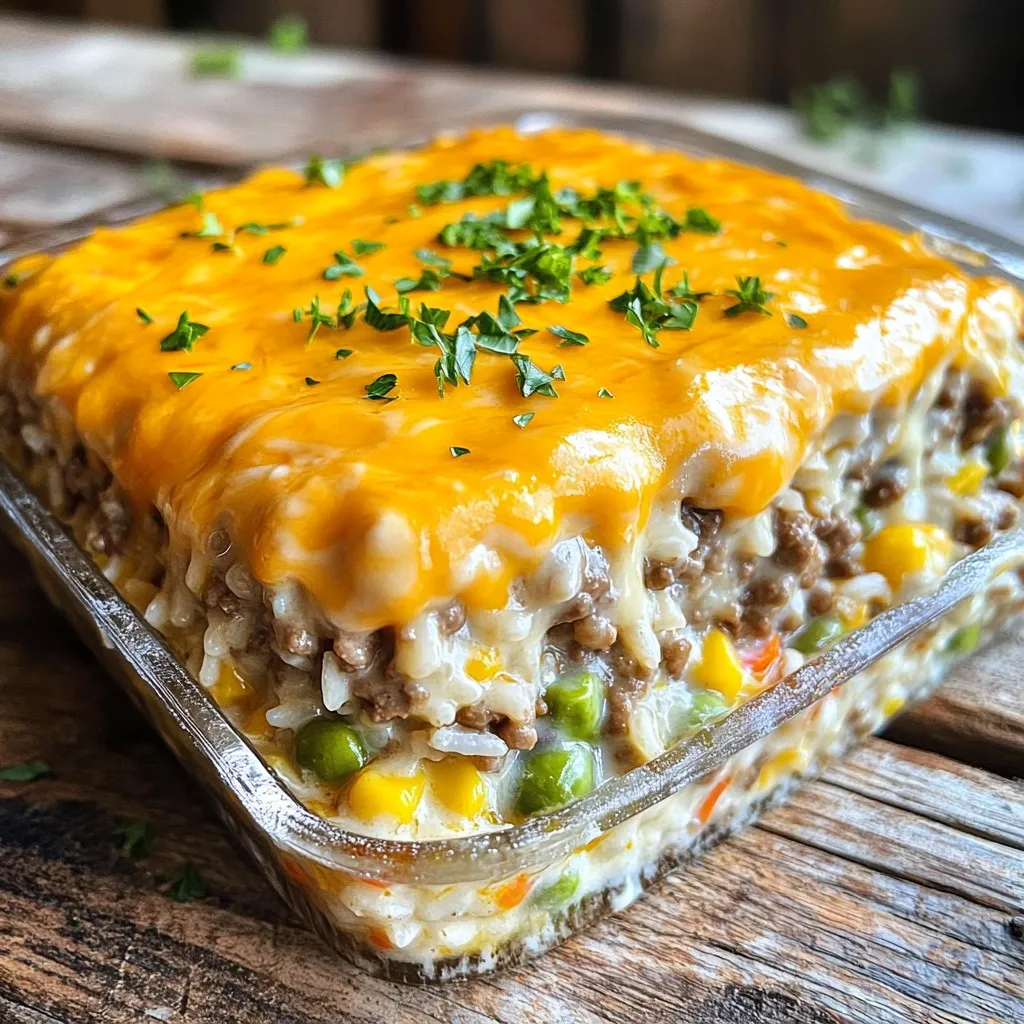
Craving a warm, hearty meal? Let me introduce you to Cheesy Hamburger Rice Casserole—a dish that wraps comfort in every bite! This easy recipe combines ground beef, creamy soup, and …

If you crave warm, soft cinnamon rolls, you’re in the right place! In this guide, I’ll show you how to make the ultimate cinnamon rolls from scratch. With gooey filling …

Want to transform your Brussels sprouts into a must-try dish? This Sweet Chili Glazed Brussels Sprouts Air Fryer recipe will do just that! You’ll learn how to make crispy, flavorful …