One-Pot Creamy Tuscan Chicken Pasta Delight

Craving a warm, creamy dish that’s bursting with flavor? I’ve got just the thing! My One-Pot Creamy Tuscan Chicken Pasta combines tender chicken, savory vegetables, and rich cream for a …
Craving a warm, creamy dish that’s bursting with flavor? I’ve got just the thing! My One-Pot Creamy Tuscan Chicken Pasta combines tender chicken, savory vegetables, and rich cream for a …
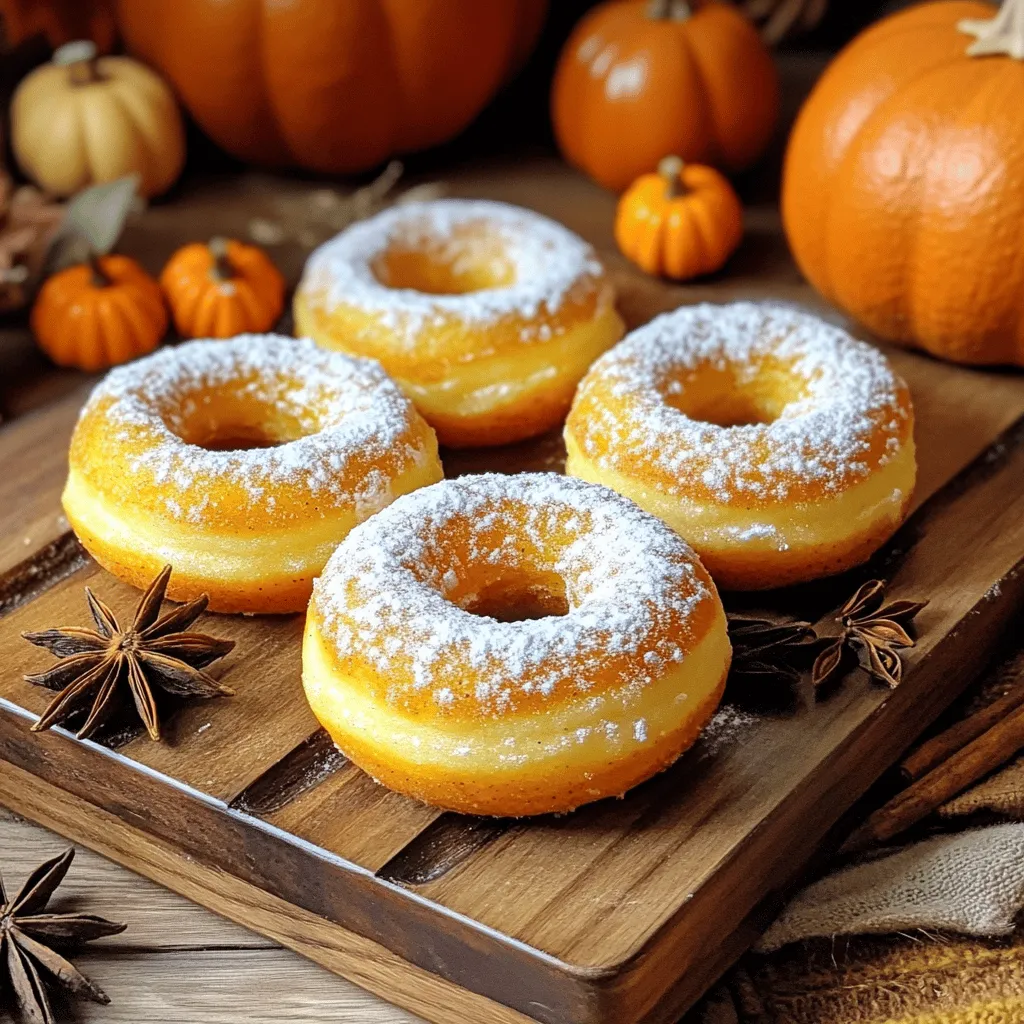
Are you ready to enjoy a warm batch of Air Fryer Pumpkin Spice Donuts? This easy recipe promises to fill your kitchen with fall flavors in no time. You won’t …
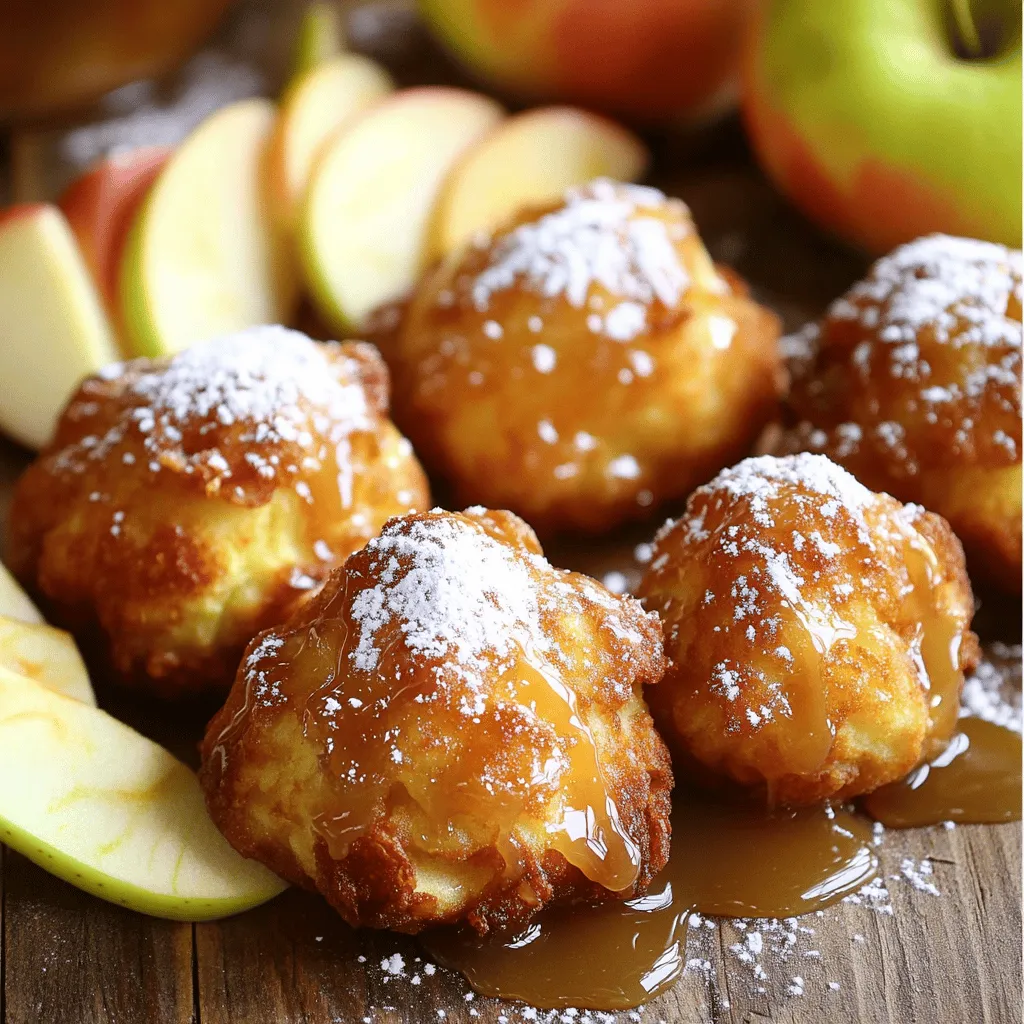
If you crave a sweet treat that’s hard to resist, look no further! My Maple Glazed Apple Fritters are a delicious way to enjoy the flavors of fall all year …

Get ready for a sweet treat that’s a breeze to make! This Easy Baked Apples recipe transforms simple ingredients like Honeycrisp or Granny Smith apples into a warm, cozy dessert. …
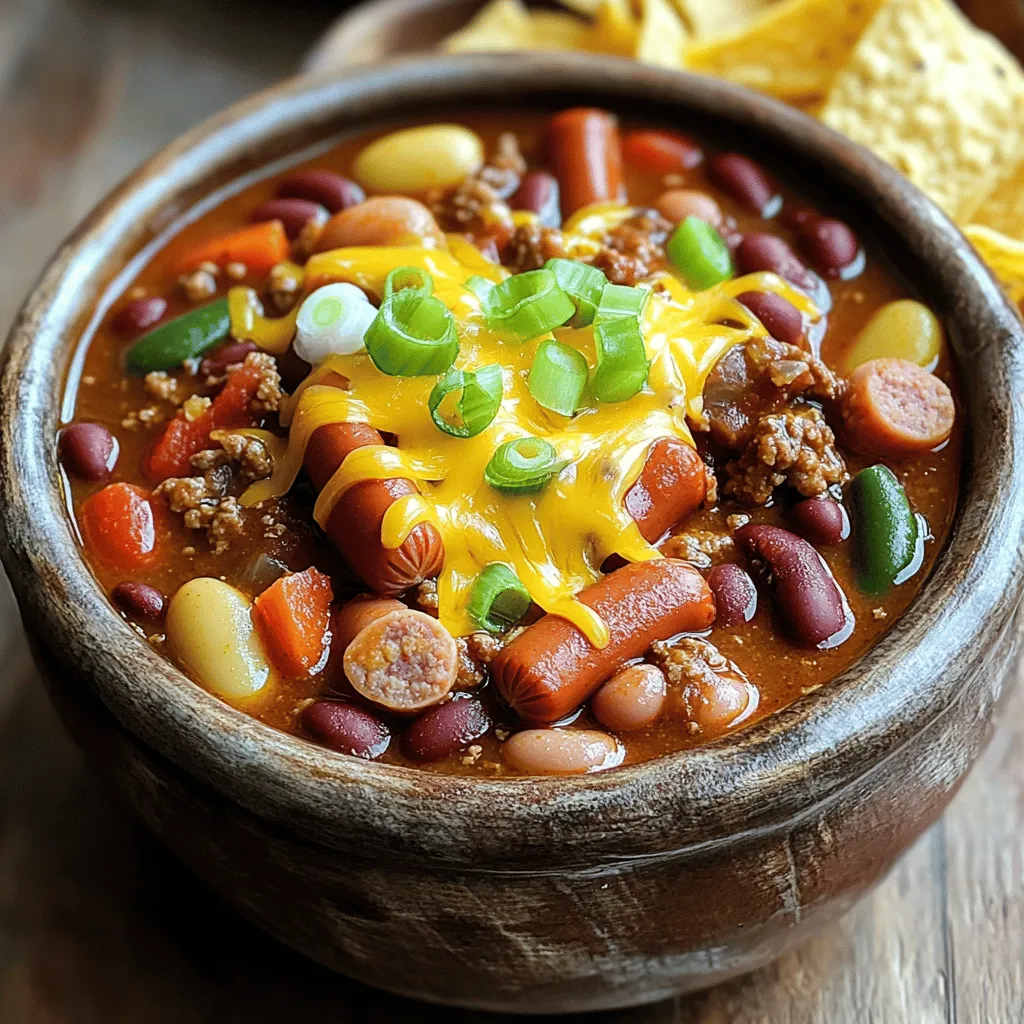
If you love a hearty meal, you’ll savor my Rich Hot Dog Chili recipe. It’s packed with flavor and easy to make from scratch! This chili is a perfect mix …
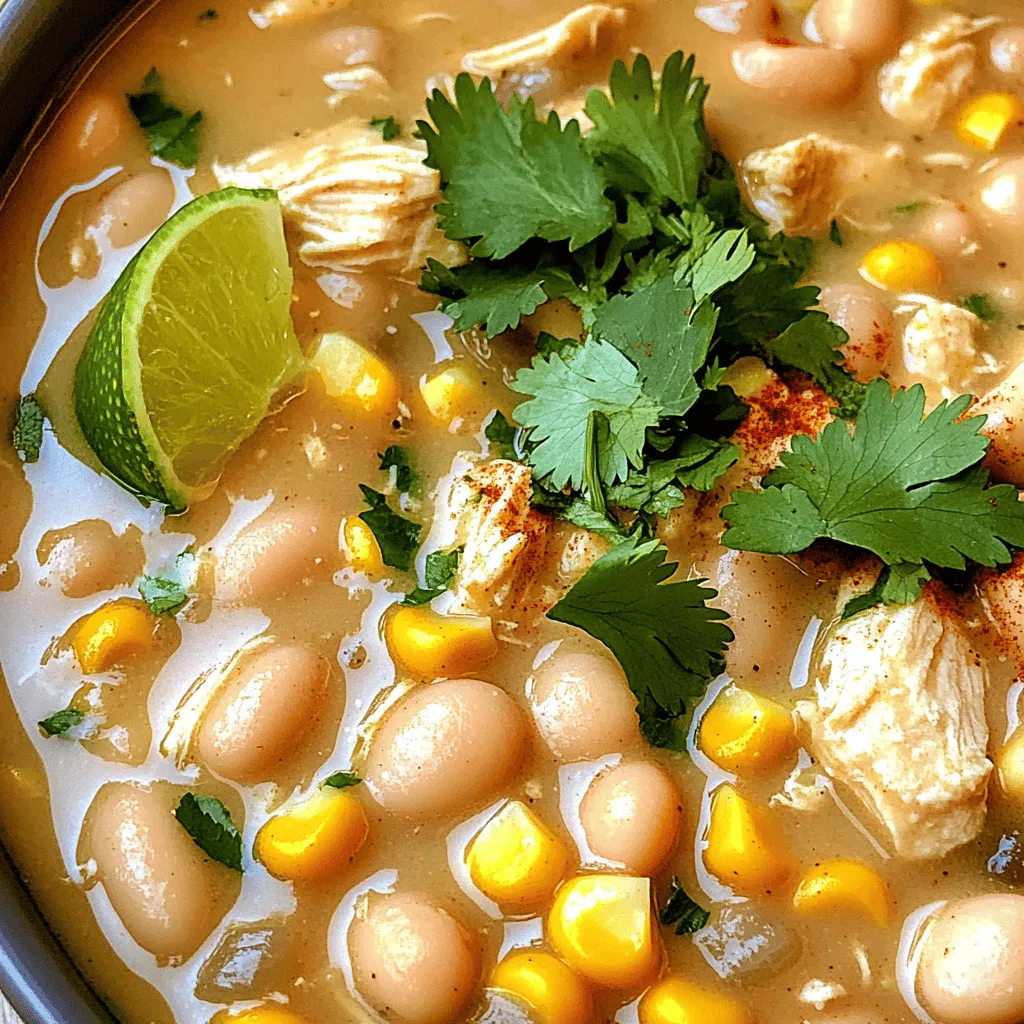
Looking for a warm and cozy meal? My Creamy White Chicken Chili is your answer! This easy and flavorful recipe combines tender chicken, hearty beans, and sweet corn in a …
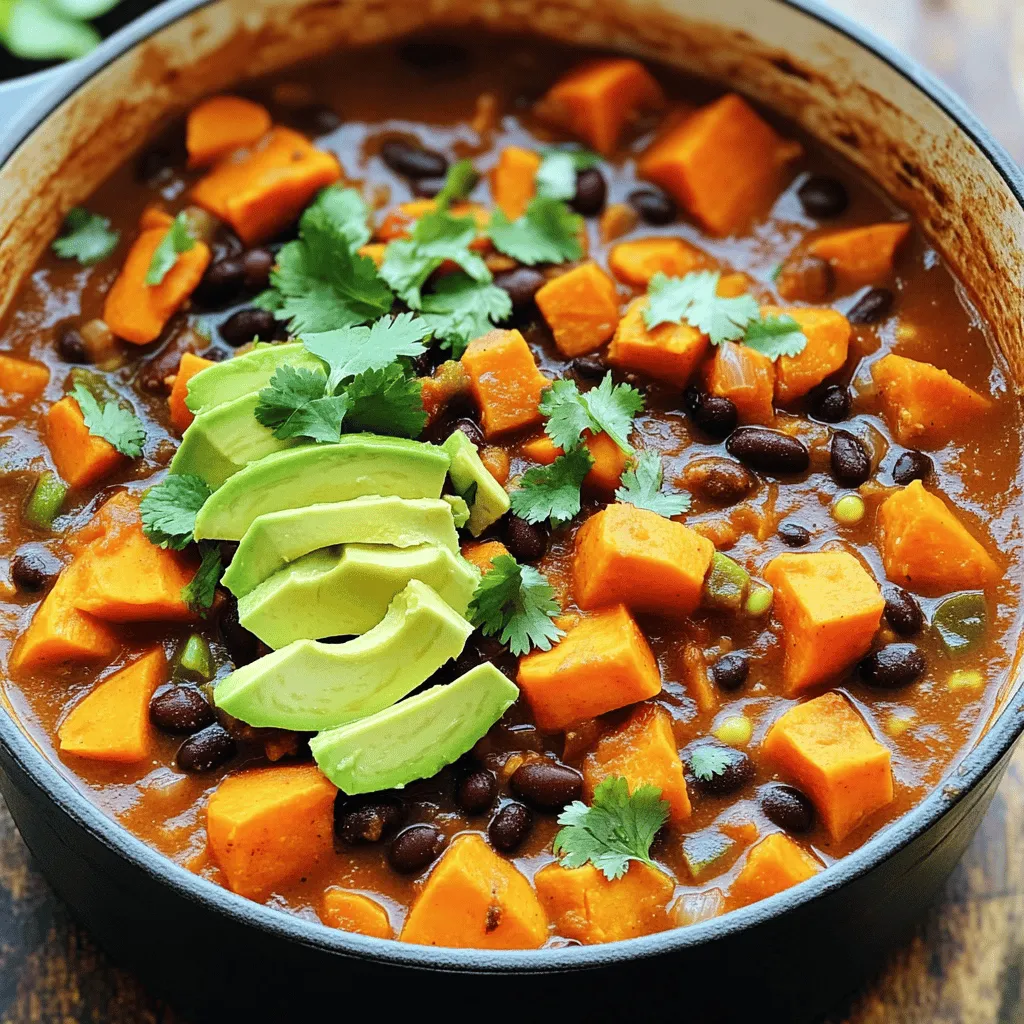
Looking for a hearty dish that’s both tasty and healthy? My Healthy Sweet Potato Turkey Chili is just what you need! With ground turkey, sweet potatoes, and spices, this chili …
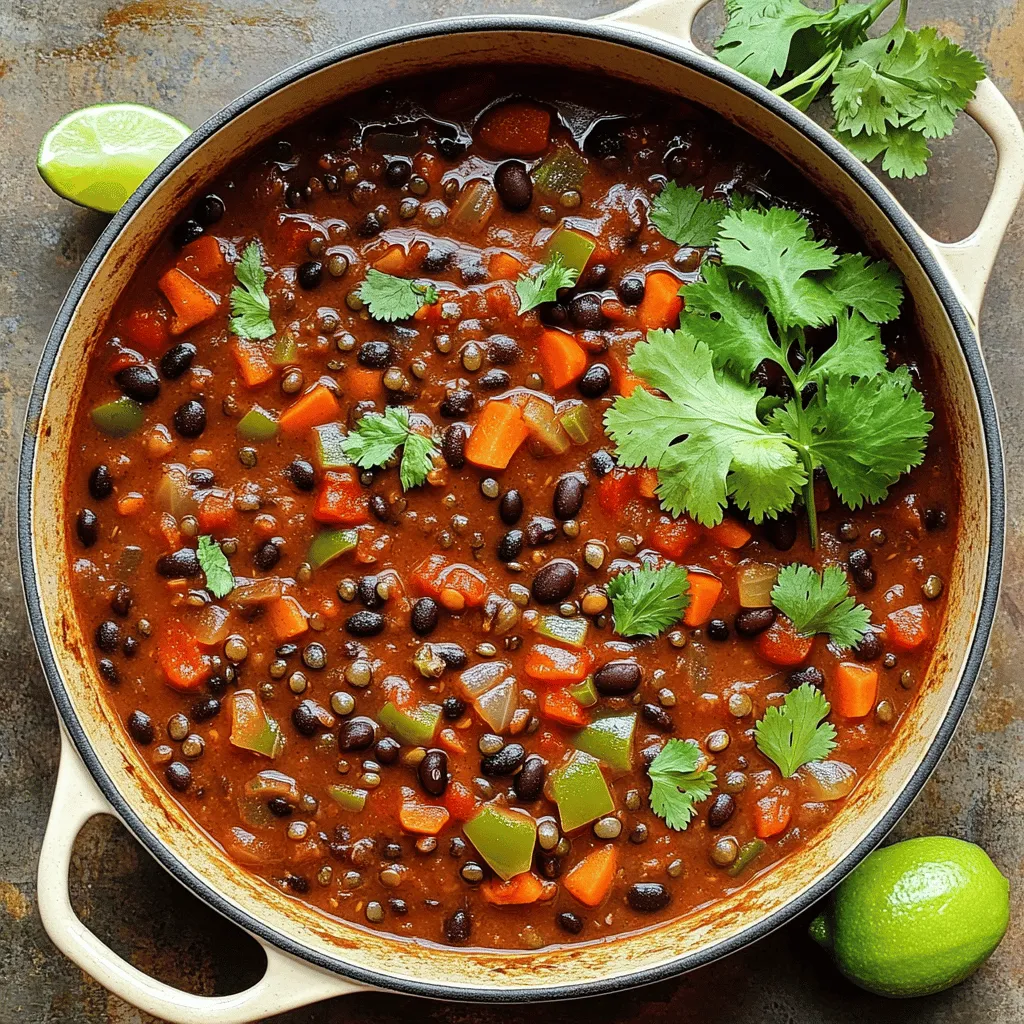
Are you ready to enjoy a warm bowl of Vegan Black Bean & Lentil Chili that packs a punch of flavor? This recipe is not only simple to make, but …
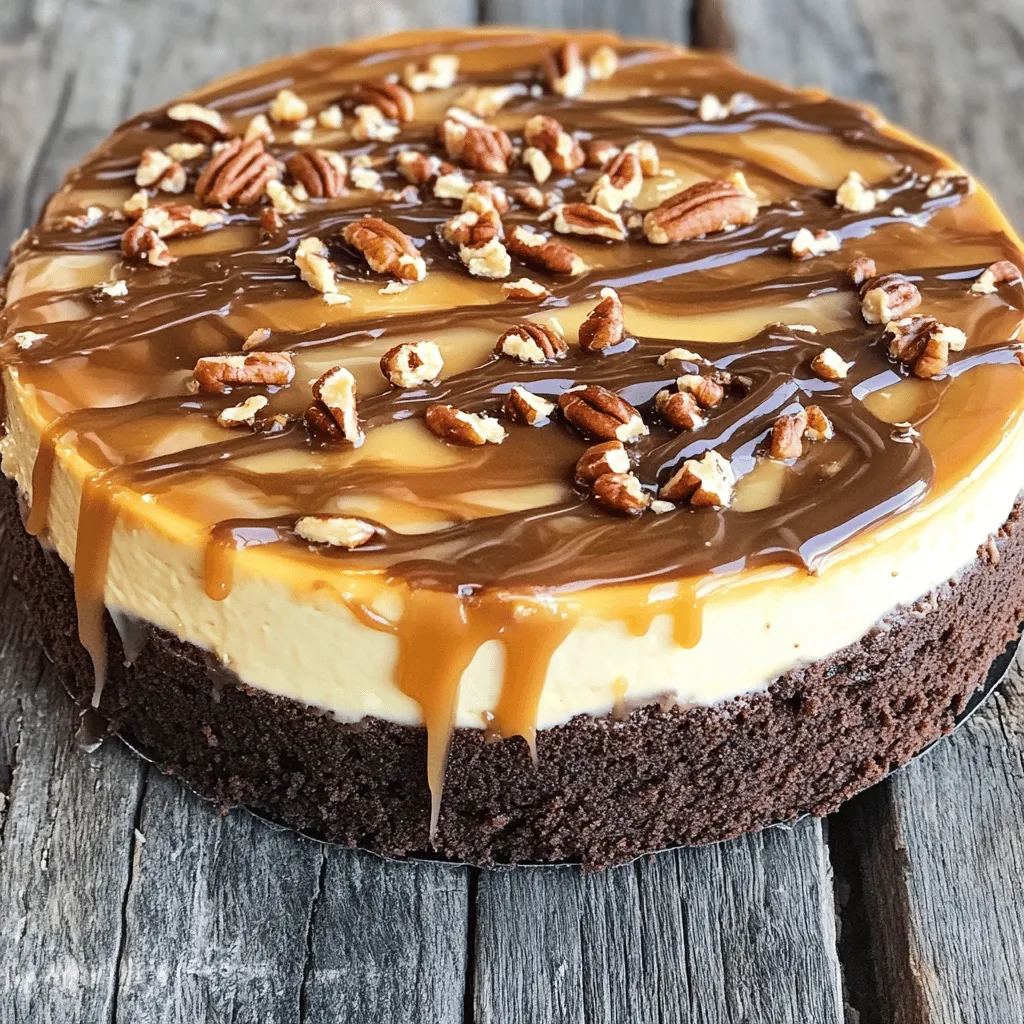
Are you ready to treat yourself? This Indulgent Caramel Brownie Cheesecake is a must-try! It combines rich brownie layers, smooth cheesecake, and sweet caramel topping. Perfect for any occasion, it’s …

Fall is here, and what better way to celebrate than with Pumpkin Chai Latte Cupcakes? These delicious treats blend warm spices and pumpkin flavor for a cozy bite. I’ll guide …