Pumpkin Cinnamon Rolls Soft and Flavorful Treat

Get ready for a fall treat that fills your kitchen with warmth! These Pumpkin Cinnamon Rolls are soft, flavorful, and perfect for cozy mornings. I will guide you through each …
Get ready for a fall treat that fills your kitchen with warmth! These Pumpkin Cinnamon Rolls are soft, flavorful, and perfect for cozy mornings. I will guide you through each …

If you love cookies that melt in your mouth, you’ll adore my Super Soft Lemon Cookies. This delightful recipe combines zesty lemon with a soft, chewy texture that will brighten …
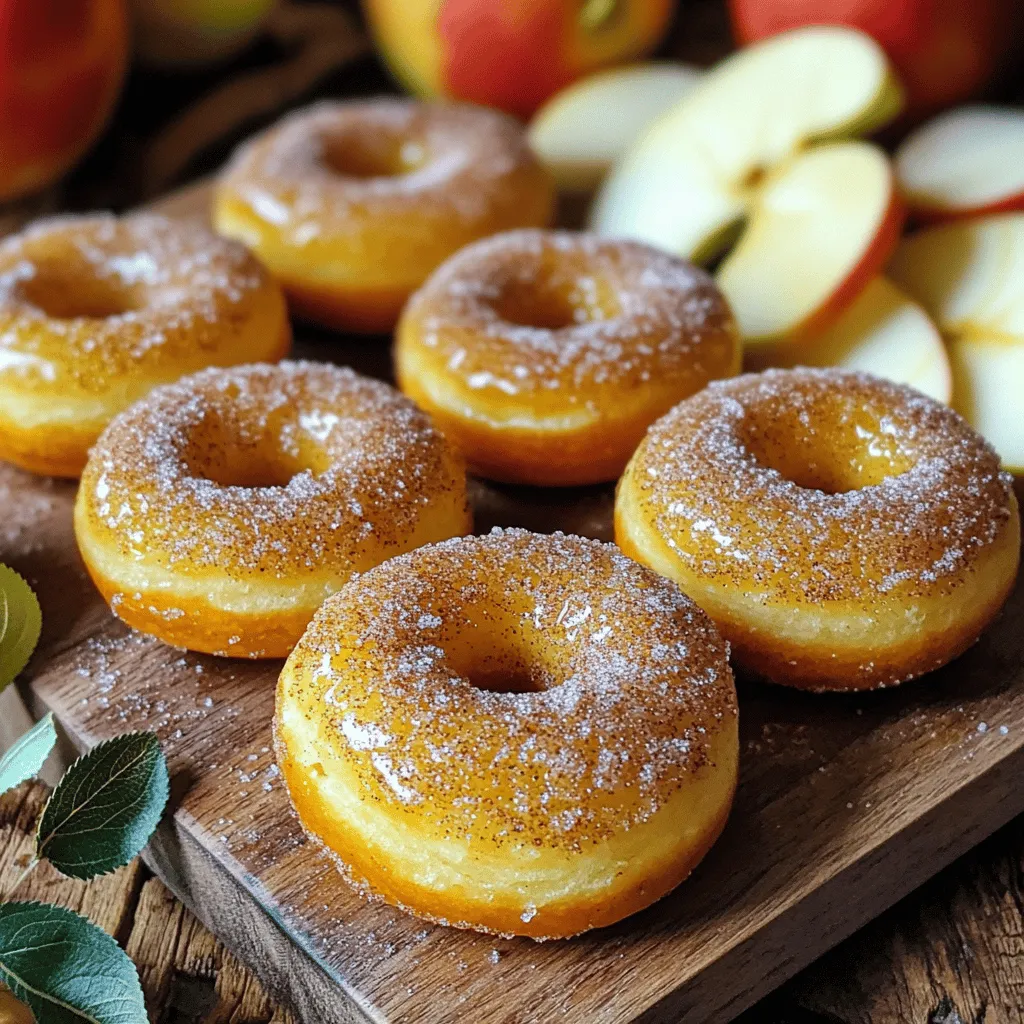
Get ready for a delicious fall treat! These Baked Apple Cider Donuts are easy to make and full of rich flavor. Imagine biting into soft, spiced donuts that taste like …
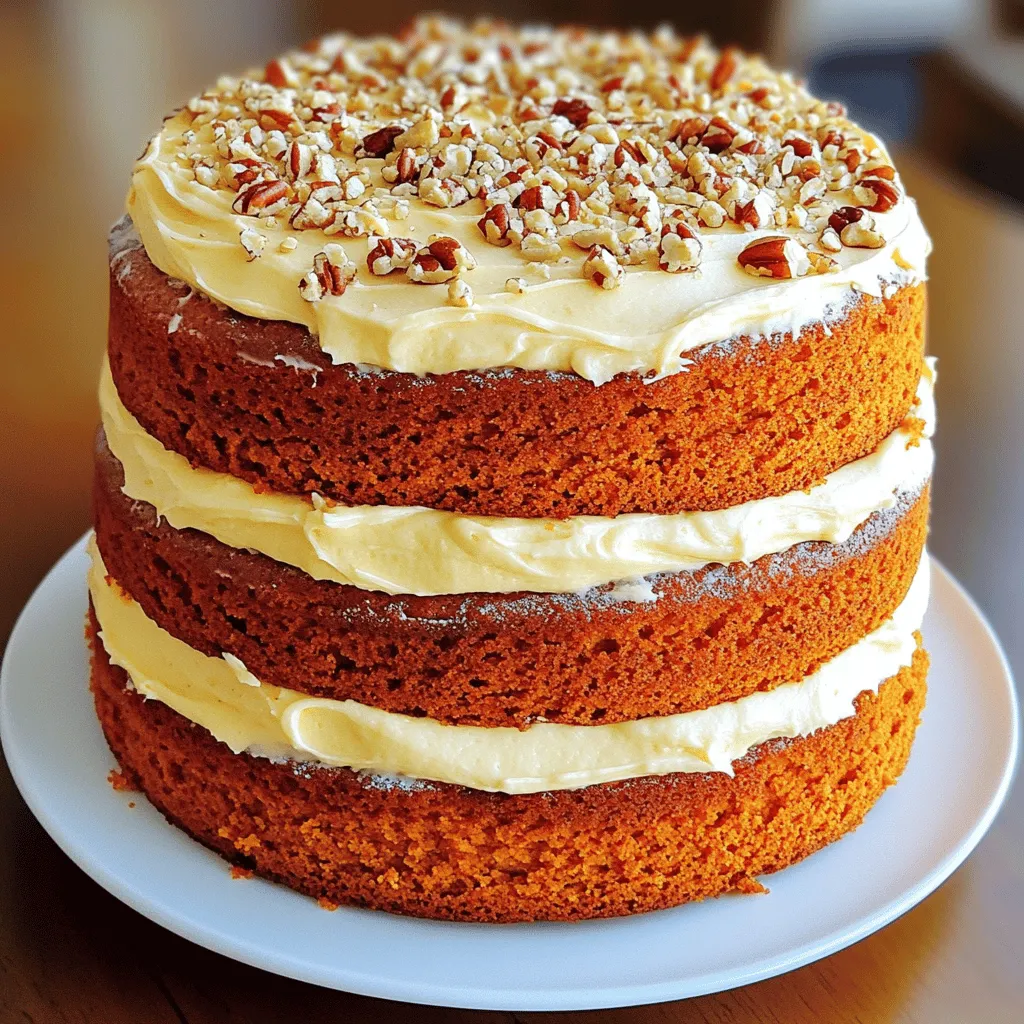
Get ready to dive into the warm, spiced goodness of my Pumpkin Layer Cake! This treat is more than just a dessert—it’s a celebration of fall flavors. With its moist …
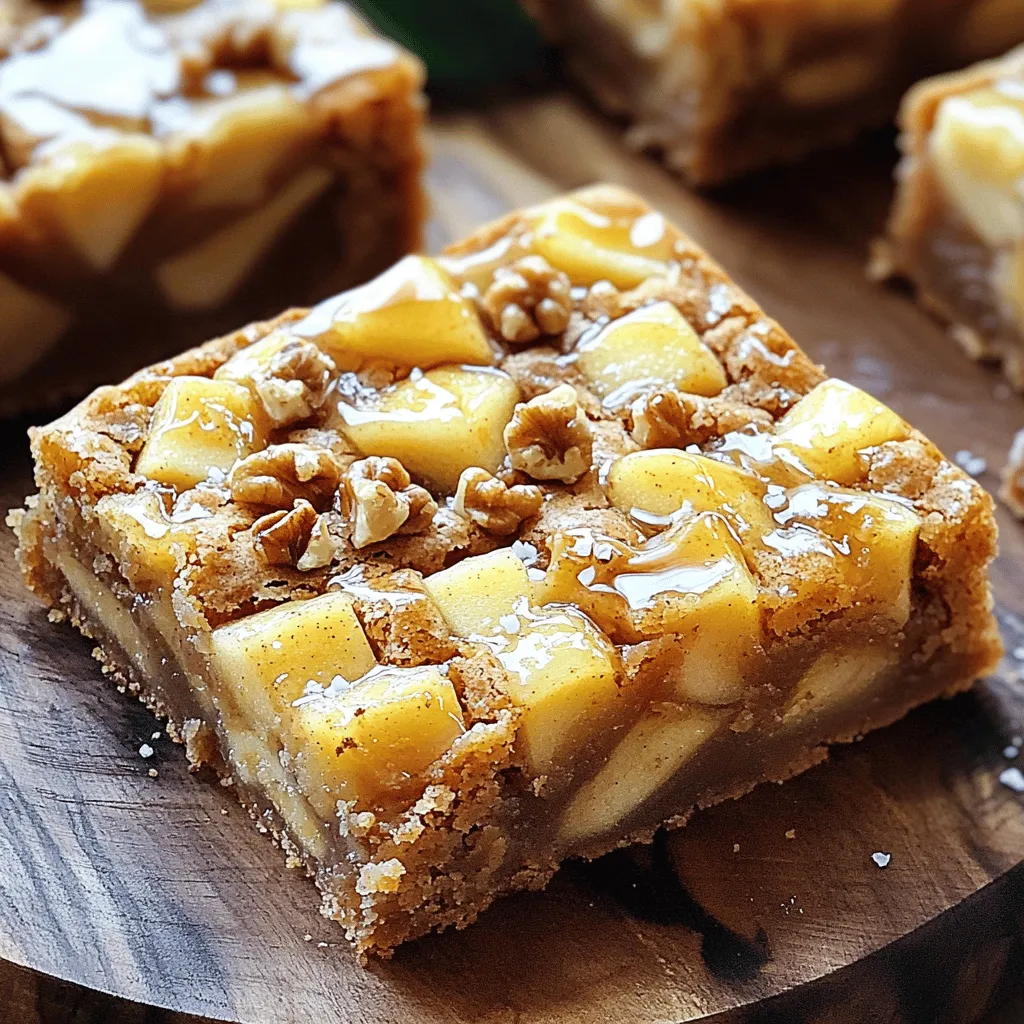
Get ready to delight your taste buds with my Maple Glazed Apple Blondies! This sweet treat is simple to make and packed with flavor. In this blog post, I’ll guide …
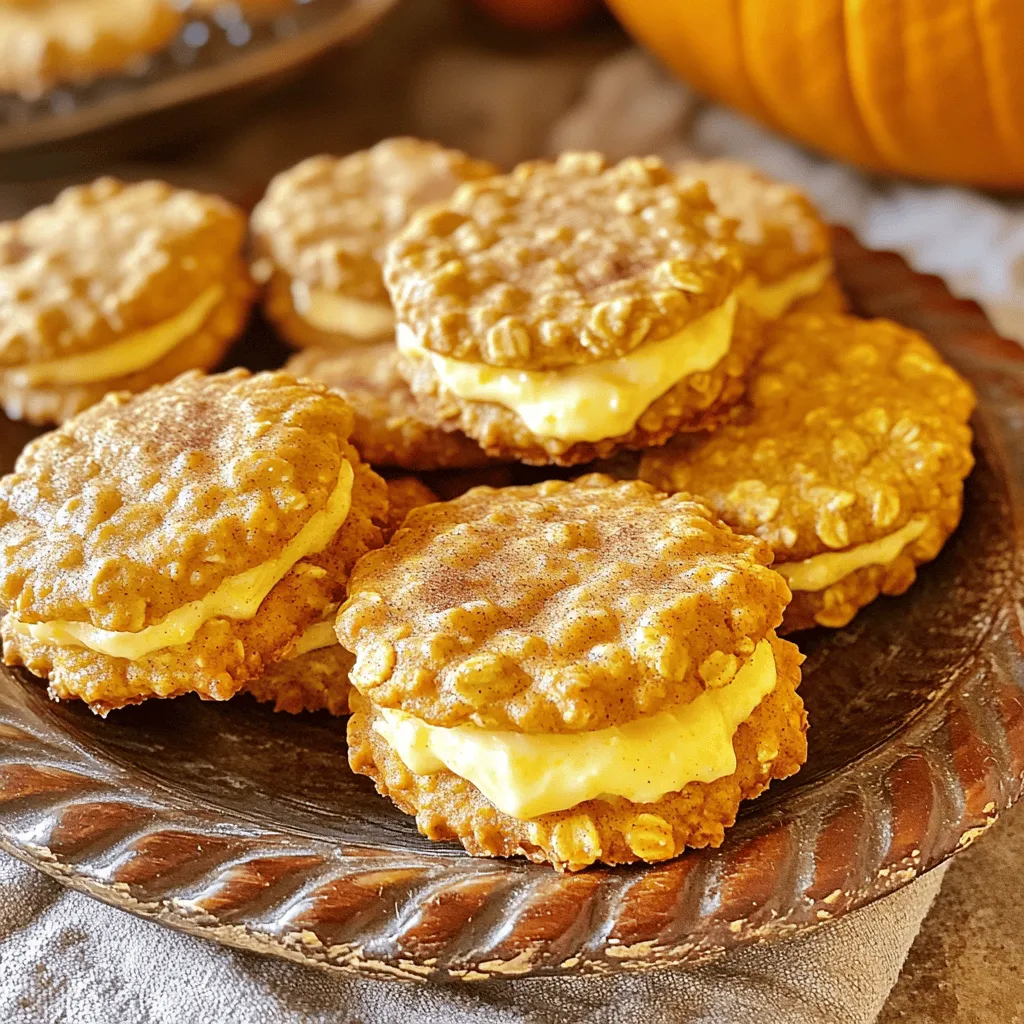
Get ready to embrace the cozy flavors of fall with my Pumpkin Oatmeal Cream Pies! These sweet treats are soft, chewy, and stuffed with a creamy filling that will warm …

If you’re searching for the ultimate comfort food, I’ve got just the dish—Creamy Marry Me Chicken Soup. This soup promises warmth and happiness in every spoonful. You’ll love how easy …
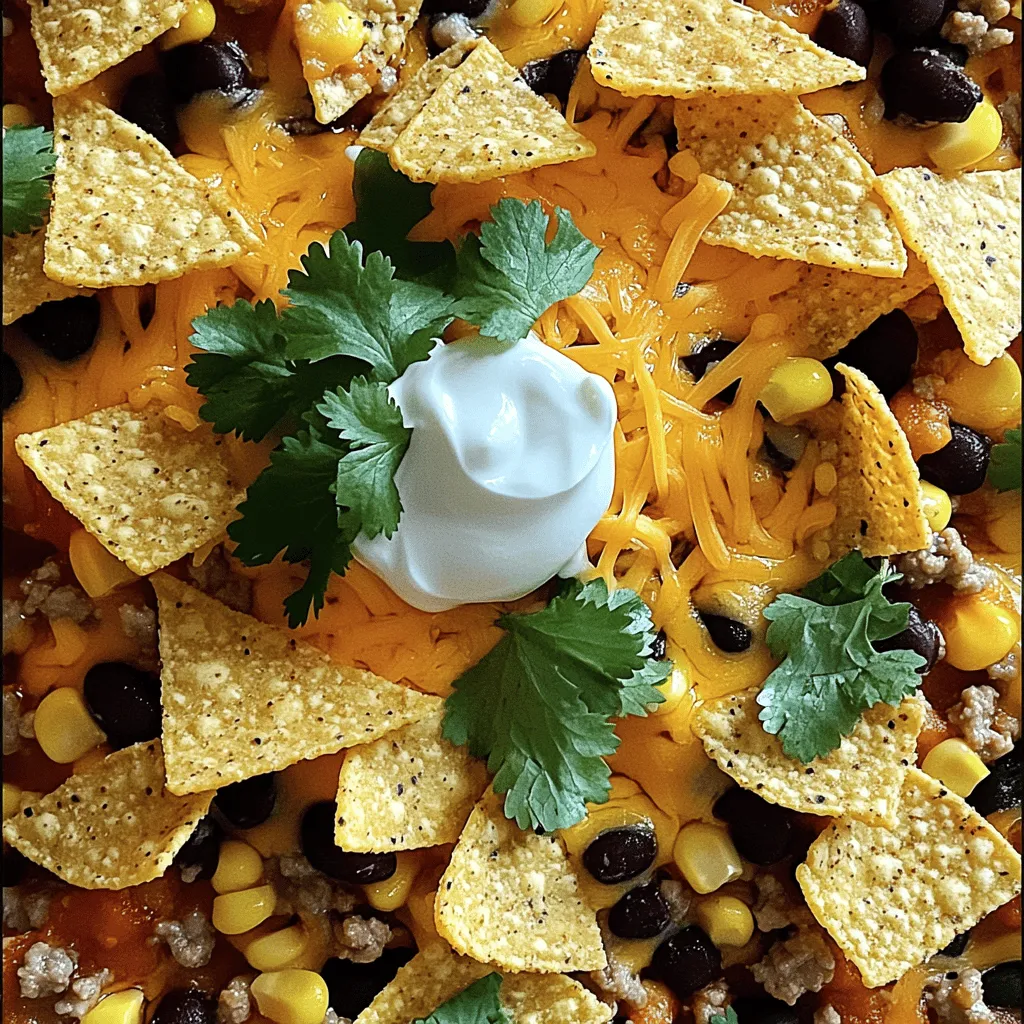
Looking for an easy family dinner that everyone will love? Look no further than this Crockpot Taco Casserole! It’s packed with bold flavors from ground meat, veggies, and cheesy goodness, …
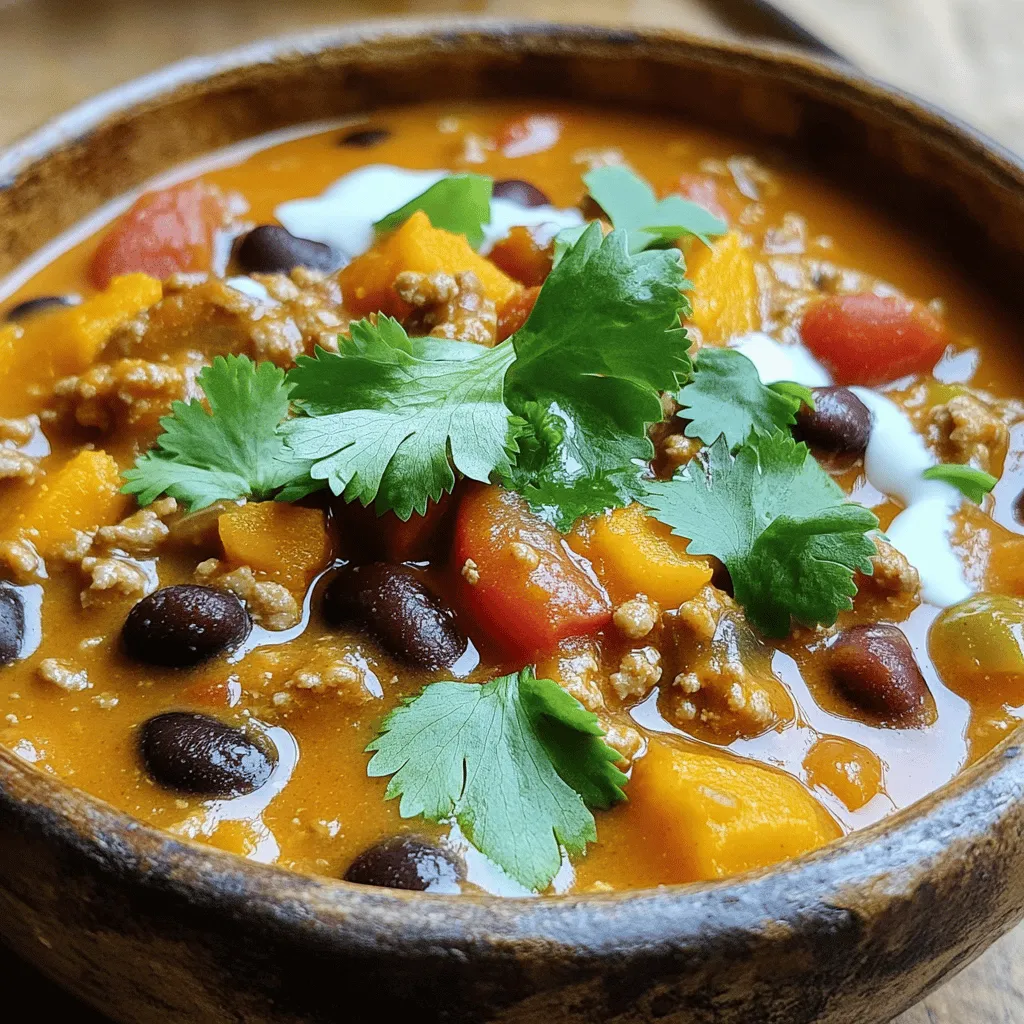
Warm your soul with my Creamy Turkey Pumpkin Chili, a dish that’s packed with flavor and comfort. This recipe is not just another chili; it’s a cozy hug in a …

Looking for a quick, healthy breakfast that you can make in a snap? Veggie Egg Muffins are the perfect solution. These tasty bites are packed with fresh veggies and protein. …