Sweet Pumpkin Sourdough Irresistible Flavor Awaits
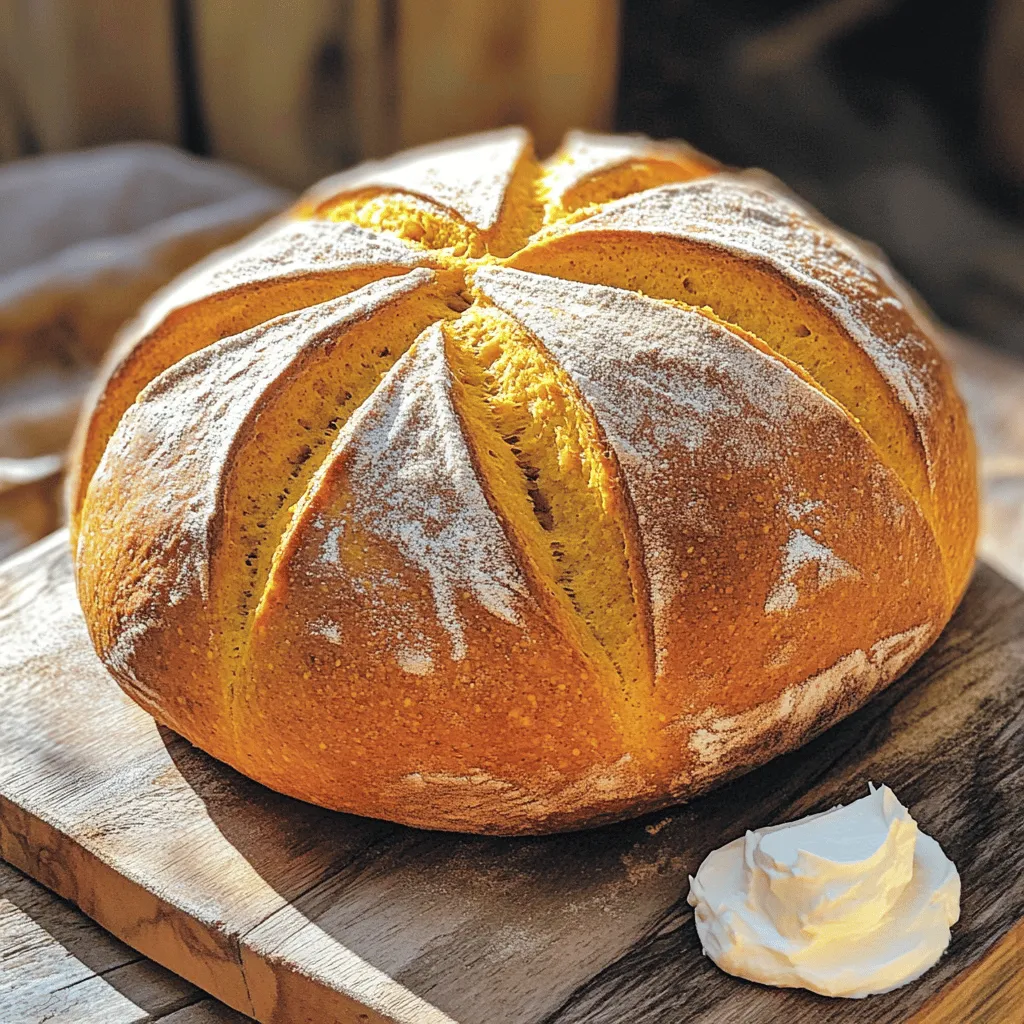
If you love the cozy taste of fall, then my Sweet Pumpkin Sourdough is for you! This delightful recipe combines the tang of sourdough with the natural sweetness of pumpkin …
If you love the cozy taste of fall, then my Sweet Pumpkin Sourdough is for you! This delightful recipe combines the tang of sourdough with the natural sweetness of pumpkin …
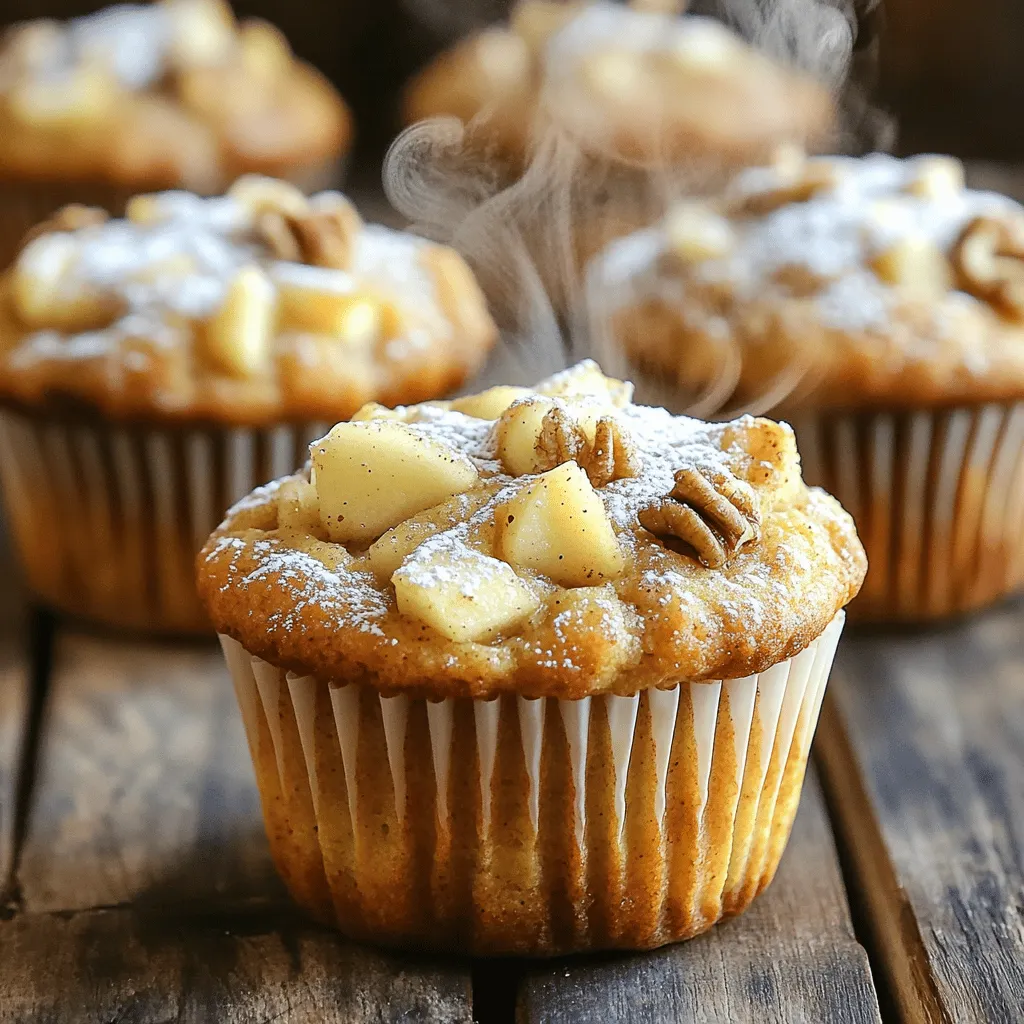
Get ready to delight in the warm, comforting flavors of my Apple Cinnamon Greek Yogurt Muffins! These muffins are easy to make and so tasty that they’ll become a family …

There’s nothing quite like the taste of warm, Pumpkin Cream Cheese Bread, especially when the weather turns cool. This cozy treat combines rich pumpkin flavor with a creamy swirl that …
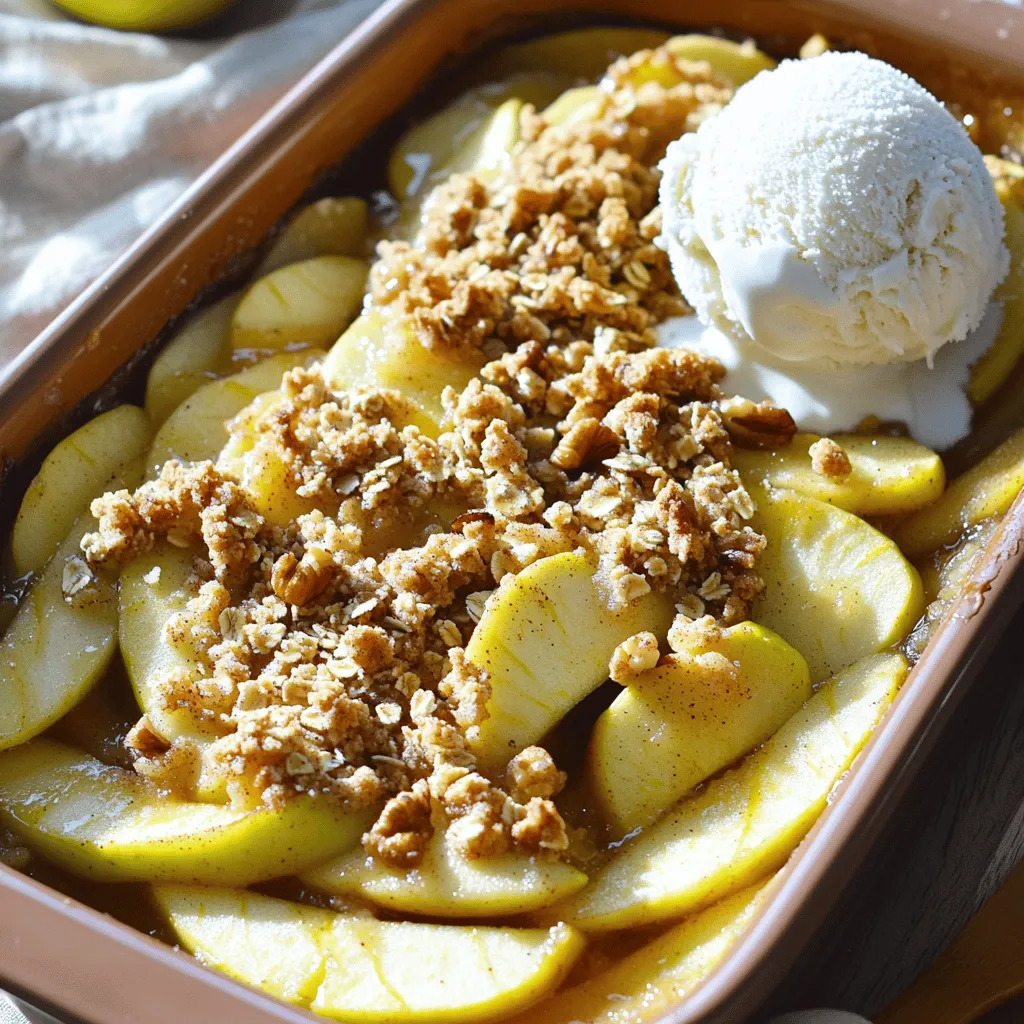
Are you ready to whip up a warm, comforting dessert? This Simple Apple Crisp recipe is delicious and takes little time to make. You’ll love how easy it is to …

Get ready for a tasty treat with these Air Fryer Buffalo Cauliflower Bites! They’re packed with flavor and super easy to make. Whether you’re a veggie lover or just seeking …
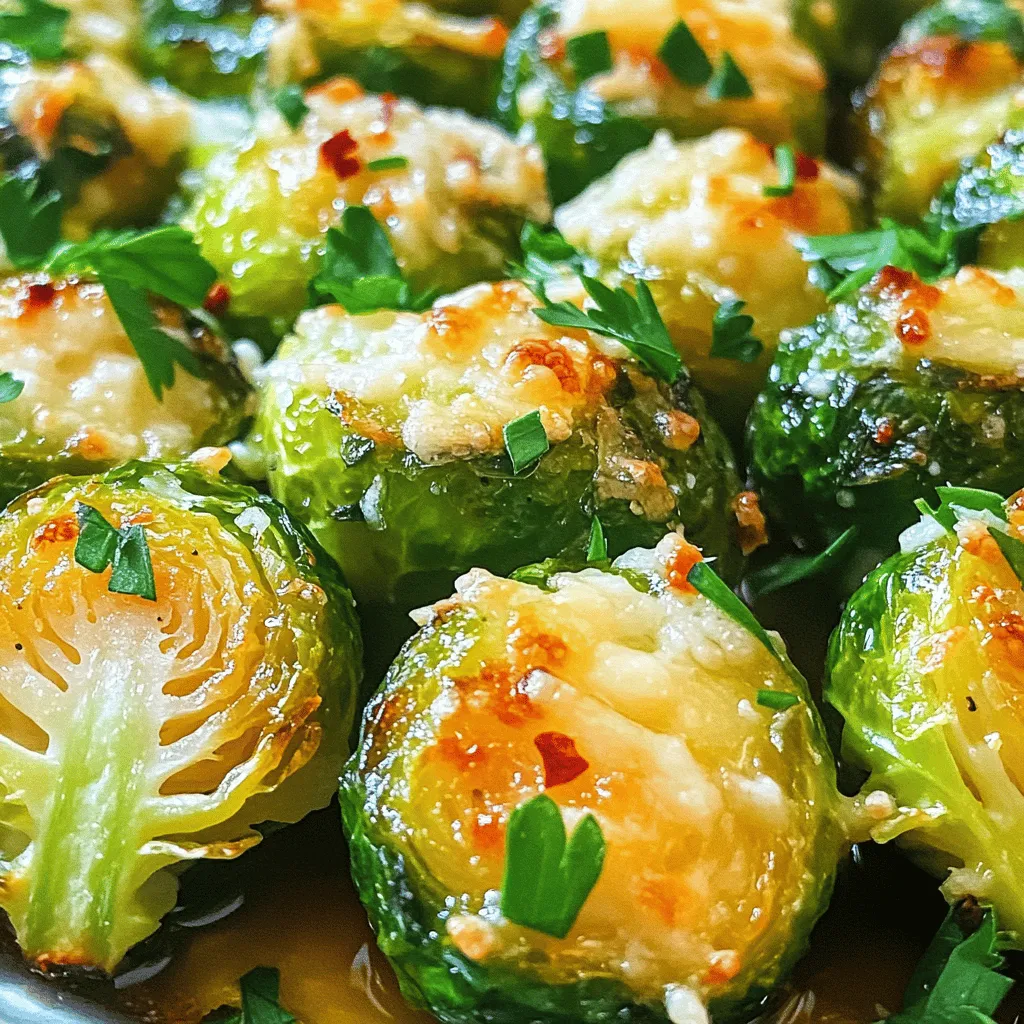
Are you ready to transform Brussels sprouts into a crispy, flavorful delight? In this Garlic Parmesan Roasted Brussels Sprouts Recipe Delight, I’ll show you how to achieve a golden, cheesy …
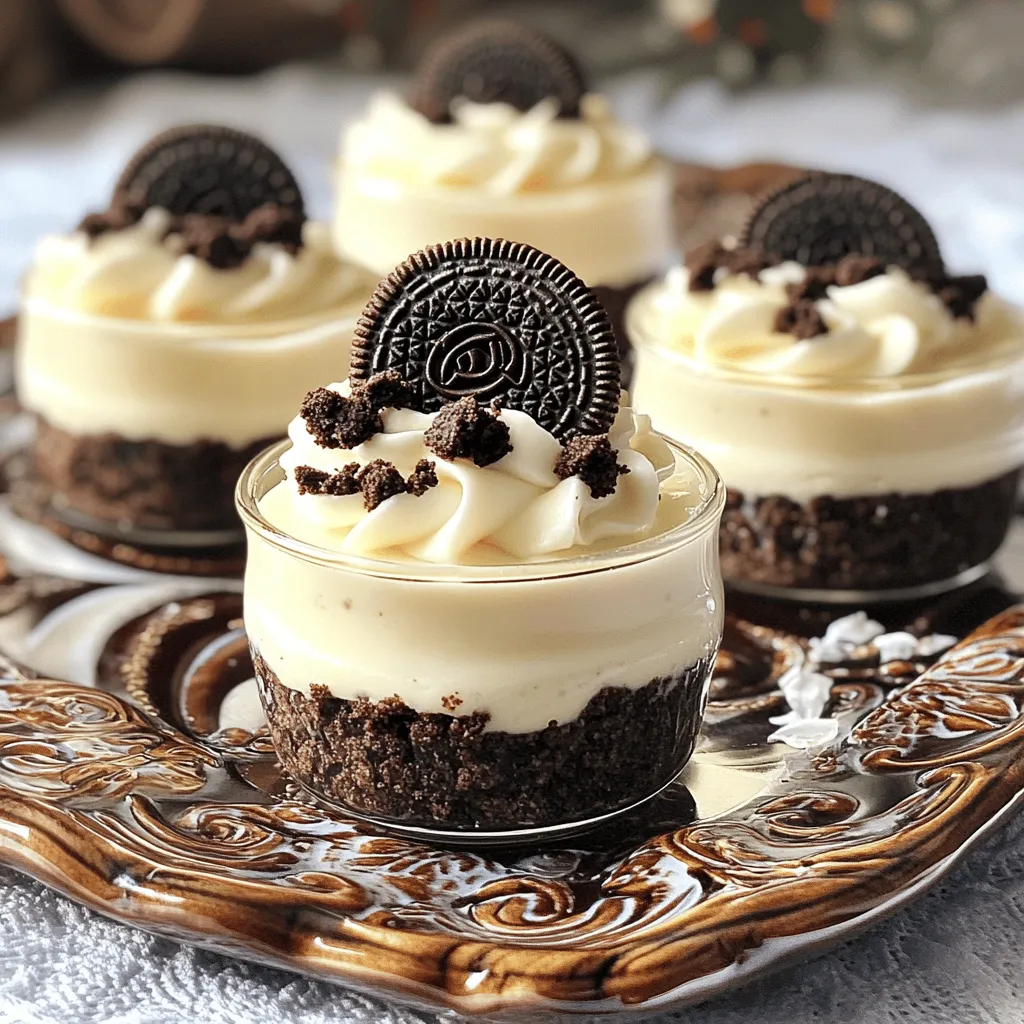
Craving a sweet treat without the fuss? I have just the solution! My No Bake Oreo Cheesecake Cups are delightfully simple and perfect for any occasion. With just a few …
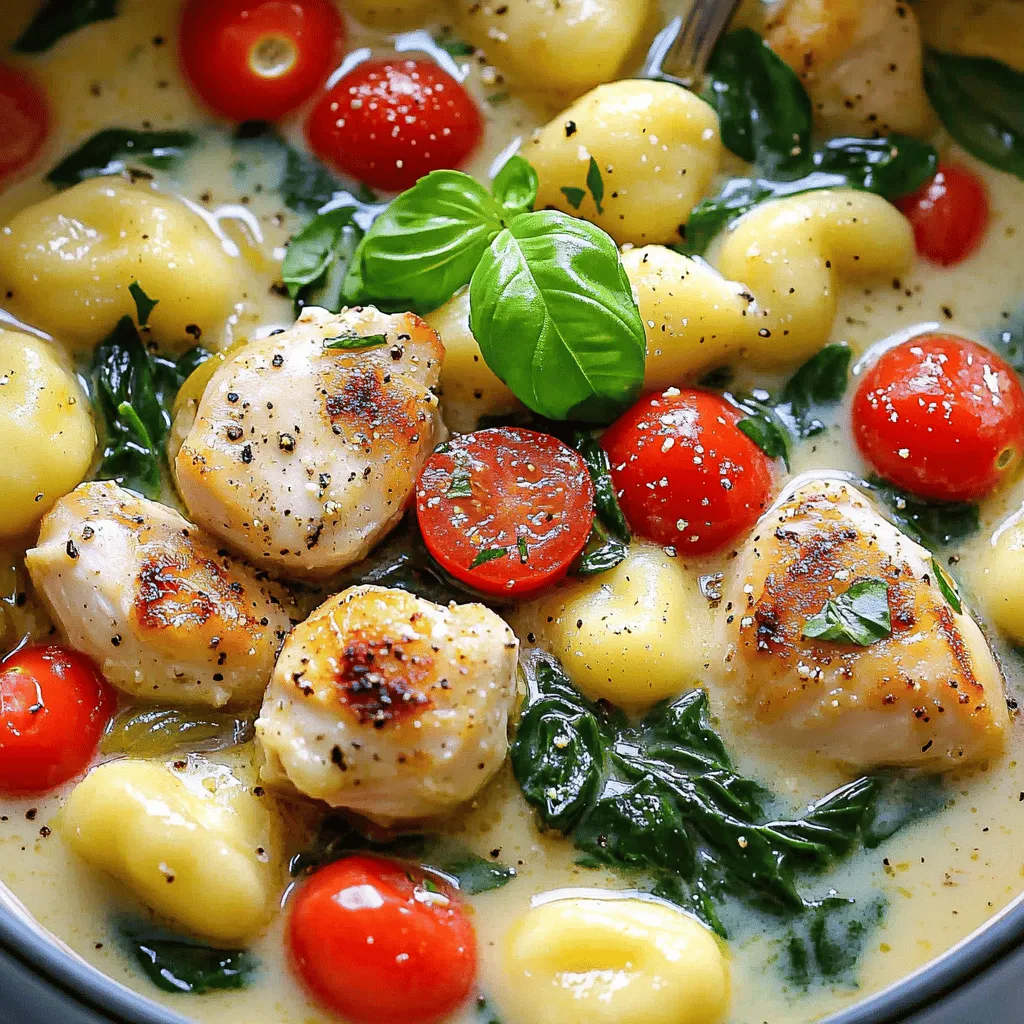
Craving a simple yet delicious meal? One Pot Tuscan Chicken Gnocchi is here to save your dinner night! This easy recipe combines tender chicken, pillowy gnocchi, and vibrant spinach, all …
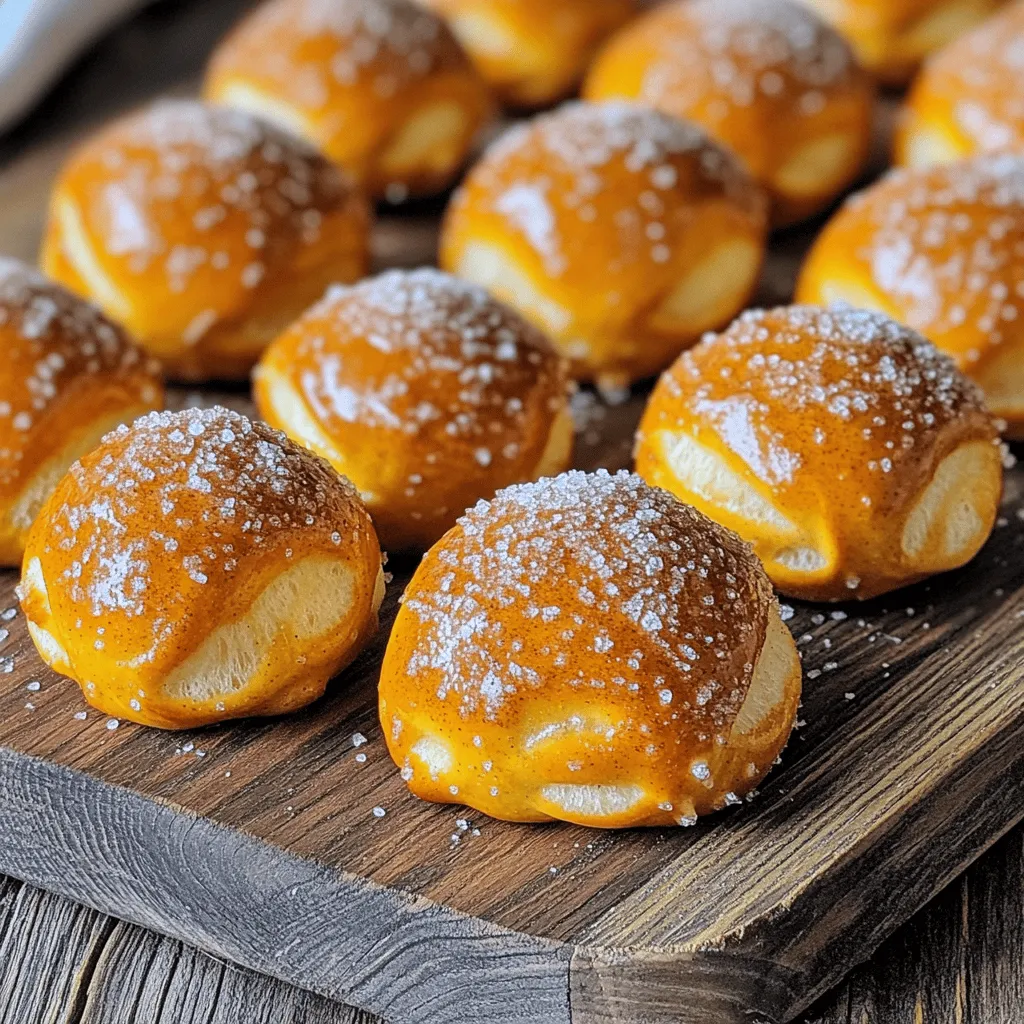
Get ready to indulge in a simple yet irresistible treat—Cinnamon Sugar Pretzel Bites! This easy recipe transforms basic pizza dough into soft, warm bites coated in cinnamon sugar. Perfect for …
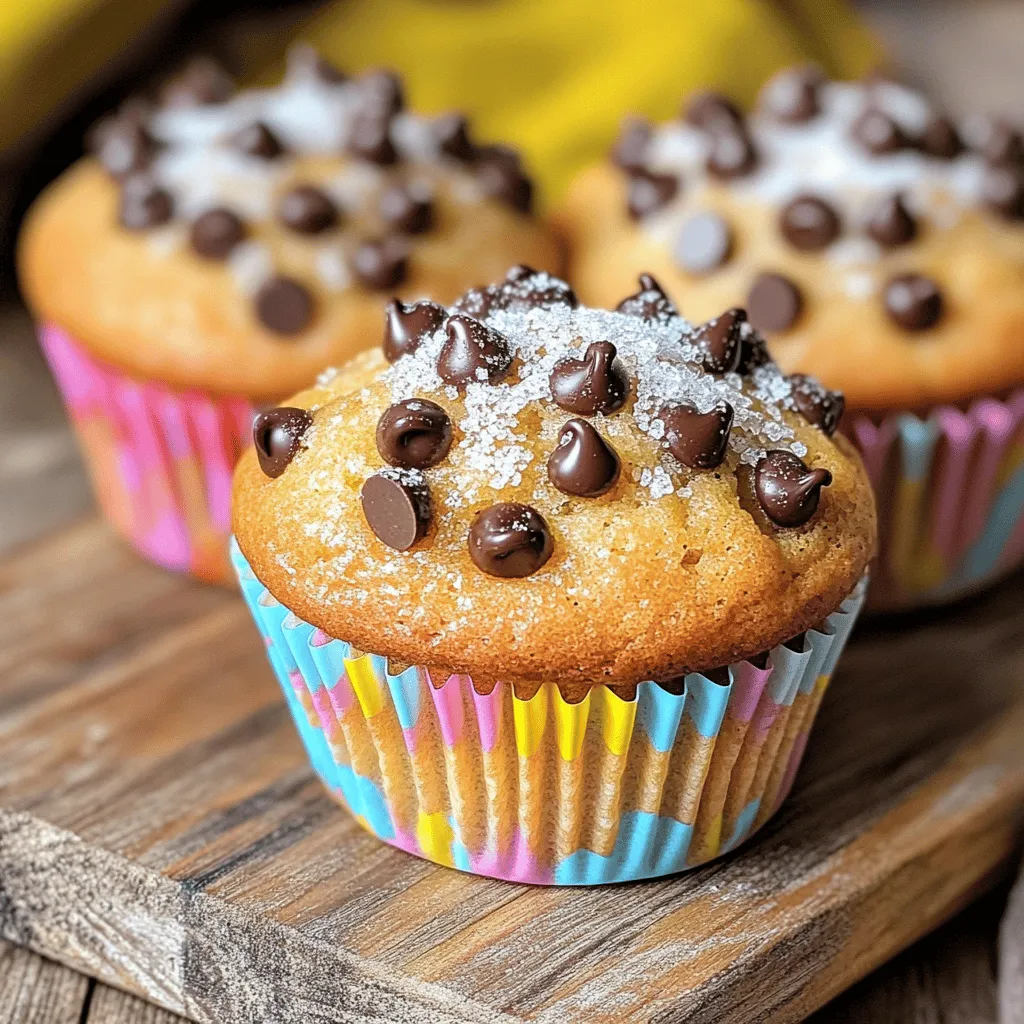
Do you crave those fluffy, rich chocolate chip muffins you find in bakeries? You’re in luck! In this guide, I’ll show you how to make delicious bakery-style chocolate chip muffins …