Hobo Ground Beef & Potato Casserole Hearty Dish
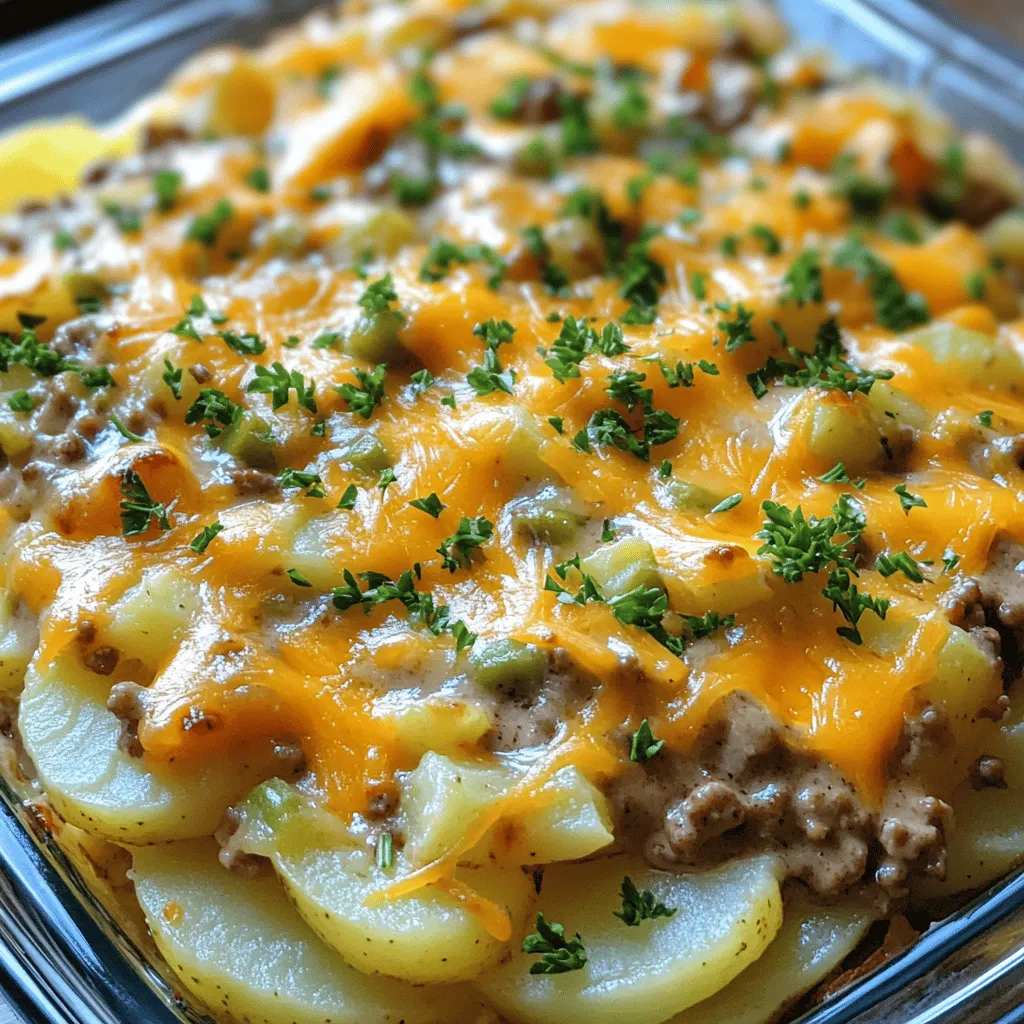
If you’re looking for a warm, hearty meal, Hobo Ground Beef & Potato Casserole is it! This dish combines tender potatoes, savory ground beef, and a blend of vegetables, all …
If you’re looking for a warm, hearty meal, Hobo Ground Beef & Potato Casserole is it! This dish combines tender potatoes, savory ground beef, and a blend of vegetables, all …
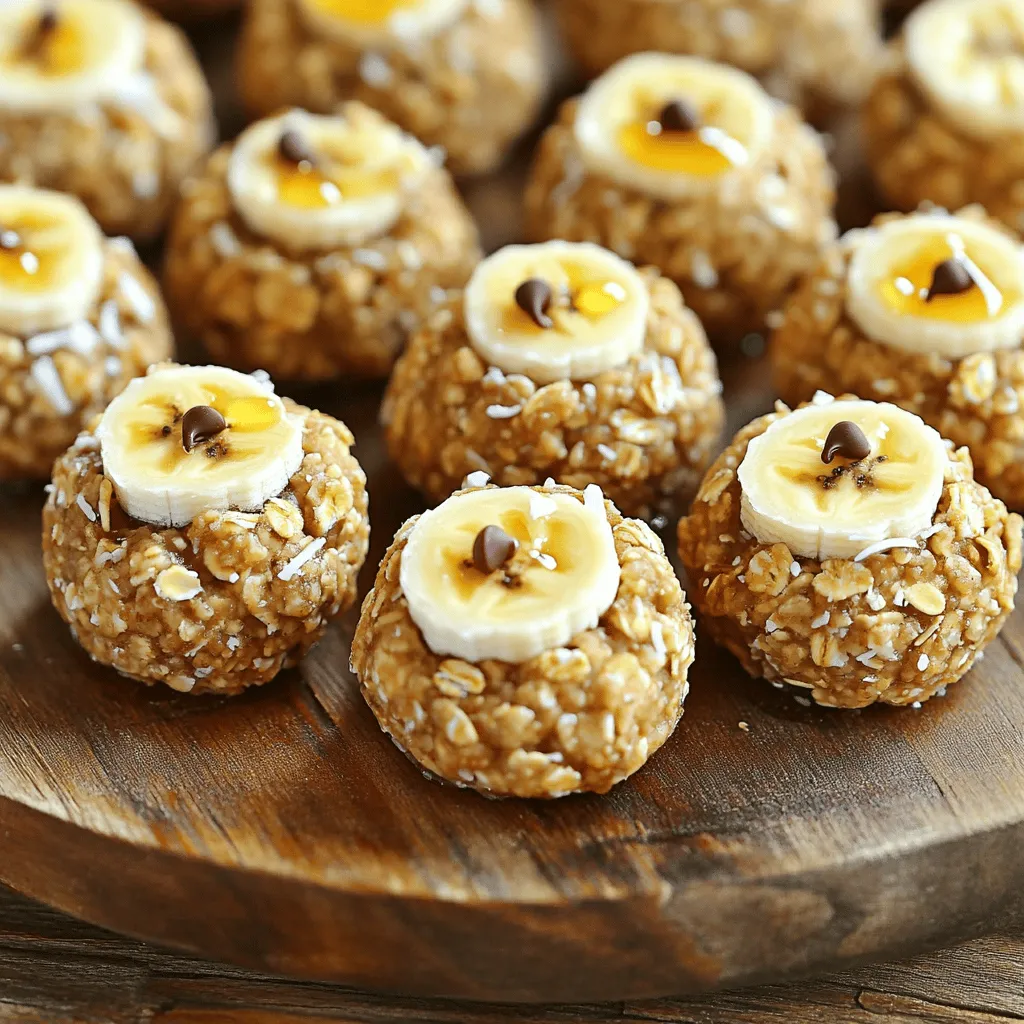
Looking for a quick and easy snack that packs a punch? Try my Nut-Free Banana Oat Energy Bites! These tasty bites are perfect for busy days, packed with flavor, and …

Are you ready to elevate your dessert game? My Pumpkin Cupcakes with Pumpkin Frosting are the ultimate fall treat! With warm spices and rich pumpkin flavor, these cupcakes are perfect …

If you’re looking for a tasty treat that brings fall flavors to your kitchen, these Pumpkin Chocolate Chip Muffins are perfect! I’ll guide you through each step, from gathering simple …
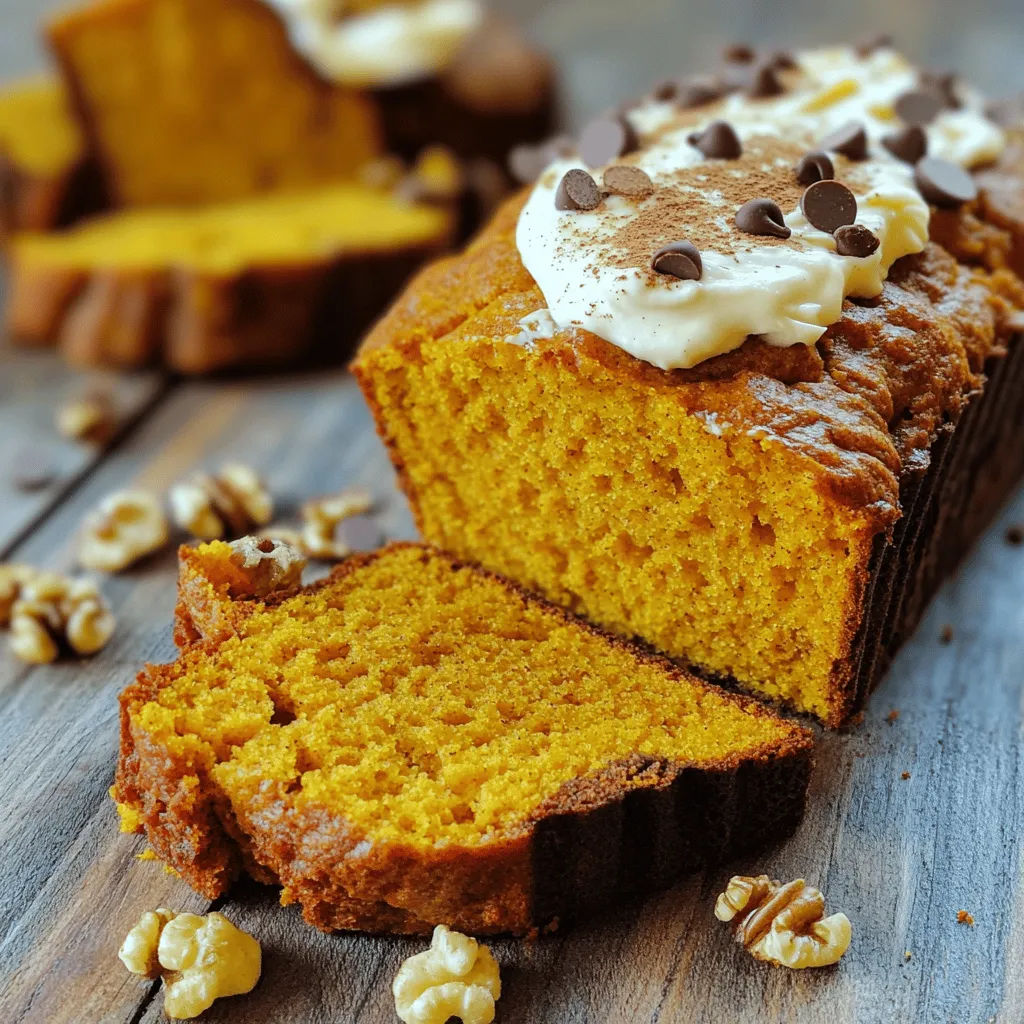
Looking for a simple and tasty fall treat? You’re in the right place! This Cake Mix Pumpkin Bread recipe is perfect for busy bakers. Using cake mix makes it easy …
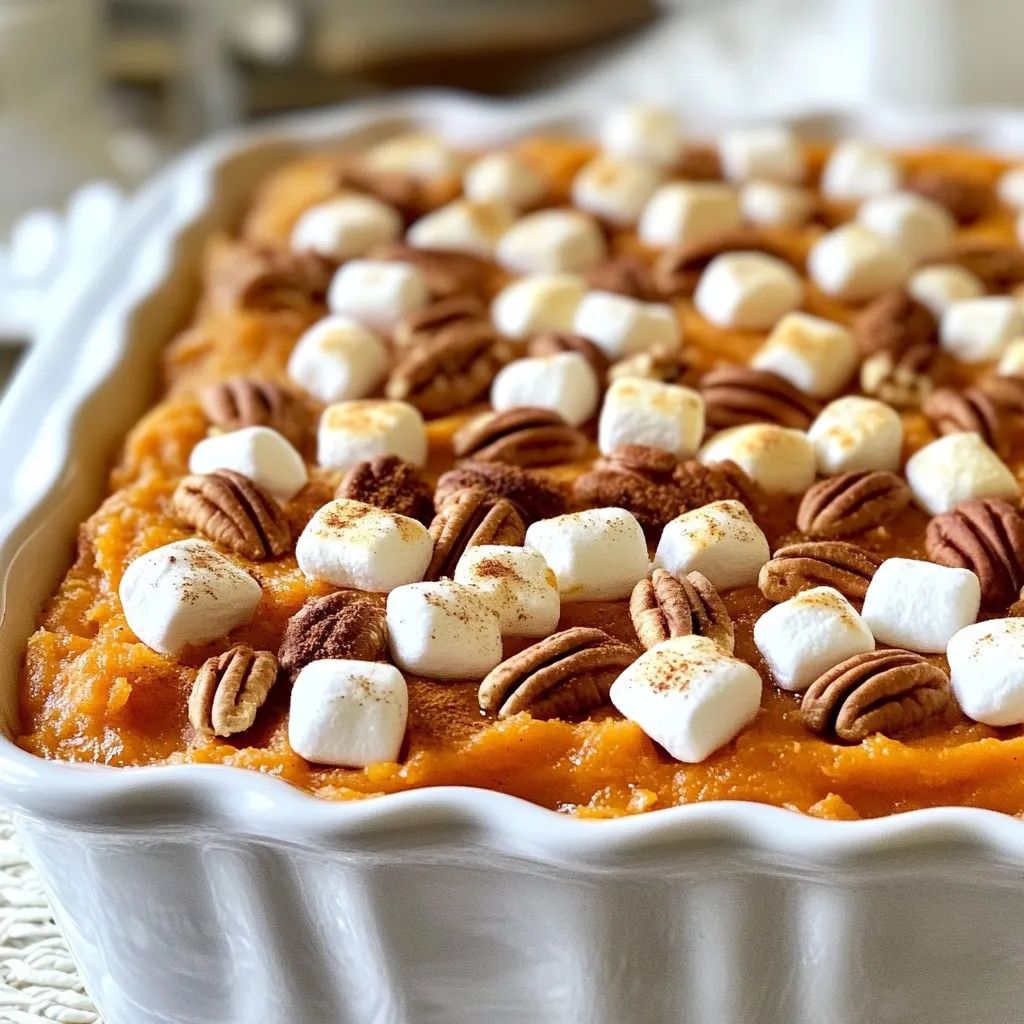
If you’re craving a warm and comforting dish, you’ll love my Easy Sweet Potato Casserole. It’s a simple recipe that delivers big flavor without the fuss. Whether you’re planning a …
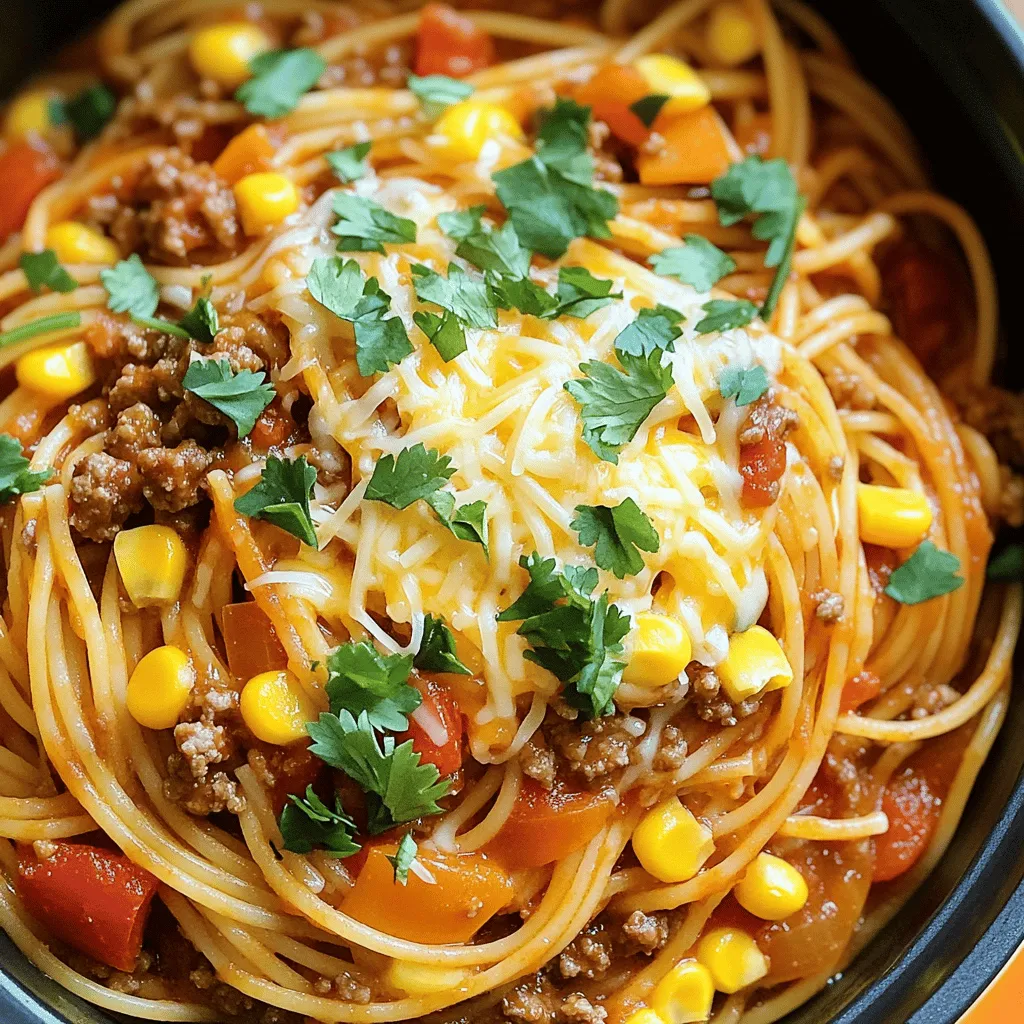
Looking for a quick, tasty meal that pleases the whole family? You’ve come to the right place! My One-Pot Cowboy Spaghetti packs bold flavors and requires just one pot for …
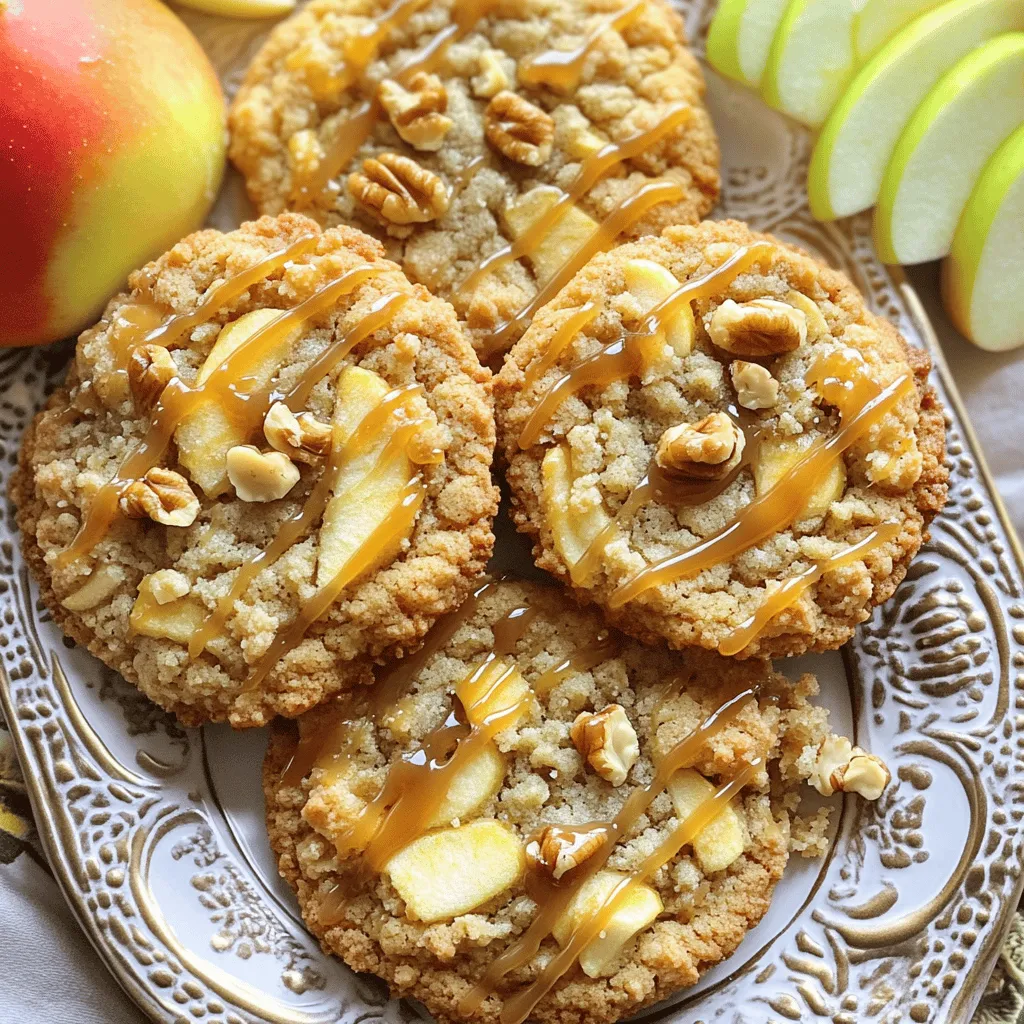
Are you ready to bake something delicious? These Crumbl copycat caramel apple cookies will impress your friends and family. With sweet caramel and crunchy apple pieces, each bite is pure …

Who can resist the warm, inviting aroma of fresh-baked muffins? Today, I’m excited to share my recipe for Pumpkin Cream Cheese Swirl Muffins. These treats perfectly blend rich pumpkin flavor …
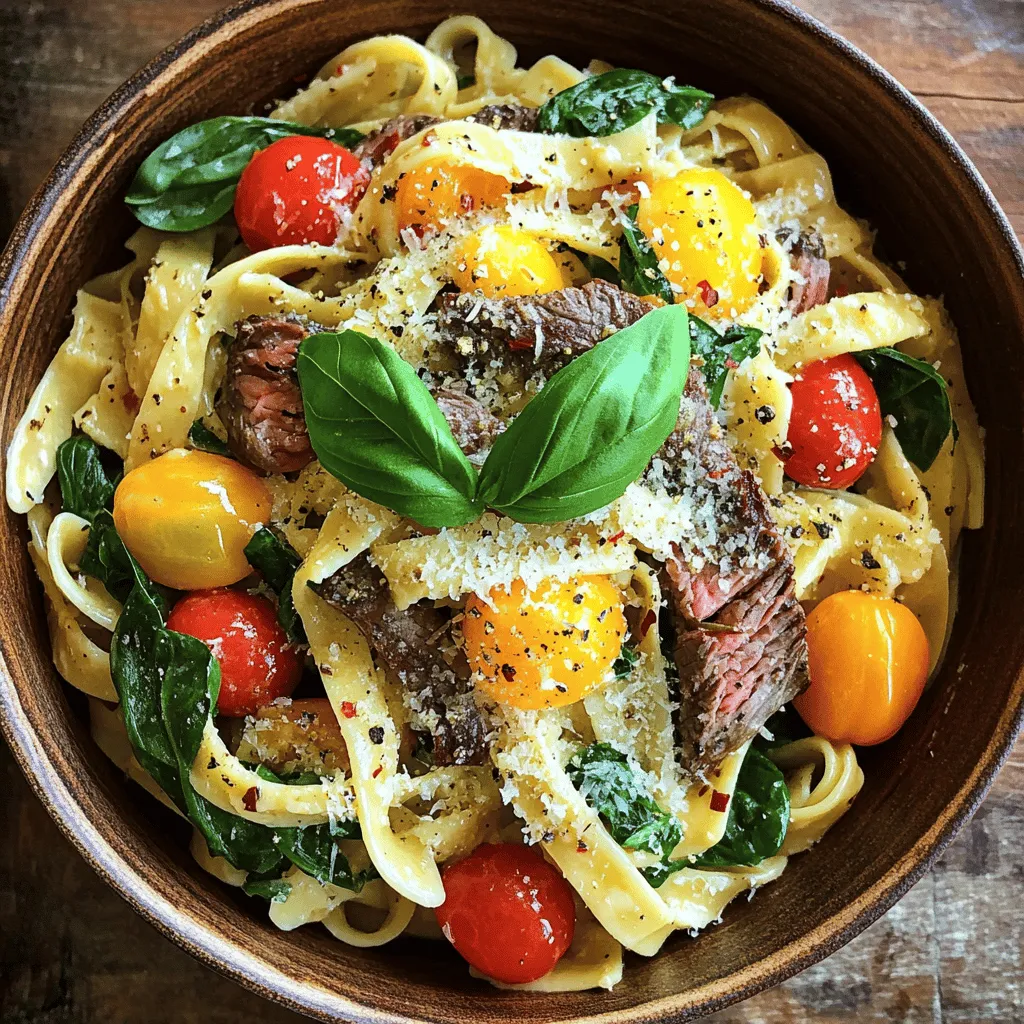
If you crave a meal that packs flavor and comfort, Garlic Steak Pasta is your answer. This dish combines tender steak, rich cream, and vibrant veggies, ensuring each bite is …