Pumpkin Cream Cheese Muffins Delightful and Easy Snack
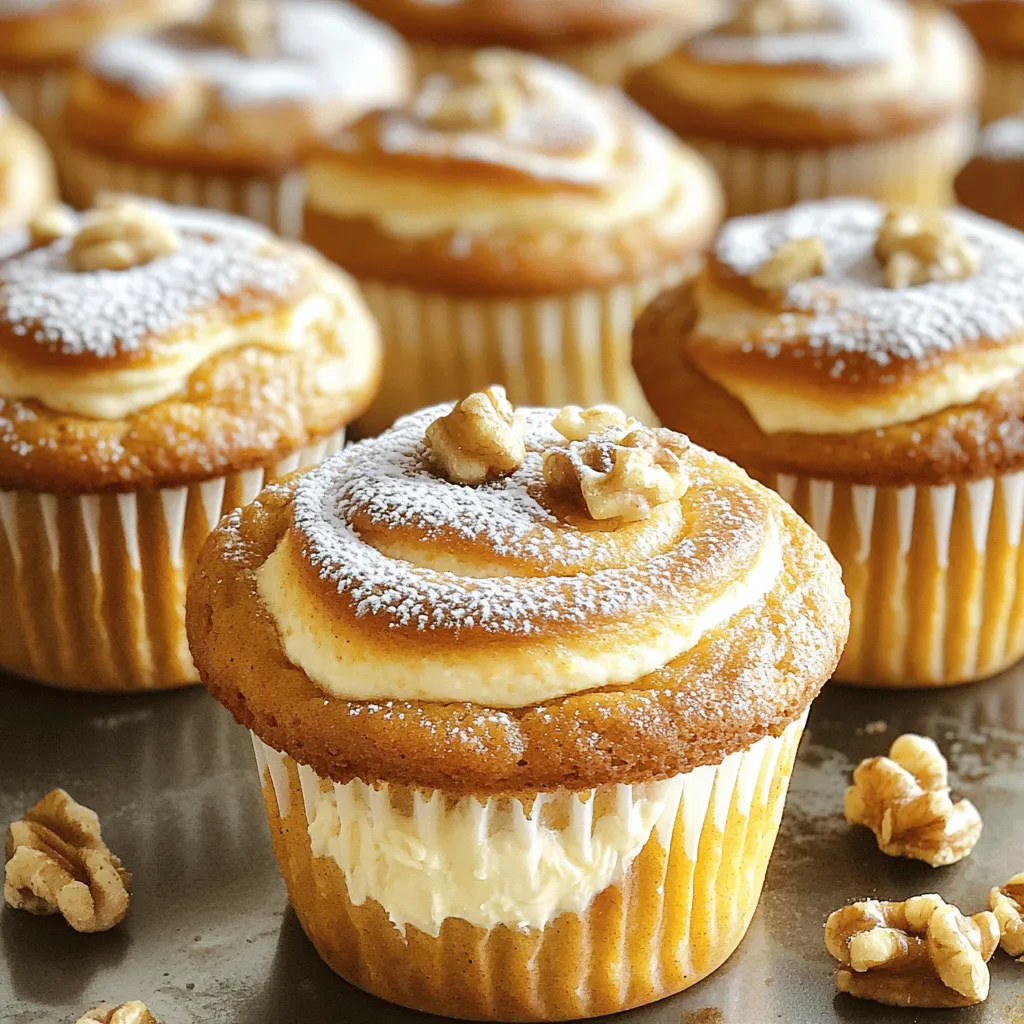
Are you ready for a tasty treat that’s both easy to make and delightfully scrumptious? These Pumpkin Cream Cheese Muffins offer the perfect blend of sweet pumpkin and creamy filling, …