Sheet Pan Chicken Kabobs Flavorful and Easy Meal
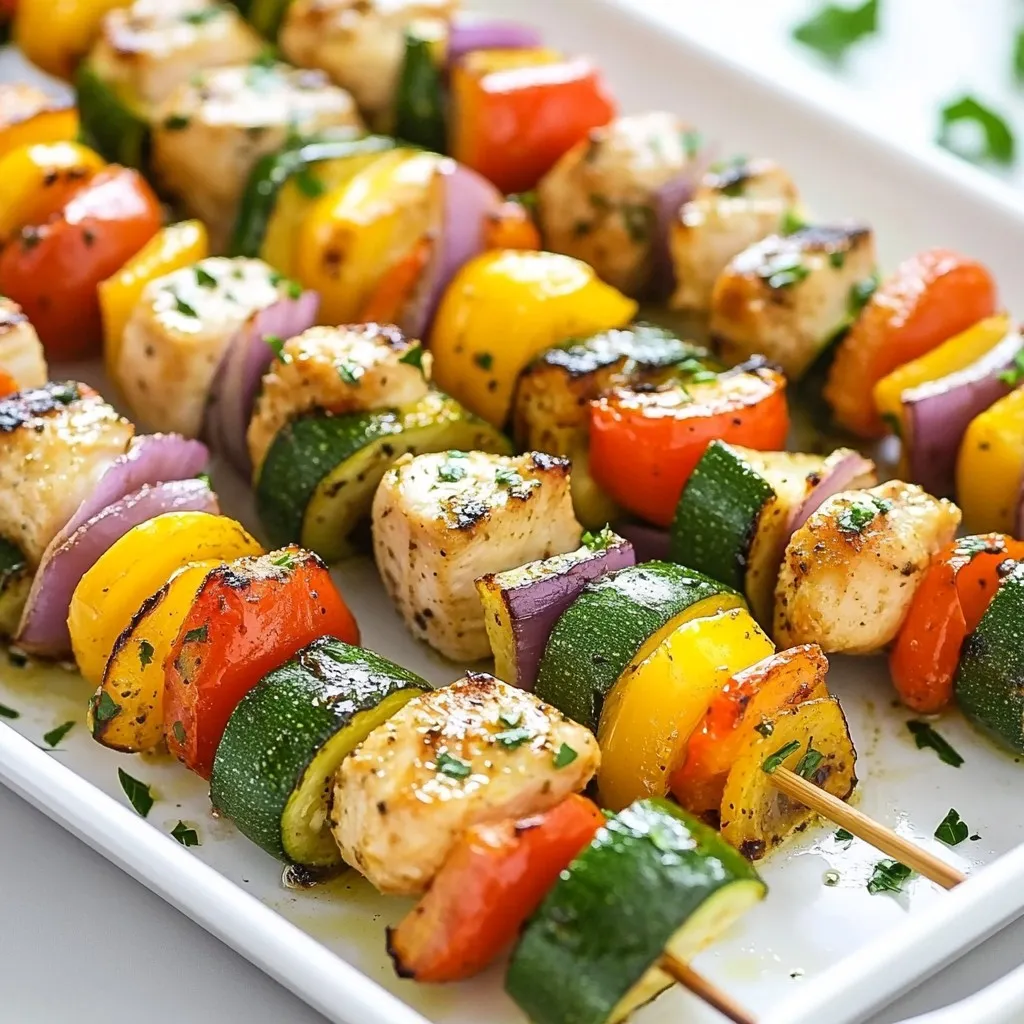
Ready to whip up a delicious meal with minimal cleanup? My Sheet Pan Chicken Kabobs are not only flavorful but also easy to make! With fresh veggies and tasty marinade, …
Ready to whip up a delicious meal with minimal cleanup? My Sheet Pan Chicken Kabobs are not only flavorful but also easy to make! With fresh veggies and tasty marinade, …
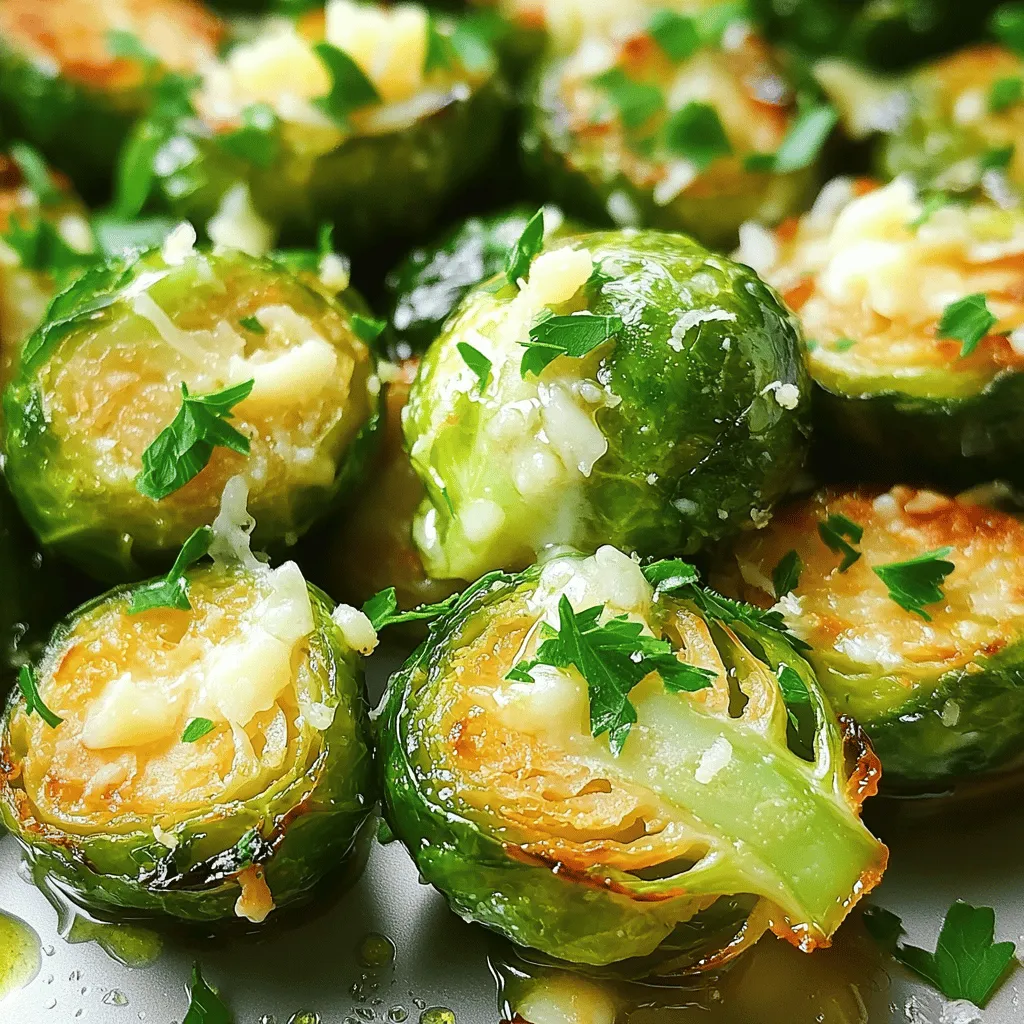
Are you looking for a tasty and easy side dish? Roasted Garlic Parmesan Brussels Sprouts combine rich flavors and crunch. These sprouts will steal the show at your next meal! …
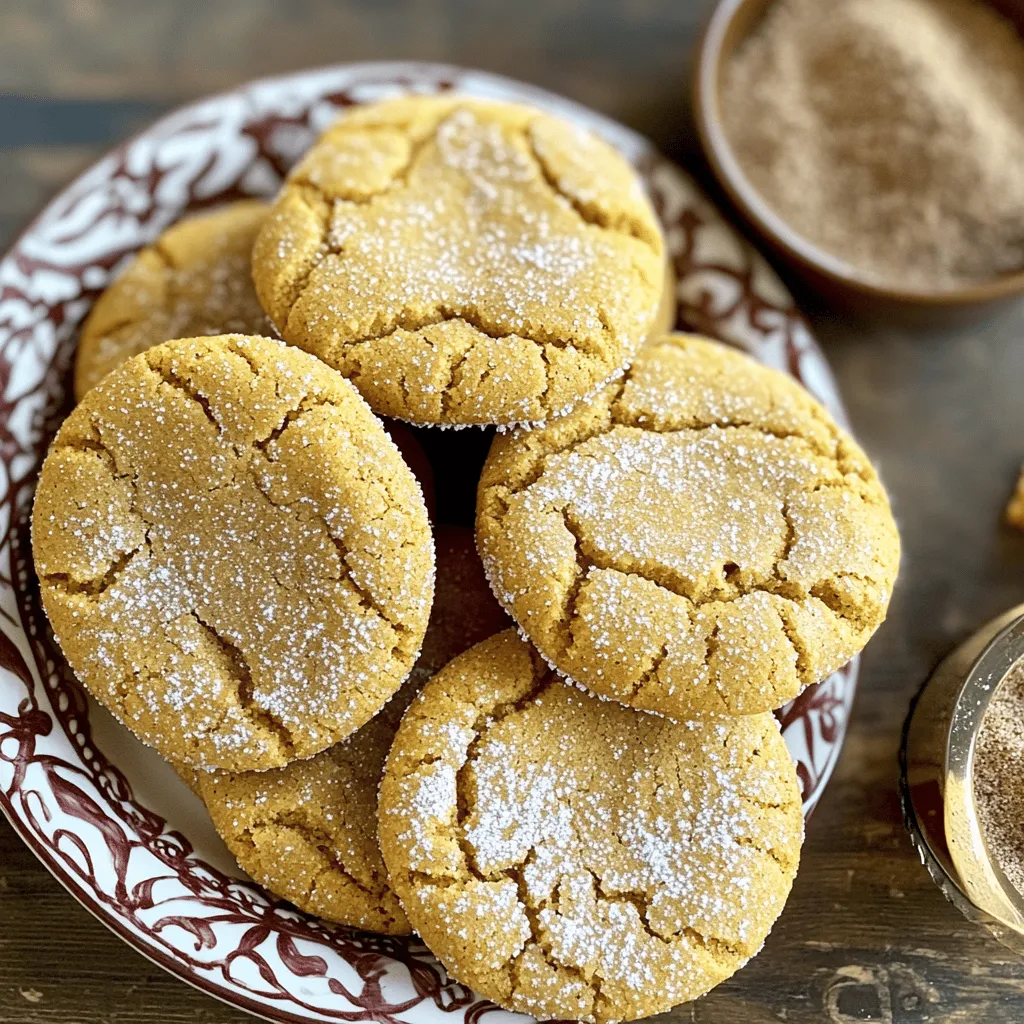
If you’re craving a warm, sweet treat, you’ve come to the right place! Soft ginger molasses cookies are a perfect blend of spice and sweetness. In this guide, I’ll walk …
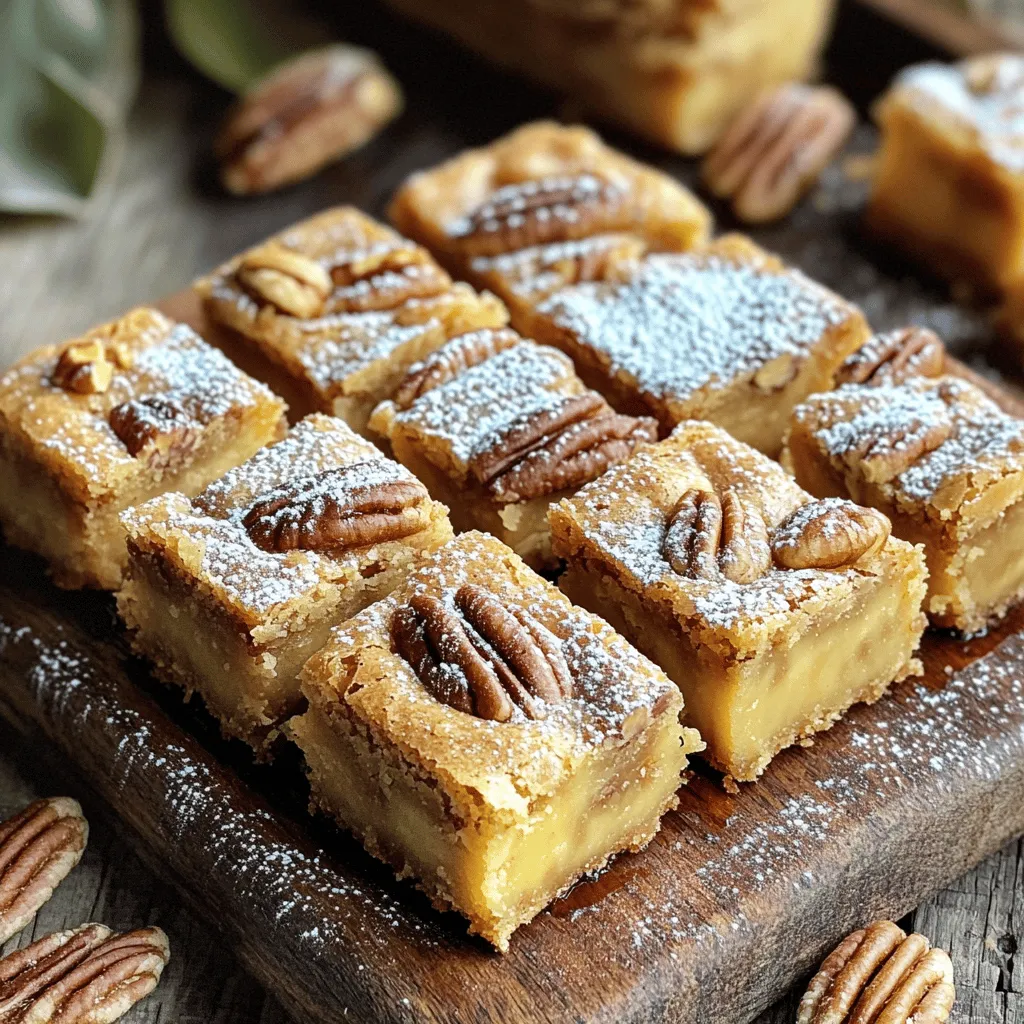
If you love sweet treats, you’re in for a real treat! These Brown Butter Maple Blondies will wow your taste buds. With a rich, nutty flavor and a hint of …
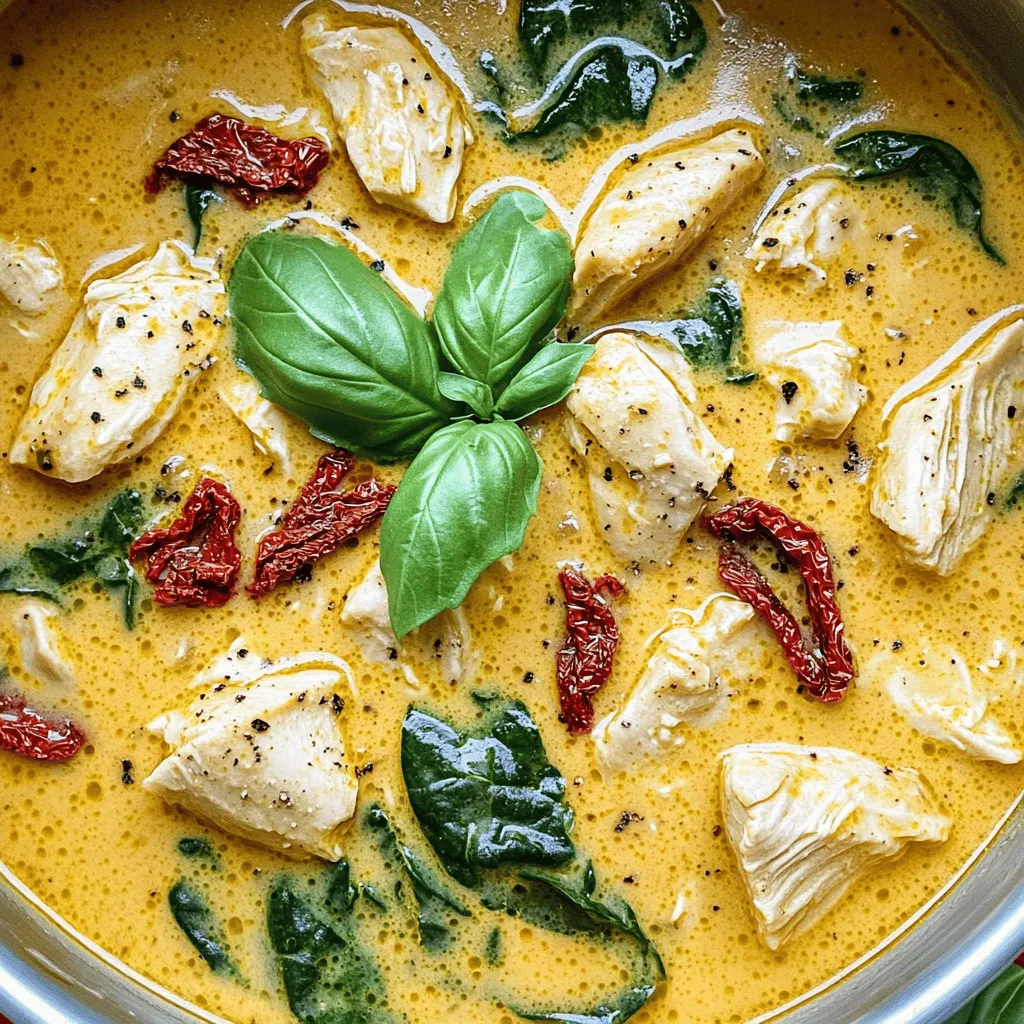
Warm your soul with a bowl of Creamy Tuscan Chicken Soup! This dish combines tender chicken, fresh veggies, and rich cream for the perfect comfort food experience. I’ll guide you …
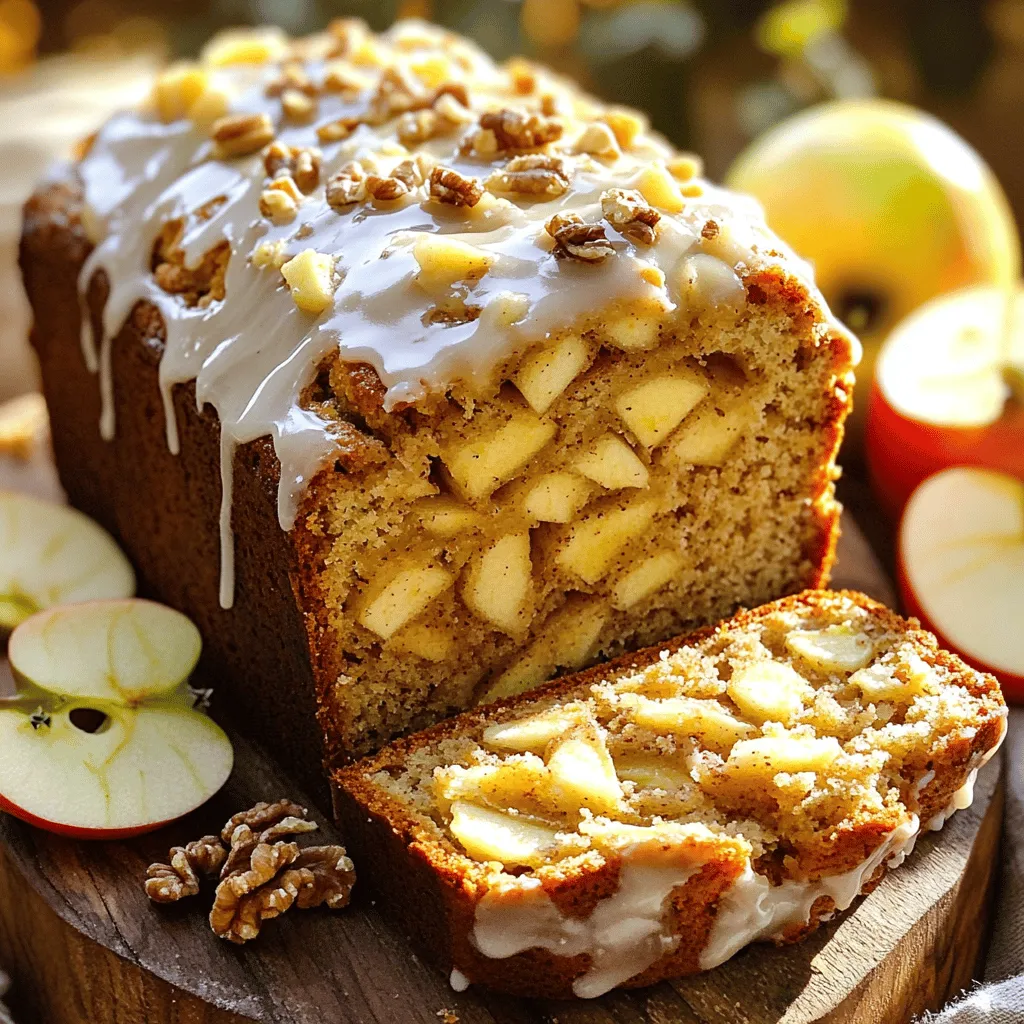
Are you ready to try something delicious? Today, we’re diving into a simple and tasty treat: Glazed Apple Fritter Bread! This warm bread mixes sweet apples with a soft, fluffy …
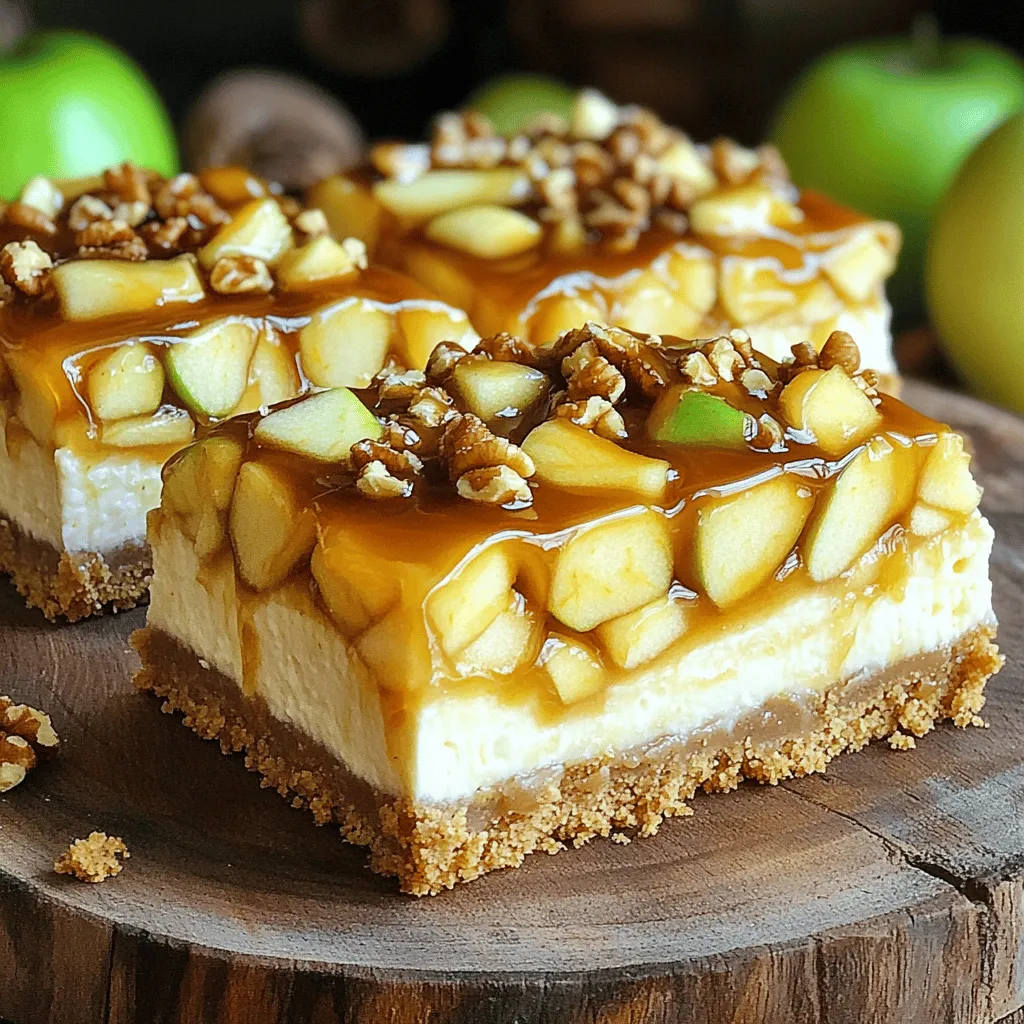
Get ready to indulge in a sweet treat that combines the best of fall flavors! In this blog post, I’ll guide you through the delights of making Caramel Apple Cheesecake …
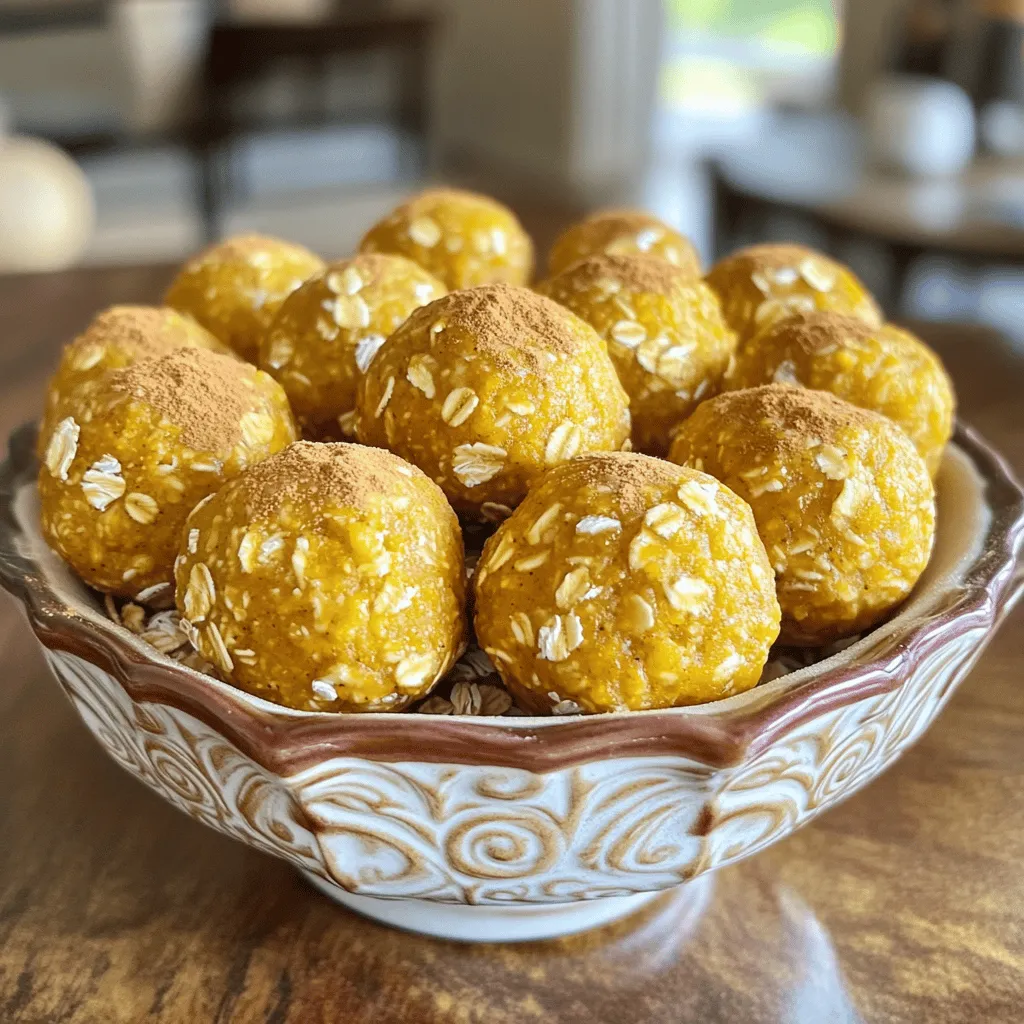
Craving a tasty and healthy snack? Look no further! These Pumpkin Spice Energy Bites are easy to make, packed with wholesome ingredients, and perfect for any time of day. With …
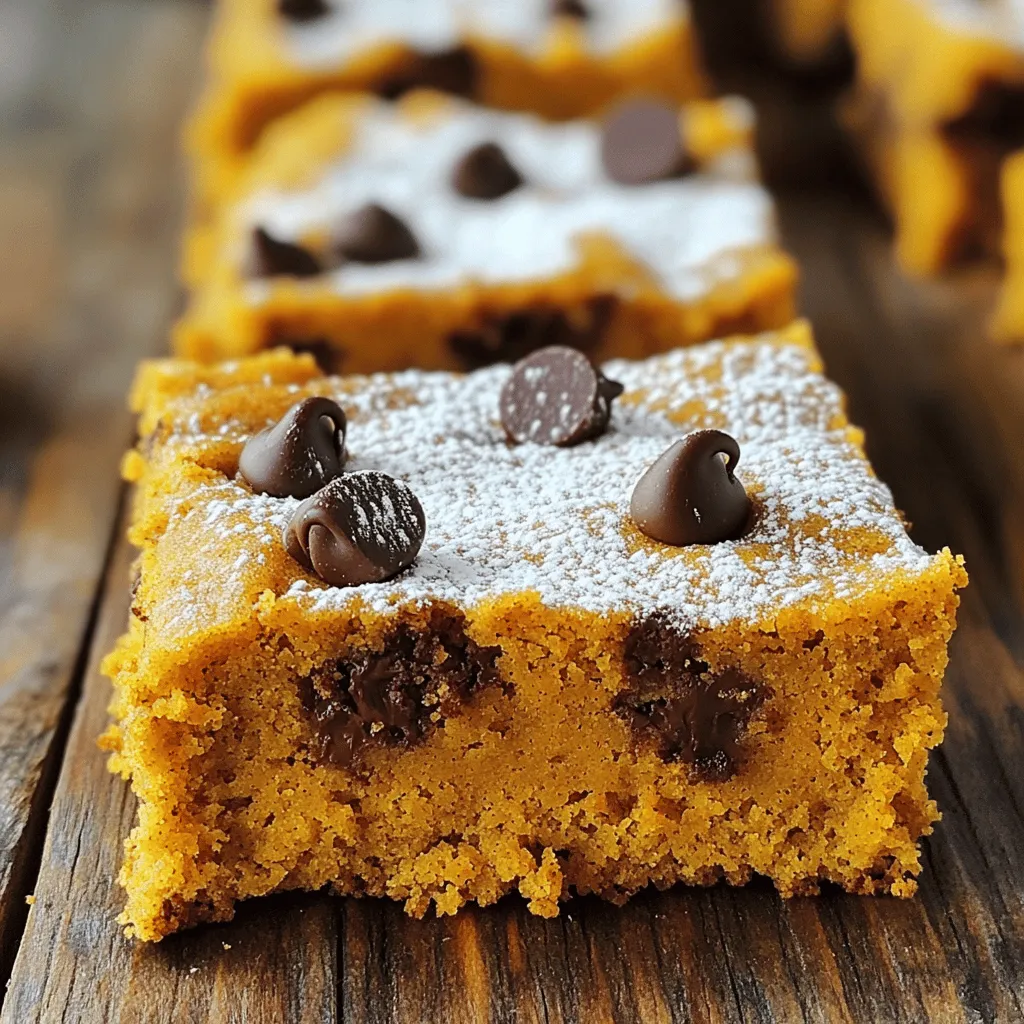
If you love fall flavors but want a quick and easy treat, this Pumpkin Bars with Cake Mix recipe is for you. With just a few simple ingredients, you’ll create …
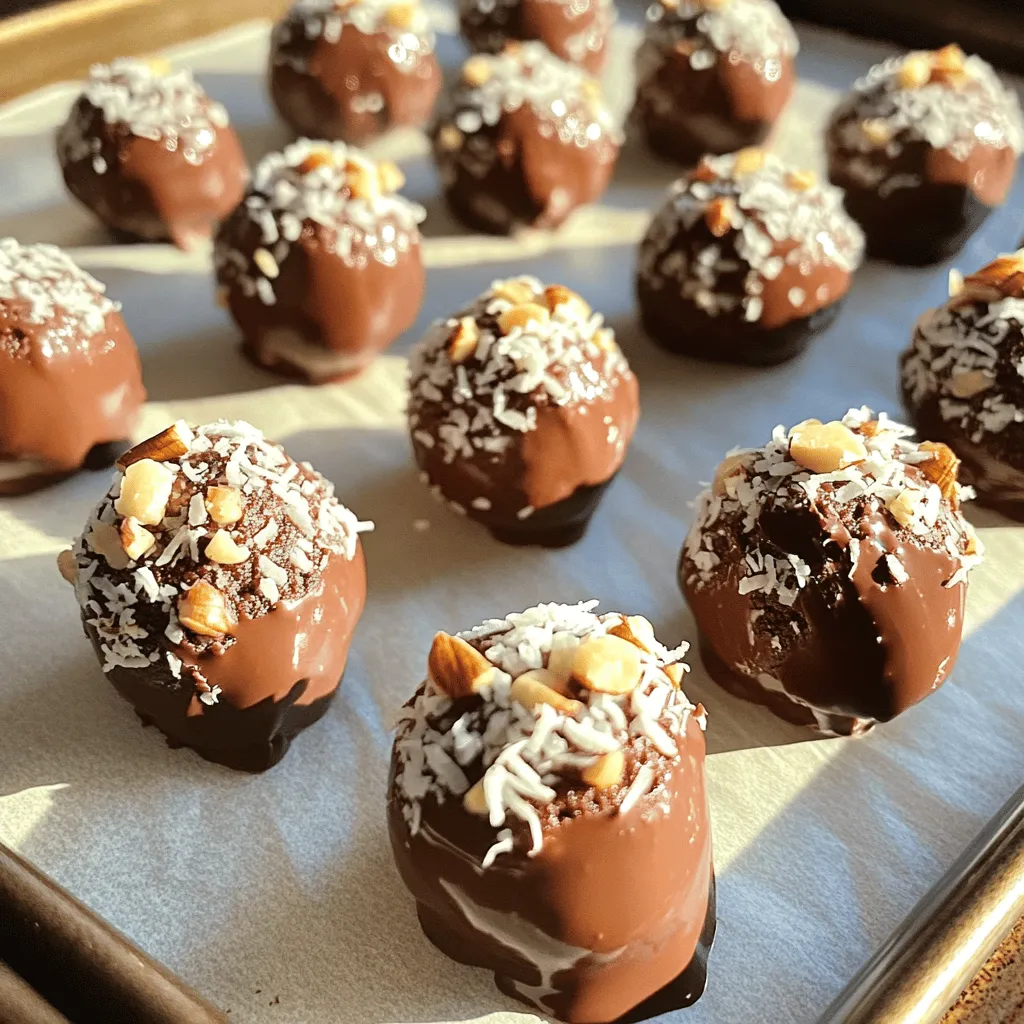
Looking for a quick and healthy treat? These No Bake Brownie Bites are your answer! Packed with wholesome ingredients like walnuts, Medjool dates, and cocoa powder, they satisfy your sweet …