Pesto Chicken & Roasted Potatoes Sheet Pan Delight
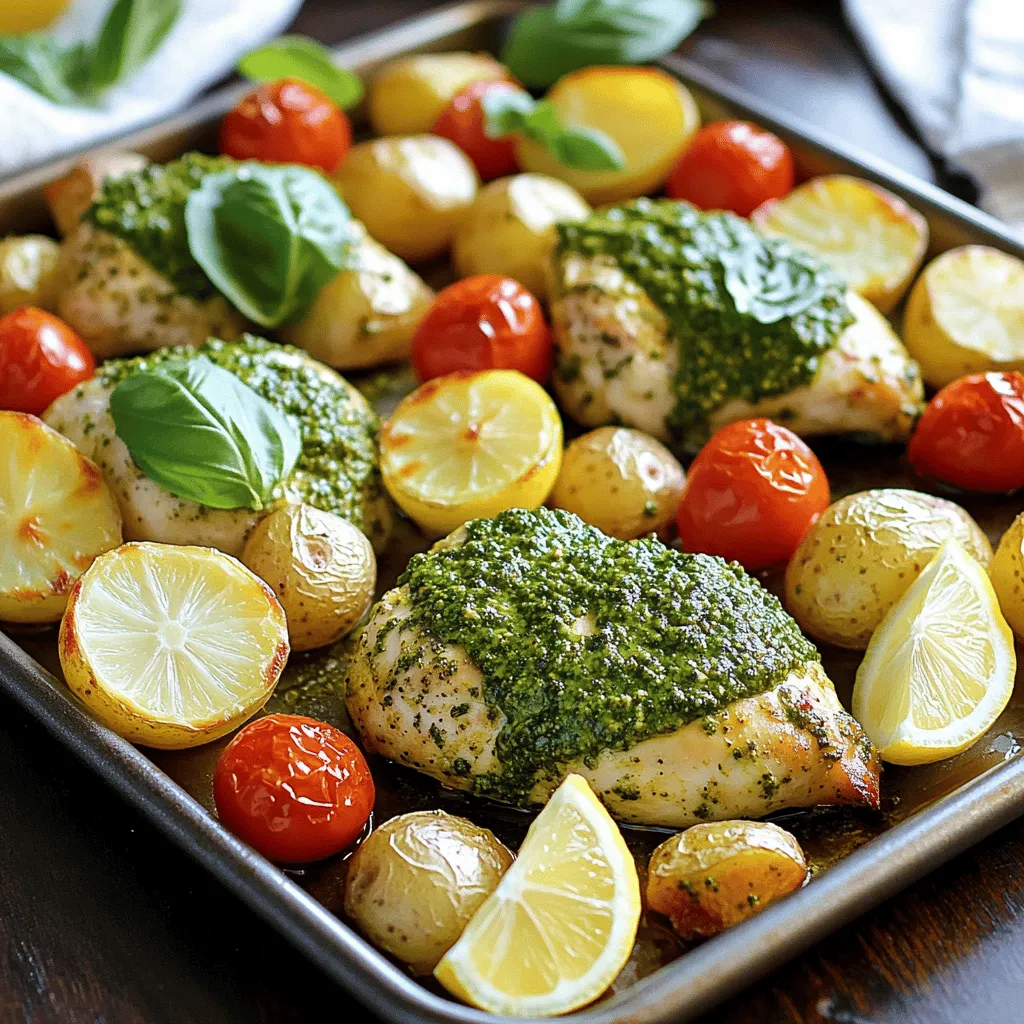
Looking for a quick and tasty dinner idea? Try my Pesto Chicken & Roasted Potatoes Sheet Pan Delight! This meal brings together juicy chicken breasts and savory roasted baby potatoes, …