Irresistible Apple Pie Cinnamon Rolls Easy Recipe

Who doesn’t love the warm, sweet smell of fresh cinnamon rolls? Today, I’m excited to share my easy recipe for irresistible Apple Pie Cinnamon Rolls. These rolls blend soft dough, …
Who doesn’t love the warm, sweet smell of fresh cinnamon rolls? Today, I’m excited to share my easy recipe for irresistible Apple Pie Cinnamon Rolls. These rolls blend soft dough, …
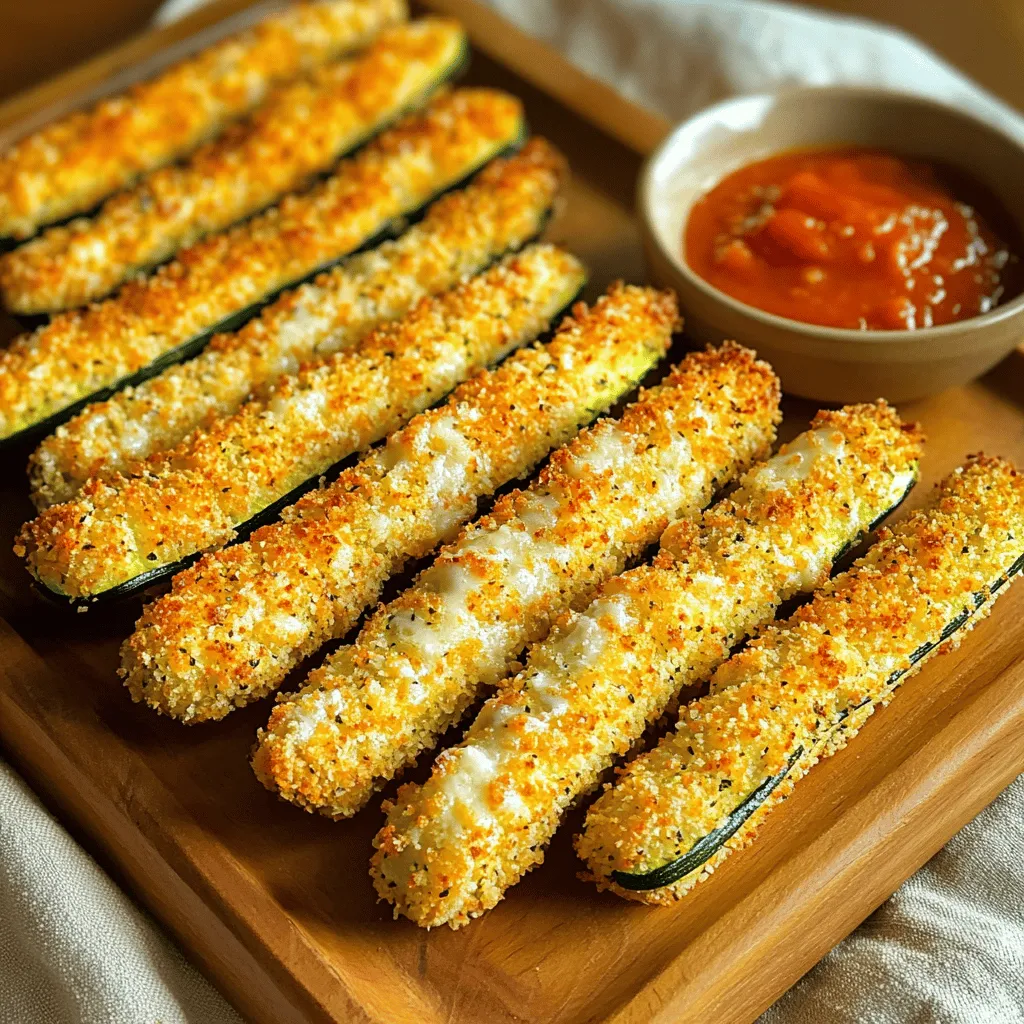
Craving a guilt-free snack that’s both crispy and flavorful? You’re in the right place! Air Fryer Parmesan Zucchini Sticks offer the perfect blend of crunch and taste, making them a …
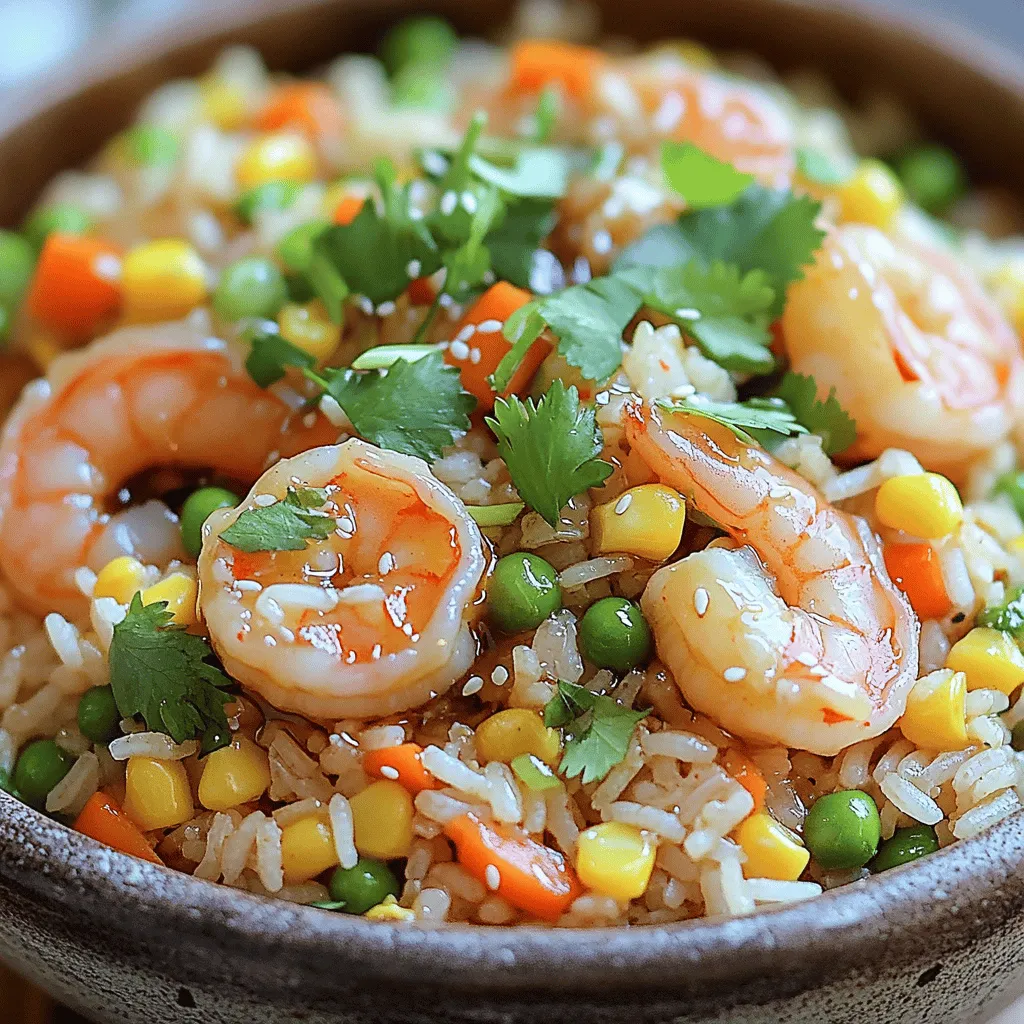
Looking for an easy meal that bursts with flavor? Honey Garlic Shrimp Fried Rice is the answer! This dish combines sweet honey, savory garlic, and plump shrimp over soft jasmine …
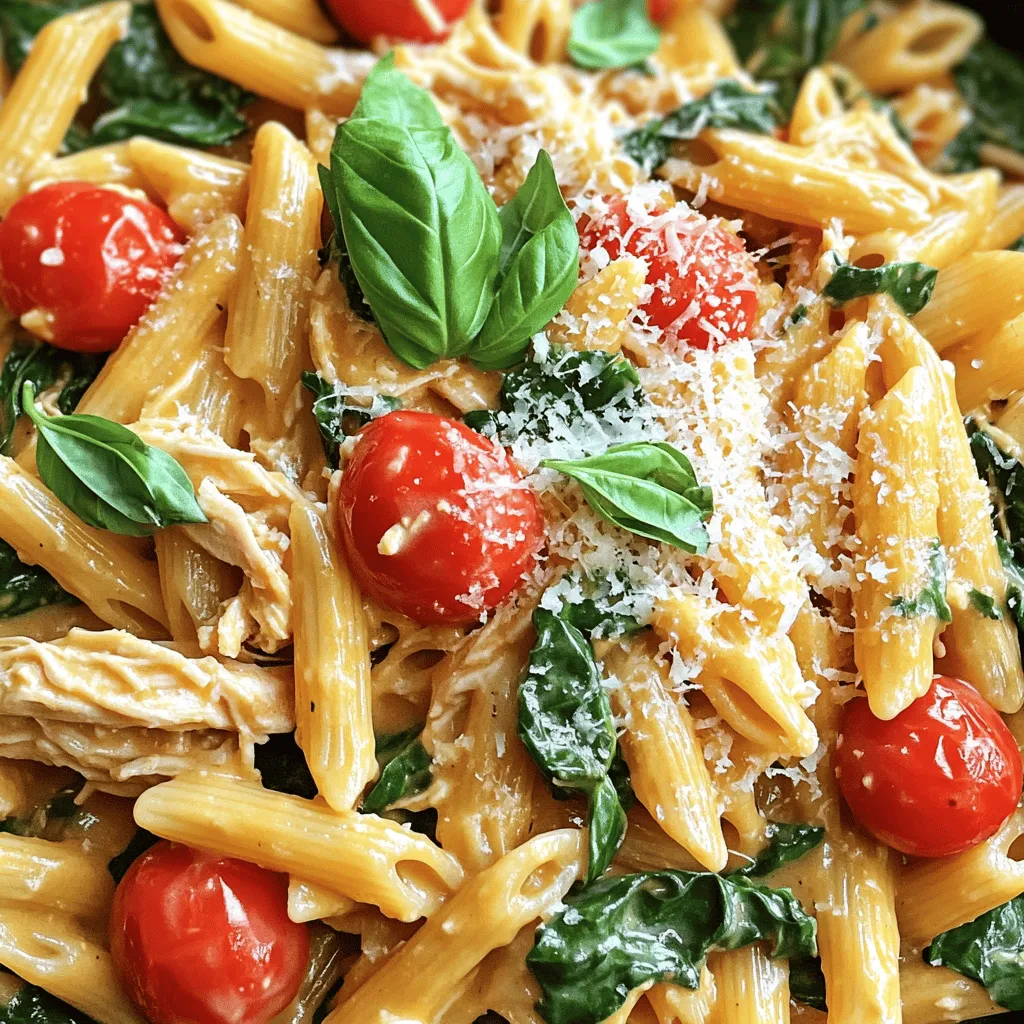
Are you ready to enjoy a delicious family meal that practically cooks itself? Slow Cooker Tuscan Chicken Pasta is the answer! With just a few simple ingredients, you can create …
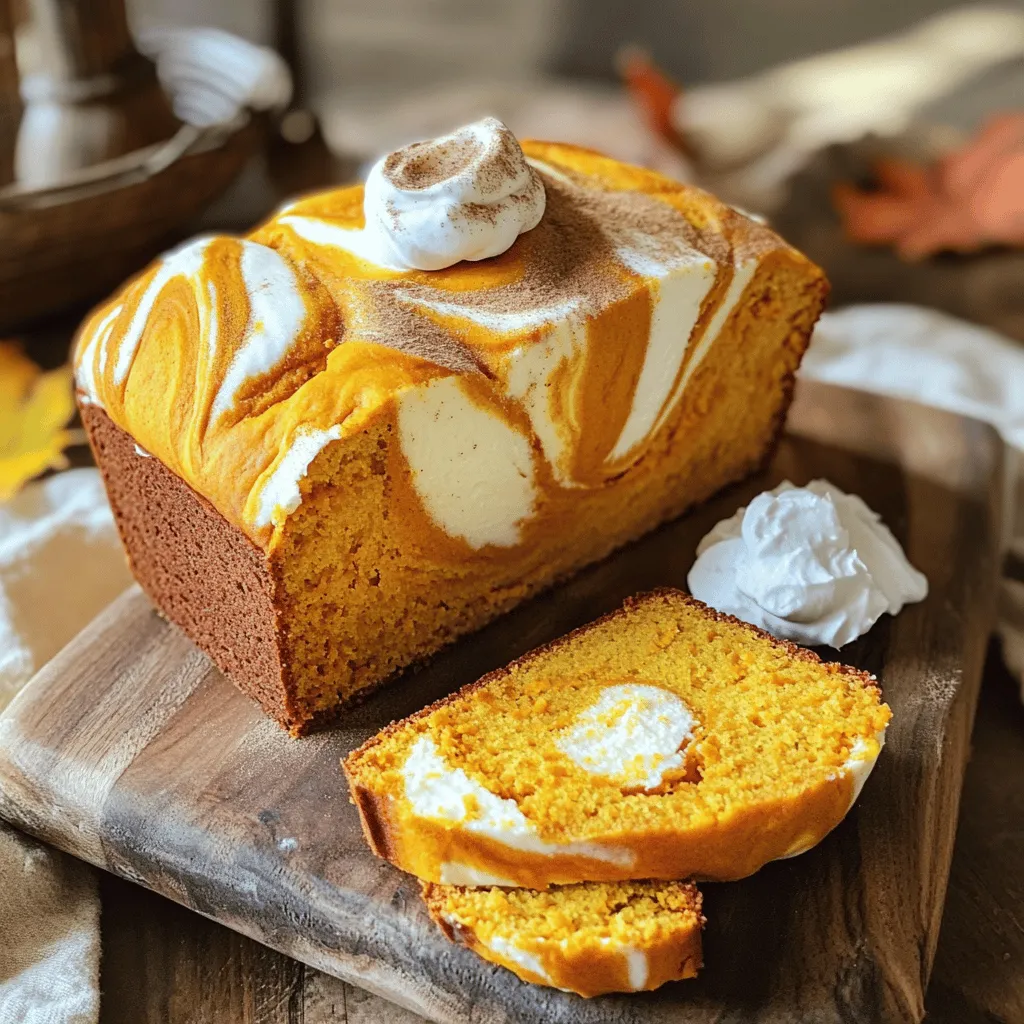
Are you ready to embrace the cozy flavors of fall? This Pumpkin Cream Cheese Bread will fill your kitchen with warmth and deliciousness. With a perfect blend of spices and …

Welcome to the delicious world of Sheet Pan Sweet Sour Chicken Pineapple Delight! If you’re craving a dish that’s easy to make and bursting with flavor, this recipe is for …
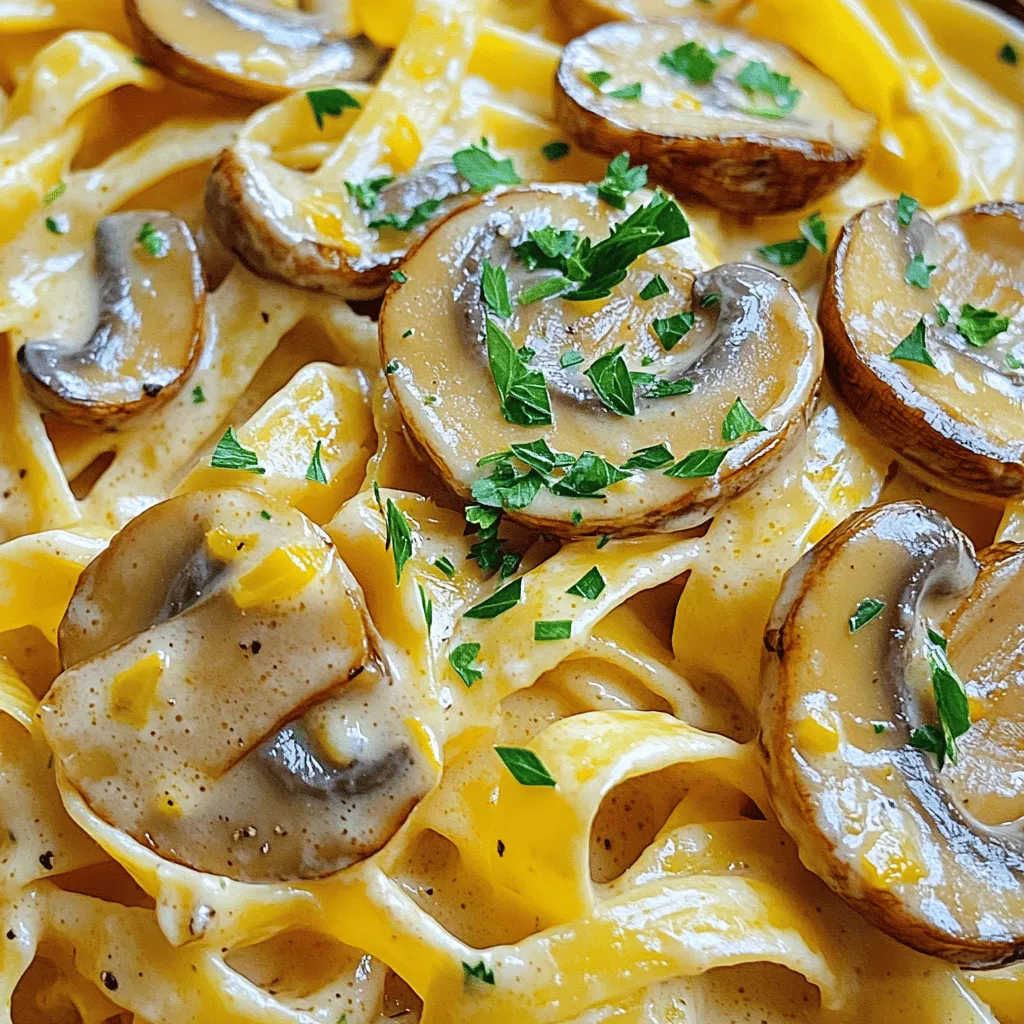
Welcome to the world of One Pot Creamy Mushroom Pasta! This dish is quick, simple, and sure to please. Imagine a creamy, tasty meal all made in one pot. You’ll …
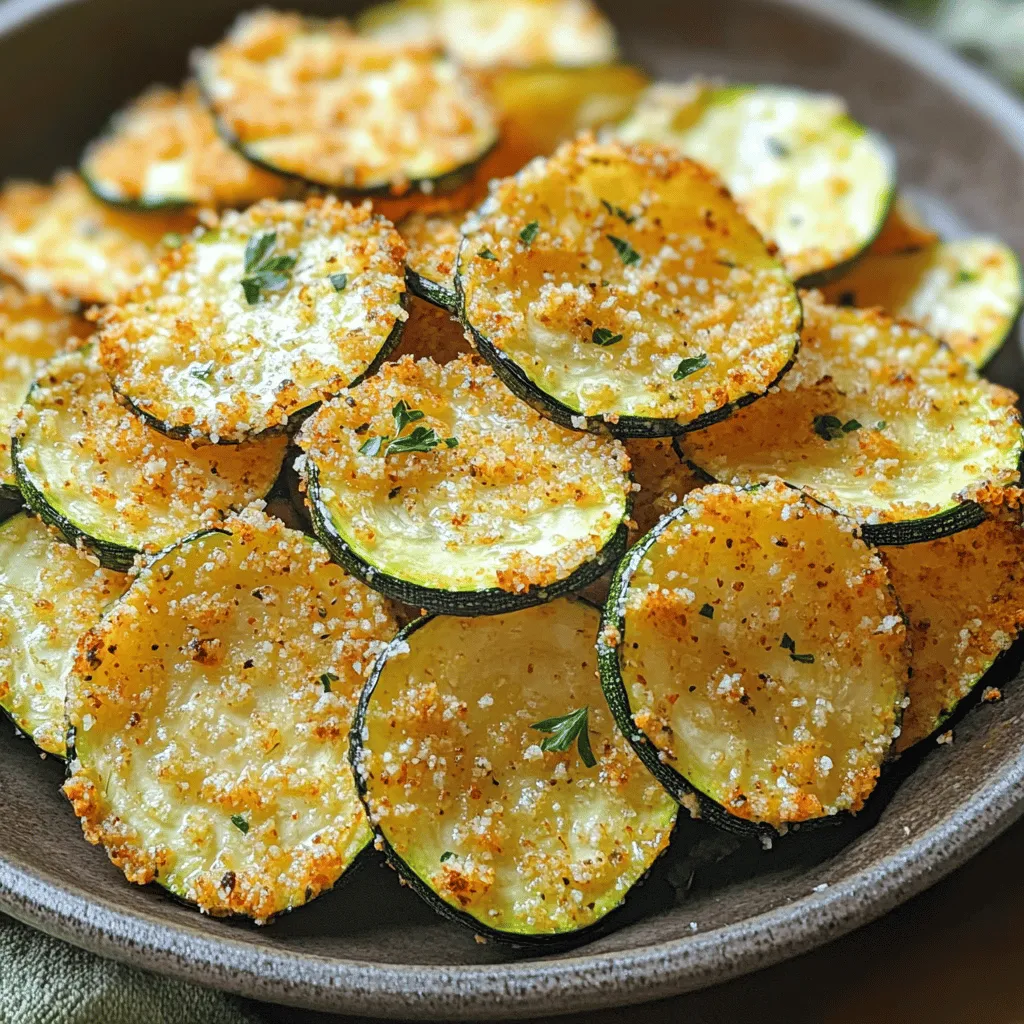
Looking for a delicious snack that’s easy to make? You’ll love these Air Fryer Parmesan Zucchini Chips! They’re perfectly crispy, packed with flavor, and a great way to sneak in …
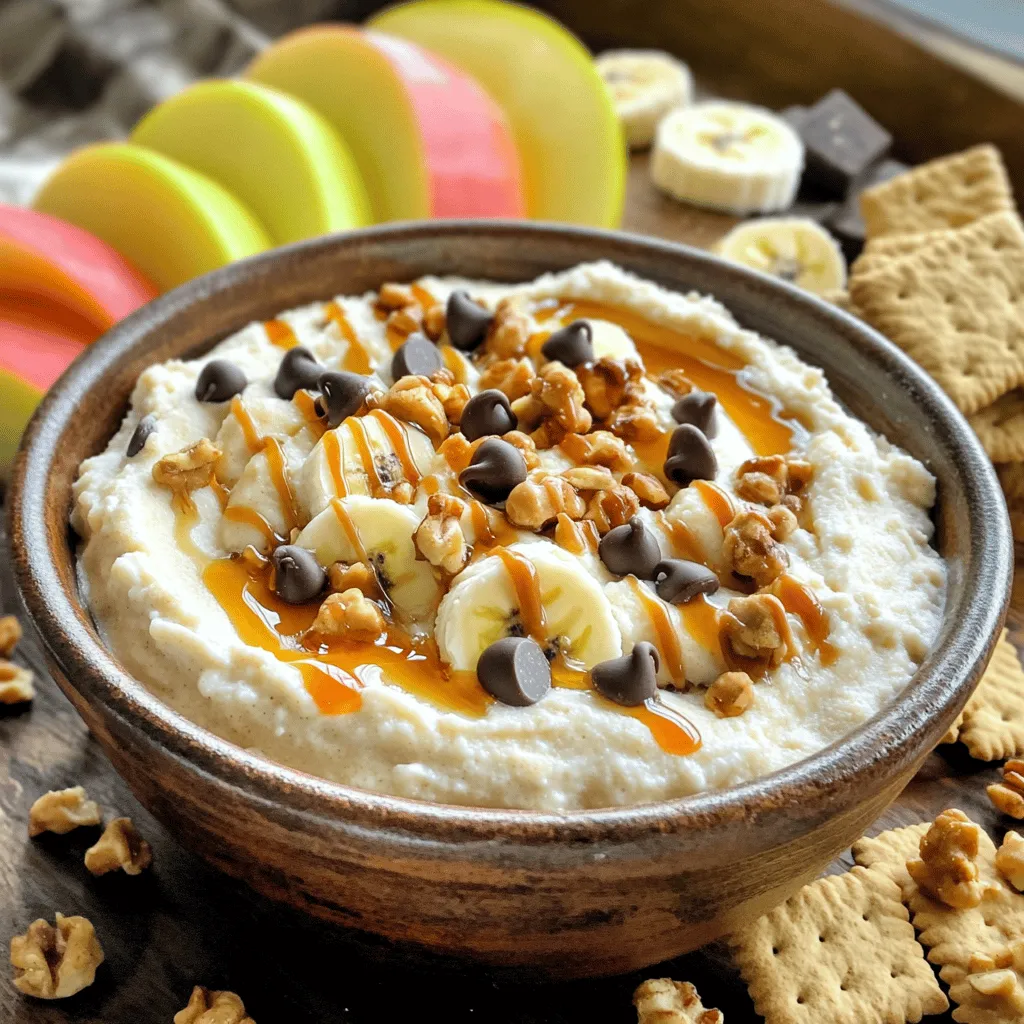
Looking for a fun and tasty treat? You’ll love this Cottage Cheese Cookie Dough Dip! It’s easy to make, loaded with flavor, and perfect for sharing with friends. With simple …
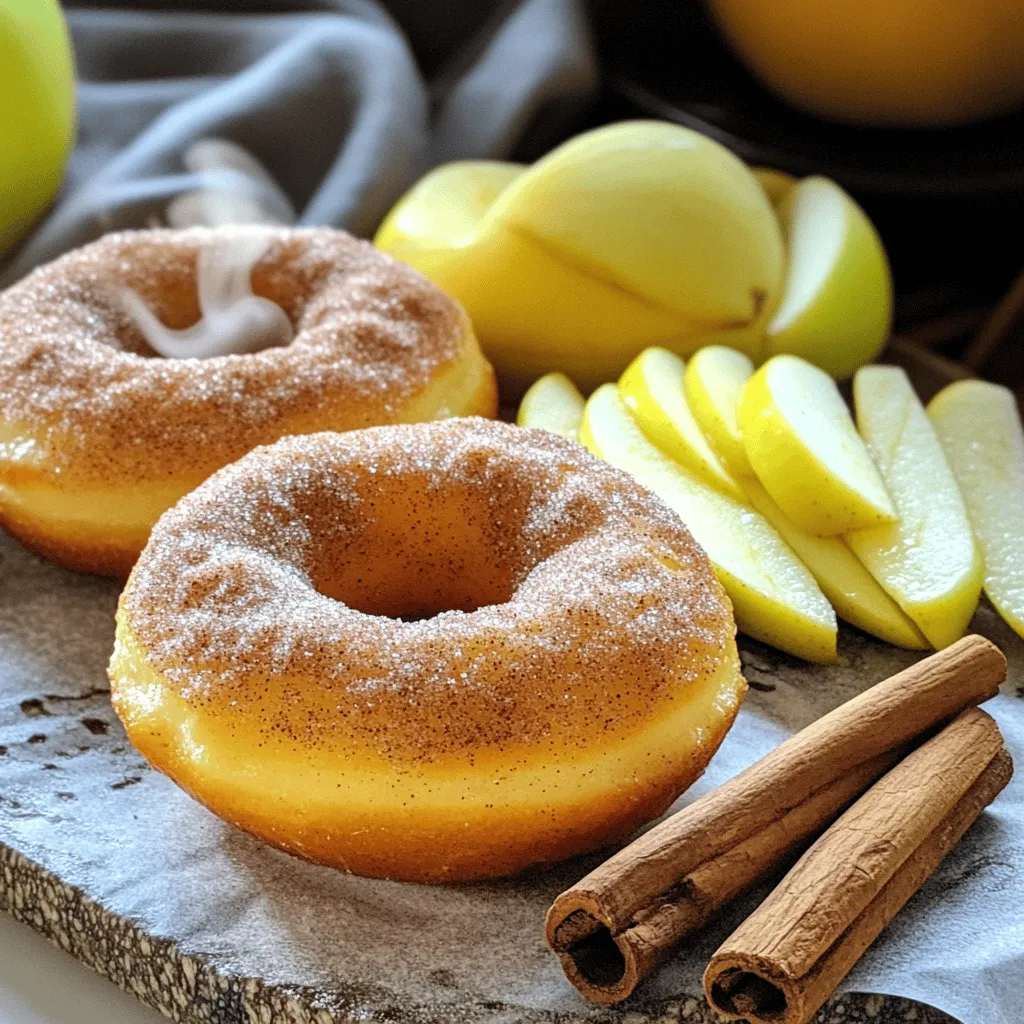
Cinnamon Apple Cider Doughnuts are a tasty treat you’ll love! With warm spices and rich apple flavor, they are perfect for fall or any time you crave something sweet. In …