Crispy Air Fryer Pizza Rolls Easy Snack Recipe

Craving a quick and tasty snack? You’re in the right place! Crispy Air Fryer Pizza Rolls are easy to make and full of flavor. In this guide, I’ll show you …
Craving a quick and tasty snack? You’re in the right place! Crispy Air Fryer Pizza Rolls are easy to make and full of flavor. In this guide, I’ll show you …
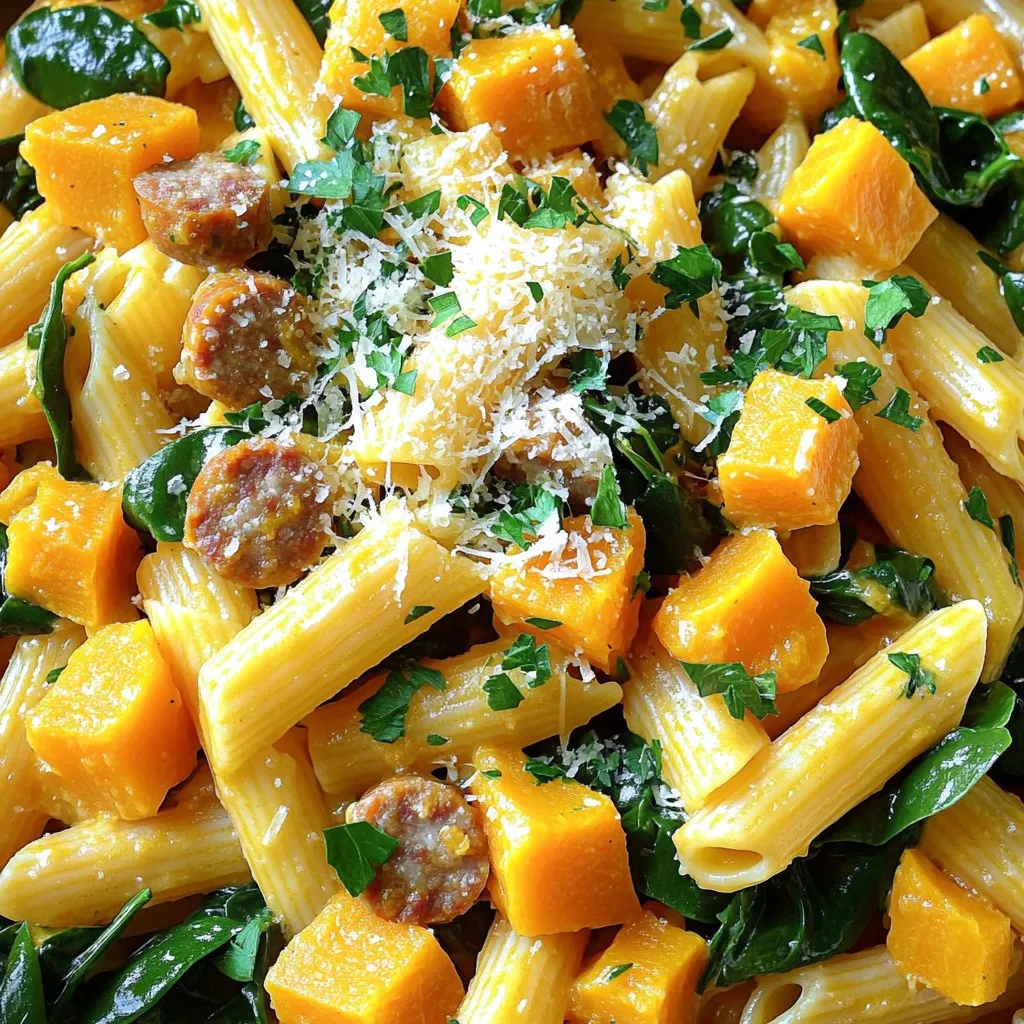
Fall flavors shine in this Autumn Sausage Squash Pasta. You’ll love how simply you can combine hearty Italian sausage with roasted butternut squash for a warm meal. With fresh greens …

If you crave the thick, gooey chocolate chip cookies from your favorite bakery, you’re in the right place! In this recipe, I will show you how to make your own …

Are you ready to take your grilled cheese game to a whole new level? With my Copycat Grilled Cheese Burrito, you’ll enjoy gooey cheese, flavorful fillings, and a crispy exterior …
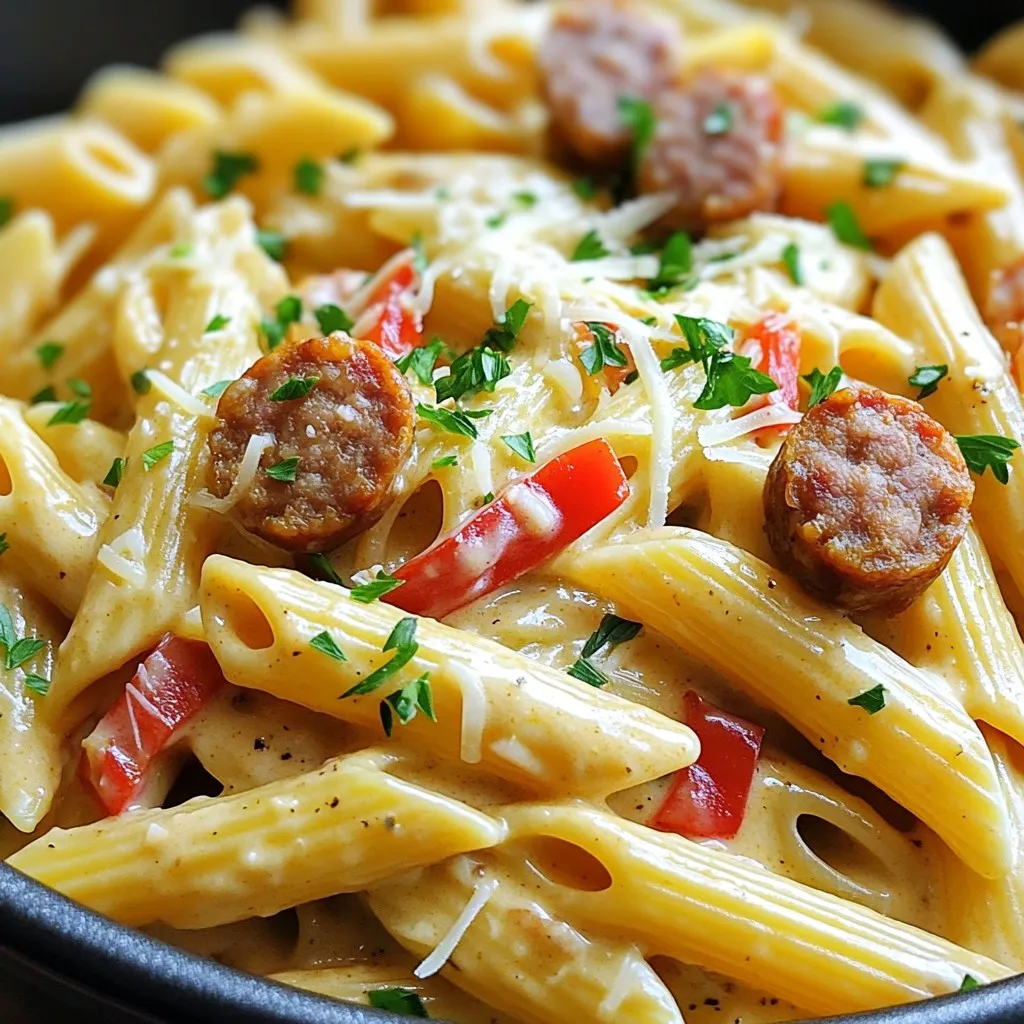
Looking for a tasty meal that comes together in one pot? You’re in for a treat! My One Pot Creamy Cajun Sausage Pasta is the answer to your busy weeknight …
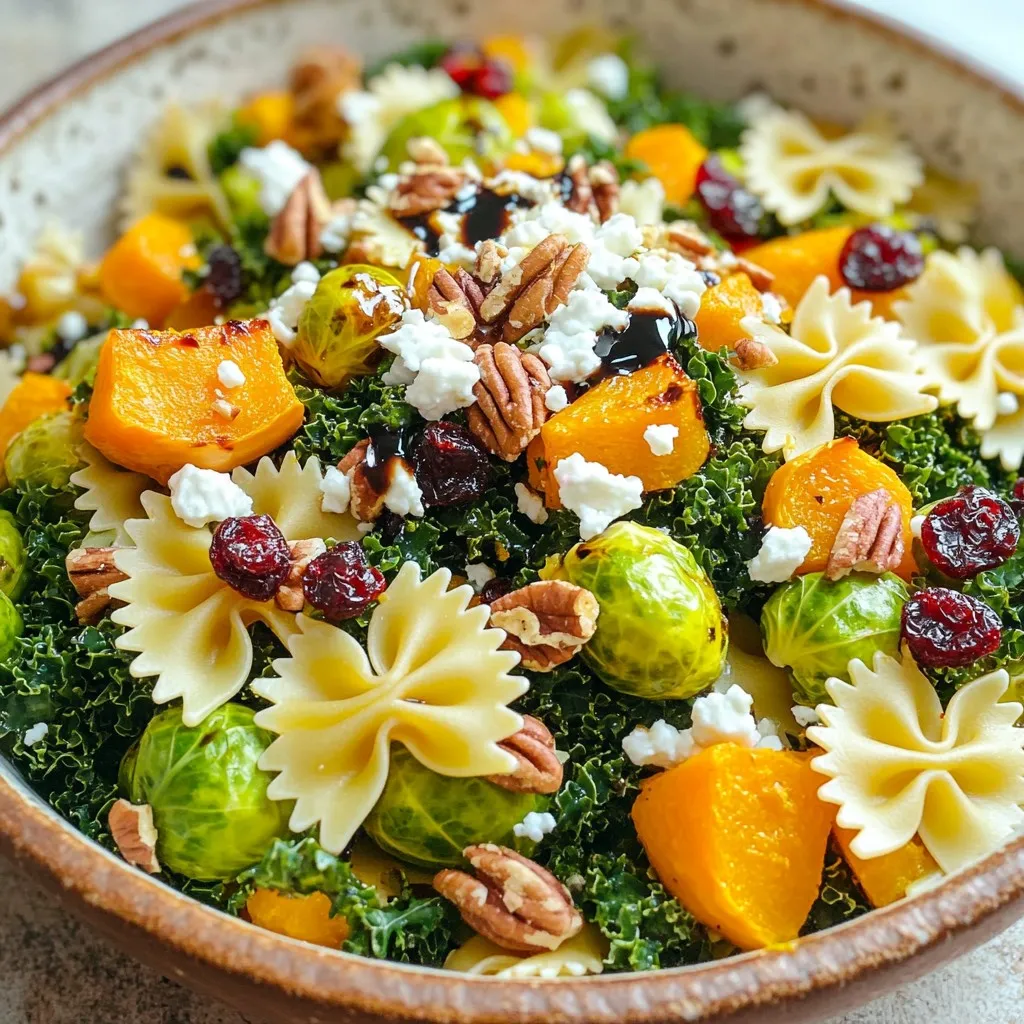
Fall is here, and it’s the perfect time to enjoy a tasty Fall Harvest Pasta Salad! This dish blends vibrant autumn flavors, from roasted veggies to seasonal spices. You’ll find …

Craving a delicious, quick treat? You’ll love these Air Fryer Nutella Toast Pies! With just a few simple ingredients, including thick bread, creamy Nutella, and a touch of vanilla, you’ll …

If you’re on the hunt for a warm, comforting meal, my Savory Slow Cooker Chicken Tortellini Delight is here for you! Packed with tender chicken, cheesy tortellini, and a rich …

Looking for a quick and tasty meal? Try my Chicken Ramen Stir Fry! This recipe is simple and filled with flavor. You can whip it up in less than 30 …
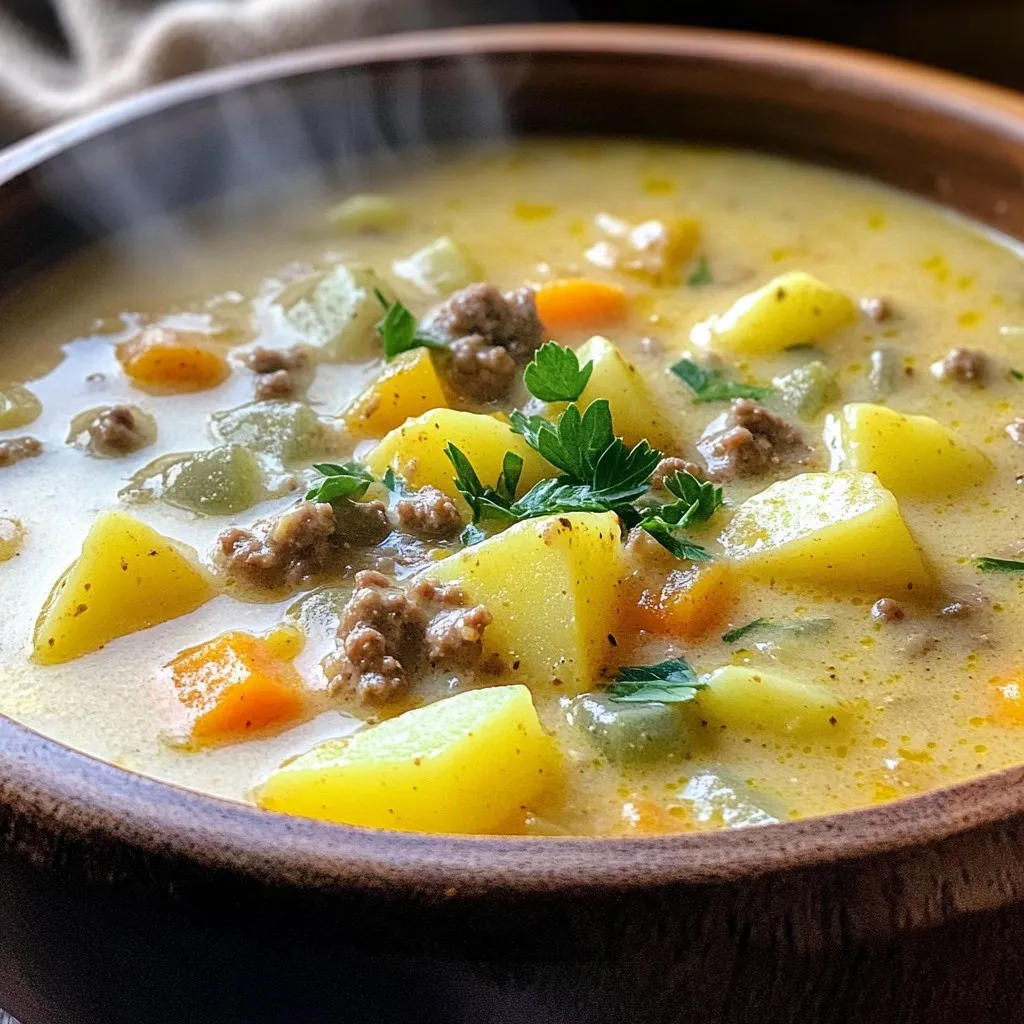
Looking for a hearty dish that warms you from the inside out? Look no further! My Creamy Hamburger Potato Soup is simple to make and deeply satisfying. With just a …