Spicy Garlic Butter Udon Noodles Flavorful and Simple
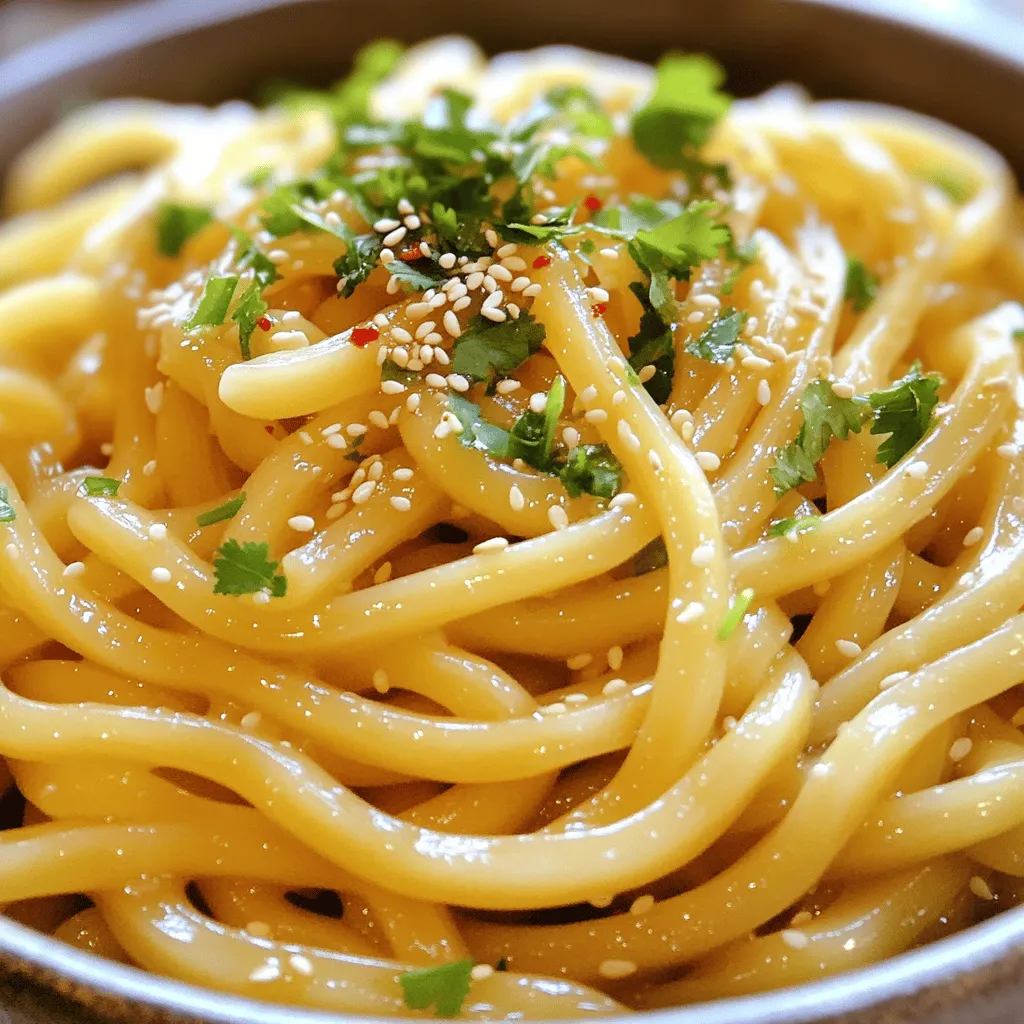
Craving a simple yet flavorful dish? Let me introduce you to Spicy Garlic Butter Udon Noodles! This recipe is quick to make and packed with bold flavors that will delight …
Craving a simple yet flavorful dish? Let me introduce you to Spicy Garlic Butter Udon Noodles! This recipe is quick to make and packed with bold flavors that will delight …
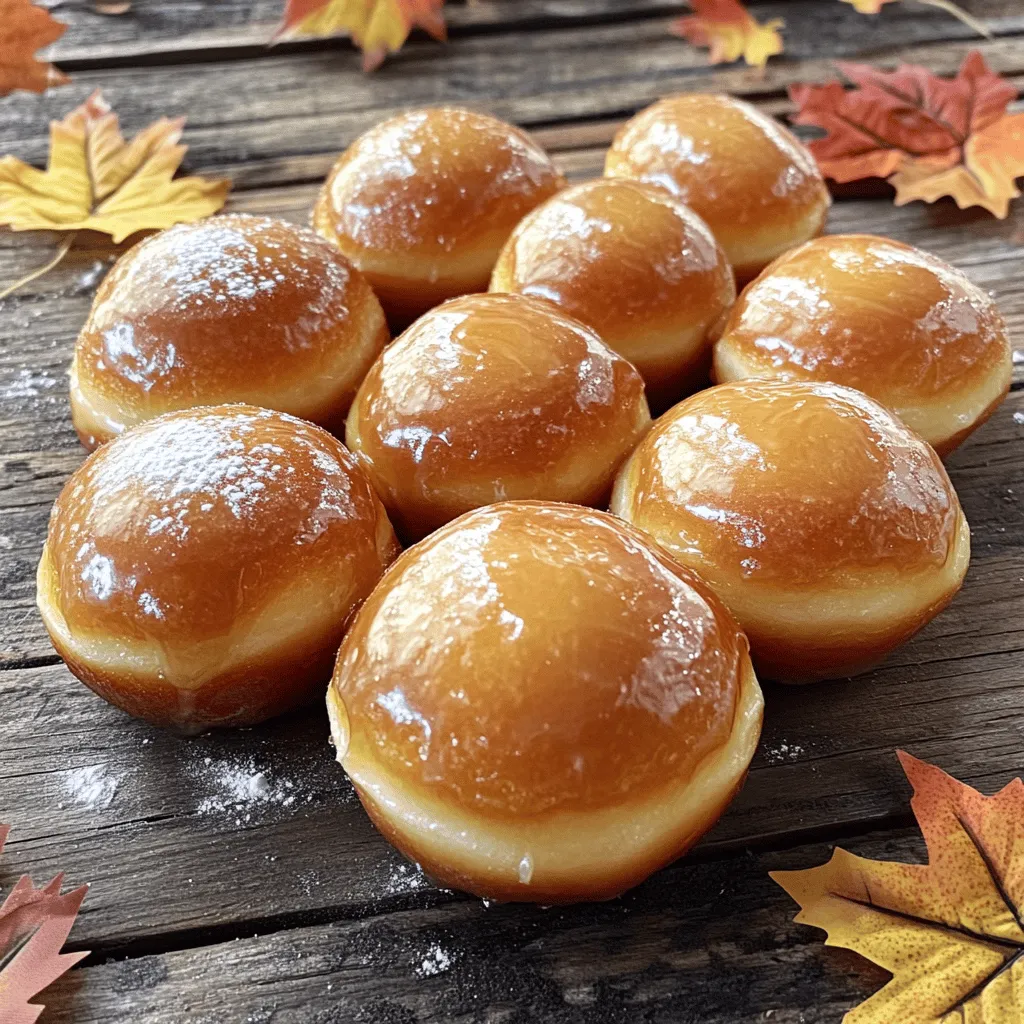
Get ready to indulge in Maple Glazed Donut Holes, the perfect bite-sized treat for any occasion! These warm, fluffy delights combine a sweet maple glaze with hints of cinnamon and …

Craving a meal that’s both tasty and simple? Let’s dive into Buffalo Ranch Chicken Wraps! This easy recipe combines spicy buffalo sauce with creamy ranch dressing, creating a flavor explosion. …

Looking for a quick, tasty snack that packs a healthy punch? Carrot Cake Energy Bites are the answer! These little treats are perfect for any time you crave something sweet. …

Welcome to my kitchen! Today, I’m excited to share a dish that’s bursting with flavor: One-Pot Creamy Cajun Chicken & Rice. This simple delight is easy to make and clean …
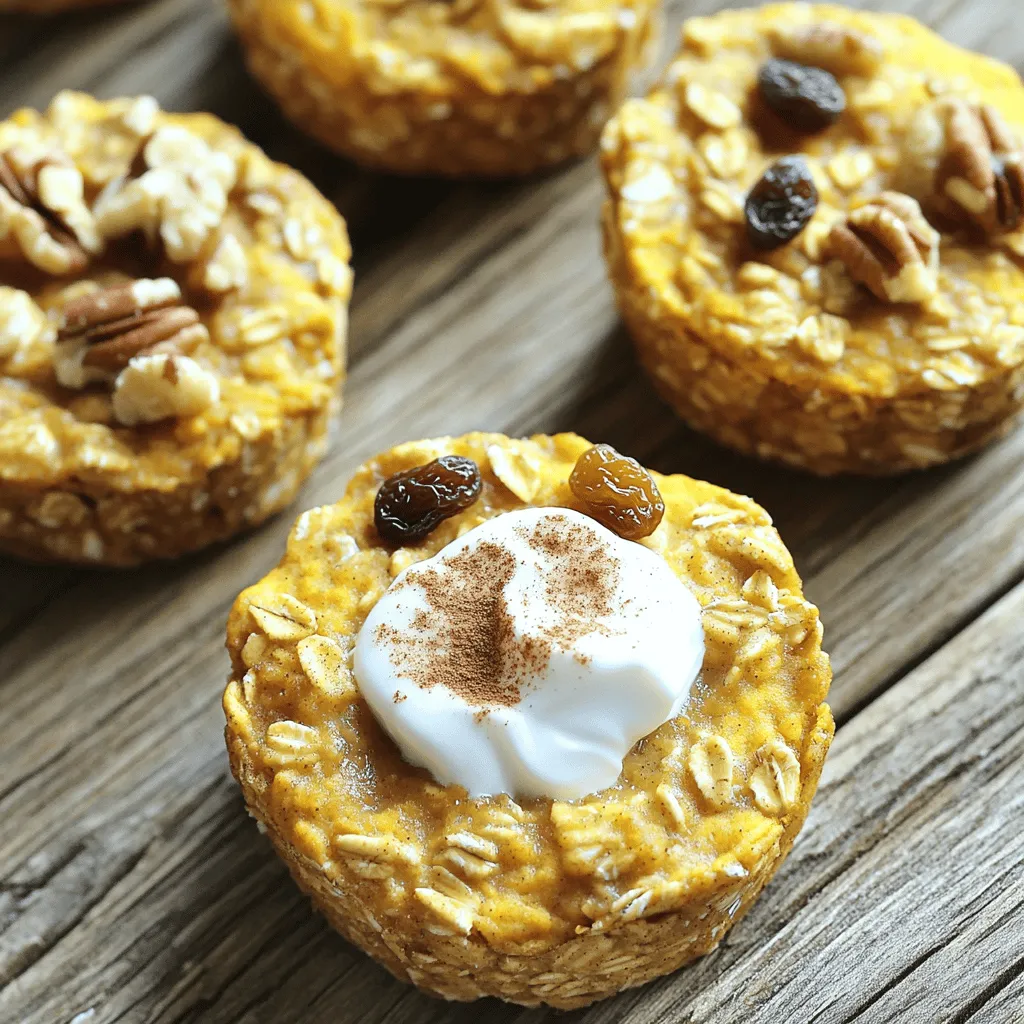
Get ready for a cozy treat with these Pumpkin Spice Baked Oatmeal Cups! They are easy to make and packed with warm fall flavors. Imagine starting your day with a …
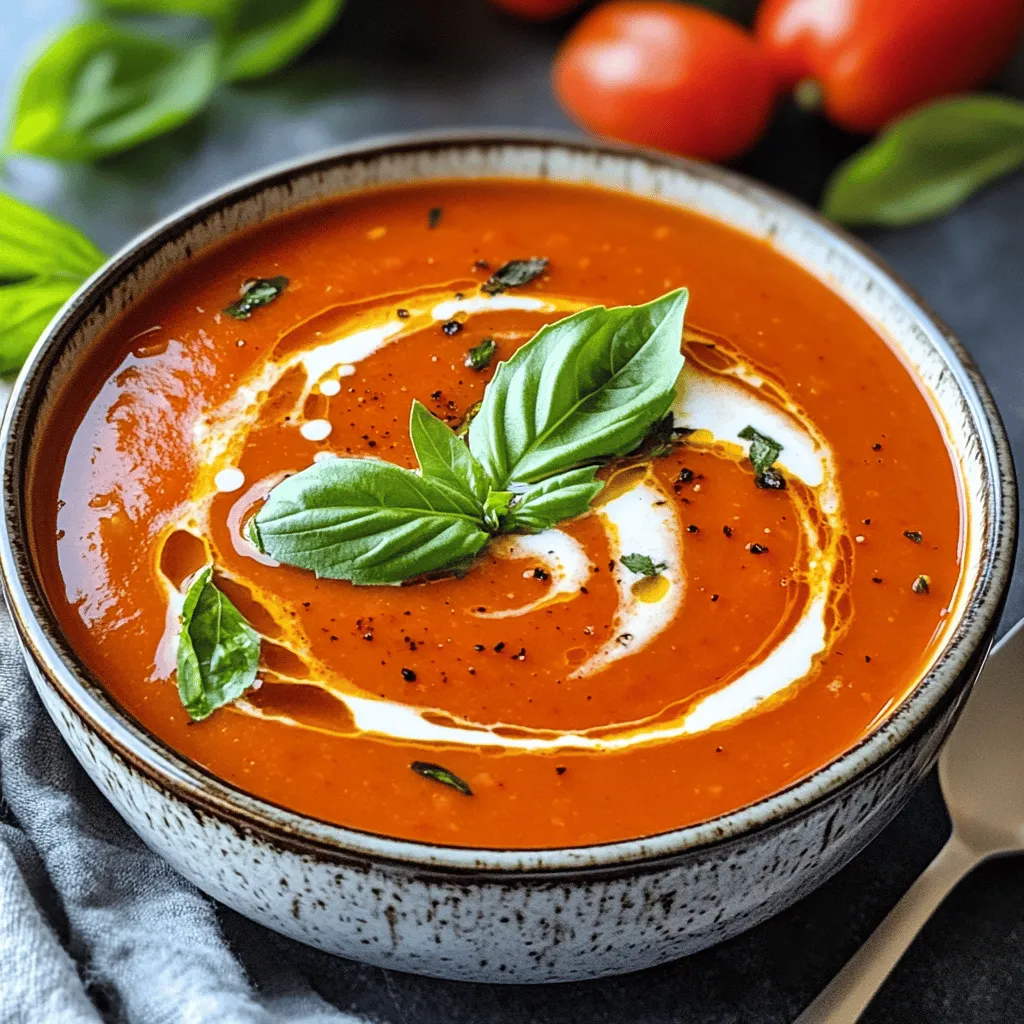
Welcome to the creamy comfort of Roasted Red Pepper Tomato Bisque. This rich soup warms you up in every way. With roasted bell peppers, fresh herbs, and a splash of …

Get ready to impress your friends and family with Apple Cheddar Puff Pastry Pinwheels! These delightful treats combine sweet, crisp apples and rich cheddar cheese, all wrapped in flaky pastry. …
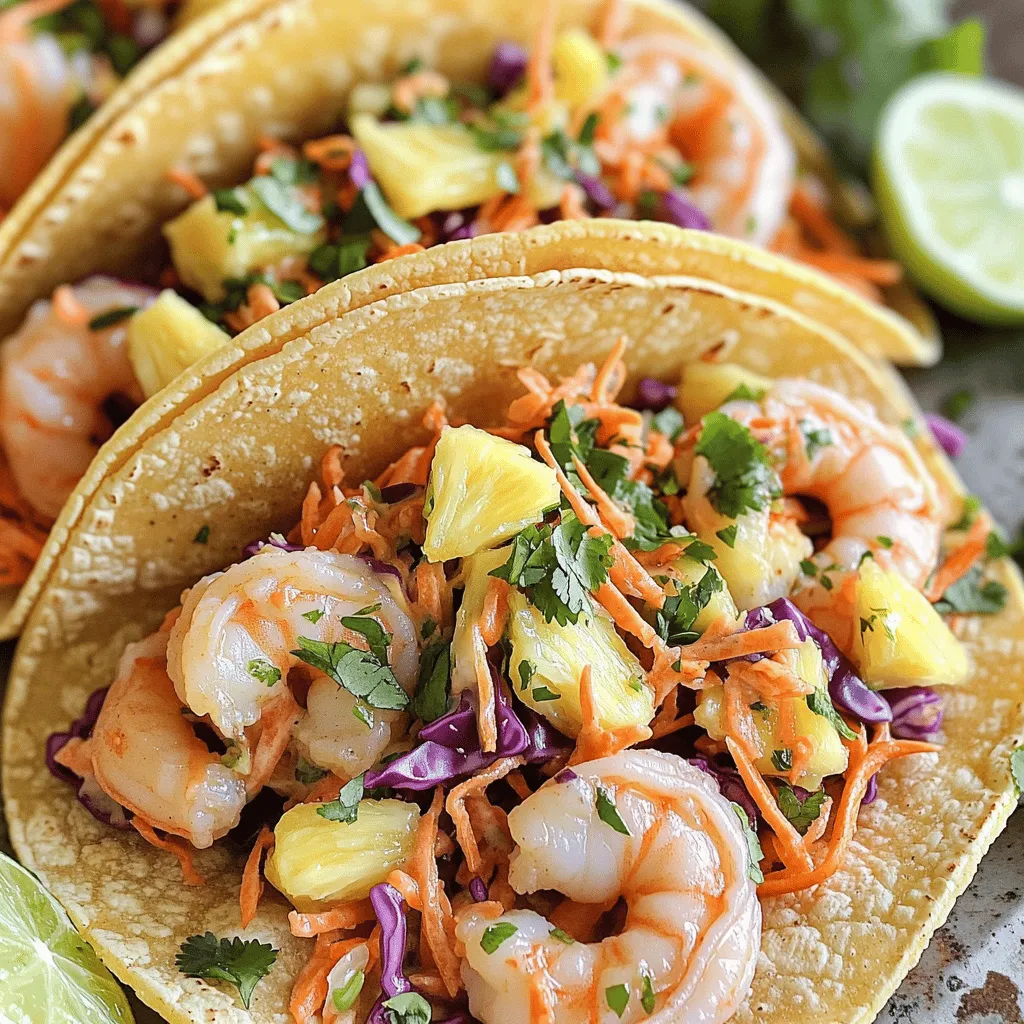
If you crave vibrant flavors and a fun twist on tacos, you’re in for a treat! My Garlic Butter Shrimp Tacos with Pineapple Slaw Delight offer a burst of taste …
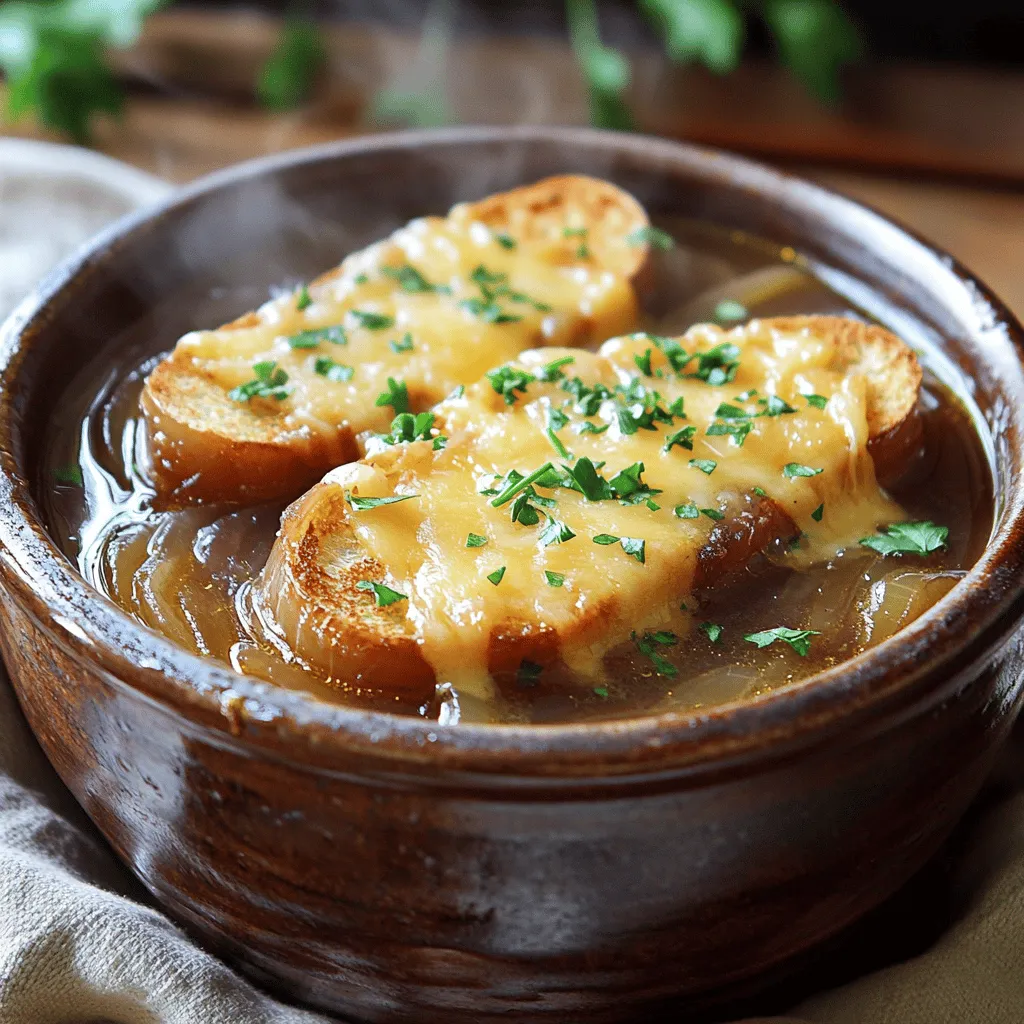
Warm, cheesy, and full of flavor, Slow Cooker French Onion Soup with Gruyère Toasts is a must-try! You’ll love the easy prep and rich taste. In this article, I’ll show …