Caramel Pecan Cheesecake Brownie Bars Easy Delight
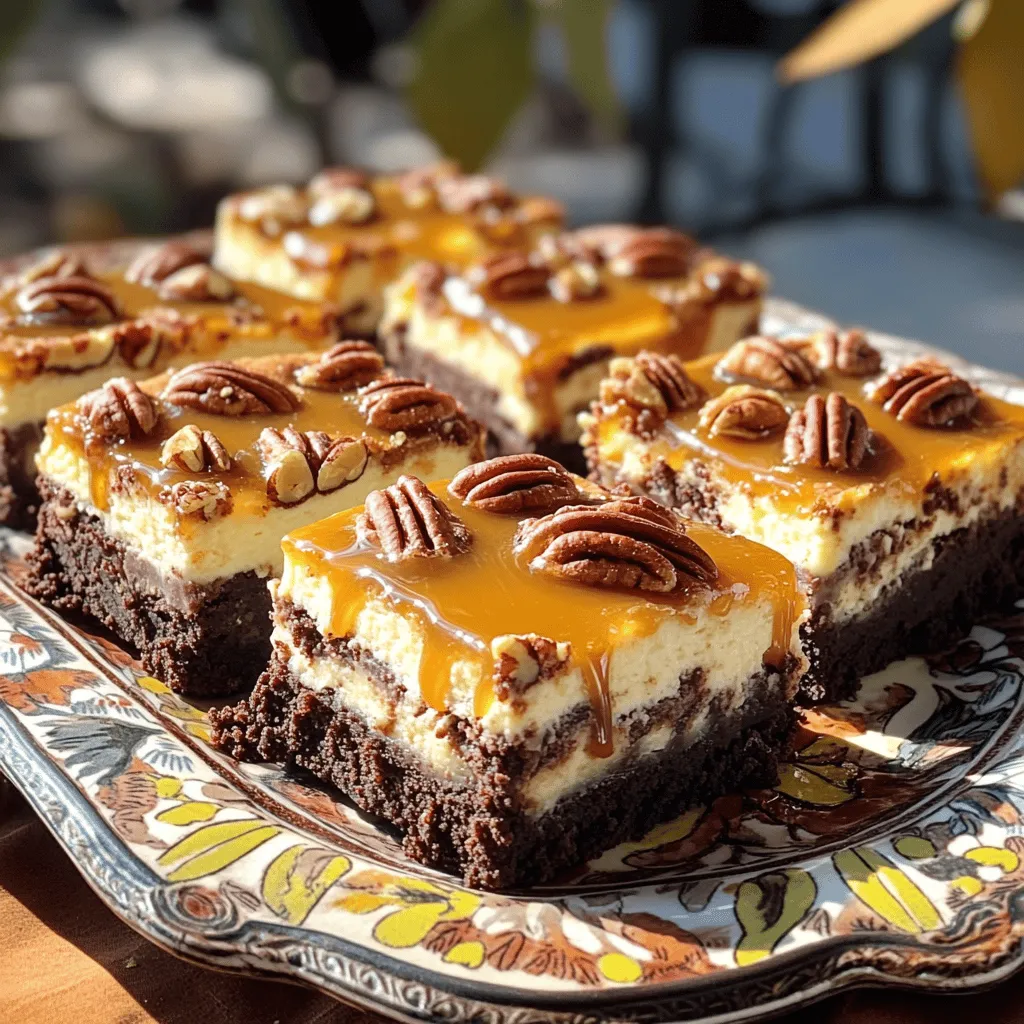
Get ready to indulge in a sweet treat that combines rich, fudgy brownies, creamy cheesecake, and crunchy pecans. My Caramel Pecan Cheesecake Brownie Bars are not just easy to make; …
Get ready to indulge in a sweet treat that combines rich, fudgy brownies, creamy cheesecake, and crunchy pecans. My Caramel Pecan Cheesecake Brownie Bars are not just easy to make; …
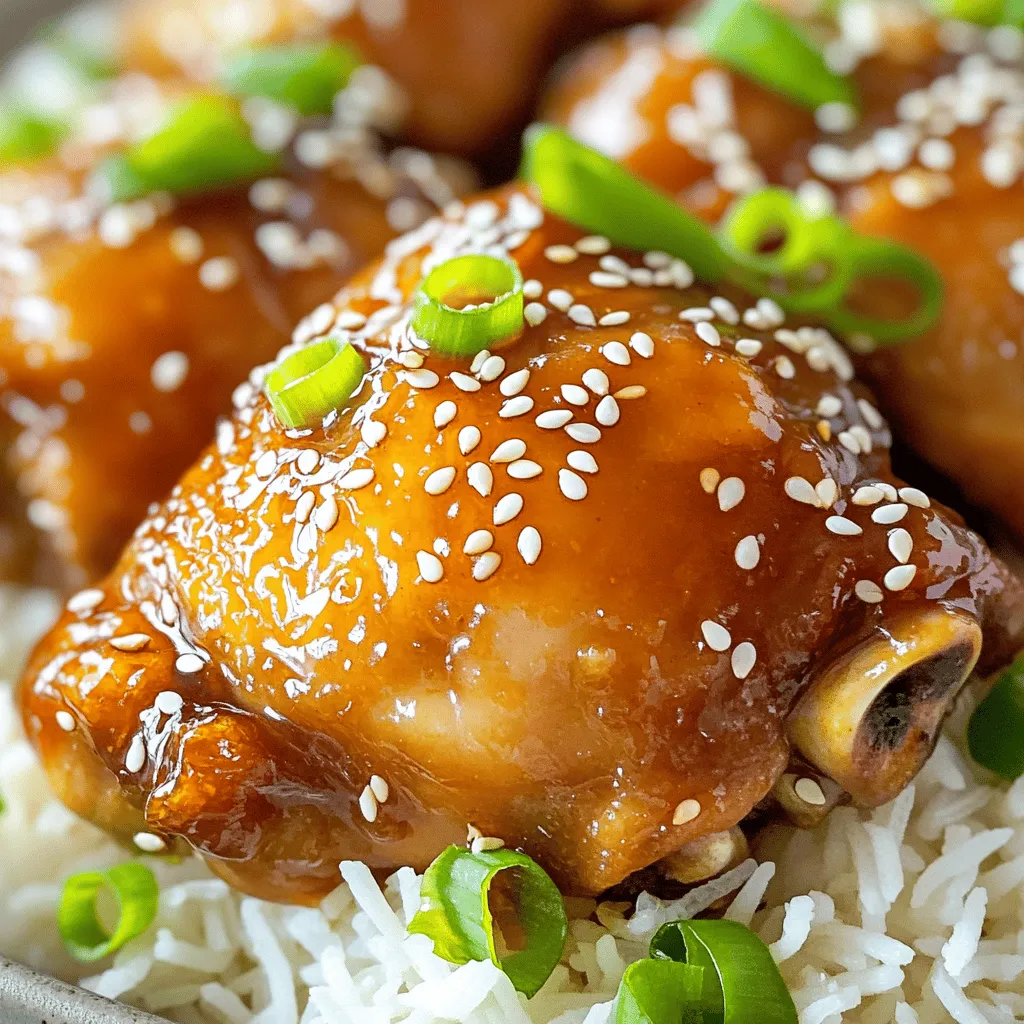
Are you ready to make a delicious meal with minimal effort? In this post, you’ll learn how to prepare Slow Cooker Honey Garlic Chicken Thighs. This recipe combines sweet honey …
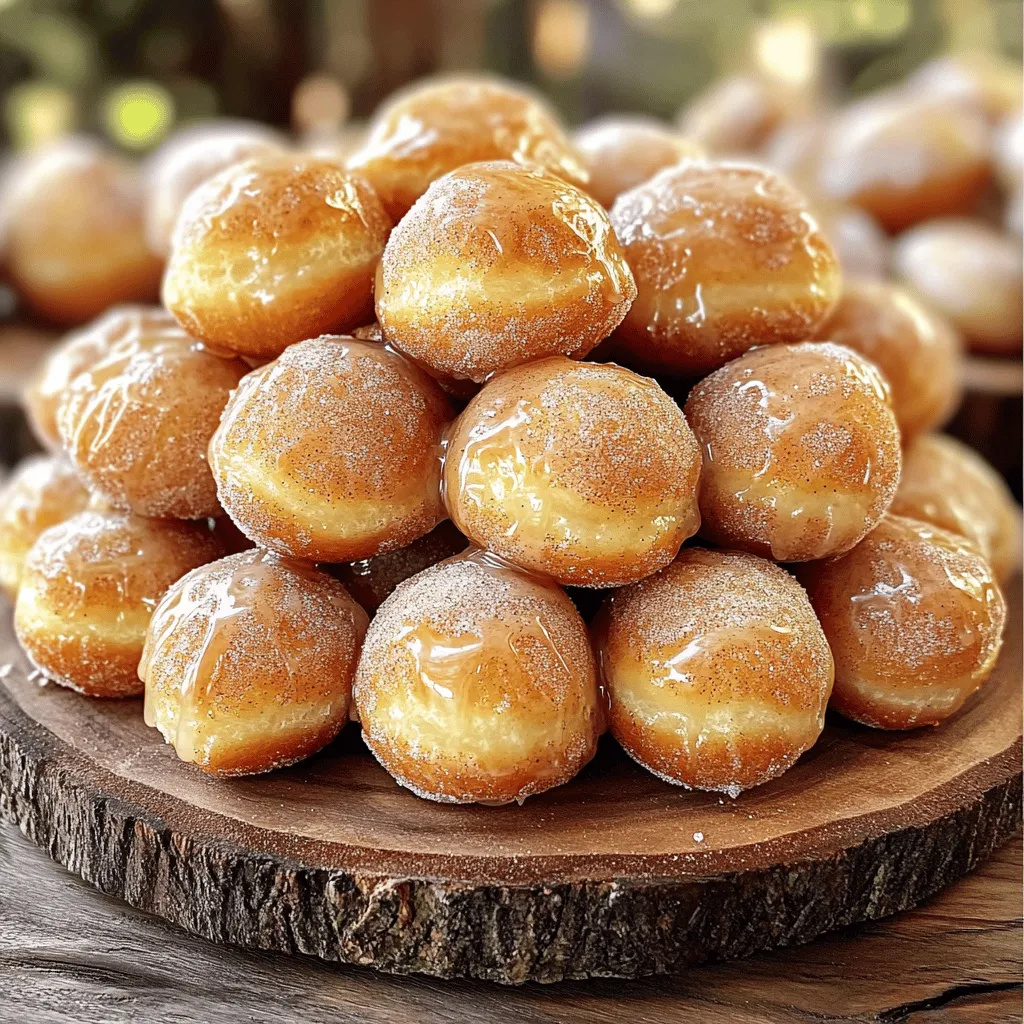
Are you ready to treat yourself to a warm, sweet delight? Our Cinnamon Sugar Maple Glazed Donut Holes will make your taste buds dance! You’ll learn how to mix simple …
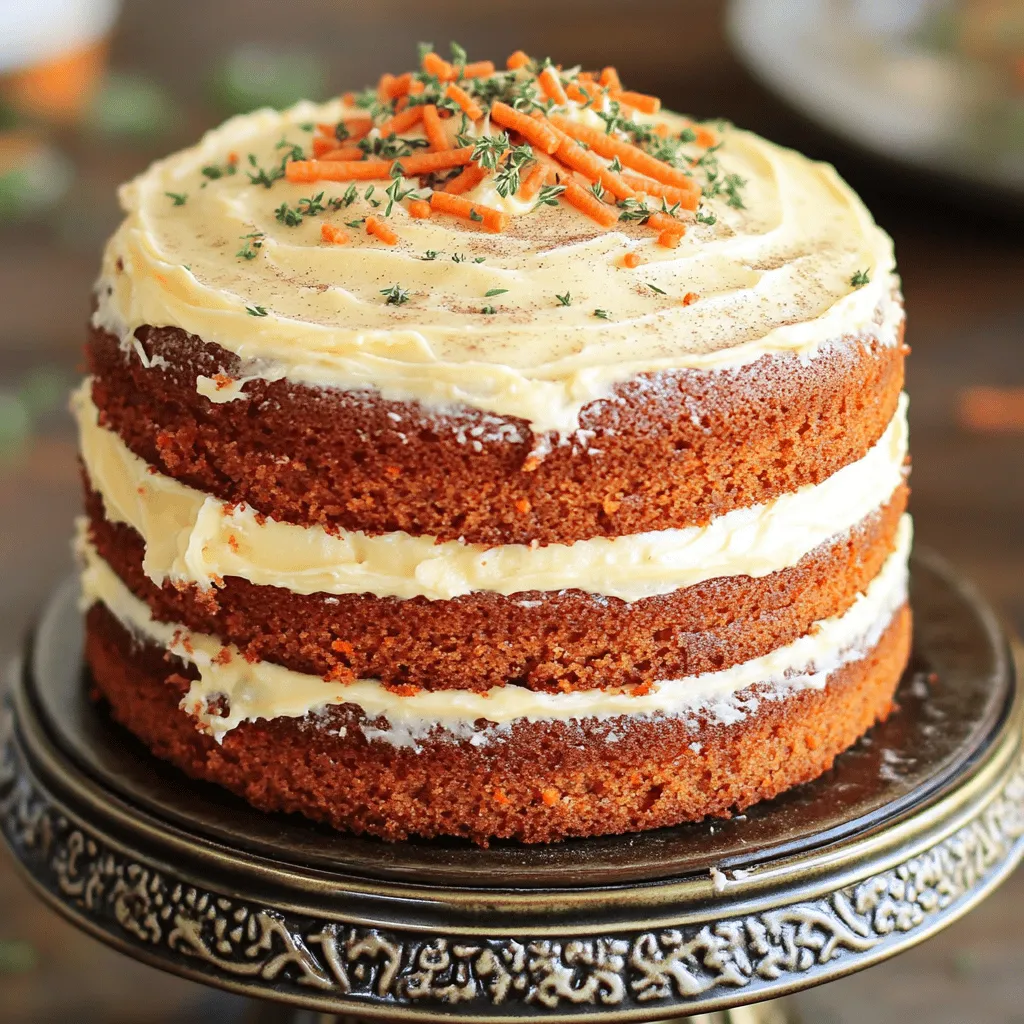
Indulge in a slice of heaven with my bakery-style carrot cake topped with creamy frosting! This recipe combines fresh grated carrots, crushed pineapple, and warm spices to create a moist …
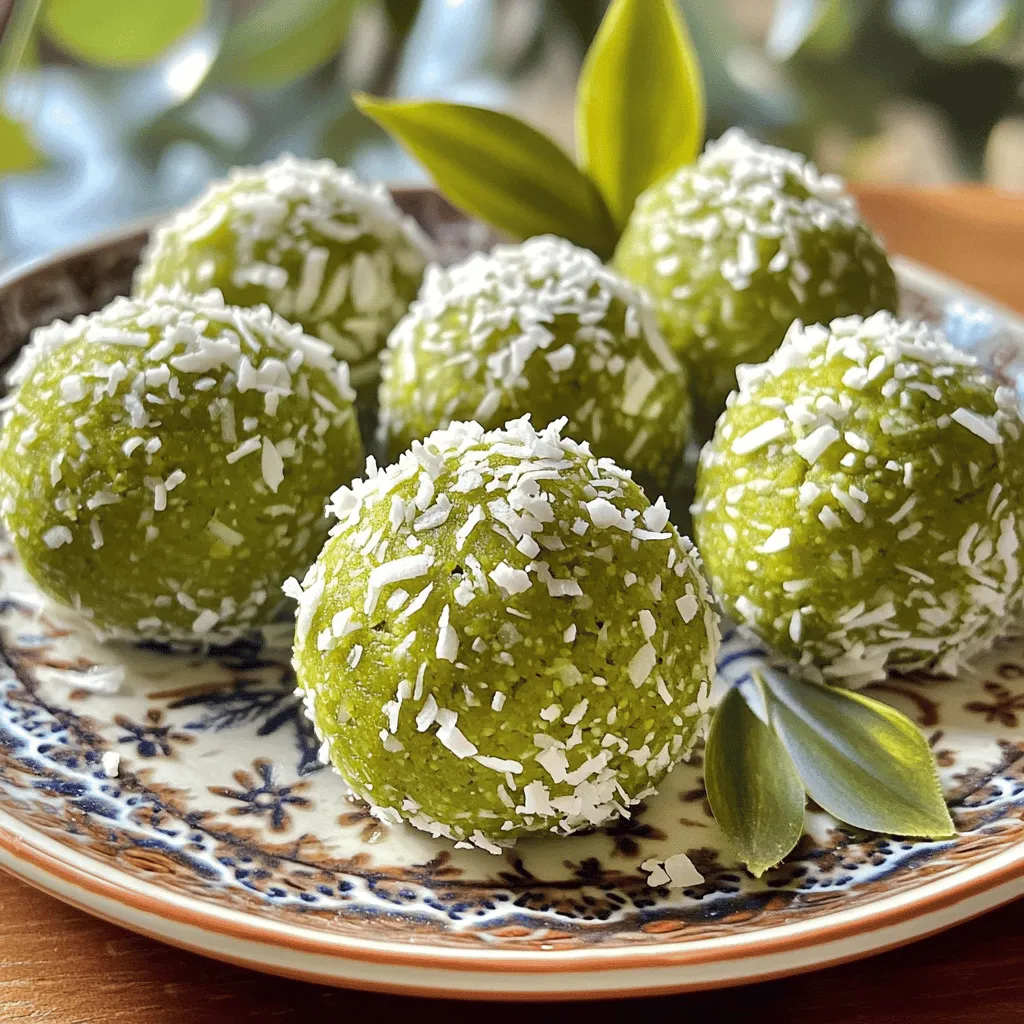
Looking for a quick and healthy snack? Try my Matcha Coconut No Bake Energy Bites! Packed with flavor and good-for-you ingredients, they are simple to make and perfect for any …
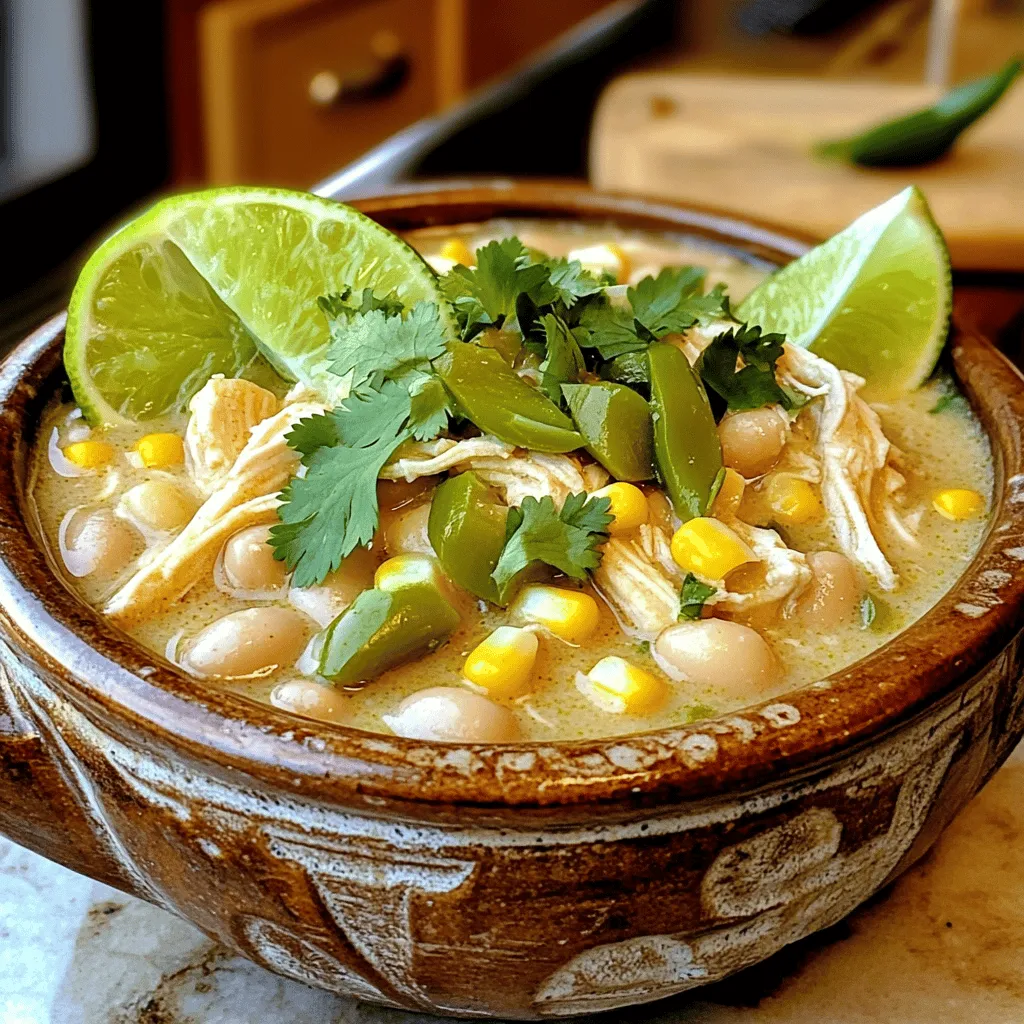
Craving a warm, comforting dish? Look no further than my Creamy White Chicken Chili Slow Cooker Delight. This easy recipe lets you toss in simple ingredients and forget about it …
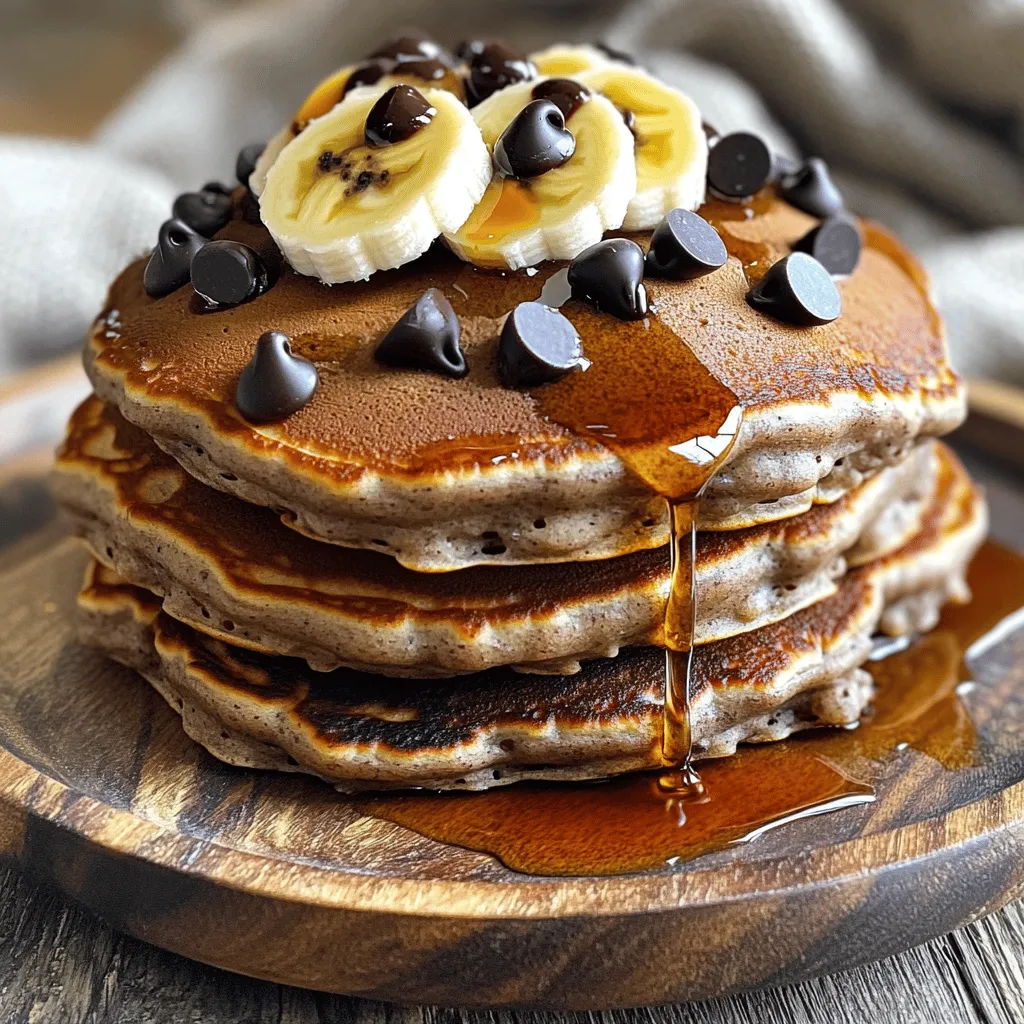
Looking for a tasty breakfast that packs a nutritional punch? You’ve come to the right place! In this article, I’ll show you how to make delicious Chocolate Chip Protein Pancakes …
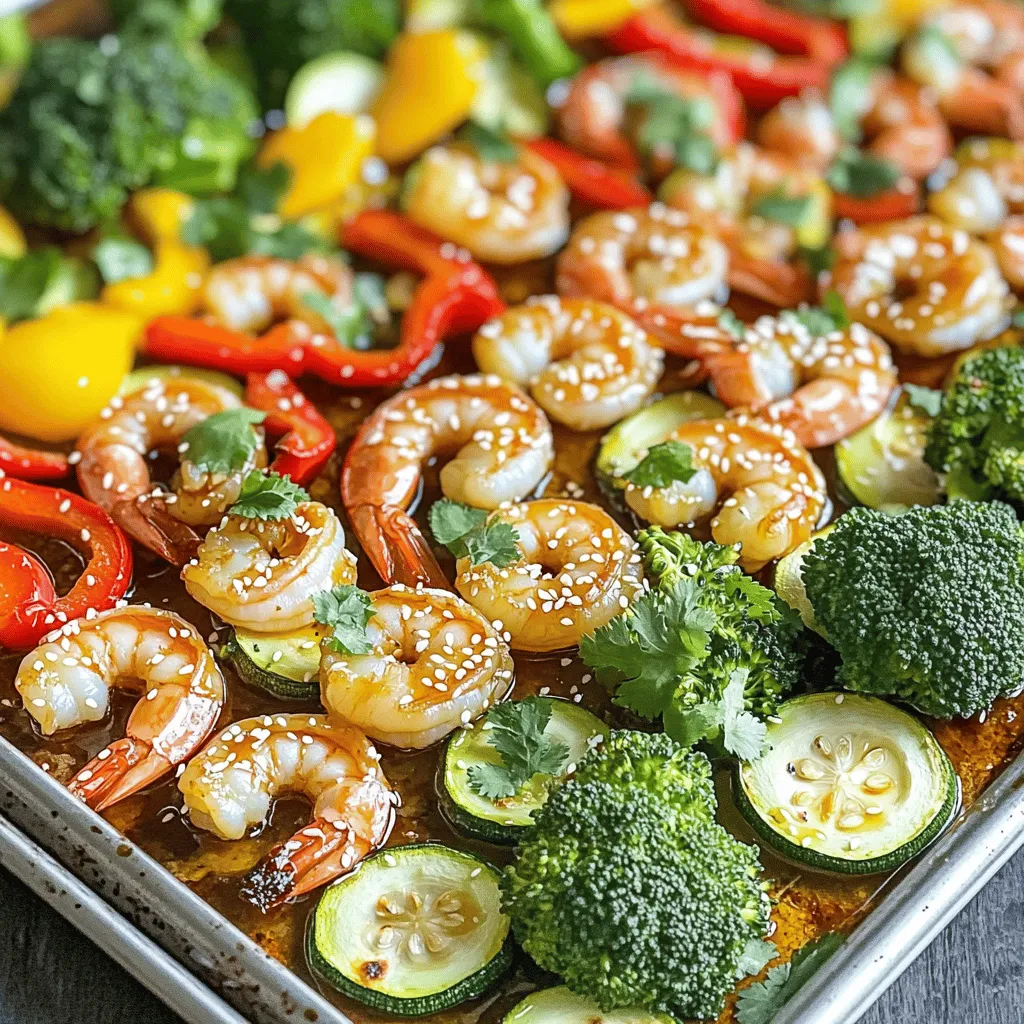
If you crave a meal that’s easy, tasty, and healthy, you’re in the right place! In this Honey Garlic Shrimp and Veggies Sheet Pan Delight, I will guide you through …
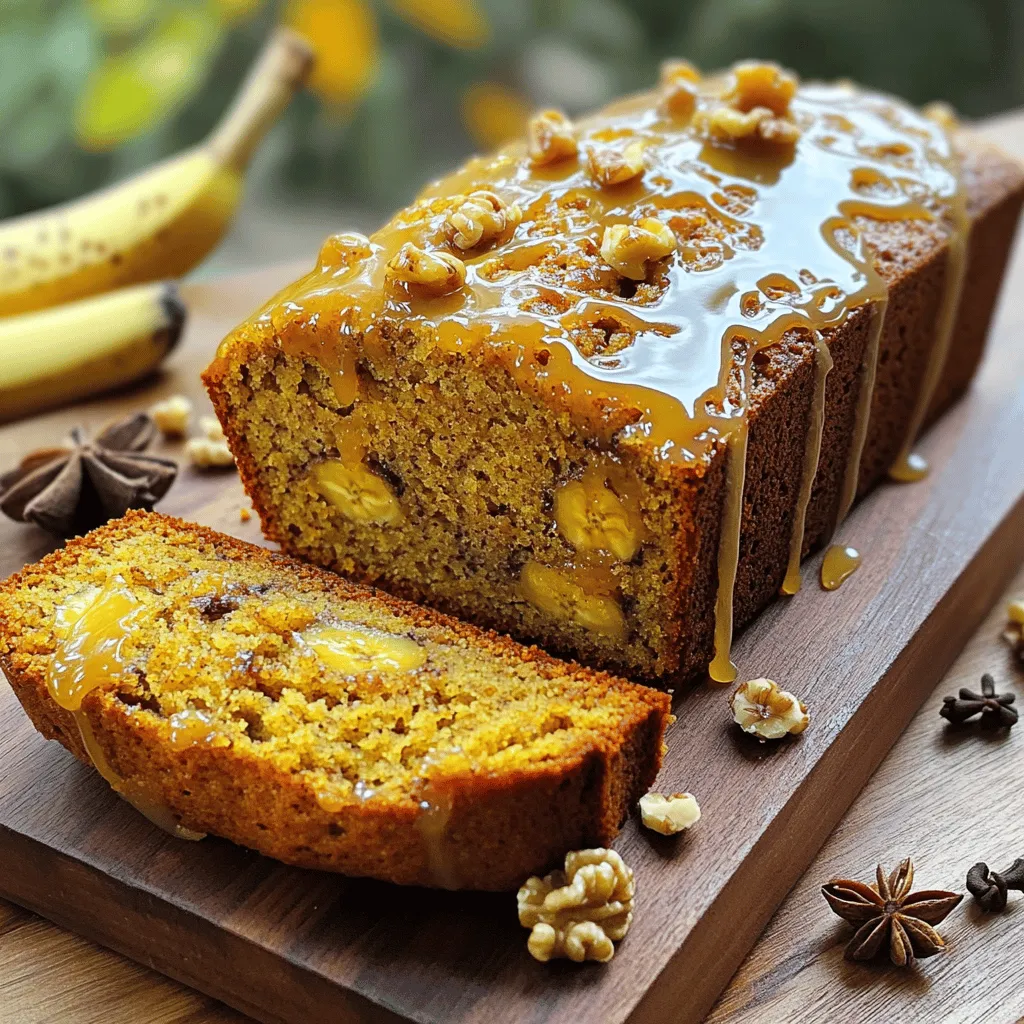
Welcome to a warm, cozy experience with my Chai Spice Banana Bread with Maple Glaze! This recipe blends the sweet comfort of ripe bananas with aromatic spices. It’s perfect for …

Looking for a tasty snack that packs a punch of flavor and energy? Let me introduce you to Pumpkin Pie Oatmeal Energy Balls! These simple treats combine pumpkin, oats, and …