Cinnamon Swirl Banana Bread Simple and Tasty Recipe
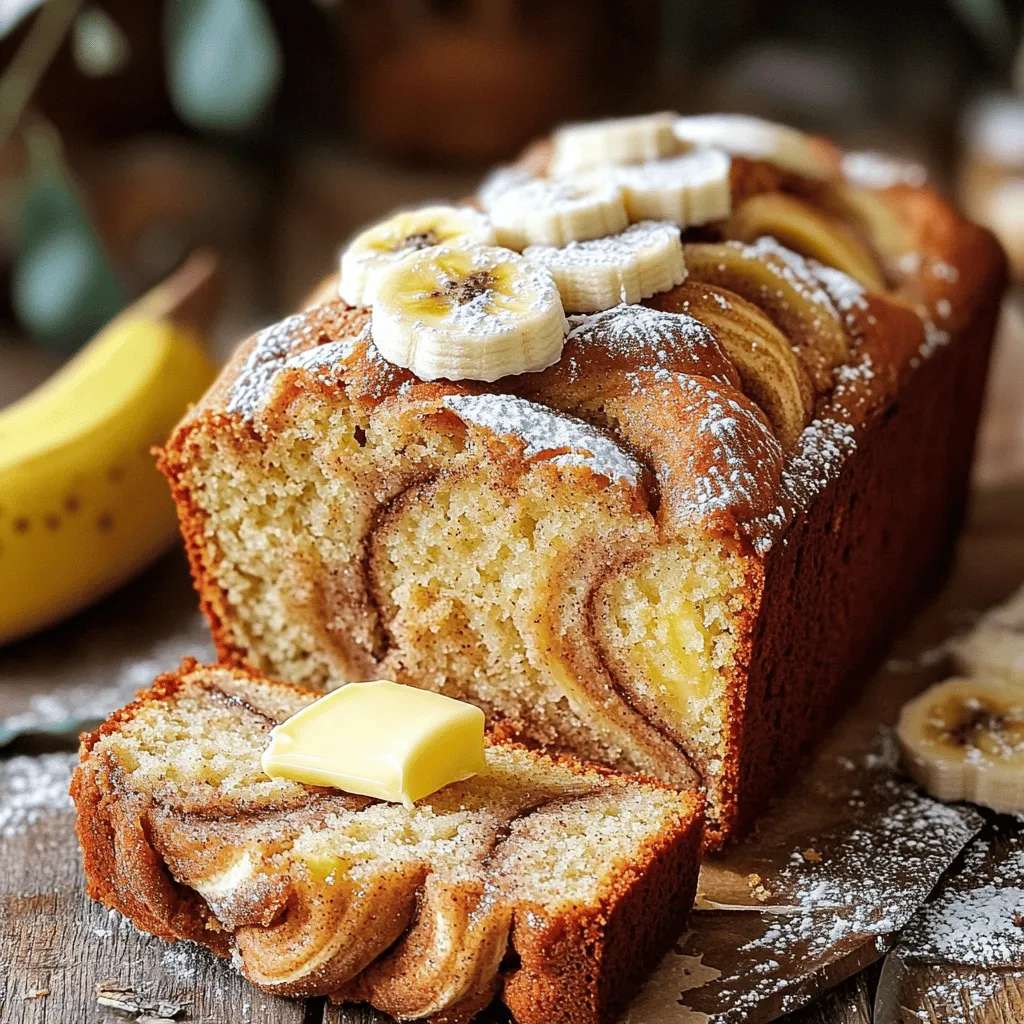
Looking for a simple and tasty treat? You’ve come to the right place! This Cinnamon Swirl Banana Bread is easy to make and packed with flavor. Just a few ripe …
Looking for a simple and tasty treat? You’ve come to the right place! This Cinnamon Swirl Banana Bread is easy to make and packed with flavor. Just a few ripe …
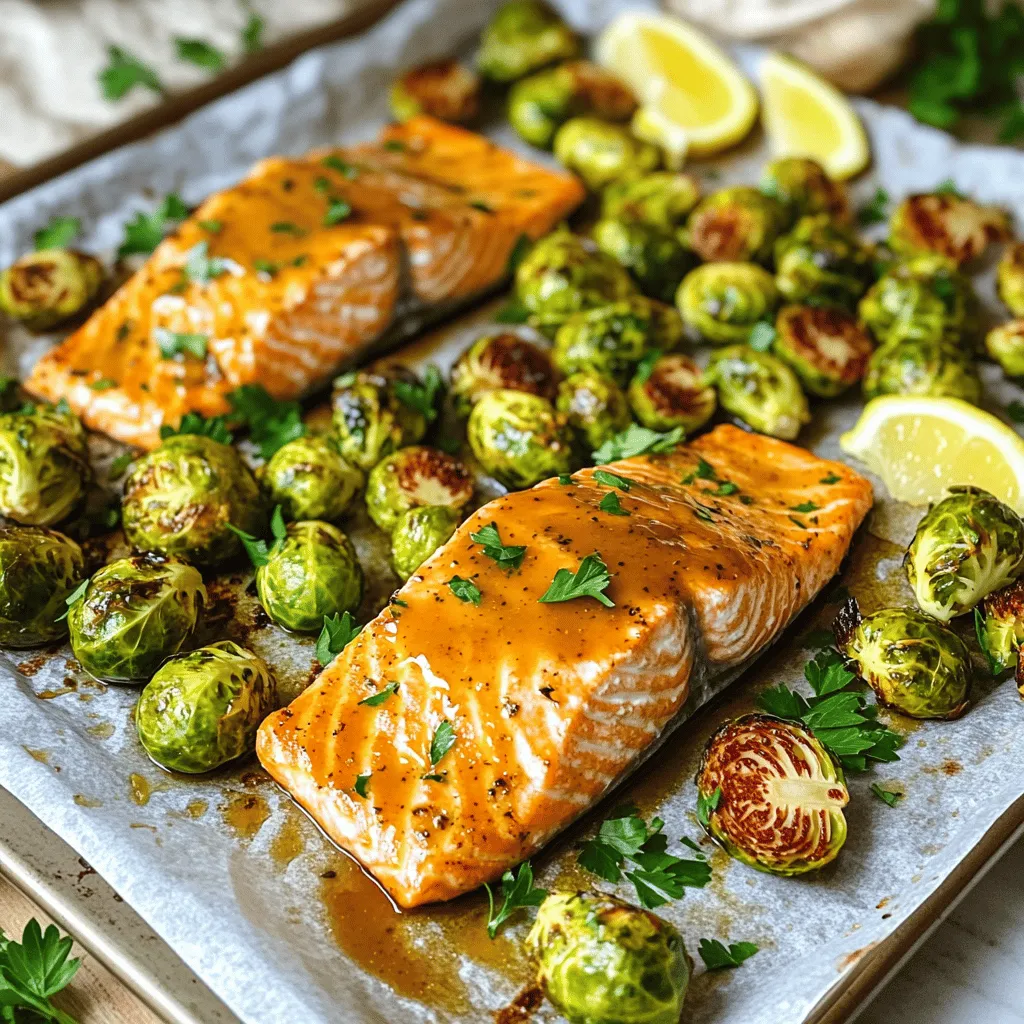
Looking to elevate your dinner game? With my Sheet Pan Maple Mustard Salmon & Sprouts, you’ll enjoy a burst of flavor that’s quick and easy to make! This dish combines …
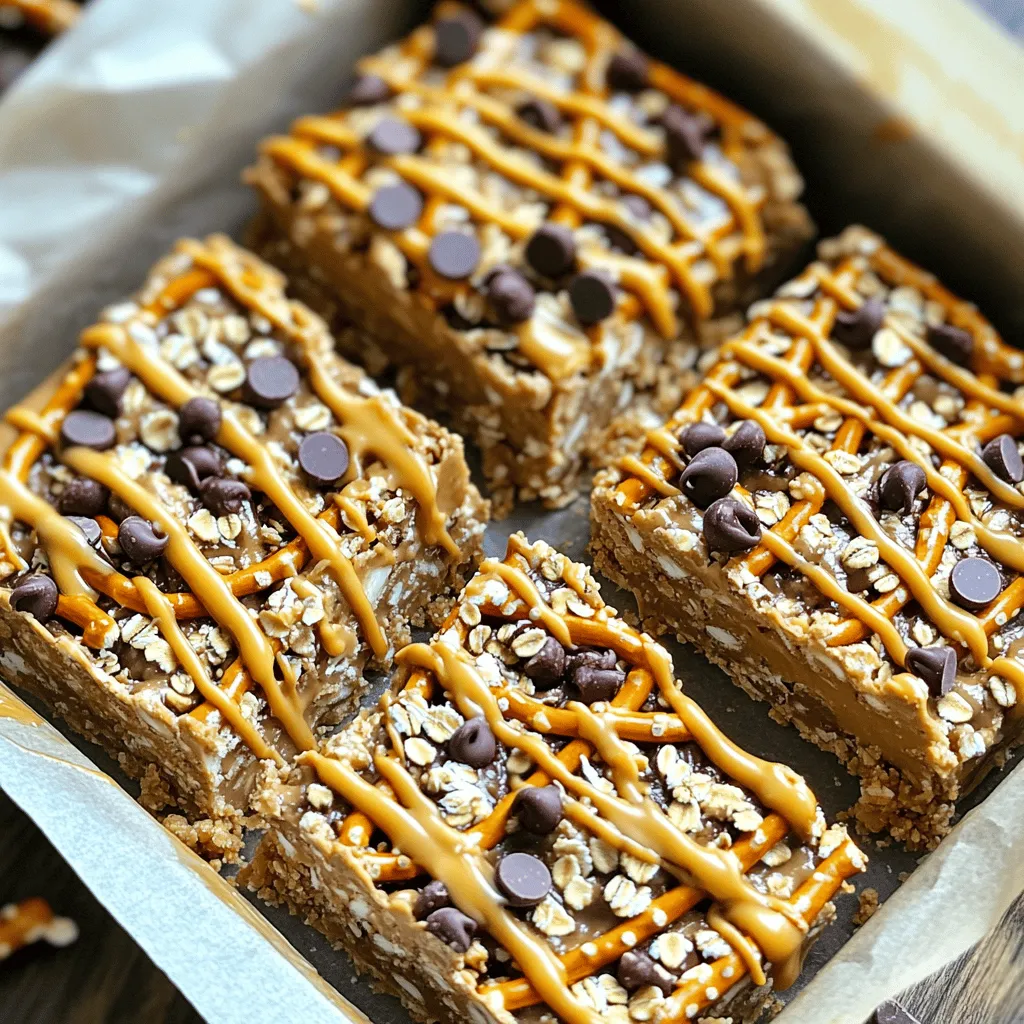
Who doesn’t love a sweet and salty treat? My No-Bake Peanut Butter Pretzel Bars are the perfect snack to satisfy any craving. With just a few simple ingredients, you can …
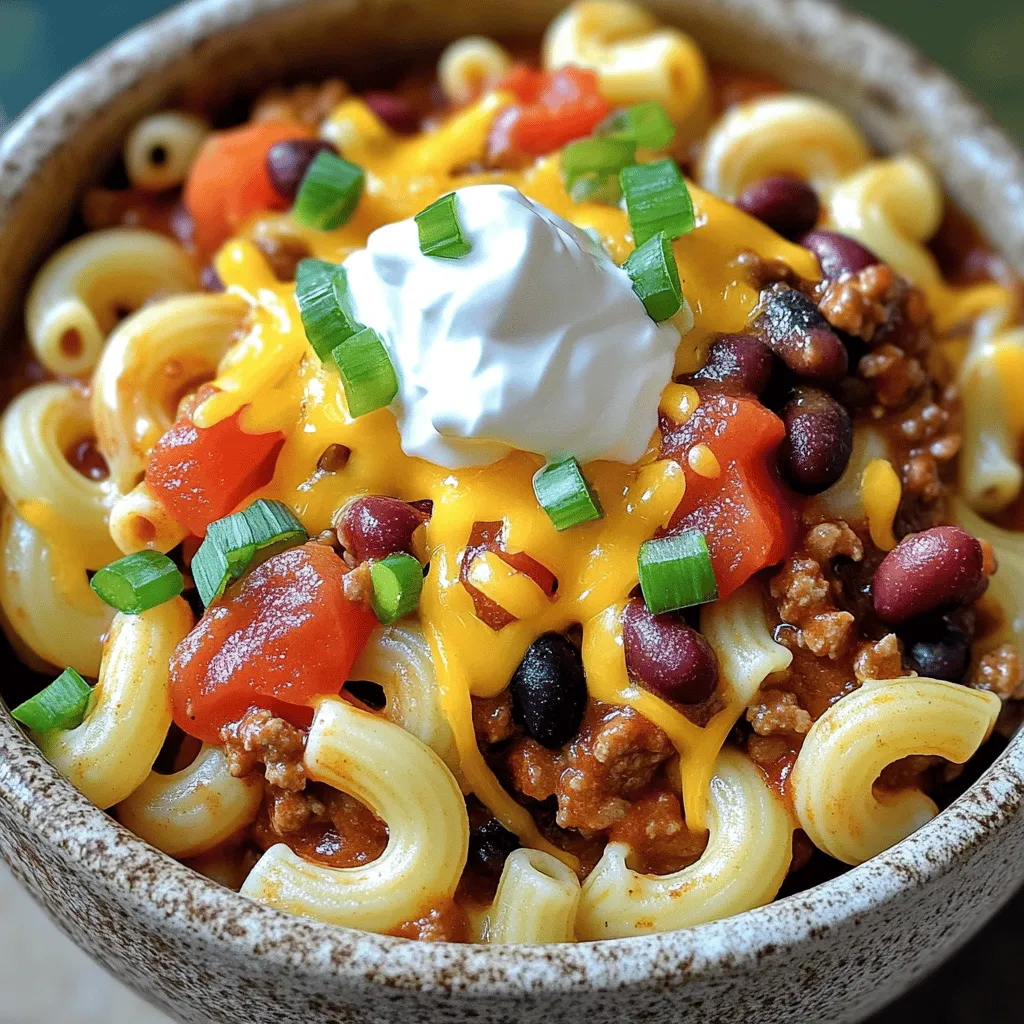
Cozy nights call for warm, comforting meals, and my Slow Cooker Loaded Chili Mac hits the spot every time. This dish combines rich flavors with hearty ingredients, making it your …
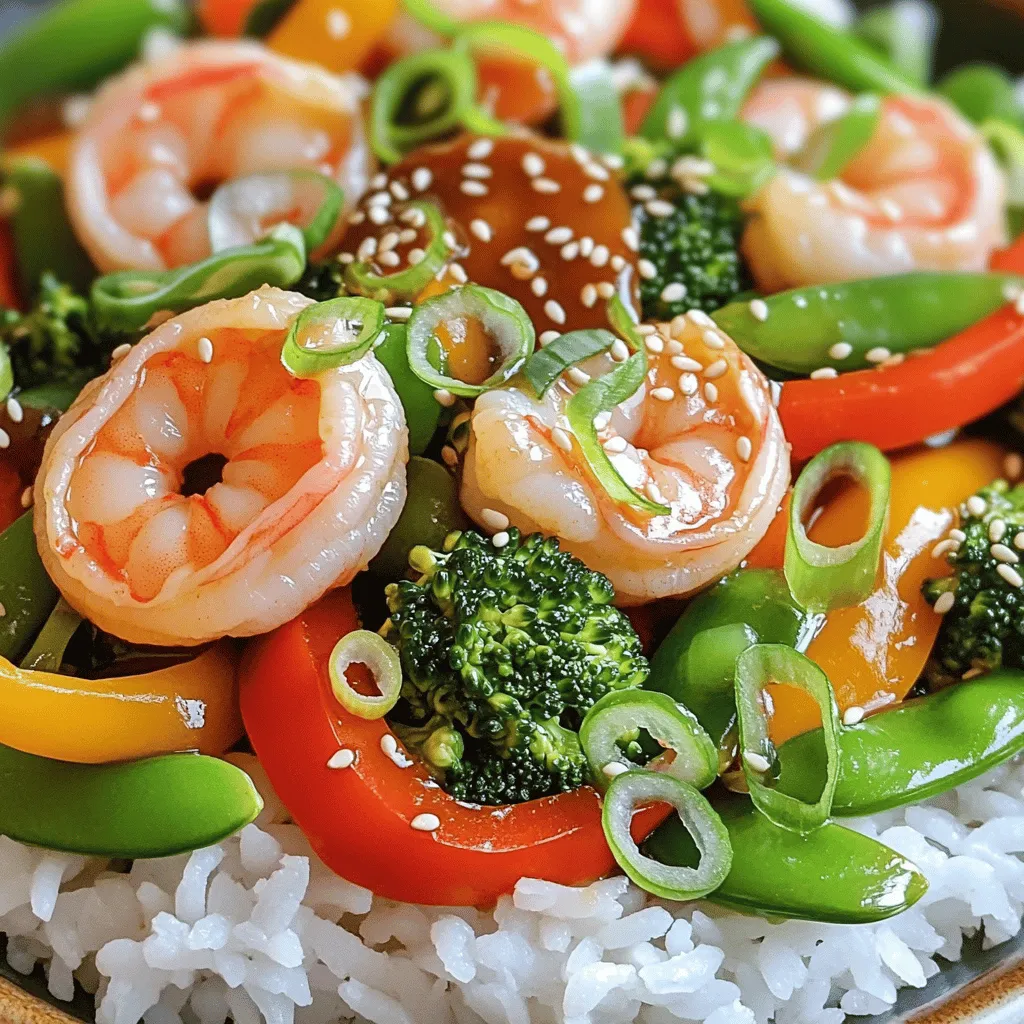
Looking for a quick and tasty meal? My Teriyaki Shrimp Veggie Stir-Fry is the answer! This dish combines tender shrimp and fresh veggies with a flavorful sauce, all ready in …

Are you ready to take taco night to a whole new level? This Layered Taco Lasagna is not only flavorful but also easy to whip up for dinner. With its …

Are you craving a sweet treat that’s quick and easy? You’ll love these No-Bake Oreo Peanut Butter Bars! With just six ingredients and no oven required, you can whip up …

Looking for a simple and tasty meal that impresses? My Creamy Lemon Shrimp Risotto is just what you need! In this one-pot wonder, fresh shrimp meets zesty lemon in a …
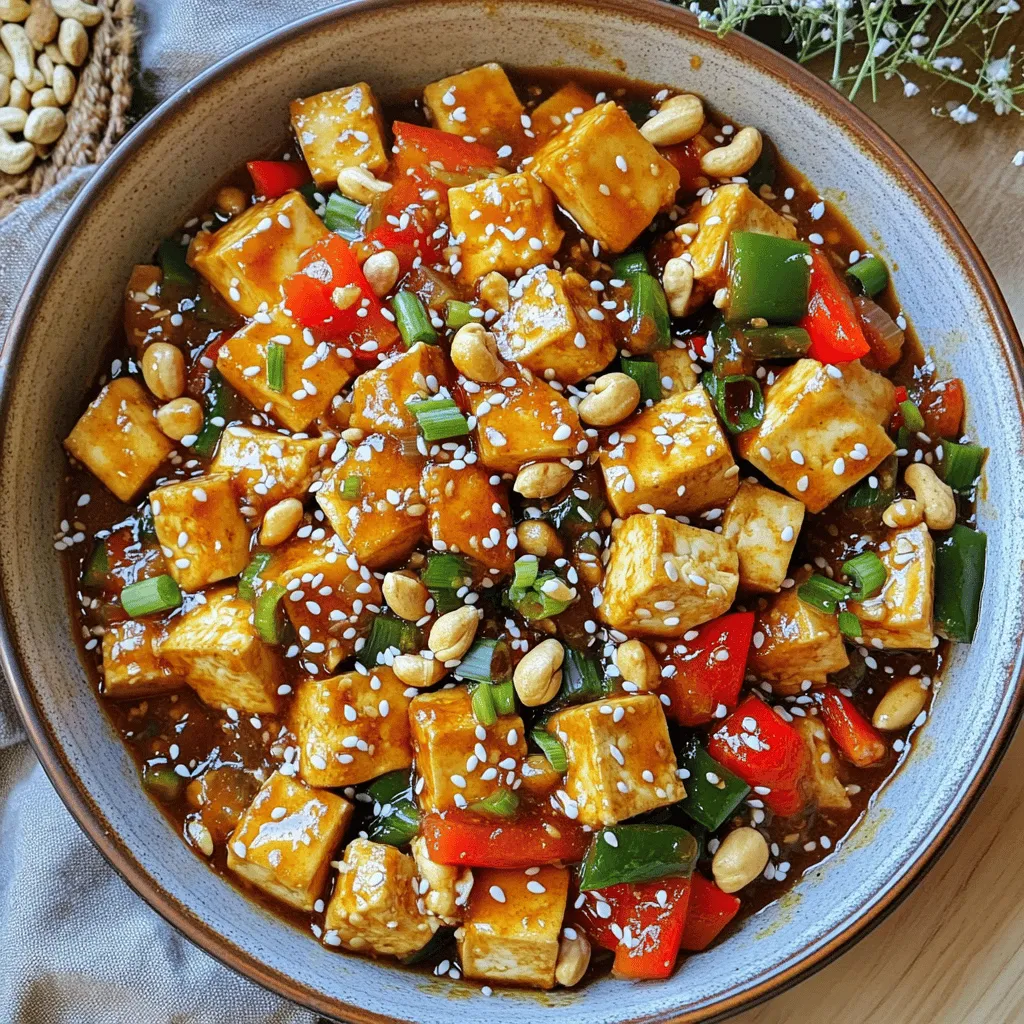
Are you tired of takeout options that just don’t hit the spot? You’re in the right place! This Spicy Kung Pao Tofu recipe packs bold flavors and crispy texture, making …

Get ready to elevate your breakfast game with my Pumpkin Cinnamon Roll Pancakes with Cream Cheese Drizzle! These pancakes combine warm spices and pumpkin goodness for the perfect fall treat. …