Slow Cooker Cheesy Chili Mac Comforting Family Meal

Looking for a cozy dinner that your whole family will love? Try my Slow Cooker Cheesy Chili Mac! This dish combines ground meat, beans, and pasta with two kinds of …
Looking for a cozy dinner that your whole family will love? Try my Slow Cooker Cheesy Chili Mac! This dish combines ground meat, beans, and pasta with two kinds of …

Do you crave a warm, sweet treat that’s easy to make? Look no further! In this guide, I’ll show you how to whip up delicious apple fritter donuts with a …
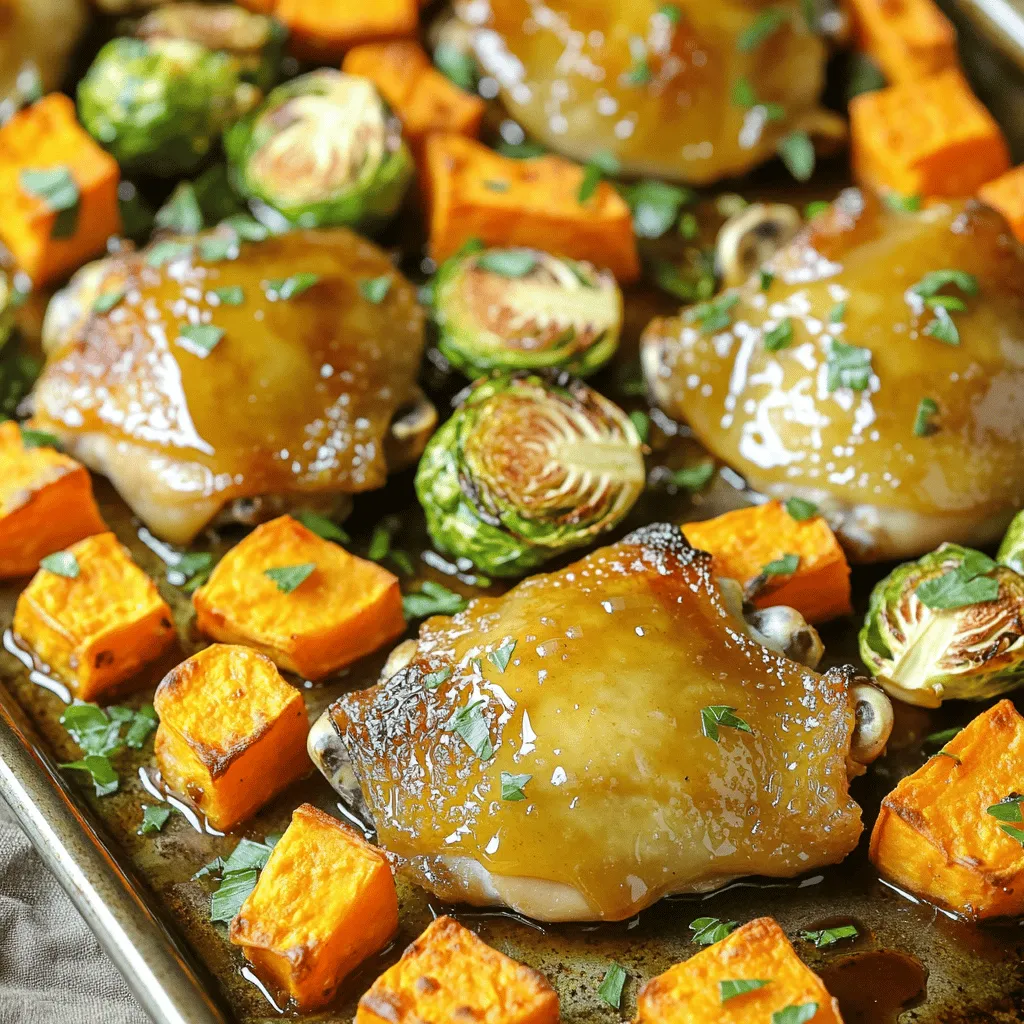
Looking for a delicious one-pan meal that’s easy to make? You’ve found it! My Sheet Pan Maple Roasted Chicken and Sweet Potatoes Delight is perfect for busy weeknights. Juicy chicken …

Are you craving a simple, delicious treat that captures the essence of fall? Look no further! My No Bake Pumpkin Spice Granola Bars are packed with flavor and nutrition, perfect …
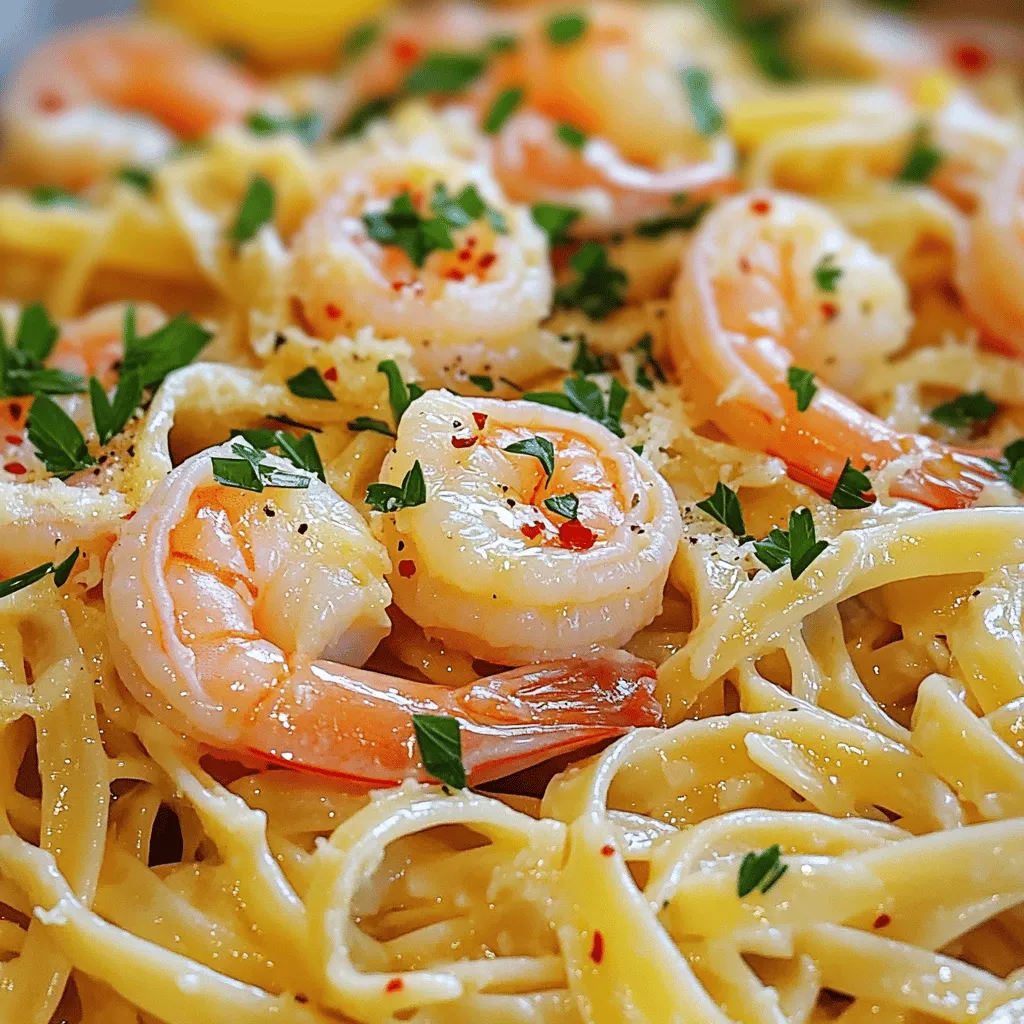
If you love a dish that bursts with flavor, you’ll adore Garlic Butter Shrimp Scampi Linguine. This easy recipe combines tender shrimp, garlic, and rich butter, all tied together with …

Indulge in the finest dessert experience with my Caramel Pecan Cheesecake Brownie Cups. These tasty treats combine rich brownie layers, smooth cheesecake, and a delightful caramel pecan topping. Perfect for …

If you crave a dish bursting with flavor, you’re in the right place. This Savory Slow Cooker Sweet and Spicy Korean Chicken is not just a meal; it’s an experience. …

Looking for a quick, tasty dinner? This One-Pot Sun-Dried Tomato Spinach Tortellini Delight is your answer! With just a few simple ingredients, you can whip up a creamy and flavorful …
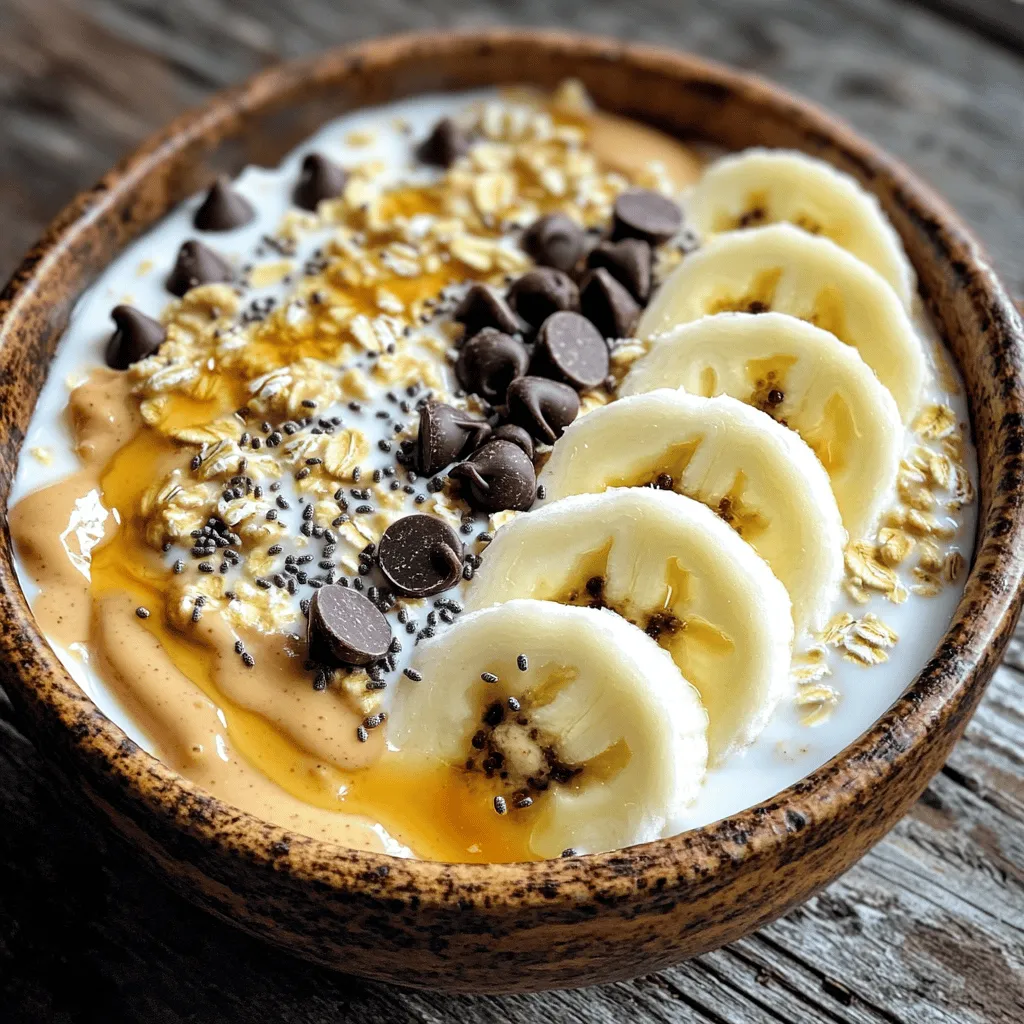
Craving a sweet treat that fuels your body? The Protein Cookie Dough Yogurt Bowl is your answer. Packed with creamy Greek yogurt, protein powder, and delicious mix-ins like nut butter …

Looking for a quick, tasty meal? My Air Fryer Chicken Parmesan Sandwiches are the answer! These sandwiches are crispy, cheesy, and packed with flavor. Best of all, you can whip …