Minute Chili Garlic Tofu Stir-Fry Quick and Flavorful Dish
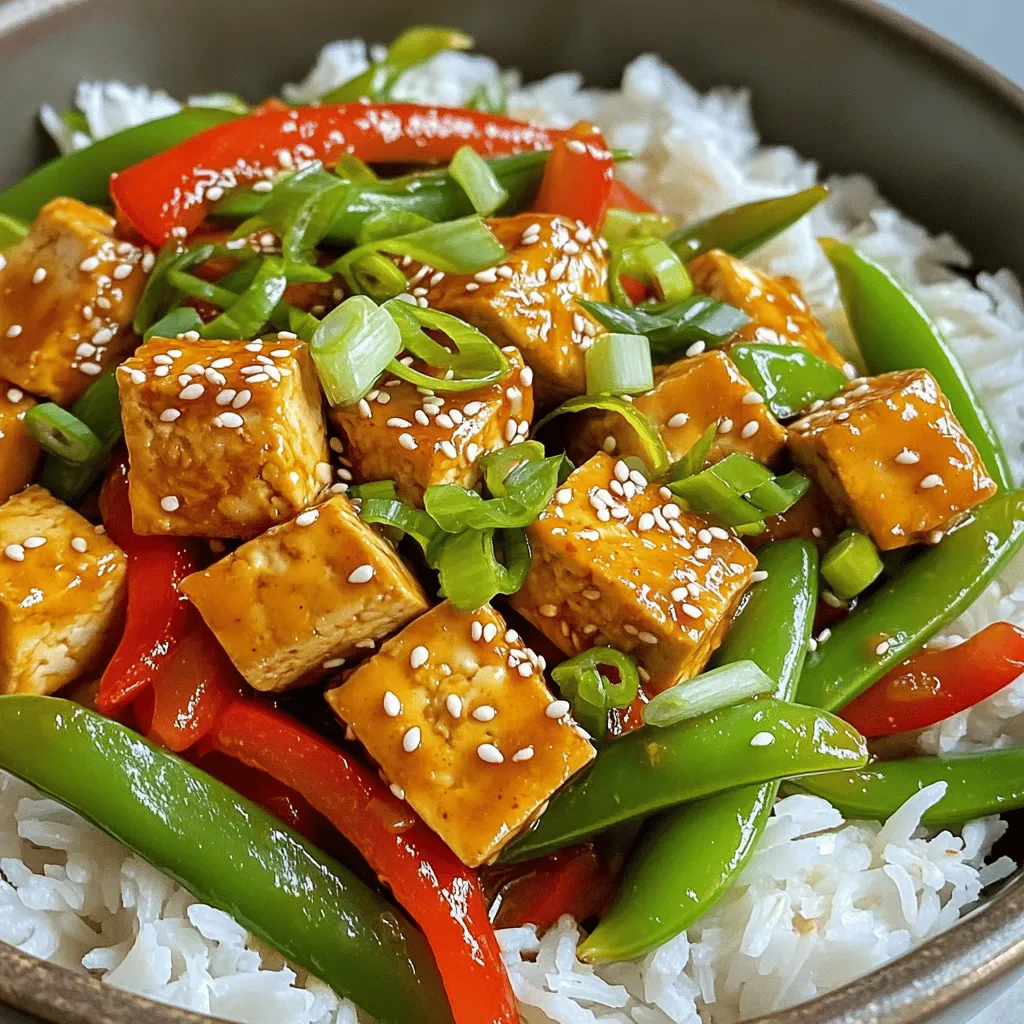
Craving a quick and tasty meal? My Minute Chili Garlic Tofu Stir-Fry is the answer! In just minutes, you can whip up a dish packed with flavor using simple ingredients …
Craving a quick and tasty meal? My Minute Chili Garlic Tofu Stir-Fry is the answer! In just minutes, you can whip up a dish packed with flavor using simple ingredients …
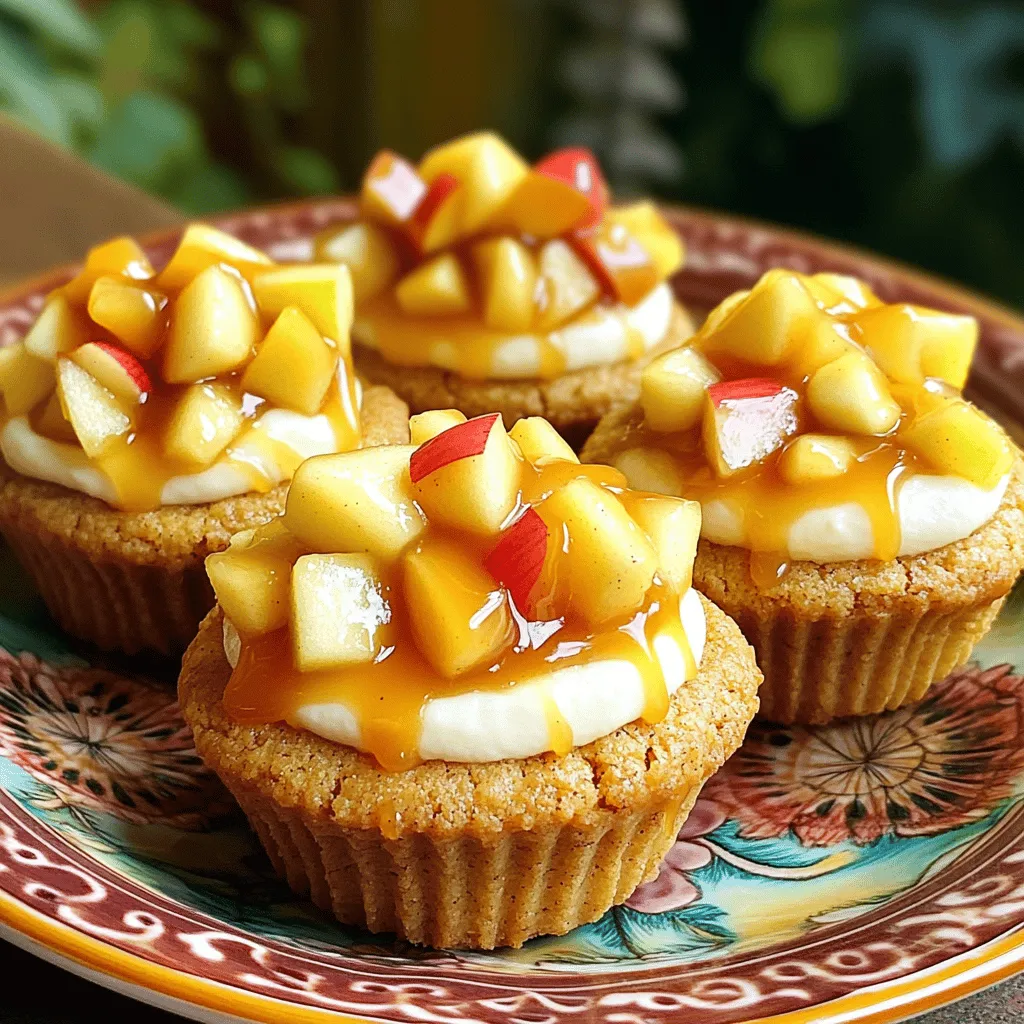
Are you ready to indulge in a sweet treat that will brighten your day? These Caramel Apple Cheesecake Cookie Cups combine crunchy cookie cups and creamy cheesecake filling, all topped …
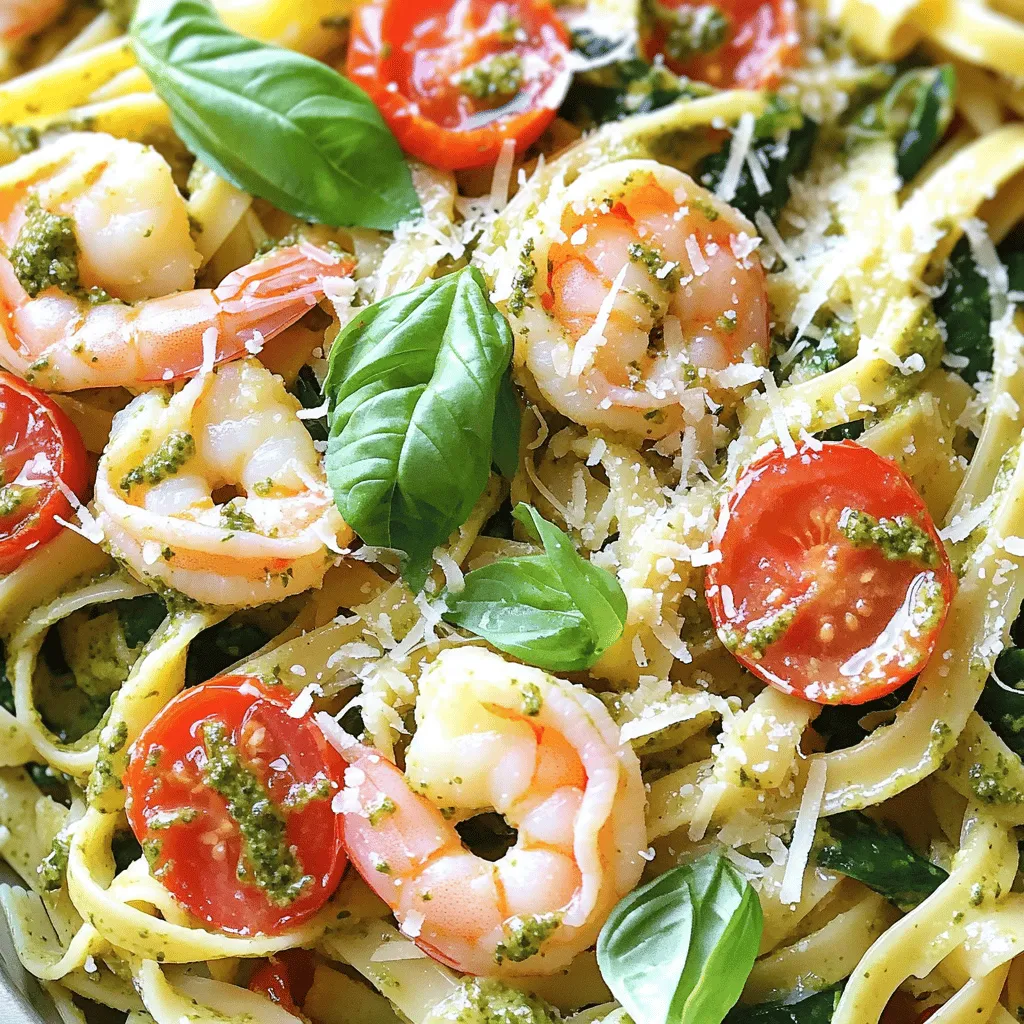
Craving a quick, delicious dinner? You’ll love this One-Pot Creamy Pesto Shrimp Pasta! It’s rich, flavorful, and ready in a flash. With just one pot to clean, you can enjoy …
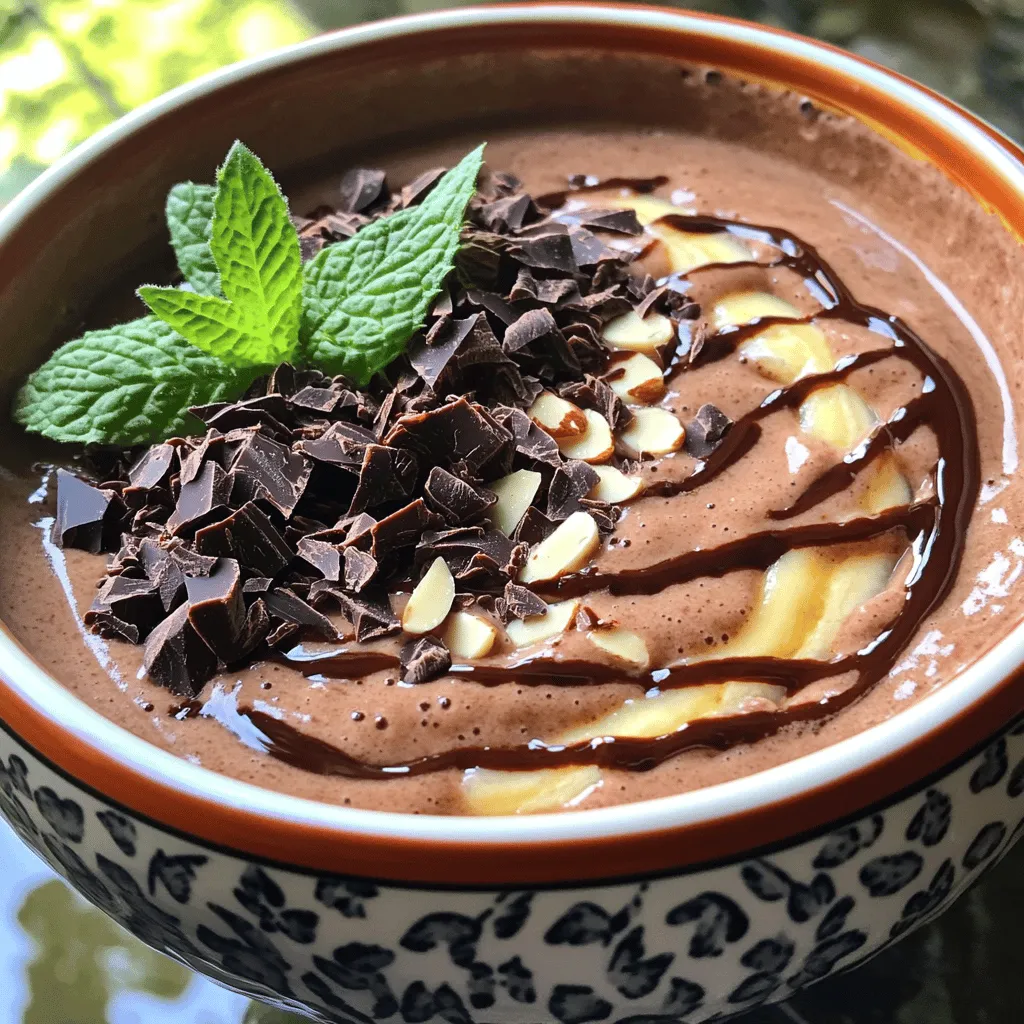
Looking for a tasty way to boost your protein intake? Try my High-Protein Chocolate Peppermint Smoothie Bowl! It’s rich, creamy, and perfect for breakfast or a snack. Filled with chocolatey …
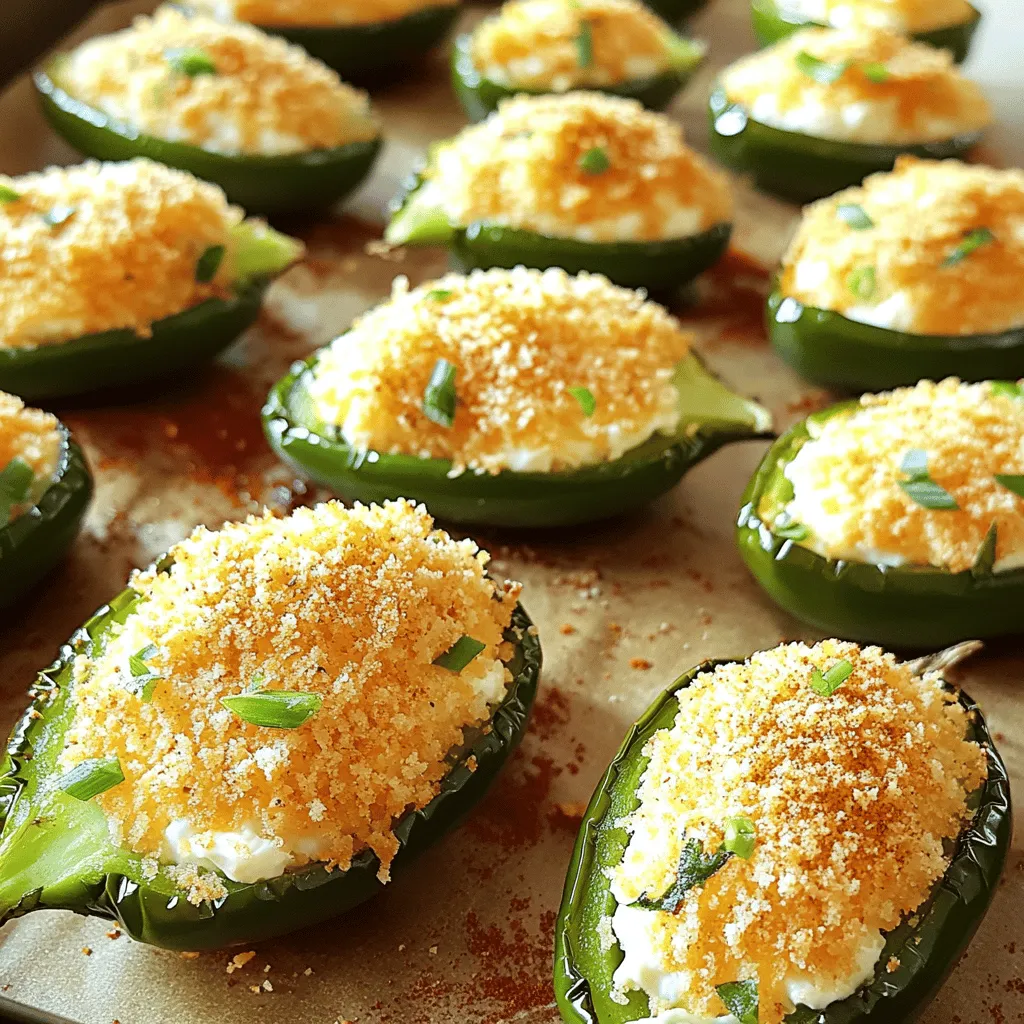
Are you ready to spice up your snack game? My Air Fryer Crispy Jalapeño Popper Bites take crispy goodness to a whole new level! With a creamy cheese filling and …

Craving a dish that combines flavors to delight your taste buds? This Creamy Lemon Garlic Shrimp Pasta is your answer! Not only is it easy to make in one pot, …
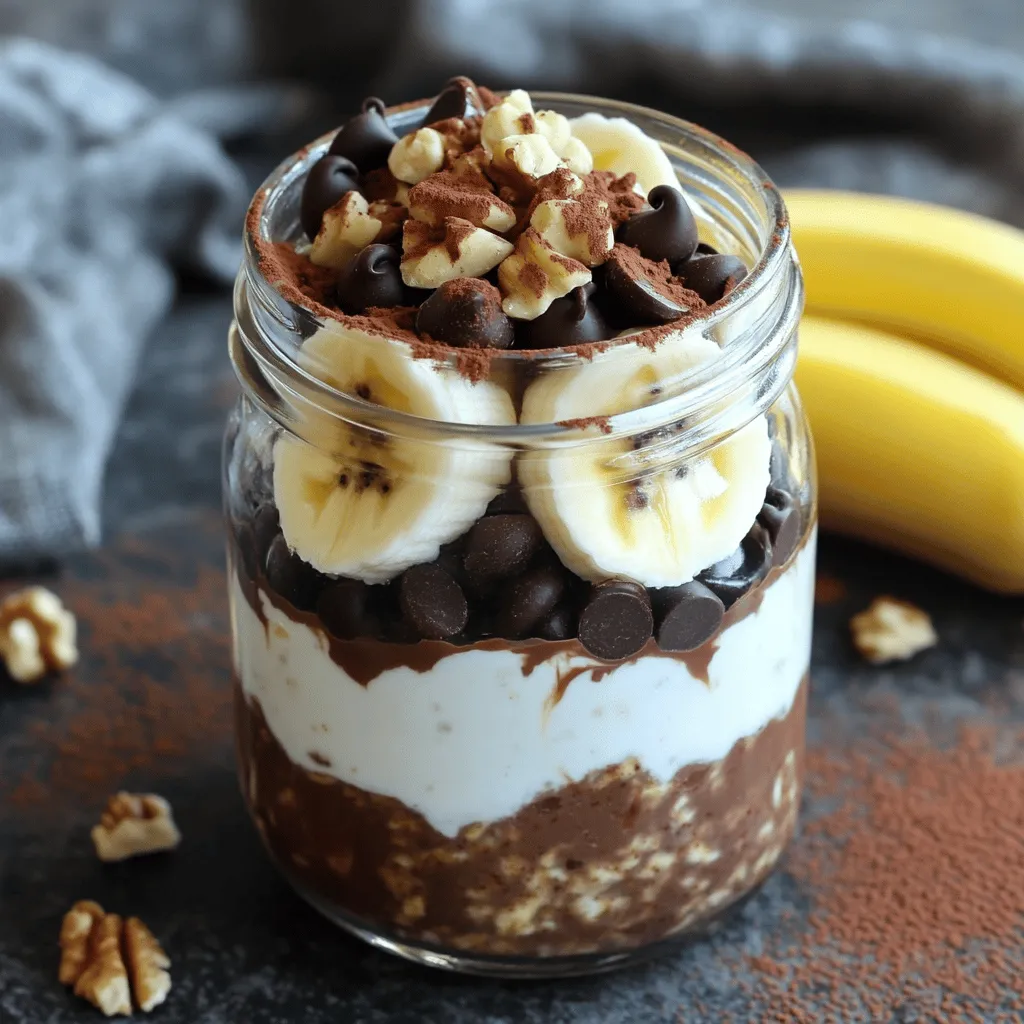
Start your day with a delicious twist on breakfast! These Protein Mocha Brownie Overnight Oats are not just tasty; they pack a protein punch too. With rich chocolate, coffee, and …
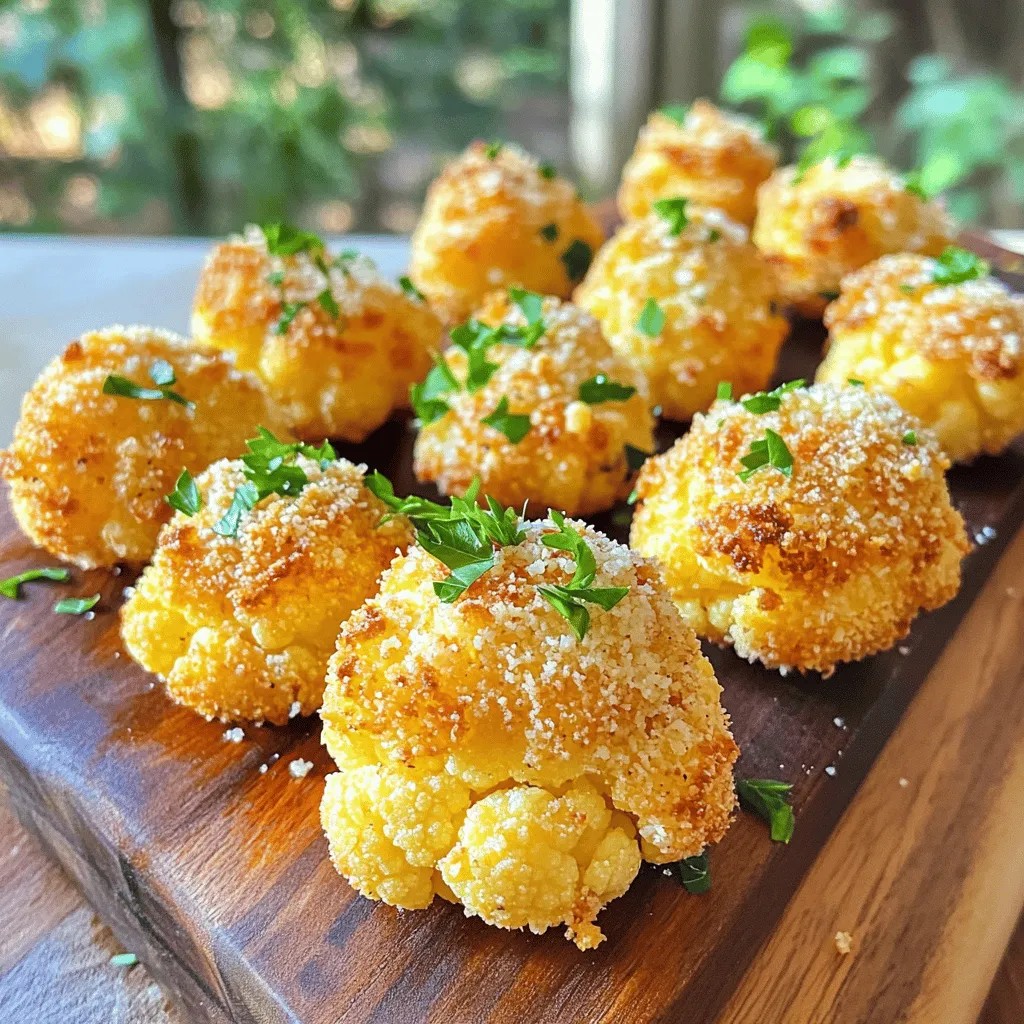
Looking for a tasty snack that’s easy to make? You’re in luck! My Air Fryer Parmesan Cauliflower Bites are crispy, cheesy, and full of flavor. These bites are perfect for …

Craving a sweet treat that’s easy to make? Dive into my recipe for Warm Chocolate Crinkle Cookies! These cookies are soft and fudgy, with a delightful crackly top. In this …

Looking for a sweet holiday treat that’s easy to make? You’re in the right spot! These No-Bake Eggnog Cheesecake Bars are creamy, festive, and full of flavor. Perfect for any …