High-Protein Eggnog Cottage Cheese Pancakes Delight
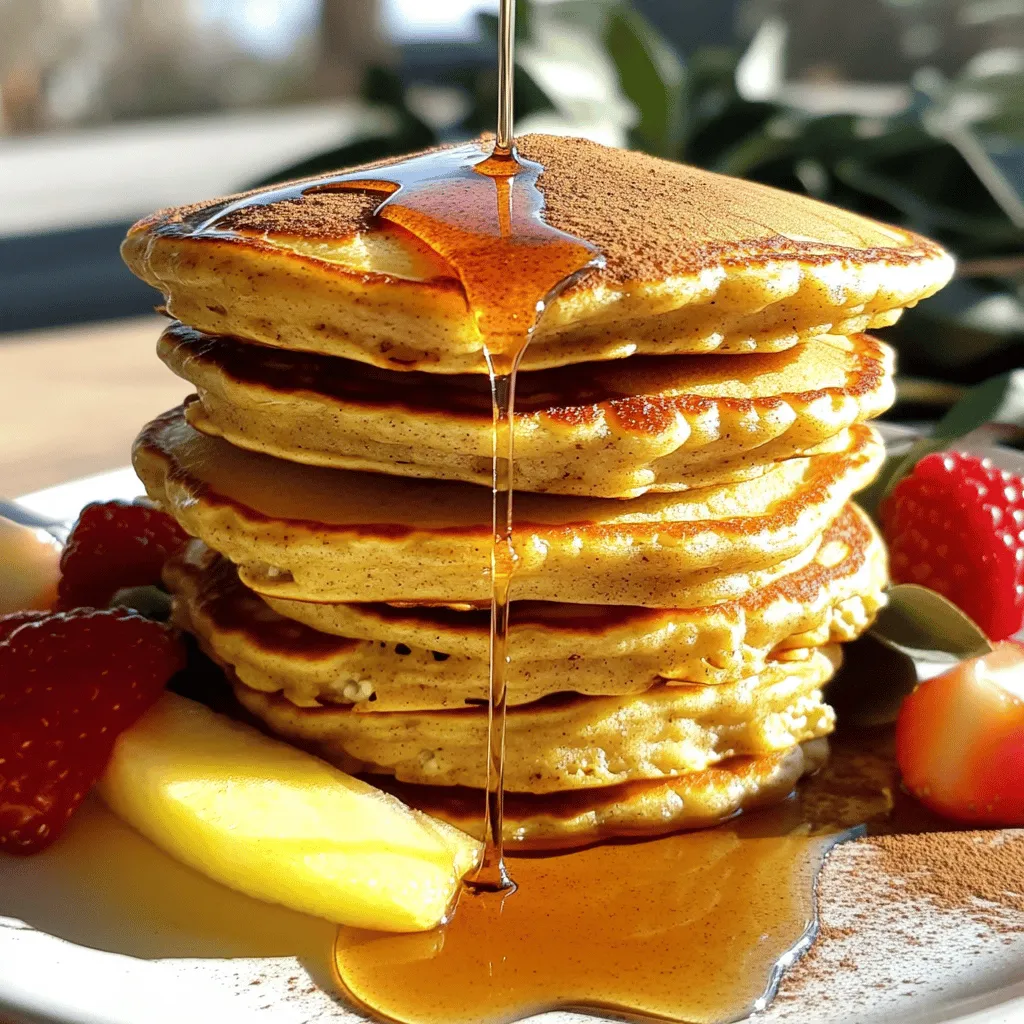
Looking for a tasty way to enjoy your favorite holiday flavors? Try my High-Protein Eggnog Cottage Cheese Pancakes! Packed with protein and bursting with festive spices, these pancakes are perfect …