Mongolian Beef Noodles Tasty Dinner Recipe to Try
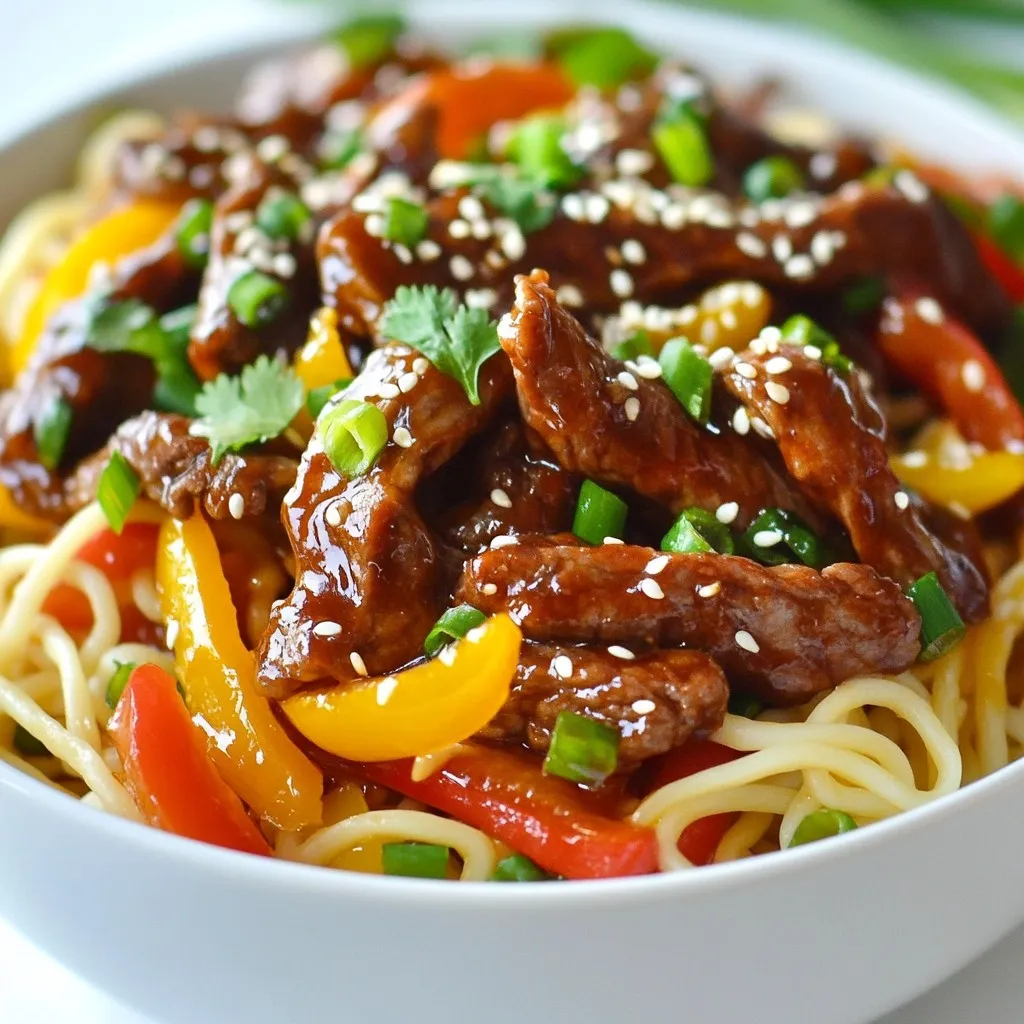
Looking for a tasty dinner that’s quick and satisfying? You’re in the right place! This Mongolian Beef Noodles recipe is easy to follow and packed with flavor. I’ll guide you …
Looking for a tasty dinner that’s quick and satisfying? You’re in the right place! This Mongolian Beef Noodles recipe is easy to follow and packed with flavor. I’ll guide you …
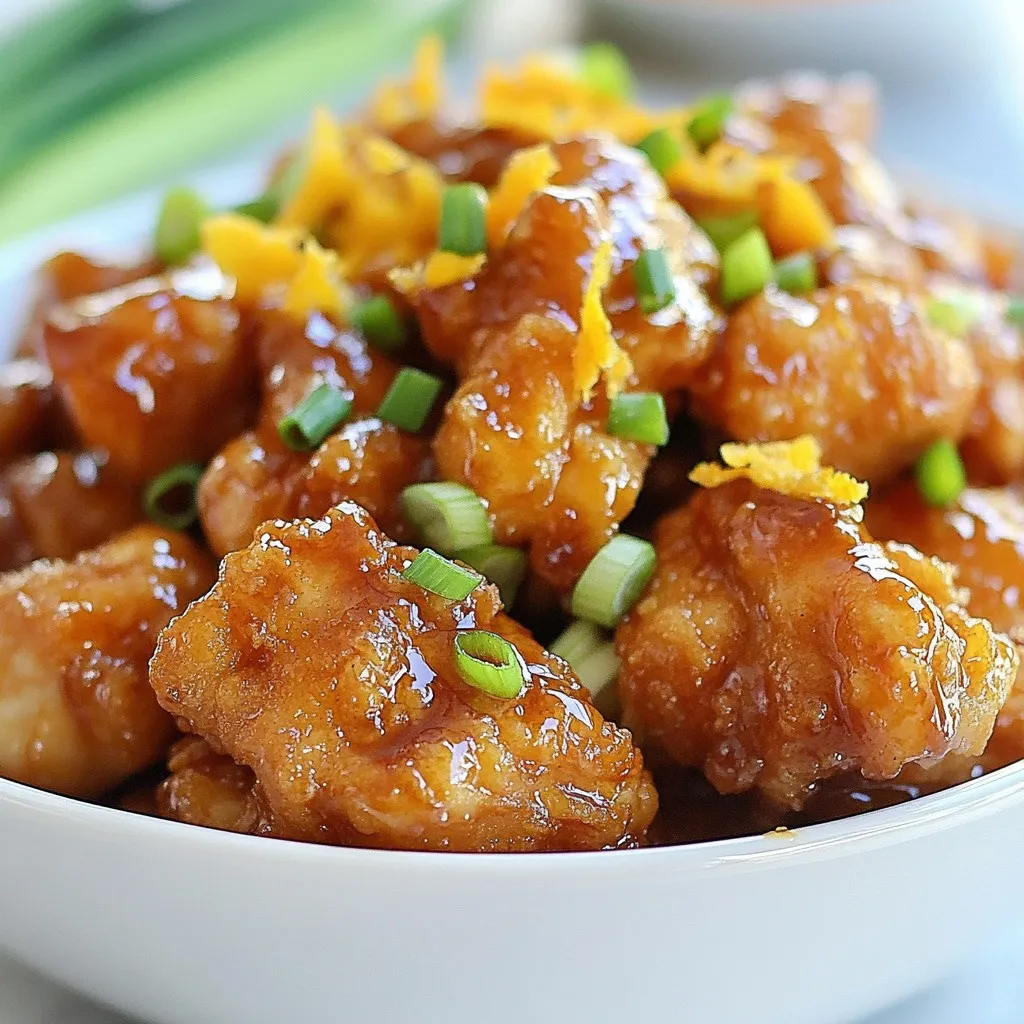
Craving a quick and tasty meal? This Gluten Free Orange Chicken is the answer! With a crunchy coating and a sweet, tangy sauce, it’s easy to make. I’ll guide you …
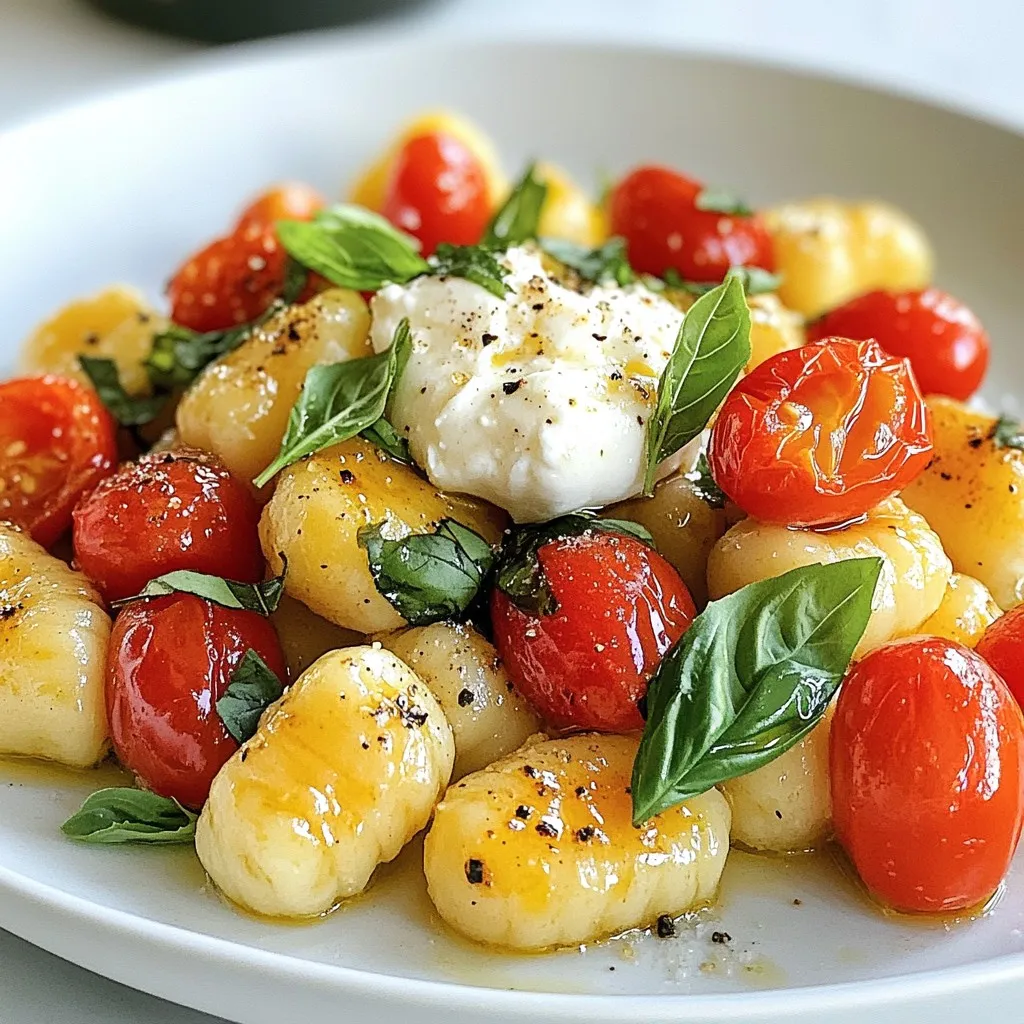
Ready for a quick, delicious meal? You’ll love this Minute Tomato Burrata Gnocchi! With fresh tomatoes, soft burrata, and pillowy gnocchi, it’s a feast in just minutes. I’ll guide you …

Looking for a quick and tasty meal? My Easy Chicken Ramen is just what you need for those busy nights! With simple ingredients like chicken breasts, instant ramen, and fresh …
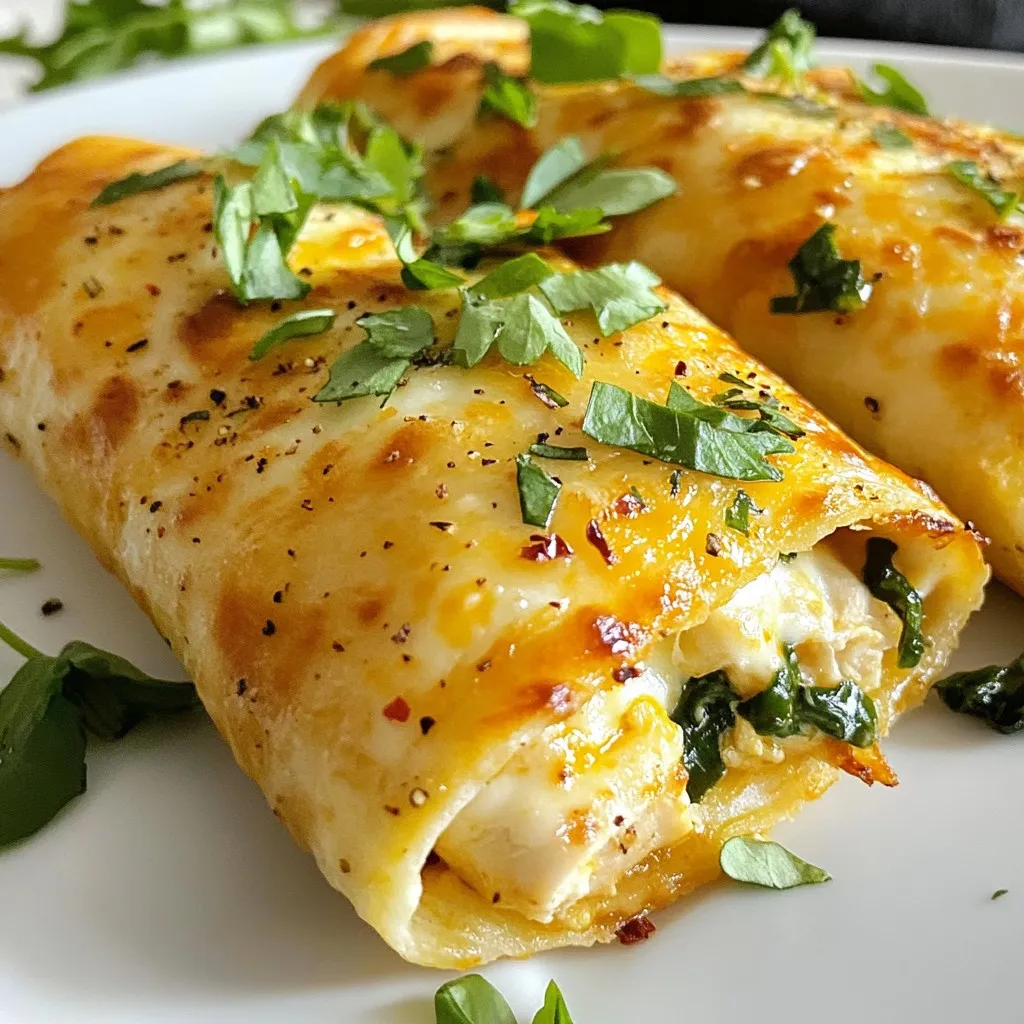
Are you ready to make a tasty meal with little effort? My Cheesy Garlic Chicken Wraps combine savory flavors and crispy textures in a fun, easy dish. With simple ingredients …
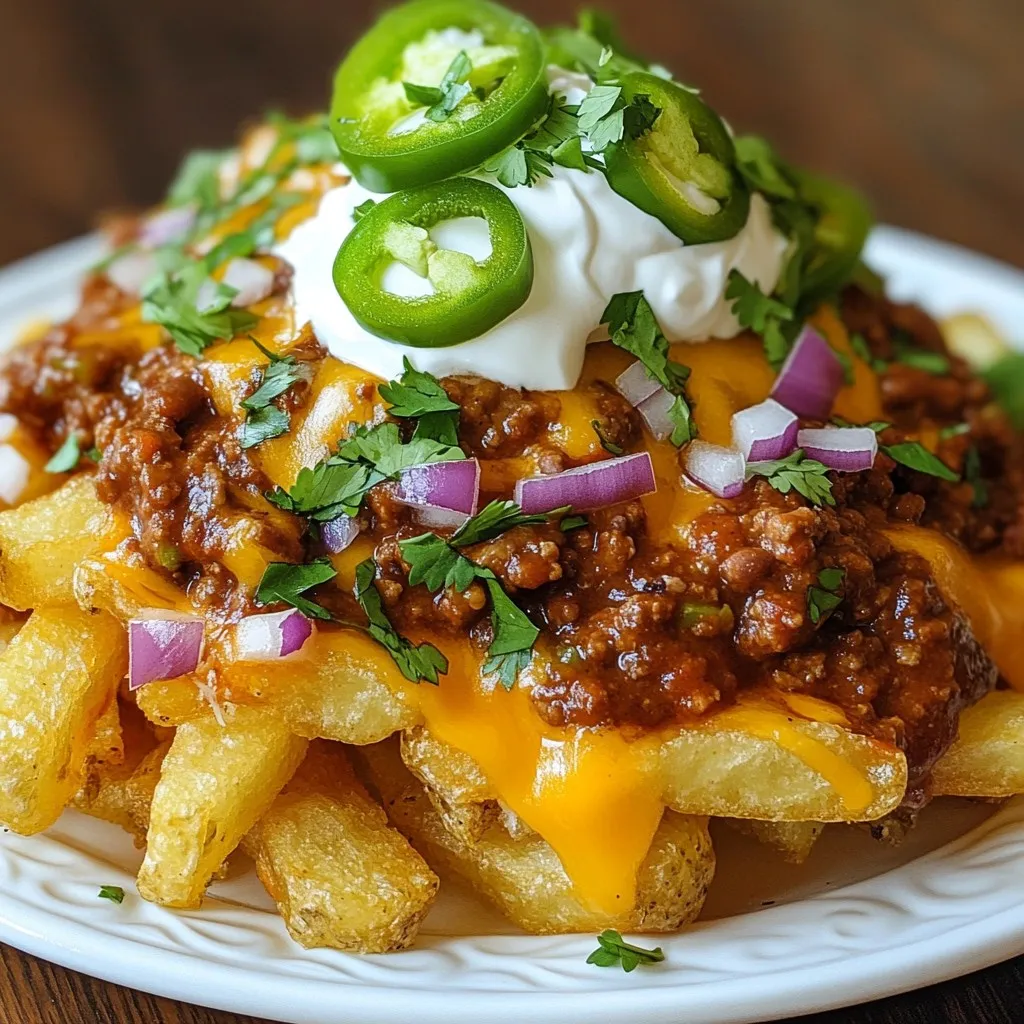
If you’re craving a snack that’s packed with flavor, look no further! Loaded Chili Cheese Fries hit all the right notes. Imagine crispy, golden fries topped with rich chili and …
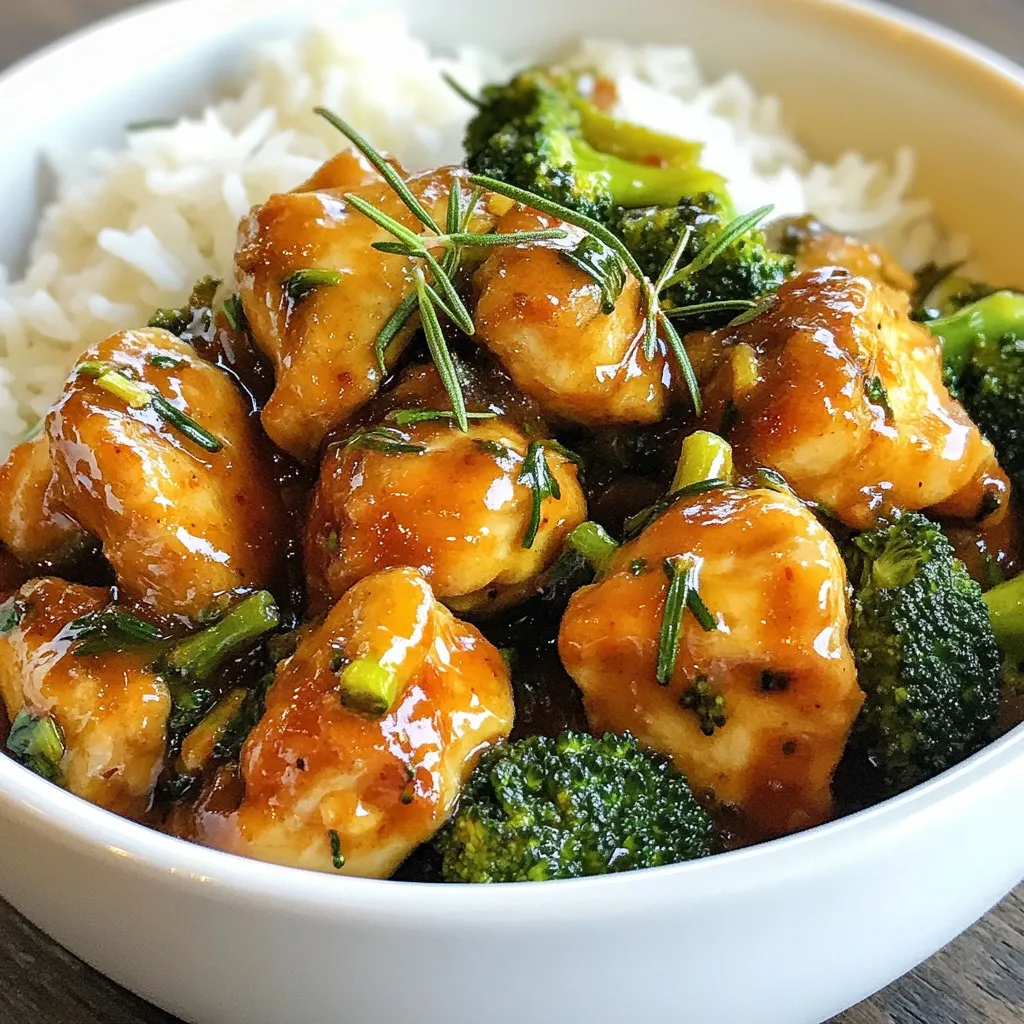
Looking for a quick, tasty dinner? Garlic Butter Chicken & Broccoli is your answer! This dish combines juicy chicken, fresh broccoli, and a rich garlic butter sauce for a meal …
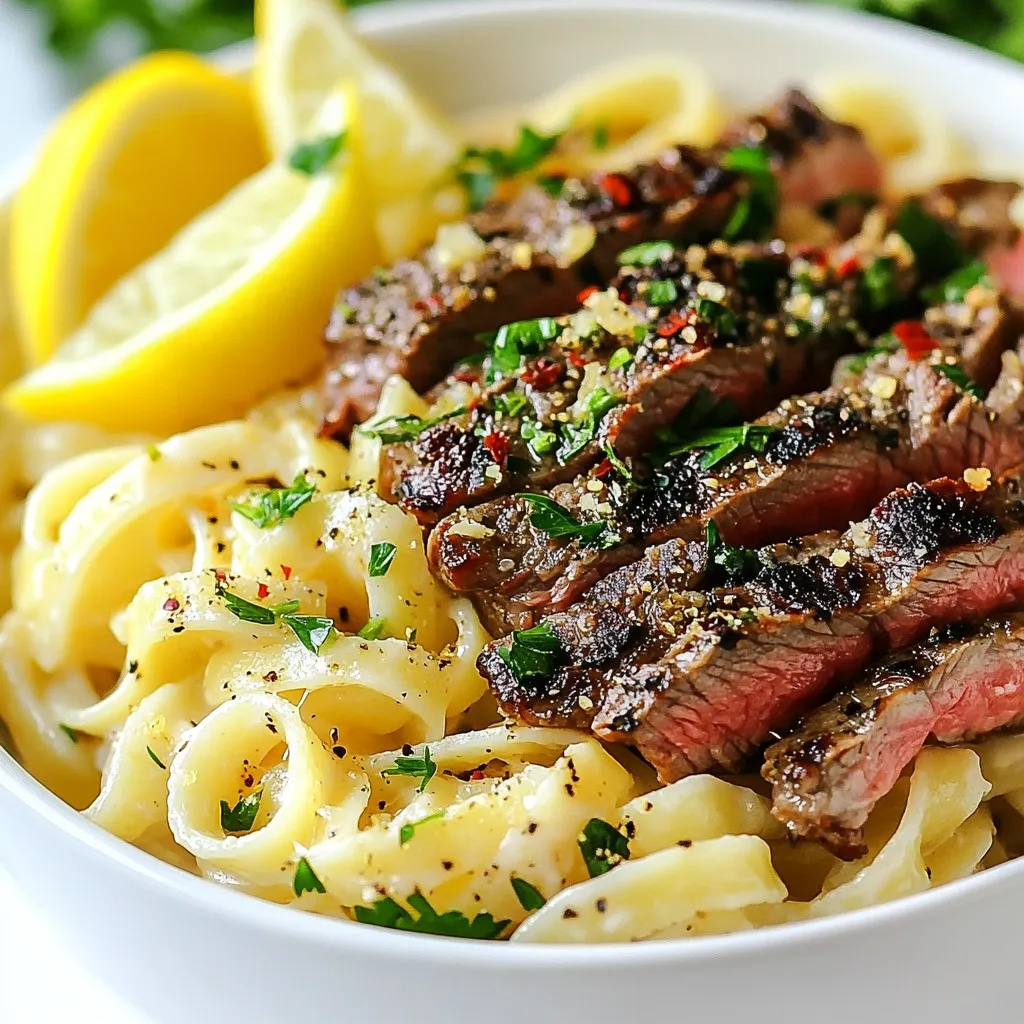
If you’re craving a pasta dish that’s rich, savory, and downright delicious, you need to try Cowboy Butter Steak Linguine! This dish pairs tender ribeye steak with buttery garlic sauce …

If you’re craving a sweet and crunchy snack, you’ll love these Cinnamon Apple Fritters! Imagine biting into a warm fritter, bursting with tender apple pieces and a hint of cinnamon. …
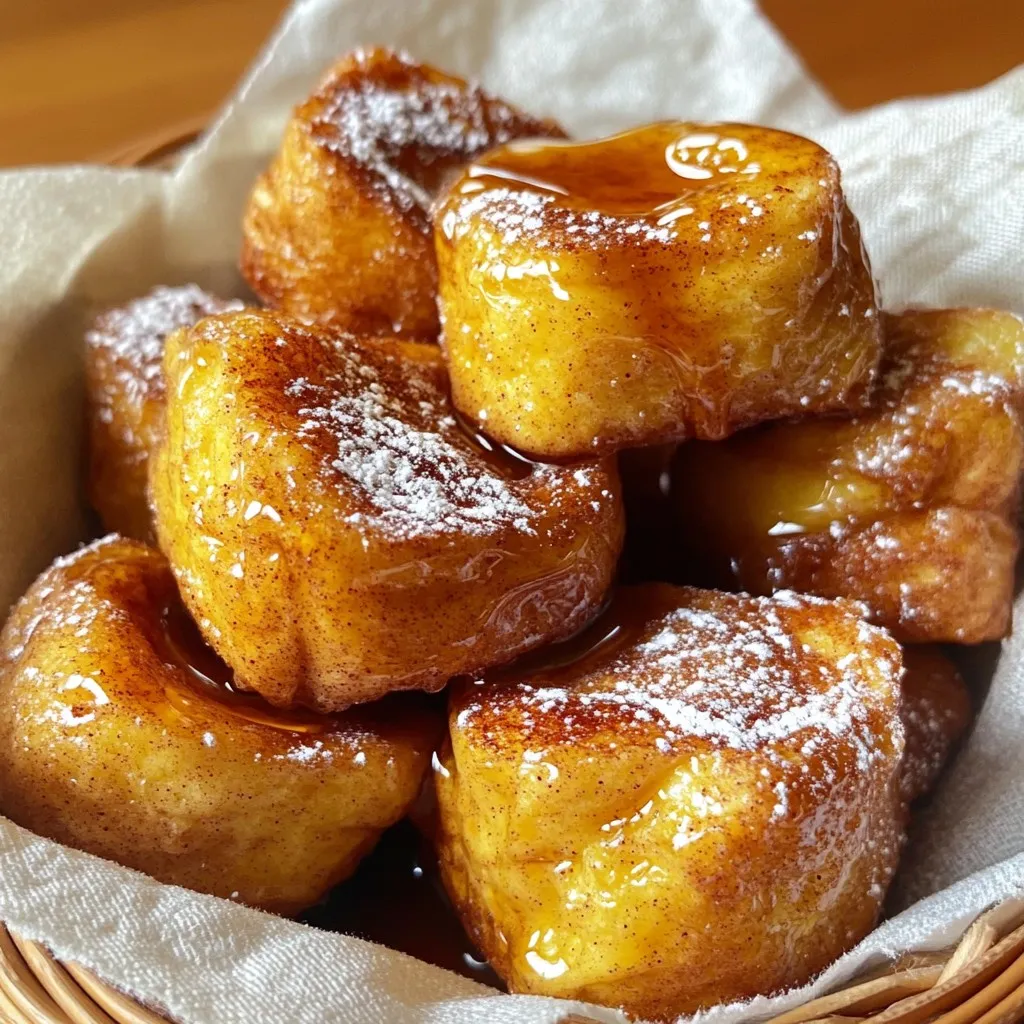
If you love cinnamon rolls and French toast, you’ll adore my quick and easy Cinnamon Roll French Toast Bites! This tasty treat combines your favorite breakfast flavors into bite-sized joys. …