Better Than Takeout Garlic Butter Fried Rice Delight
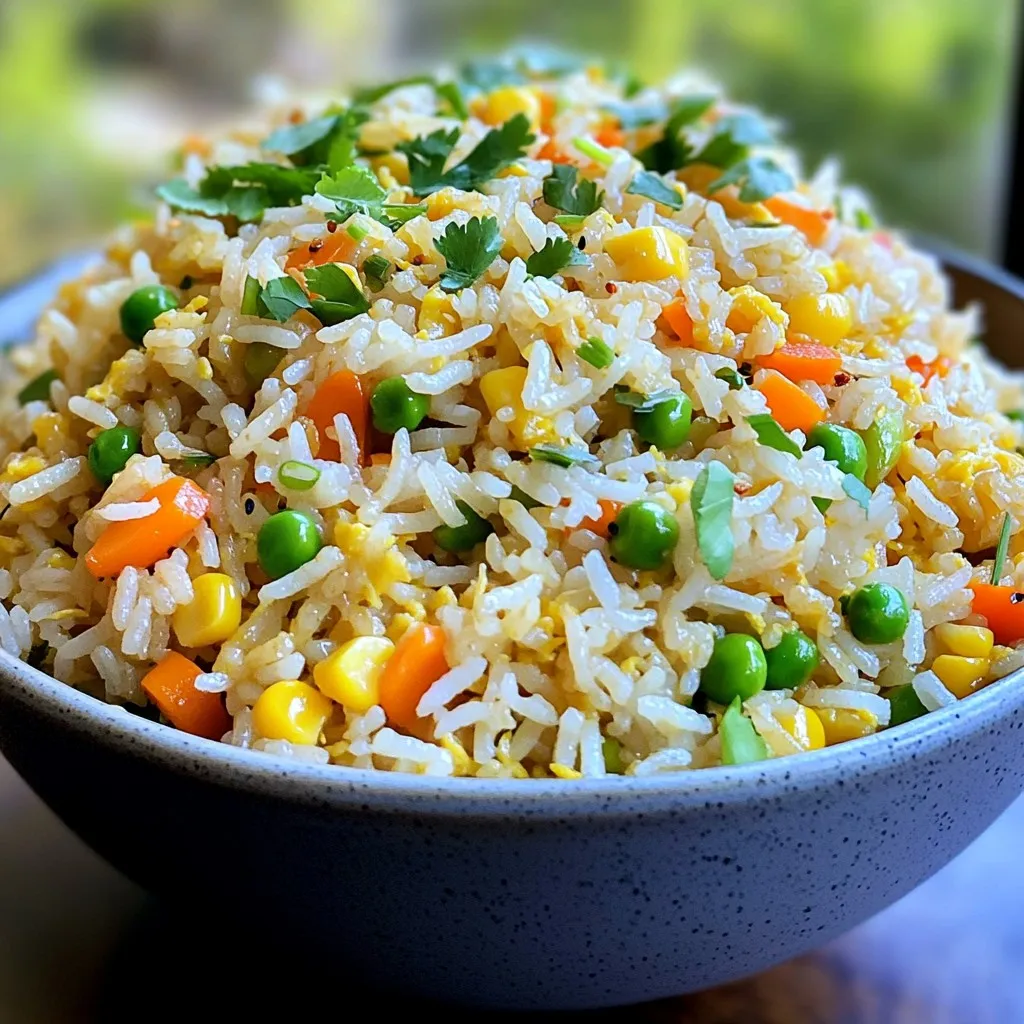
Looking for a quick meal that’s better than takeout? My Garlic Butter Fried Rice recipe is a game changer! With simple ingredients and easy steps, you can create a dish …
Looking for a quick meal that’s better than takeout? My Garlic Butter Fried Rice recipe is a game changer! With simple ingredients and easy steps, you can create a dish …
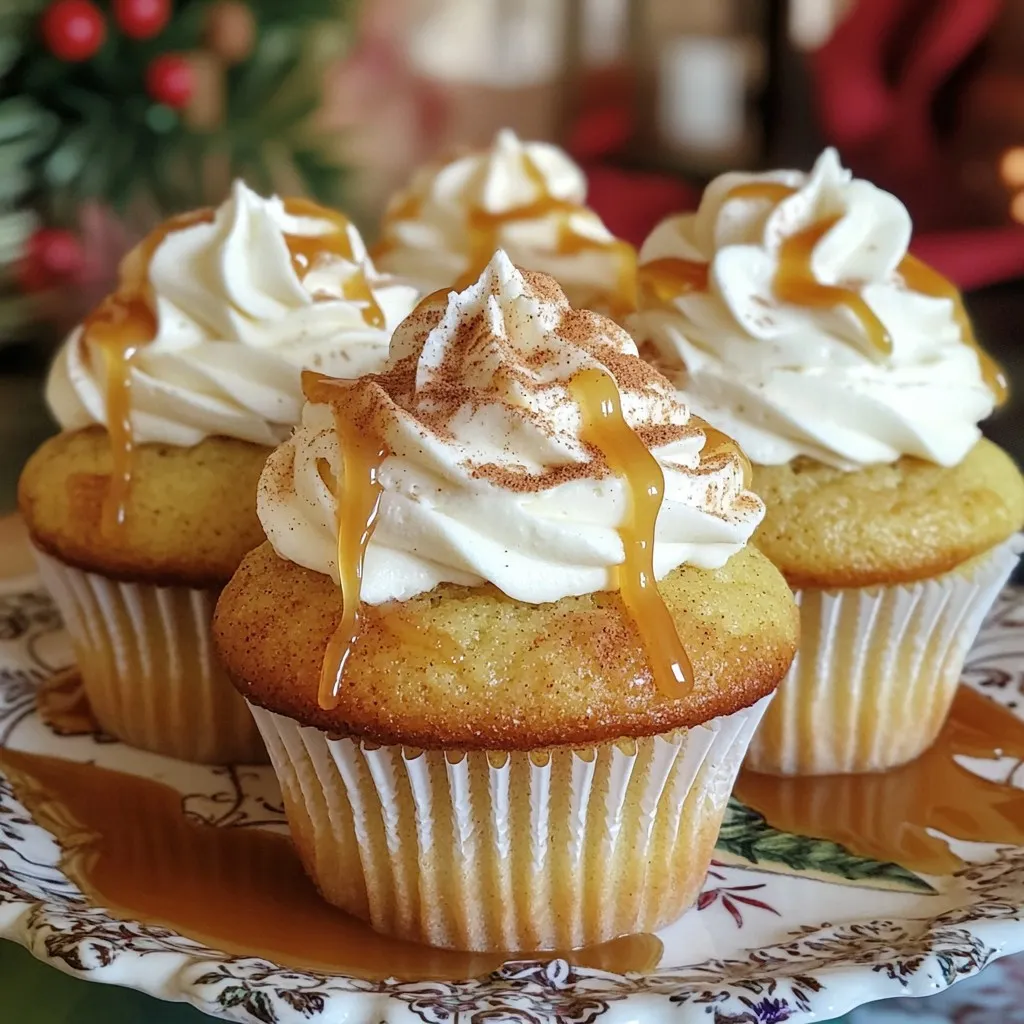
Get ready to delight your taste buds with my Spiced Caramel Latte Cupcakes! These treats combine rich coffee, warm spices, and sweet caramel in every bite. Perfect for coffee lovers, …
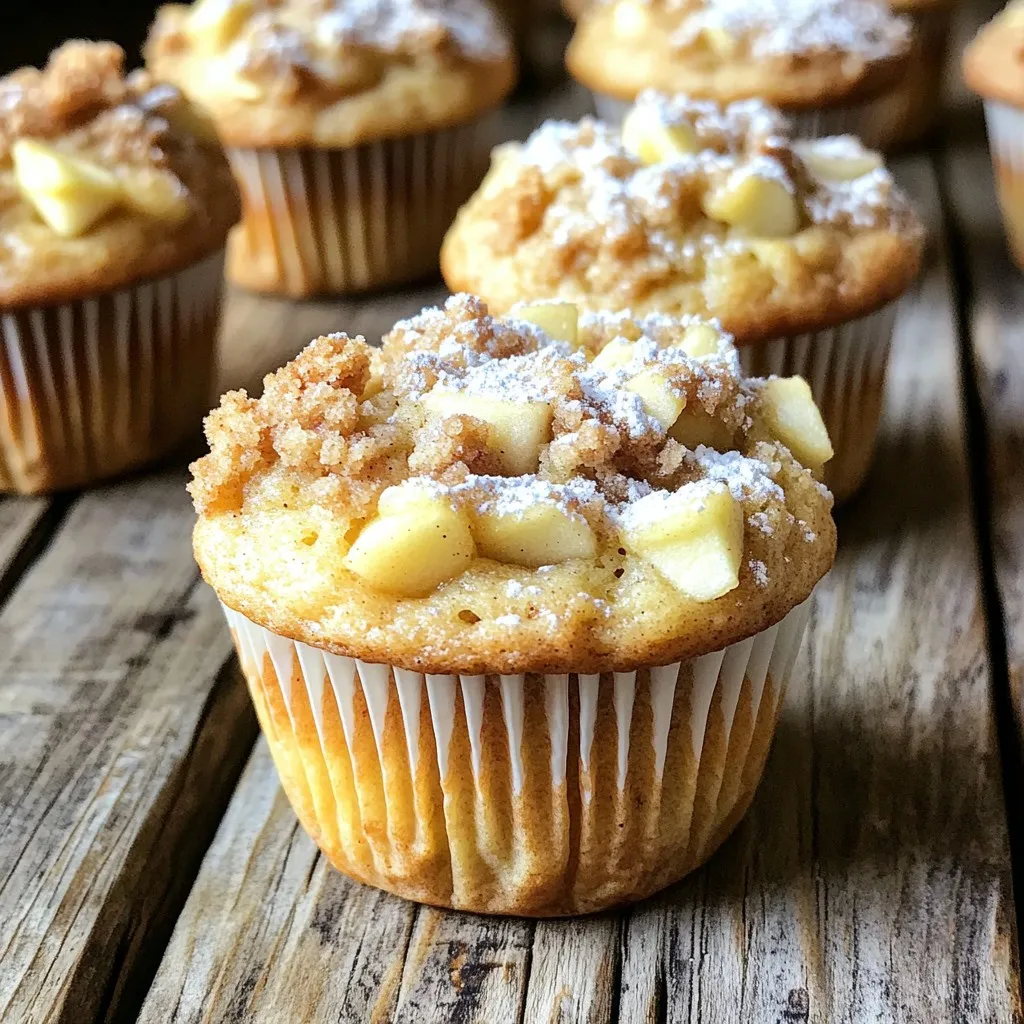
Are you ready to indulge in a delightful treat? These Bakery Style Apple Streusel Muffins are just what you need! With a soft, fluffy texture and a sweet apple filling, …
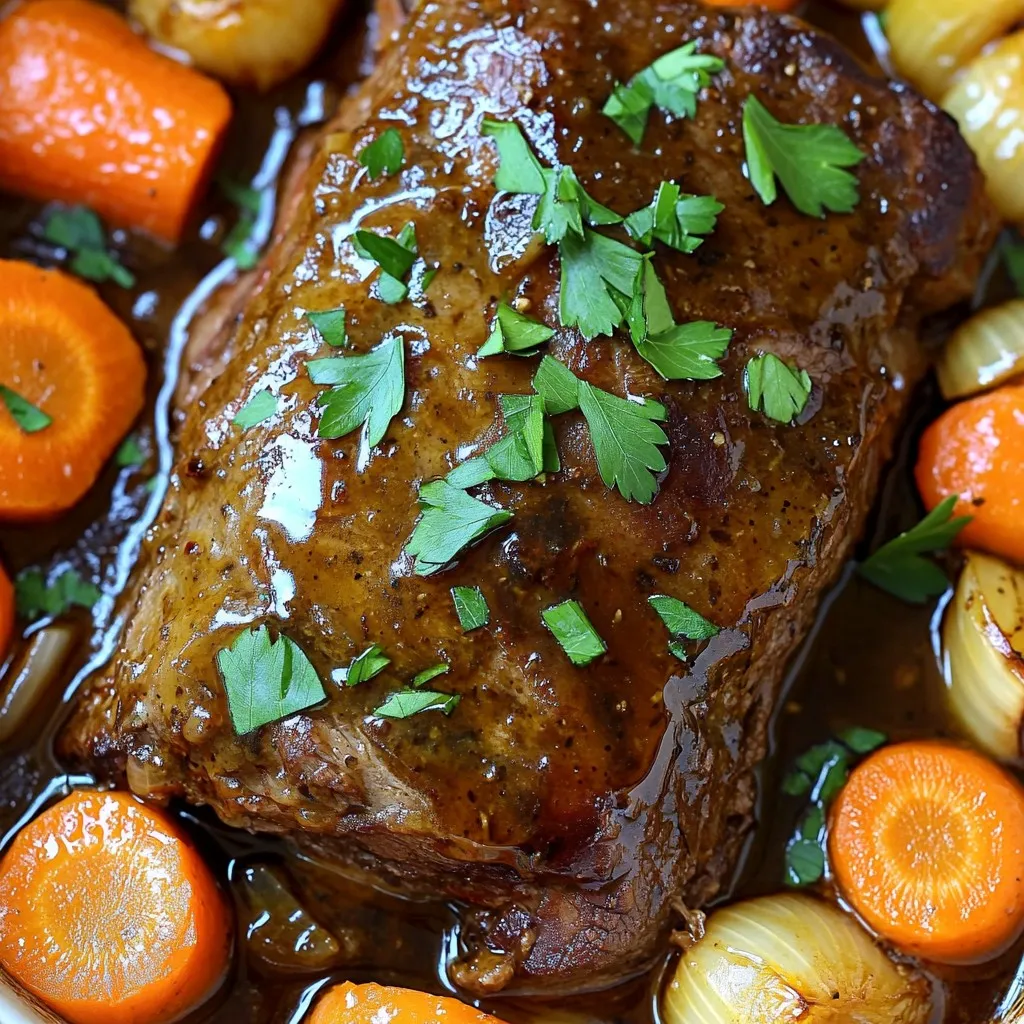
Are you ready to transform dinner into a delightful experience? This Slow Cooker Honey Balsamic Pot Roast is the answer you’ve been looking for. With tender roast beef and rich …
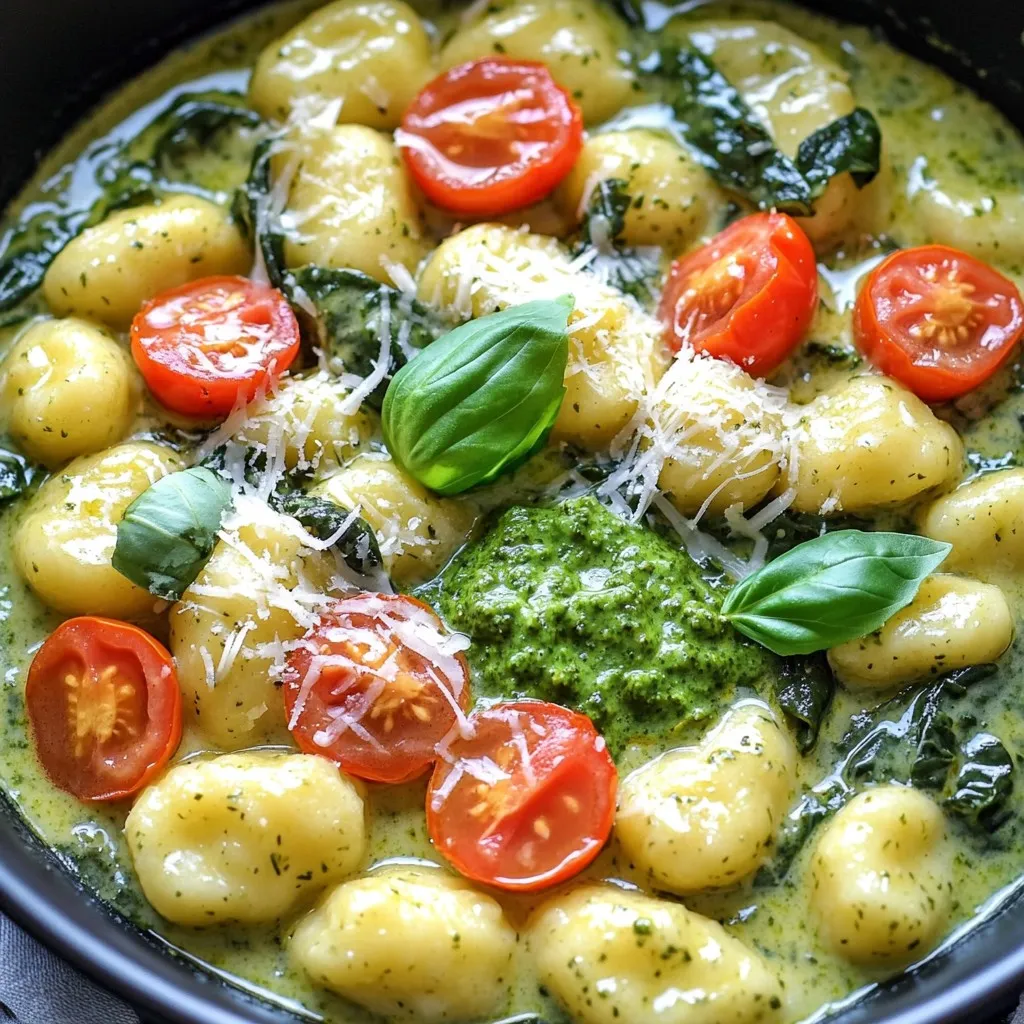
Are you ready to whip up a delicious meal in no time? This One Pot Creamy Pesto Gnocchi is your answer. With just a few simple ingredients and one pot, …
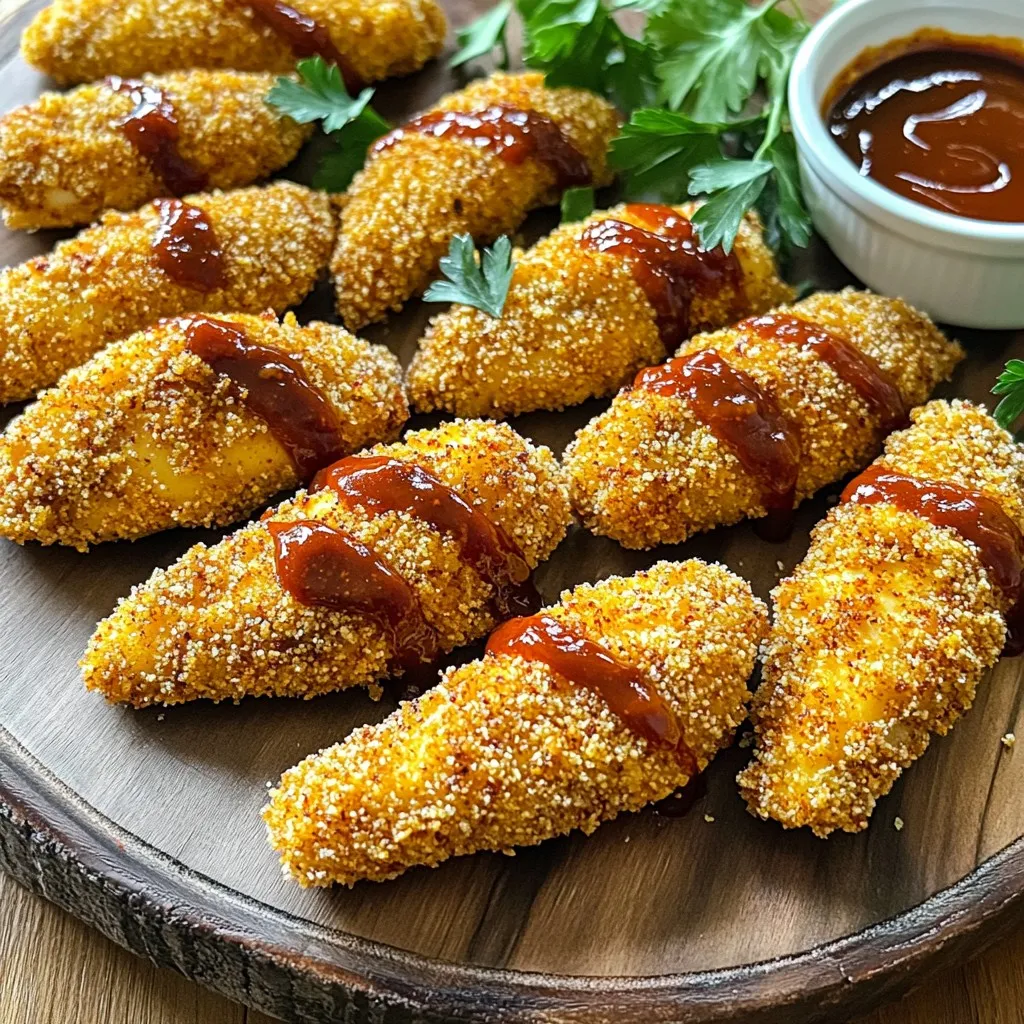
Looking for a delicious and easy dinner? Try my Air Fryer BBQ Chicken Tenders! These crispy, juicy tenders are coated in panko breadcrumbs and slathered in BBQ sauce, making them …

Are you ready to bring a warm, spicy twist to your cookie game? In this post, I’ll show you how to create Chai-Spiced Oatmeal Chocolate Chip Cookies that are chewy, …
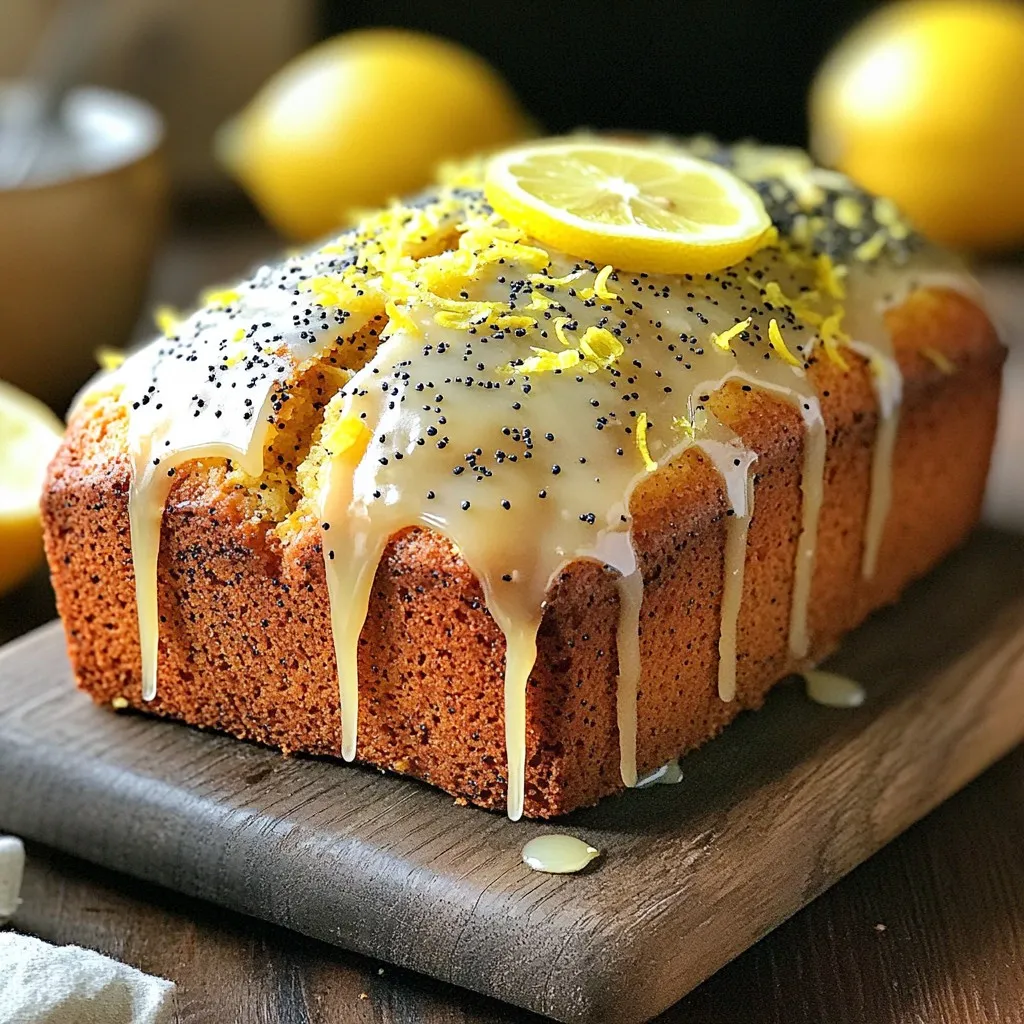
If you love fresh, zesty flavors, then you’re in for a treat! This Bakery-Style Lemon Poppy Seed Loaf is bright, rich, and easy to make. I’ll guide you through each …
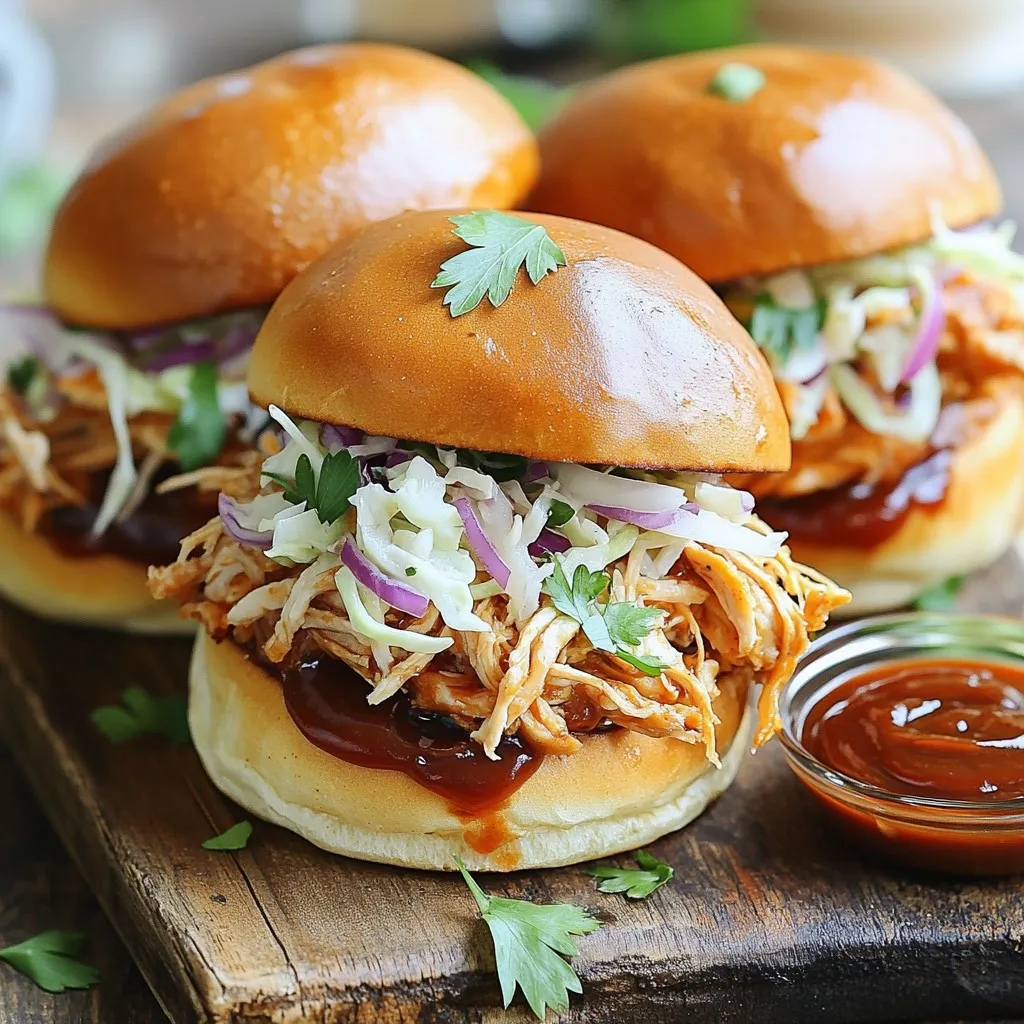
Are you ready to treat your taste buds? Slow Cooker BBQ Pulled Chicken Sandwiches are simple, flavorful, and perfect for any meal. With just a few key ingredients and easy …
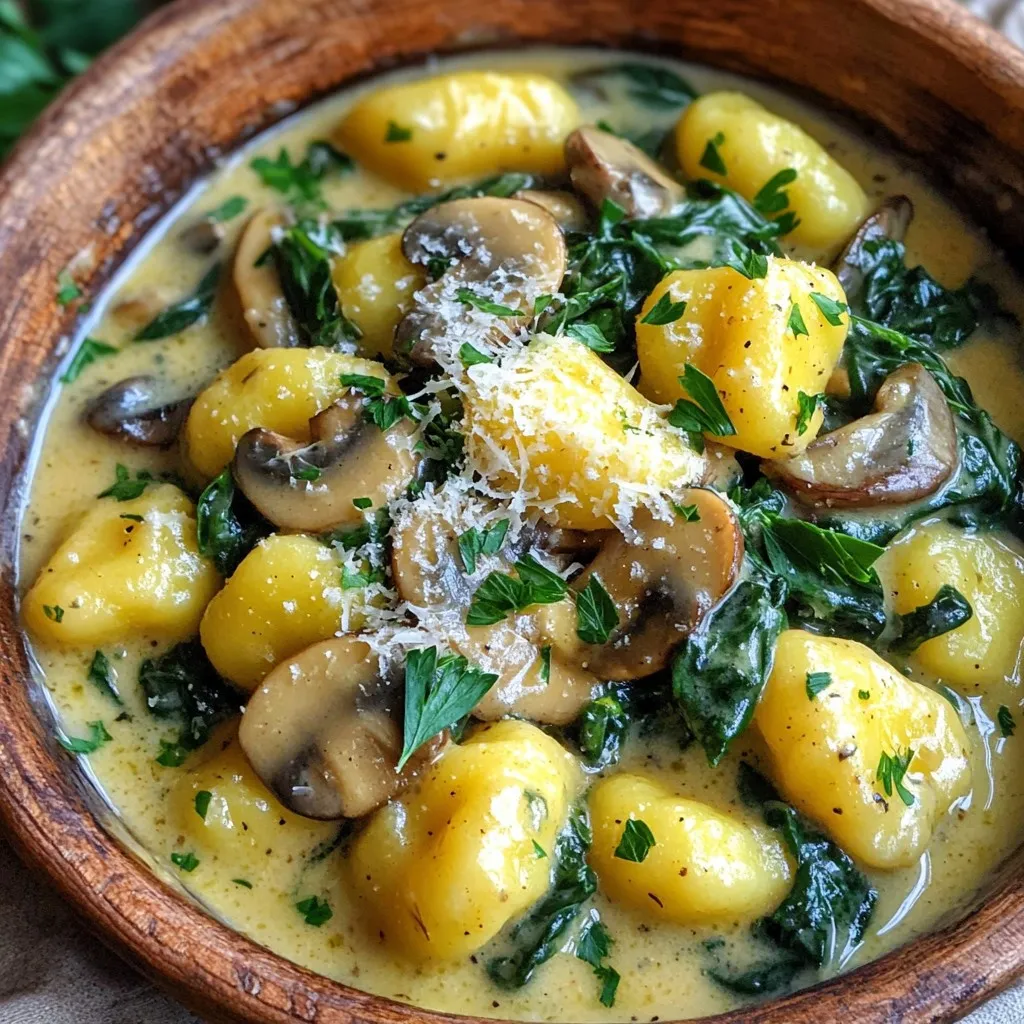
Ready for a comforting meal that shines in its simplicity? My One-Pot Creamy Mushroom Spinach Gnocchi is your answer! This easy dish blends soft gnocchi with fresh spinach, savory mushrooms, …