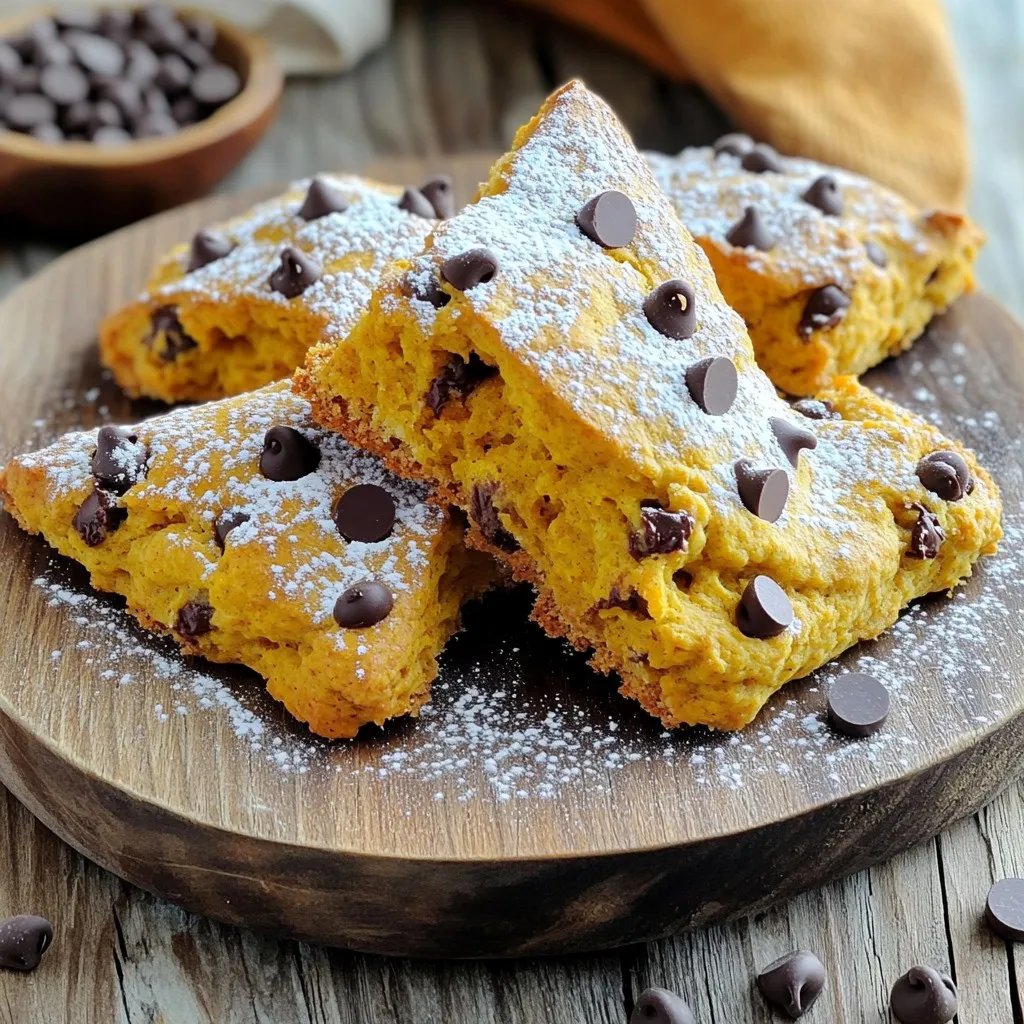
No-Bake Chocolate Hazelnut Cheesecake Bars Delight
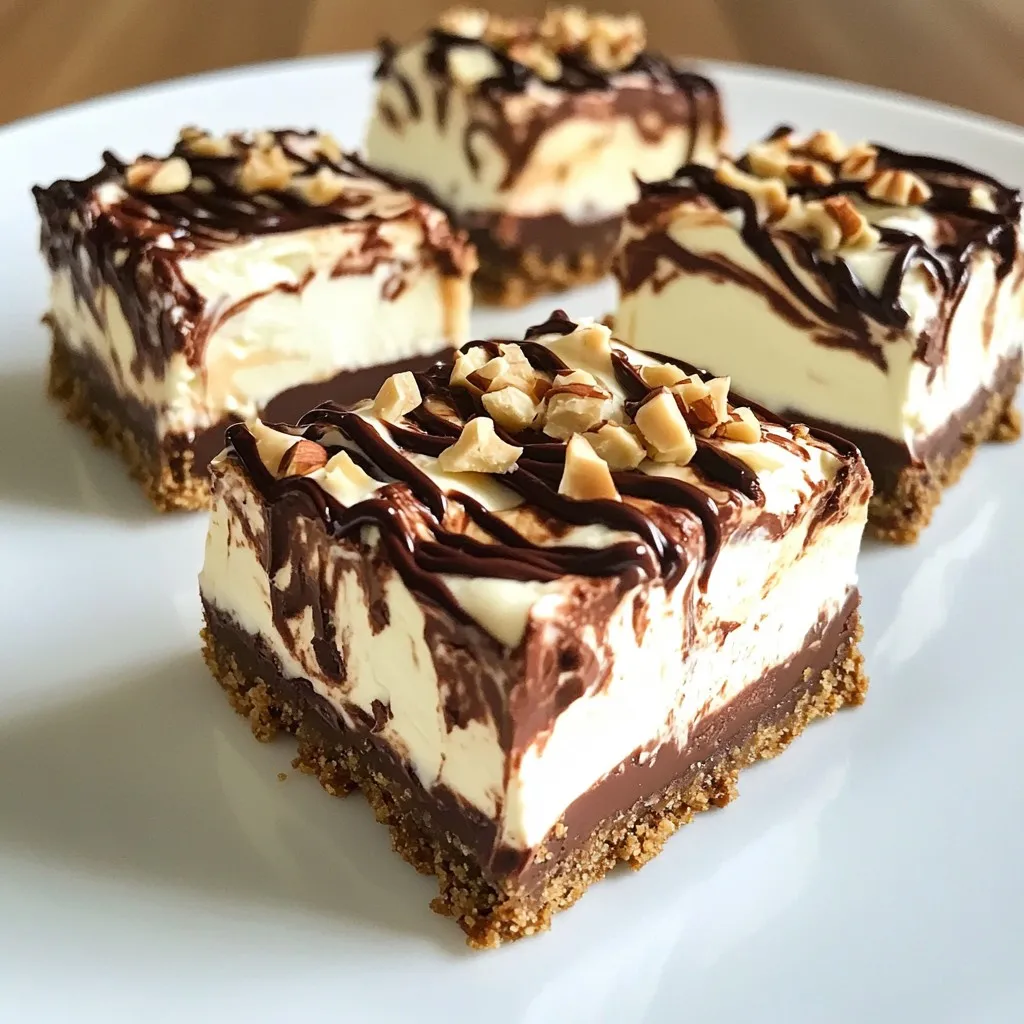
Craving a sweet treat that’s easy to make? Dive into my No-Bake Chocolate Hazelnut Cheesecake Bars. These bars are both creamy and crunchy, perfect for satisfying your chocolate cravings without …