Honey Mustard Chicken Tenders Air Fryer Crispy Dish

Looking to elevate your meal prep? Try these Honey Mustard Chicken Tenders in the air fryer! You’re in for a treat with perfectly crispy chicken that packs a flavorful punch. …
Looking to elevate your meal prep? Try these Honey Mustard Chicken Tenders in the air fryer! You’re in for a treat with perfectly crispy chicken that packs a flavorful punch. …

Are you tired of the same boring breakfasts? The Minute Breakfast Protein Flatbread is here to save your mornings! Packed with protein and fresh flavors, this easy recipe only takes …

If you’re craving a sweet treat that’s easy to make and packed with flavor, you’ve landed in the right spot! My Salted Caramel Biscoff Cheesecake Cups are a delightful mix …

Looking for a sweet treat to impress your friends? Caramel Apple Cheesecake Brownie Cups are the perfect pick! These bite-sized delights combine rich brownies, smooth cheesecake, and spiced apples drizzled …
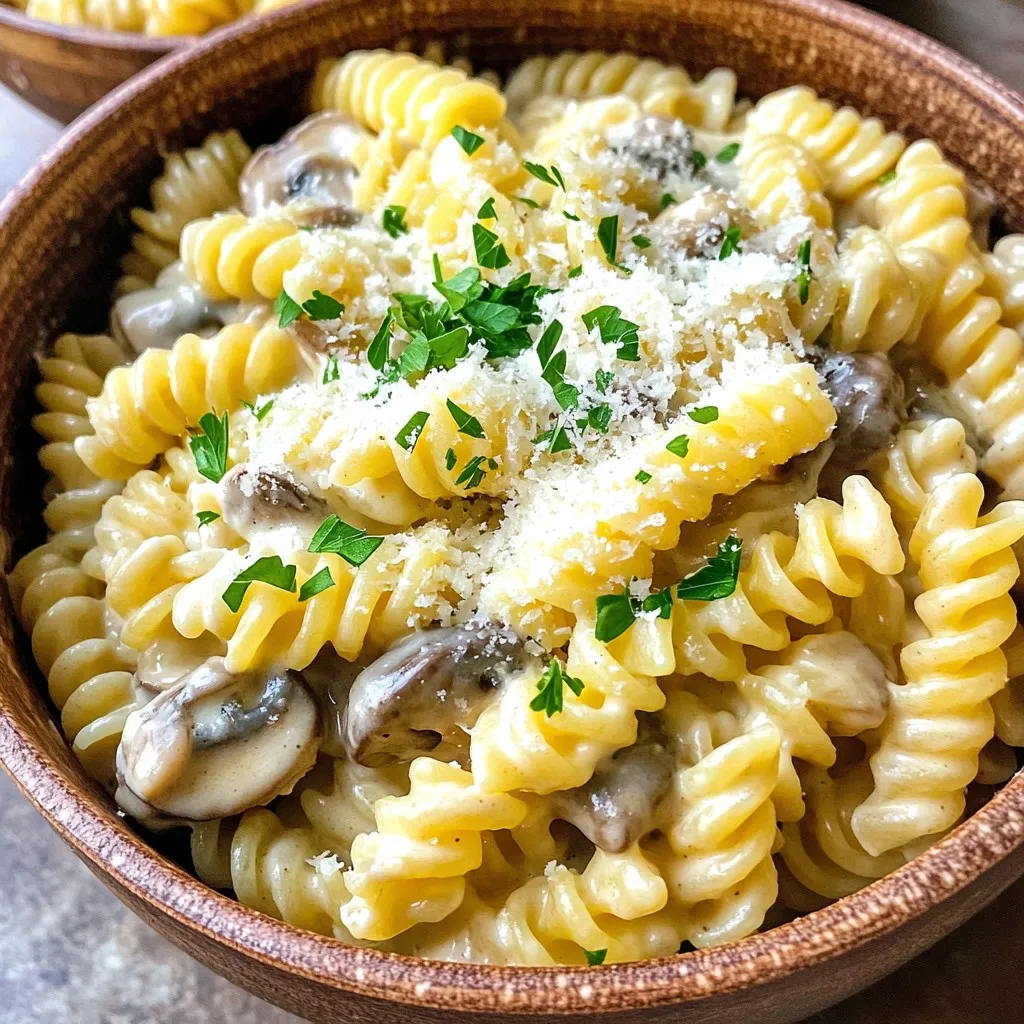
Welcome to my kitchen! Today, I’ll show you how to make Creamy Garlic Mushroom Pasta in just one pot. This dish is rich, savory, and perfect for a quick dinner. …

Looking for a cozy treat to warm your winter days? You’re in the right place! This Pumpkin Spice White Hot Chocolate blends creamy white chocolate with rich pumpkin spice. It’s …

Are you ready to treat your taste buds? Imagine biting into warm, fluffy Maple Pecan Bakery Muffins packed with rich flavors. In this article, I’ll guide you through the simple …

Welcome to your new favorite comfort dish: Slow Cooker Creamy Tuscan Sausage Soup Delight! This rich and hearty soup combines savory Italian sausage with fresh veggies, creating a meal that …

If you’re craving a fresh and zesty dinner option, you’ll love this recipe! My Savory One-Pan Mediterranean Lemon Chicken Thighs is bursting with flavor and easy to make. With melt-in-your-mouth …
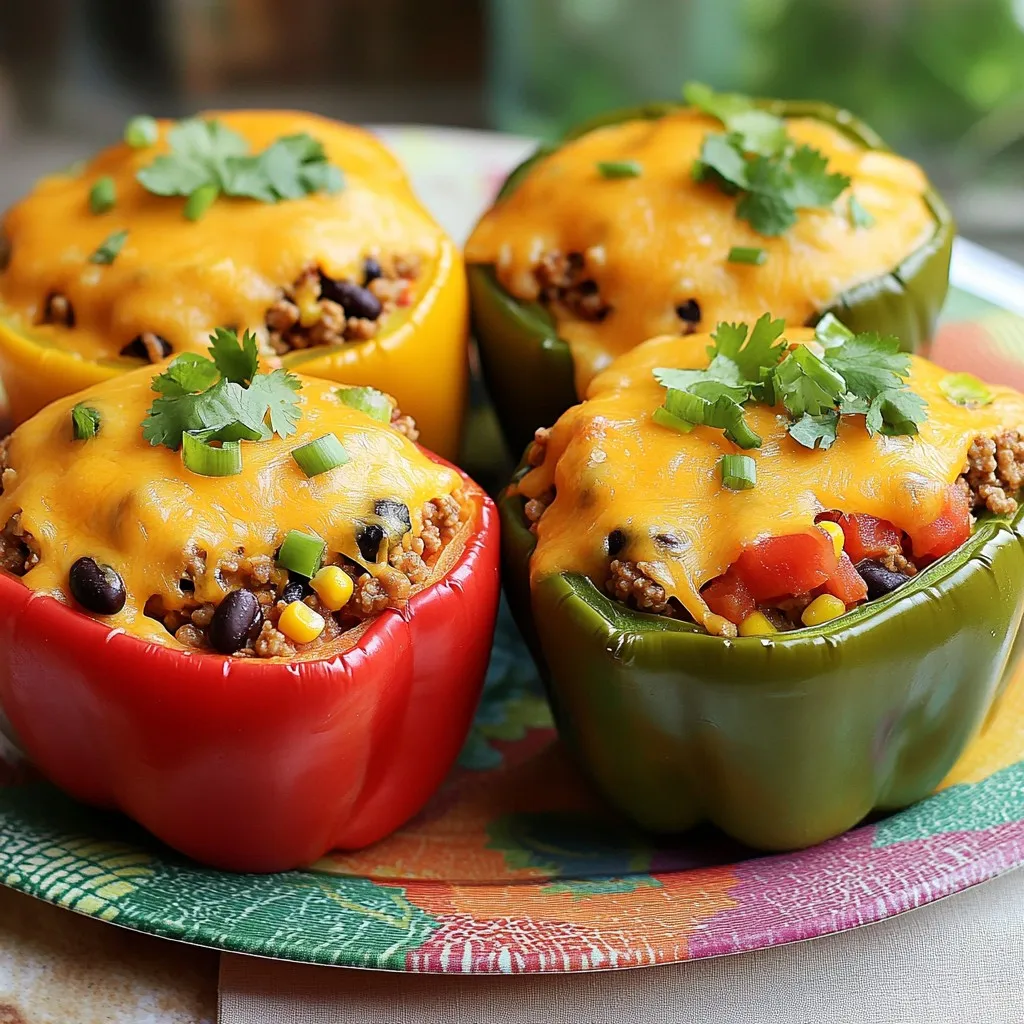
Are you ready for a quick, mouthwatering meal that everyone will love? My Cheesy Taco Stuffed Peppers are just the ticket! Packed with flavor and easy to prepare, these peppers …