Creamy Roasted Red Pepper Gnocchi Flavorful Delight
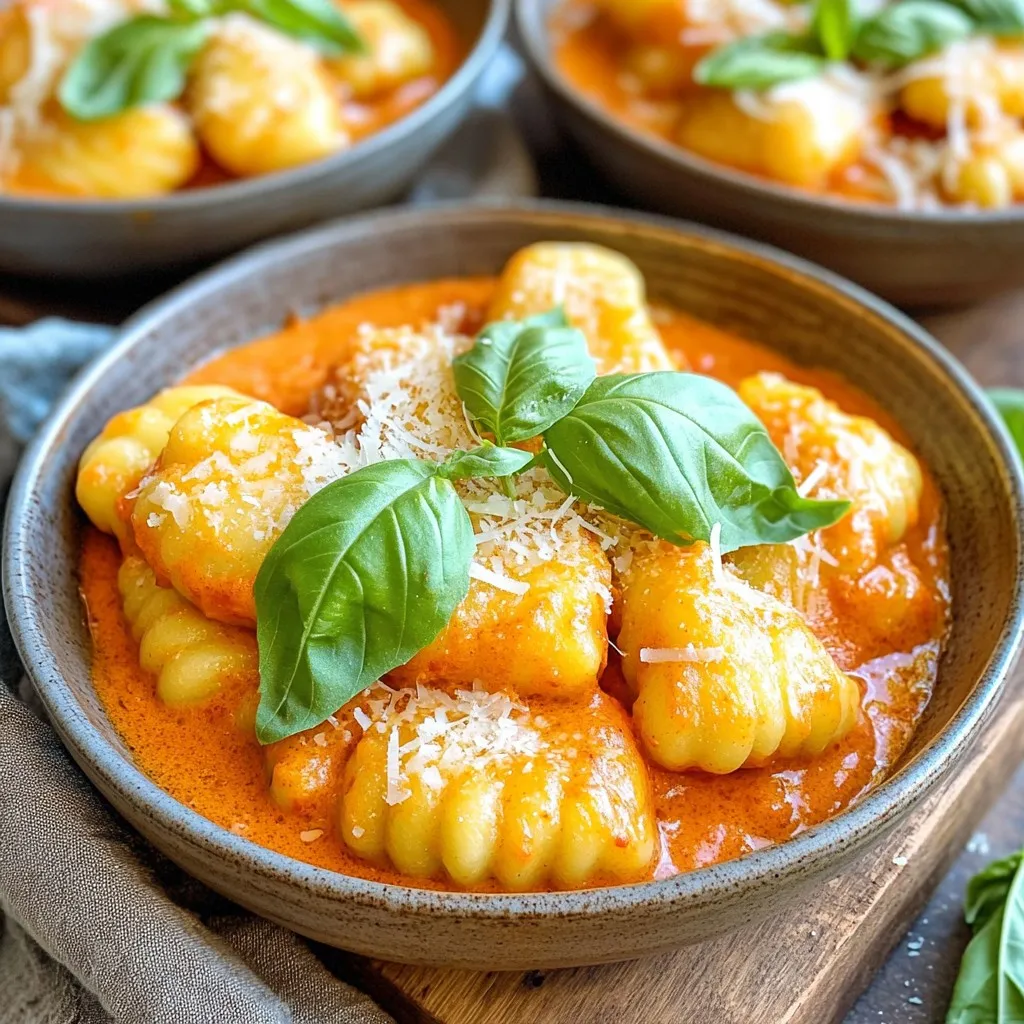
Get ready to indulge in a bowl of creamy roasted red pepper gnocchi! This flavorful delight combines tender potato gnocchi with a rich, velvety sauce made from roasted red peppers …
Get ready to indulge in a bowl of creamy roasted red pepper gnocchi! This flavorful delight combines tender potato gnocchi with a rich, velvety sauce made from roasted red peppers …

Warm up your fall evenings with my cozy caramel apple cider topped with whipped cream! This sweet and spicy drink combines rich apple cider, creamy caramel, and delightful spices for …
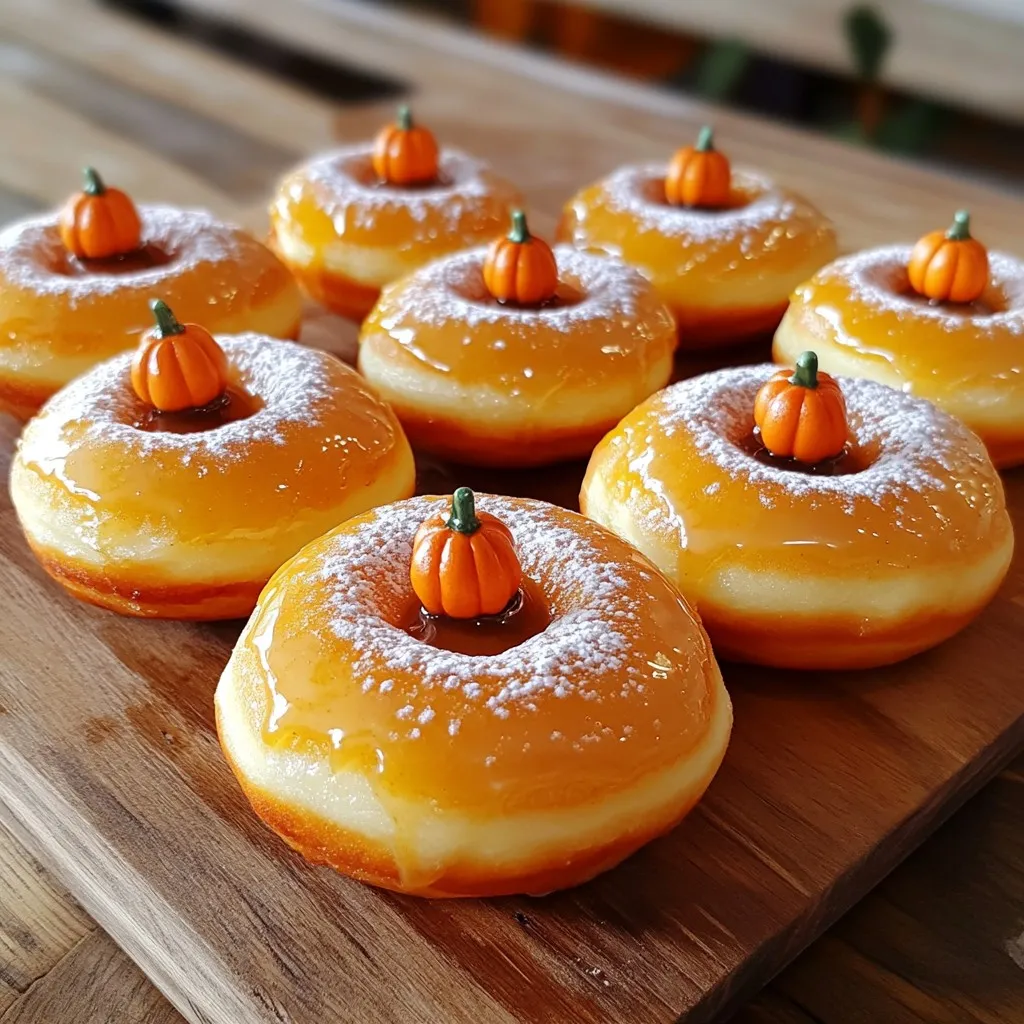
Do you love warm, cozy flavors? Then you’ll adore my Bakery Style Pumpkin Spice Donuts! These sweet treats are soft, moist, and packed with fall spices. I’ll show you how …
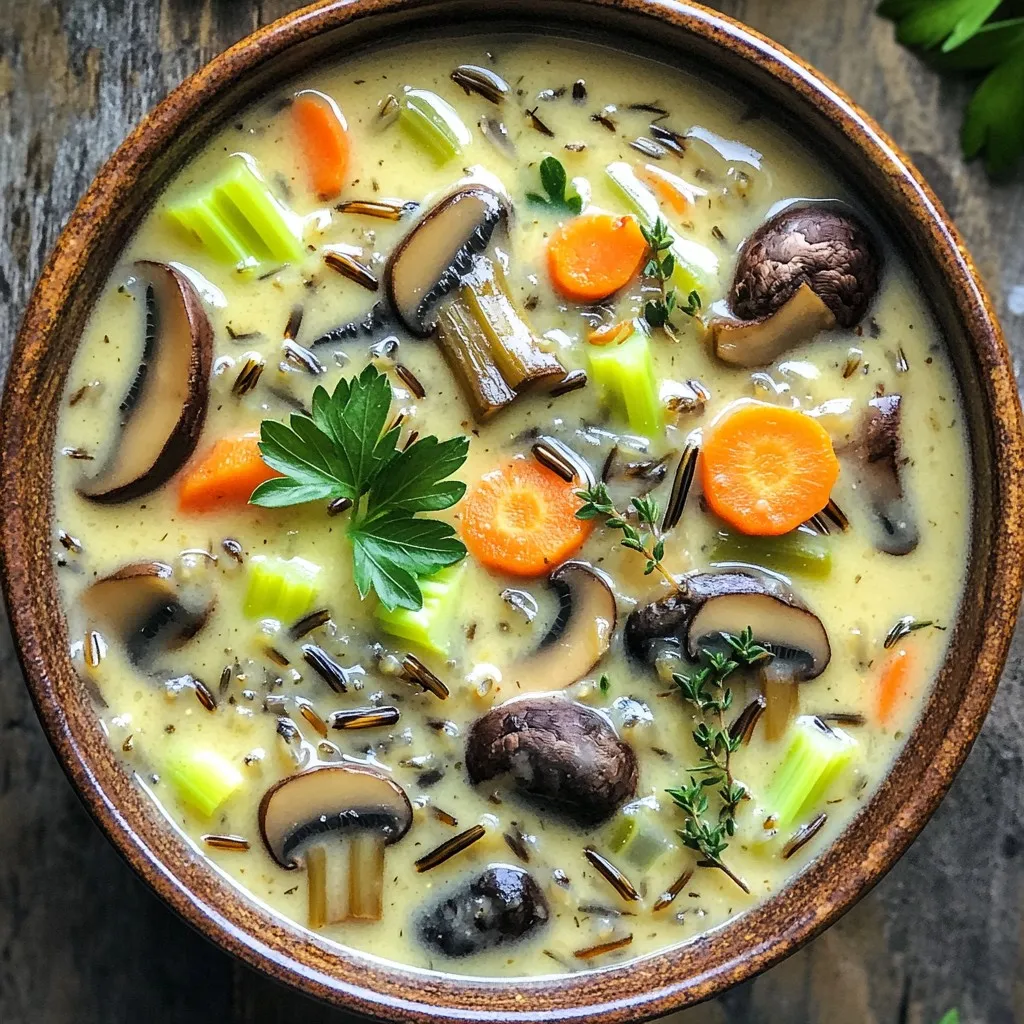
Are you ready to savor a bowl of pure comfort? My Slow Cooker Creamy Mushroom Wild Rice Soup is your ticket to a cozy night in. Packed with flavor and …

Craving a snack that’s both crispy and packed with flavor? Look no further! I’m thrilled to share my easy recipe for Air Fryer BBQ Chicken Bites. These bites are perfect …
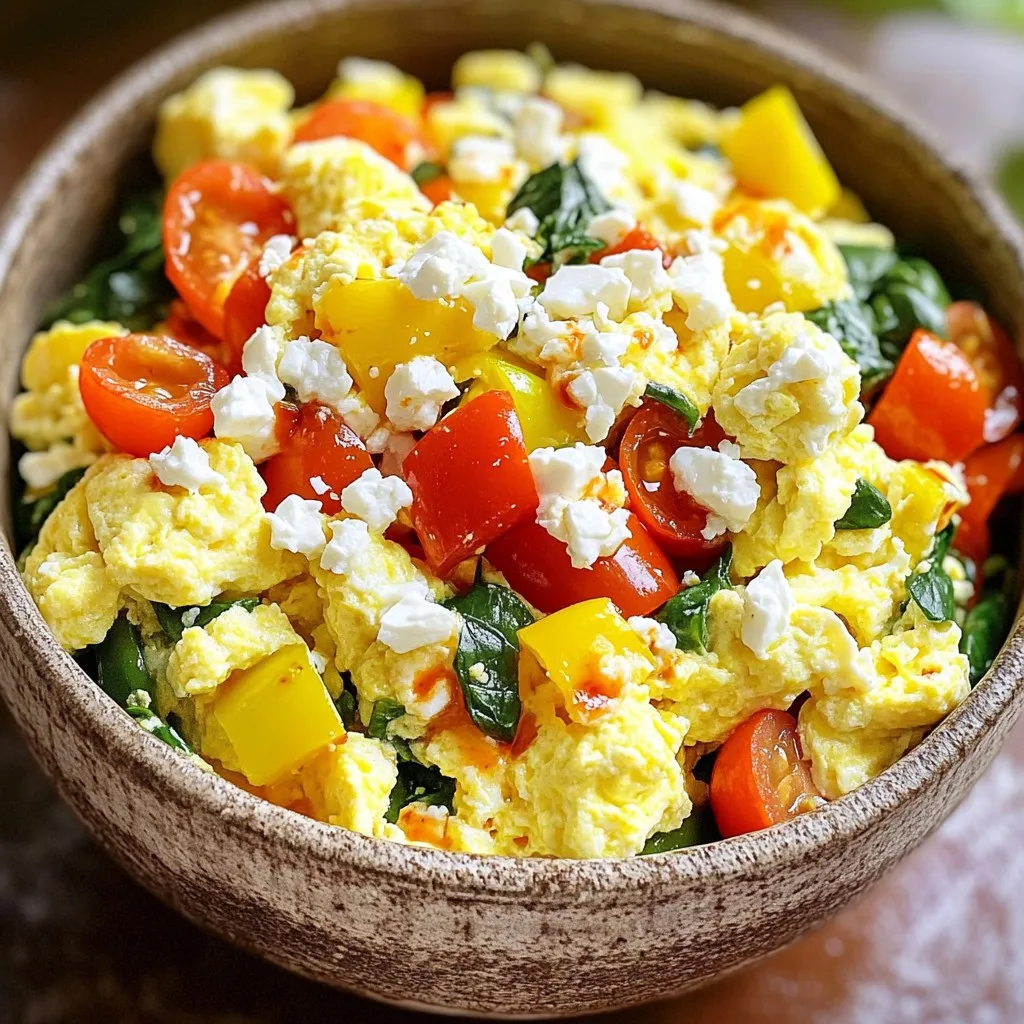
Are you looking for a quick, healthy meal that packs a punch? The Minute Egg White Scramble Bowl is your perfect solution. This simple dish is not only easy to …
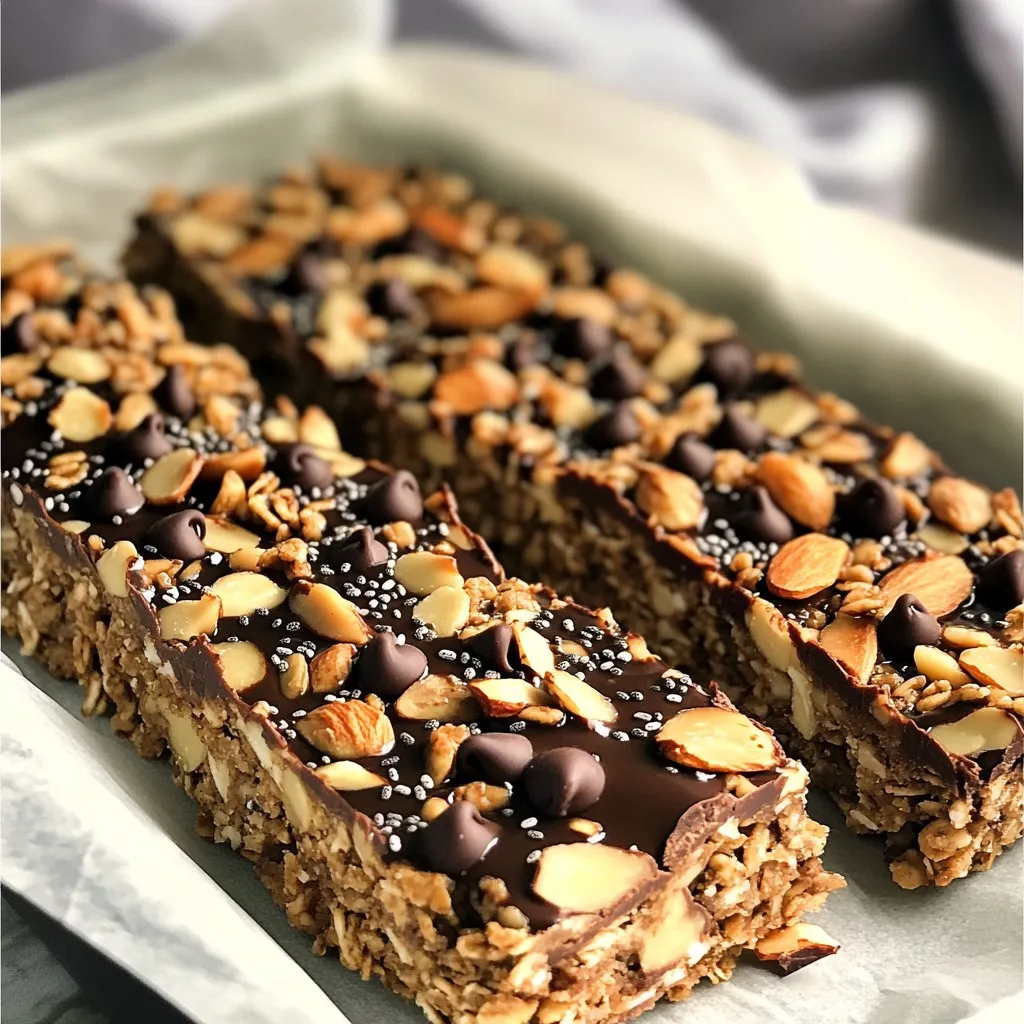
Looking for a quick, tasty snack without the oven? My No Bake Chocolate Almond Butter Granola Bars are perfect for you! Packed with healthy ingredients like oats, almond butter, and …
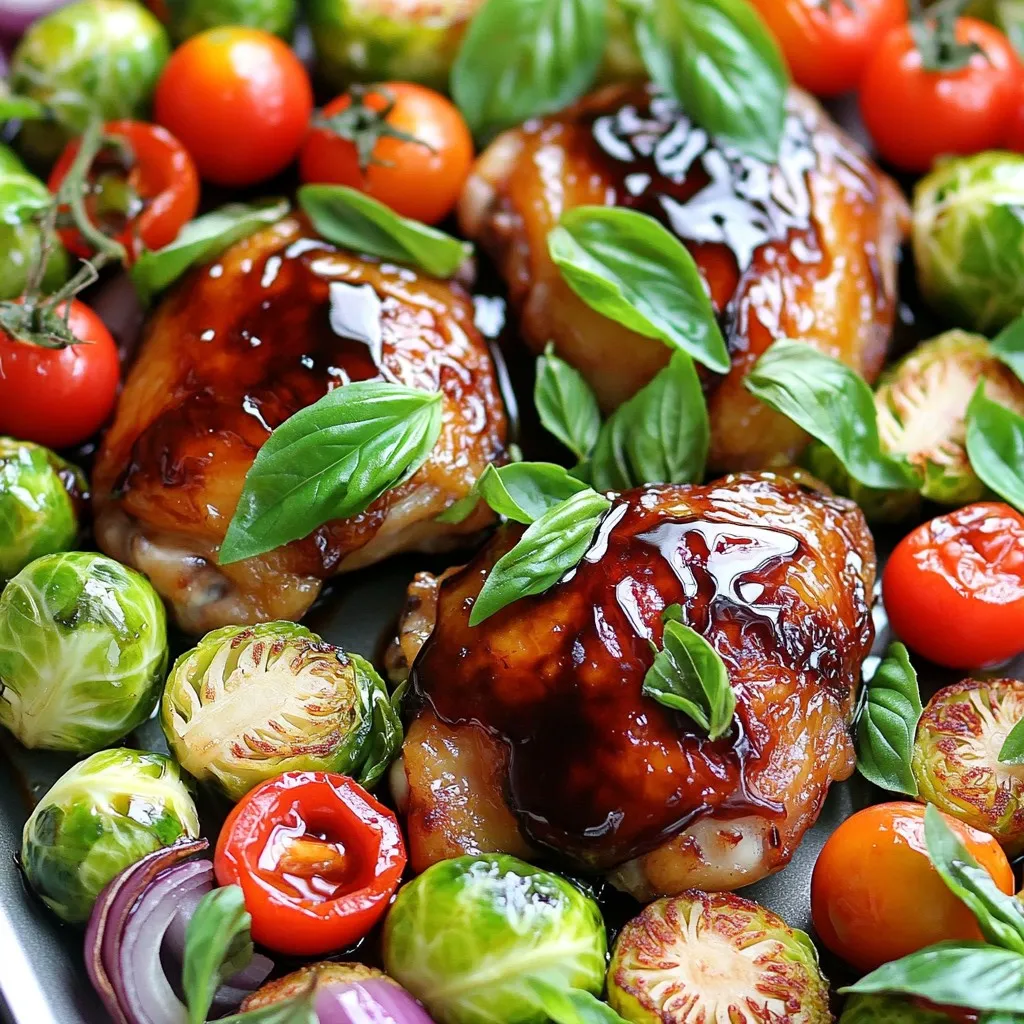
Looking for a delicious, easy meal? My Sheet Pan Balsamic Glazed Chicken and Vegetables will impress everyone at your table! With juicy chicken thighs and colorful veggies all roasted together, …

Are you ready to make muffins that are packed with flavor and simple to whip up? My Brown Sugar Streusel Muffins are the perfect treat for breakfast or snack time. …
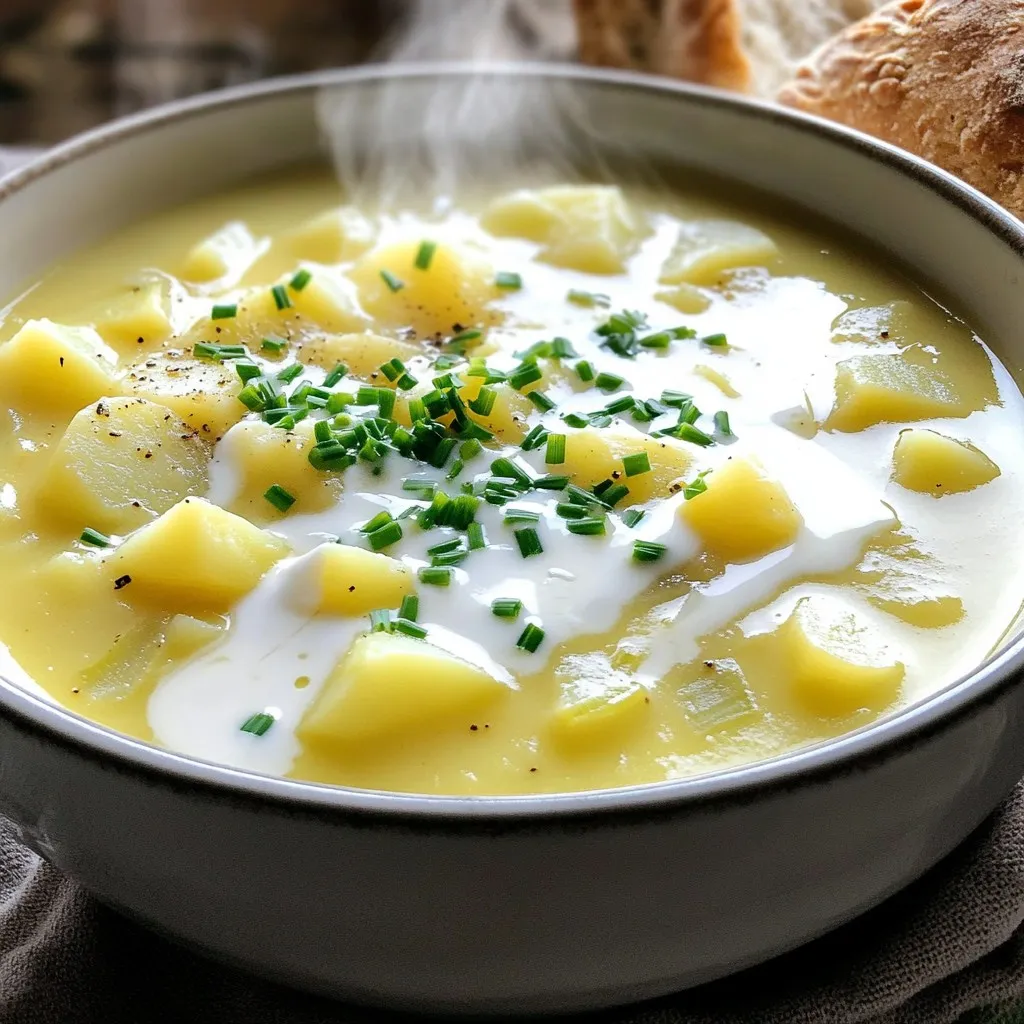
If you’re craving a warm, delicious soup that practically cooks itself, you’re in the right place. My Creamy Potato Leek Crockpot Soup is both easy to make and bursting with …