Creamy Roasted Red Pepper Pasta Simple and Flavorful Dish
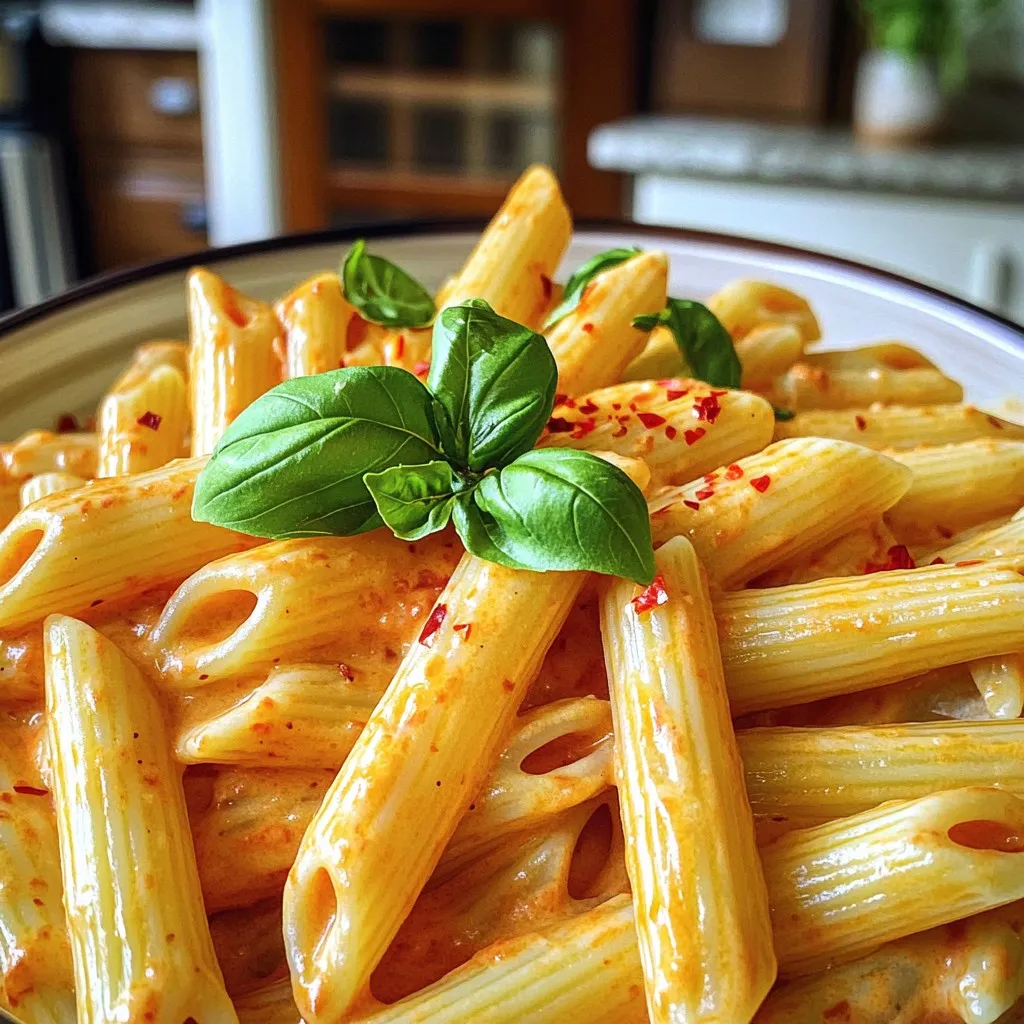
Are you ready to whip up a delicious meal that’s both creamy and packed with flavor? My Creamy Roasted Red Pepper Pasta is the dish you’ve been looking for! With …
Are you ready to whip up a delicious meal that’s both creamy and packed with flavor? My Creamy Roasted Red Pepper Pasta is the dish you’ve been looking for! With …
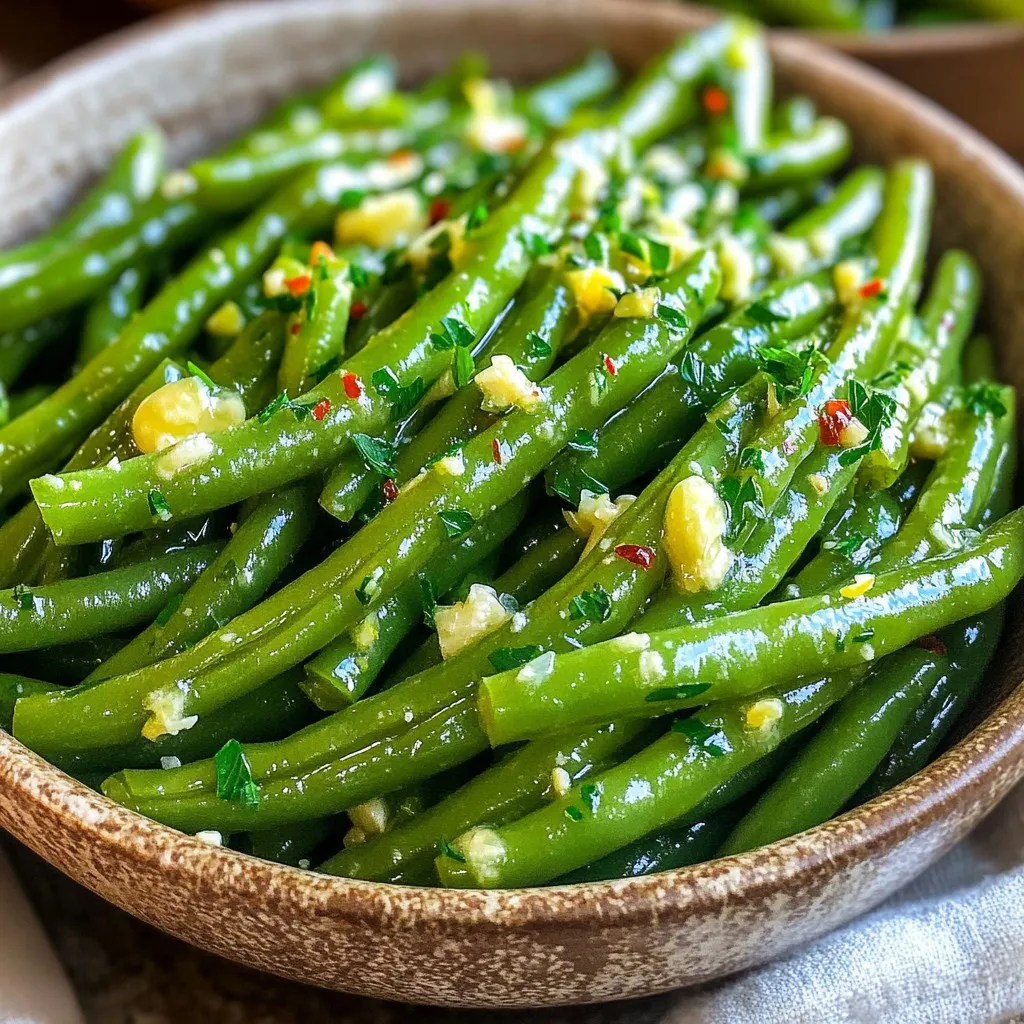
Looking for a simple yet delicious side dish? Air Fryer Garlic Butter Green Beans are the perfect choice! This recipe combines fresh green beans with rich garlic butter, creating a …
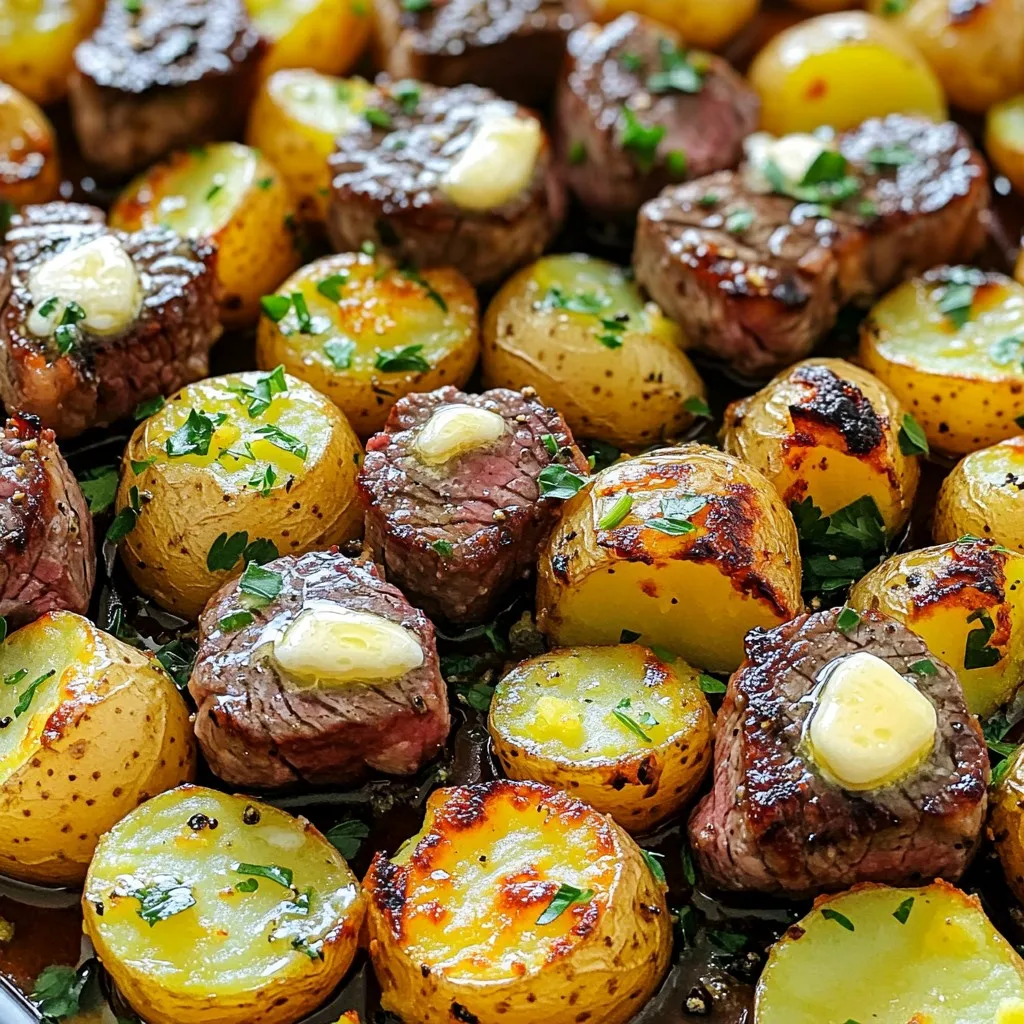
Looking for an easy weeknight meal that packs a punch? Garlic Butter Steak Bites & Potatoes are the perfect choice! With just a few simple ingredients, you can create a …
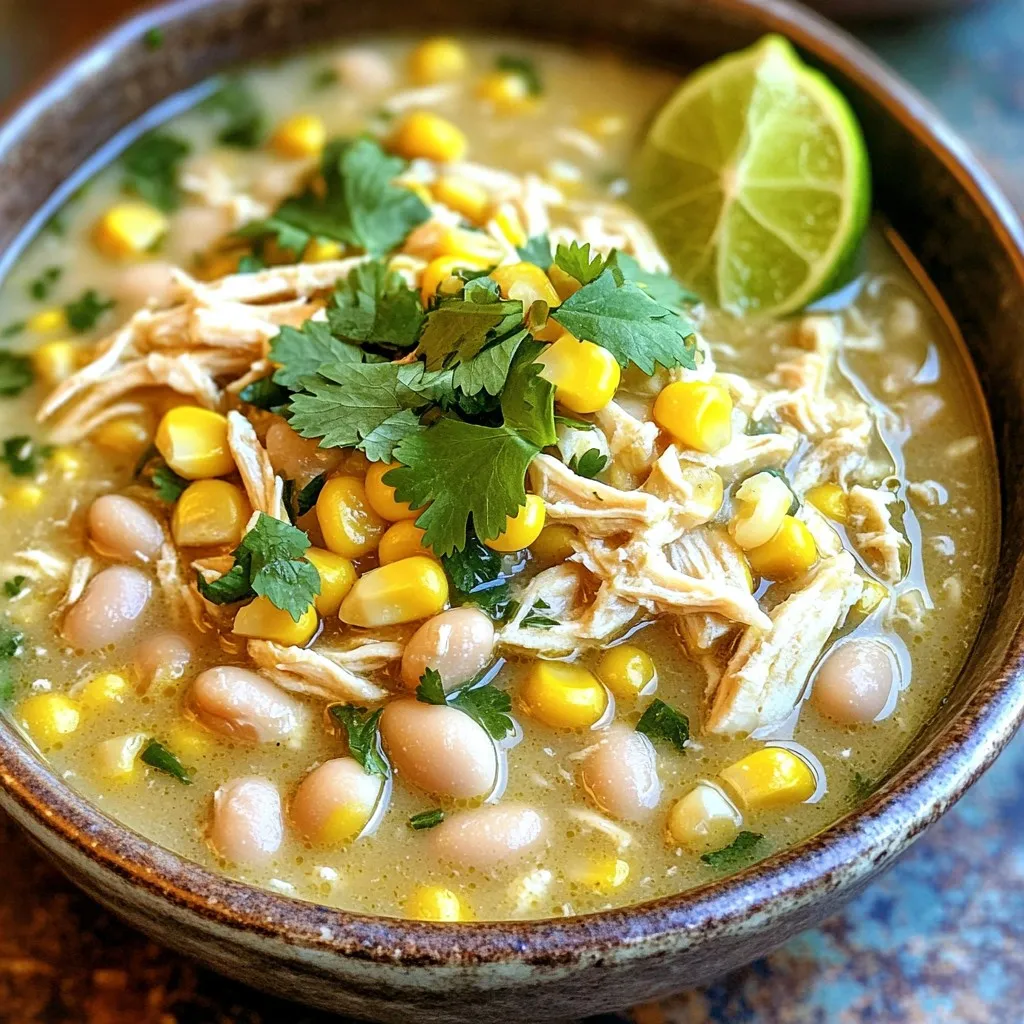
Are you ready to warm up with a bowl of comforting Slow Cooker White Chicken Chili? This wholesome meal is packed with tender chicken, creamy beans, and zesty spices that …
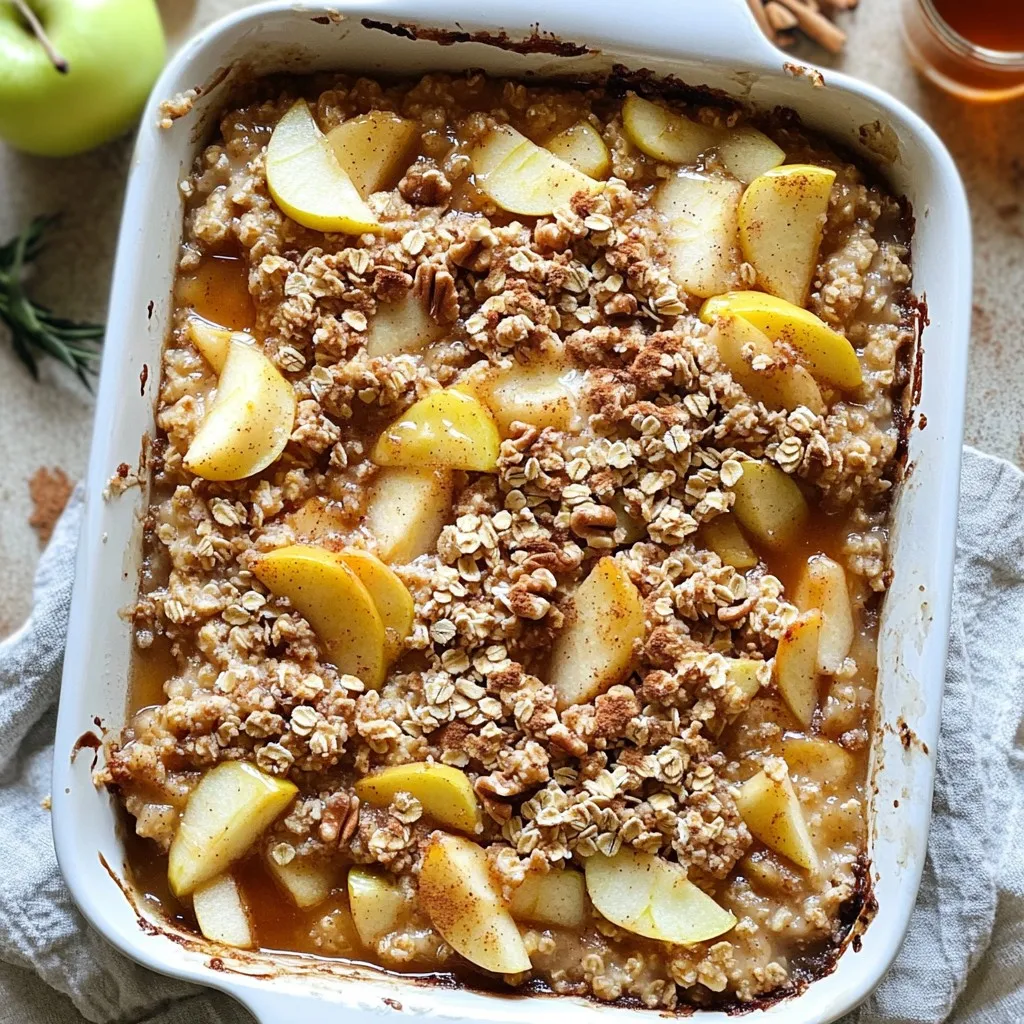
Are you ready for a warm, tasty breakfast that’s both easy and healthy? My Apple Crisp Oatmeal Bake is a perfect dish to start your day. With fresh apples, wholesome …
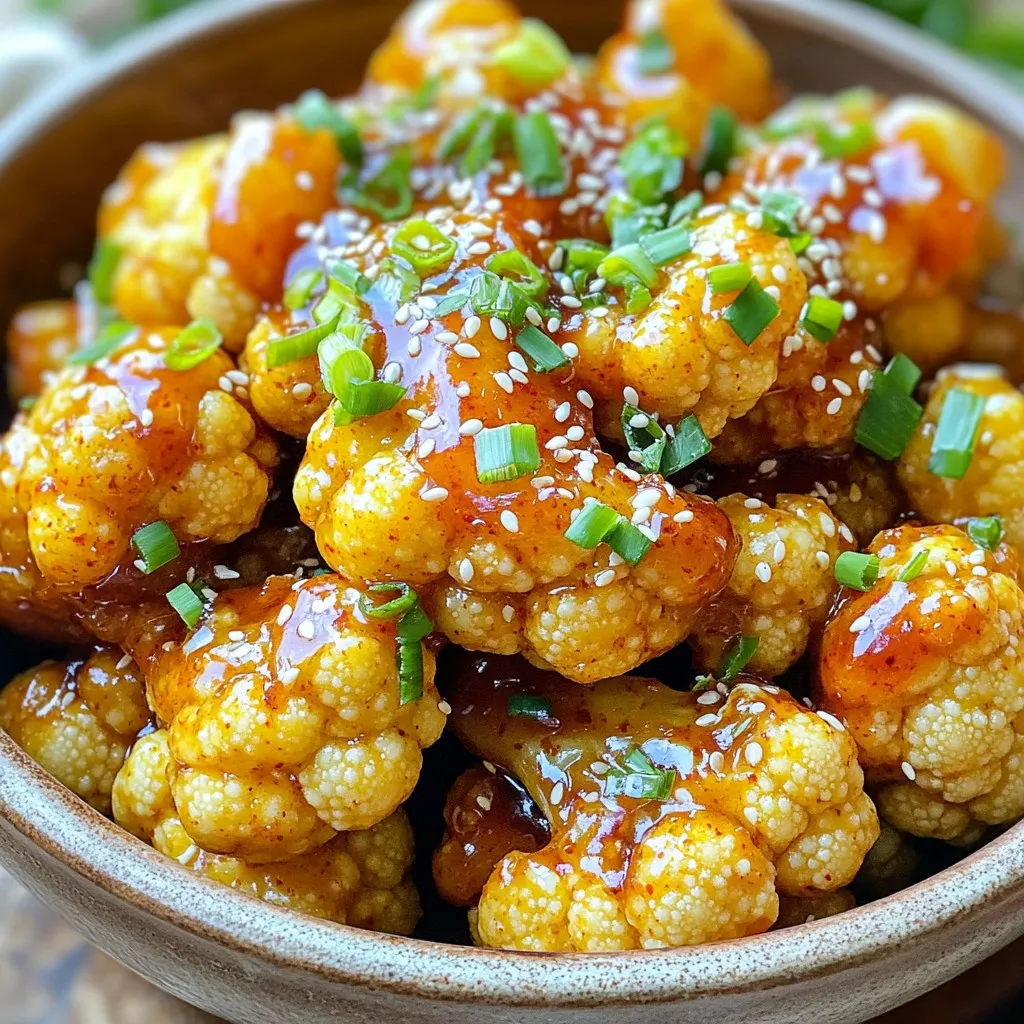
Craving a tasty snack that’s easy to make? Look no further! My Air Fryer Sweet Chili Cauliflower recipe delivers a crispy, flavorful dish in no time. With just a few …
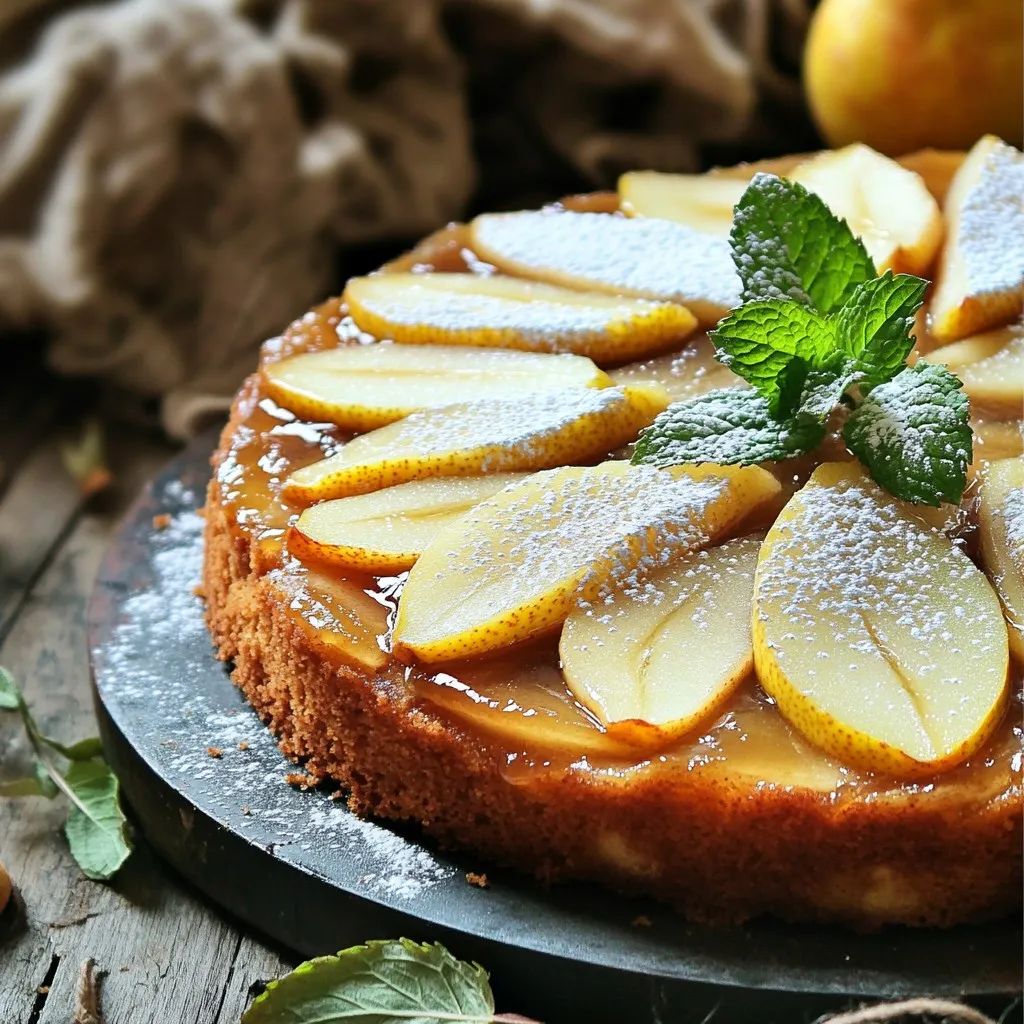
Are you ready to bake something truly delightful and easy? My Spiced Pear Upside-Down Cake will amaze you with its warm flavors and beautiful presentation. This cake turns simple ingredients …
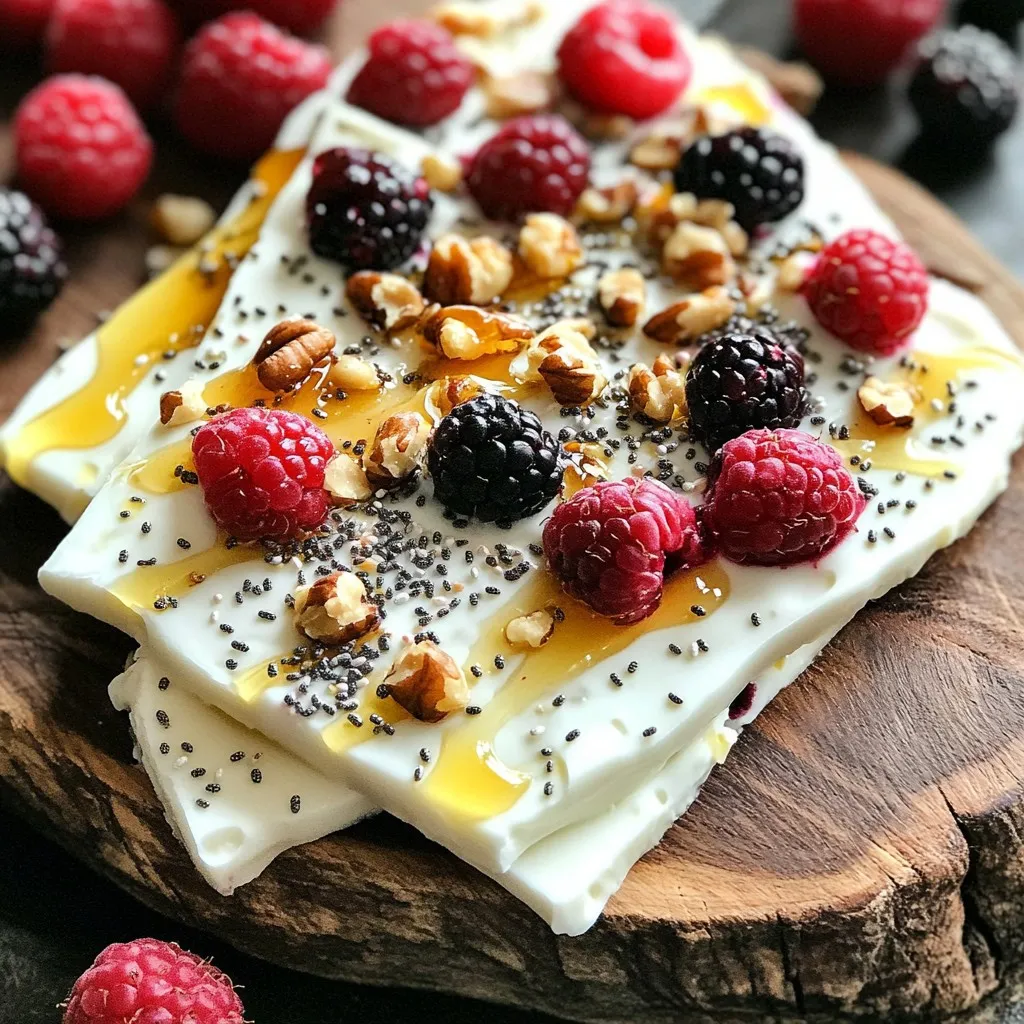
Start your day with a bite of creativity! My High-Protein Greek Yogurt Breakfast Bark is not just delicious — it’s a game changer for morning meals. Packed with protein and …
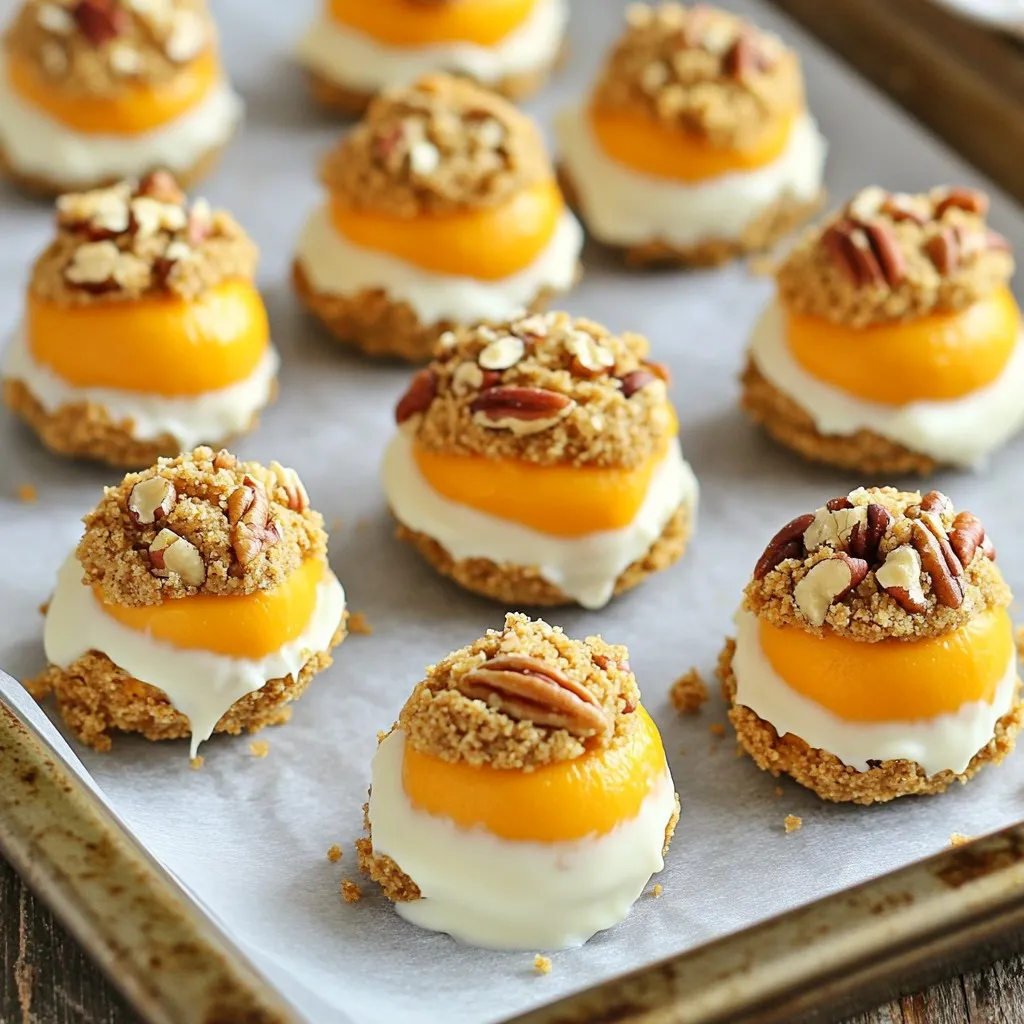
Get ready to indulge in a sweet treat that captures the essence of fall! No-bake pumpkin cheesecake truffles combine creamy pumpkin flavors with the perfect crunch. In just a few …
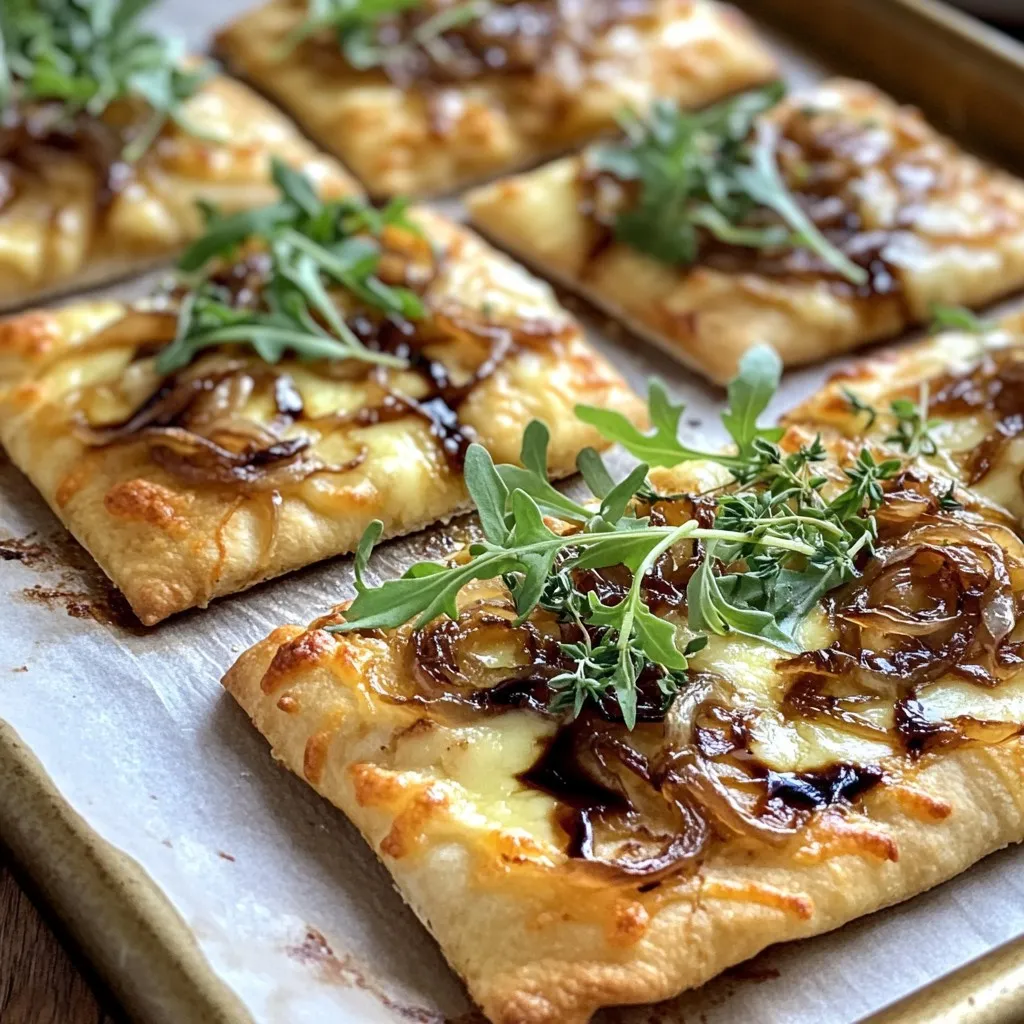
If you’re craving something rich and tasty, you’ve come to the right place! This Caramelized Onion Gruyère Flatbread bursts with flavor and is easy to make right at home. You’ll …