Creamy Baked Mac & Cheese Delightful Comfort Dish
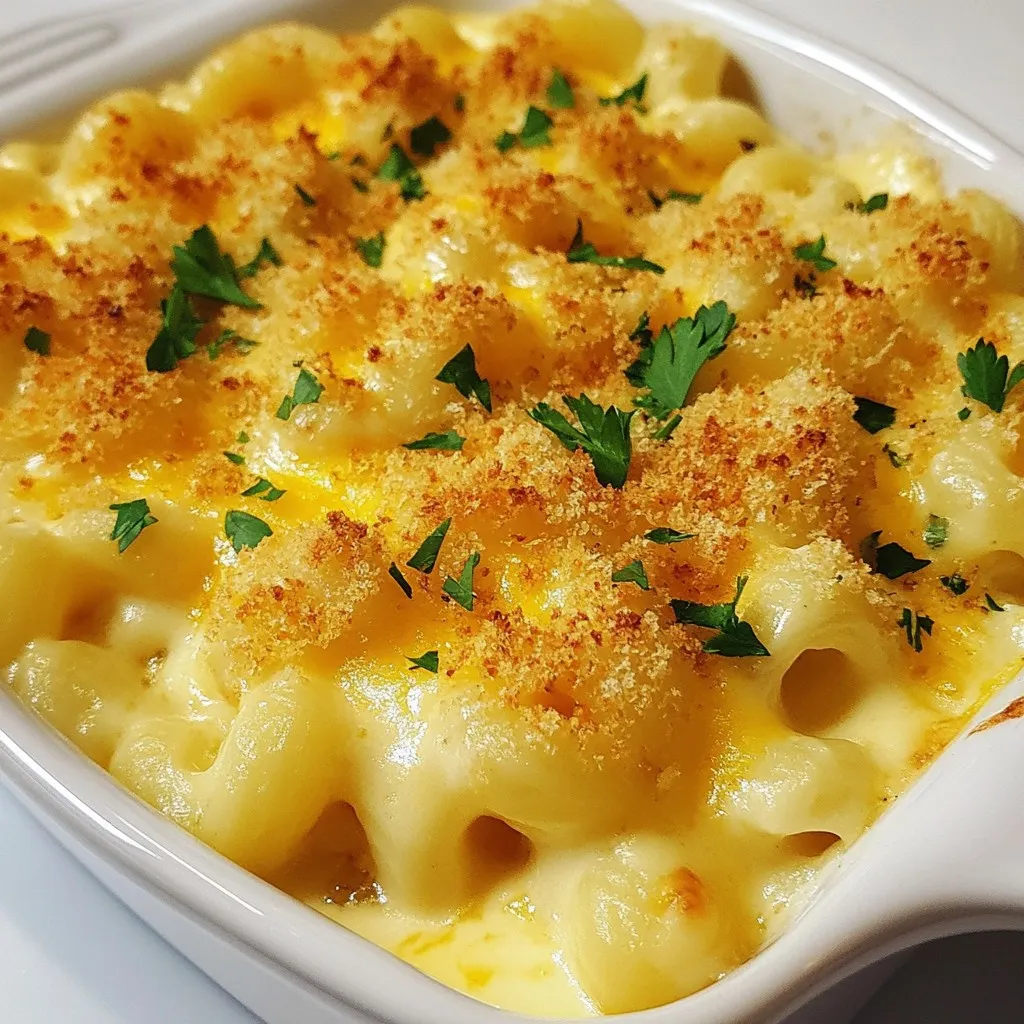
Looking for the ultimate comfort food? Creamy Baked Mac & Cheese is your answer! This dish is rich, cheesy, and oh-so-delightful, perfect for cozy nights in or family gatherings. I’ll …
Looking for the ultimate comfort food? Creamy Baked Mac & Cheese is your answer! This dish is rich, cheesy, and oh-so-delightful, perfect for cozy nights in or family gatherings. I’ll …

Are you ready to bring a taste of Greece to your kitchen? Greek Chicken Meatballs are not only easy to make, but also packed with flavor. In this post, I’ll …
Are you ready to dive into a deliciously cheesy world? My Cheesy Potato Burritos recipe is simple and full of flavor. With just a few ingredients and easy steps, you …

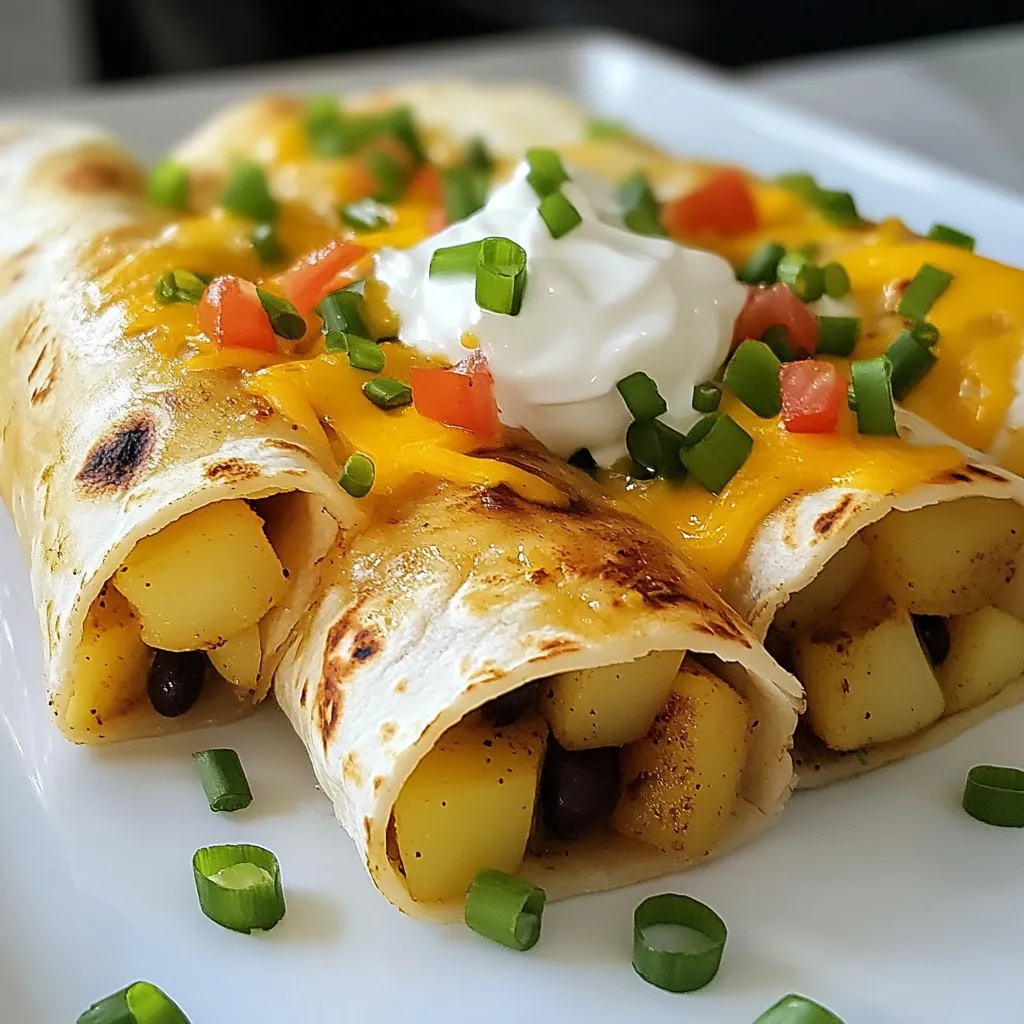
Do you want a tasty meal that’s packed with protein? Look no further than my High-Protein White Sauce Chicken Enchiladas! These enchiladas are creamy, filling, and simple to make. You’ll …

Looking for a cozy dinner idea that’s both tasty and easy? You’ll love this Garlic Parmesan Chicken Bake. It features tender chicken breasts coated in a crisp, cheesy crust, infused …
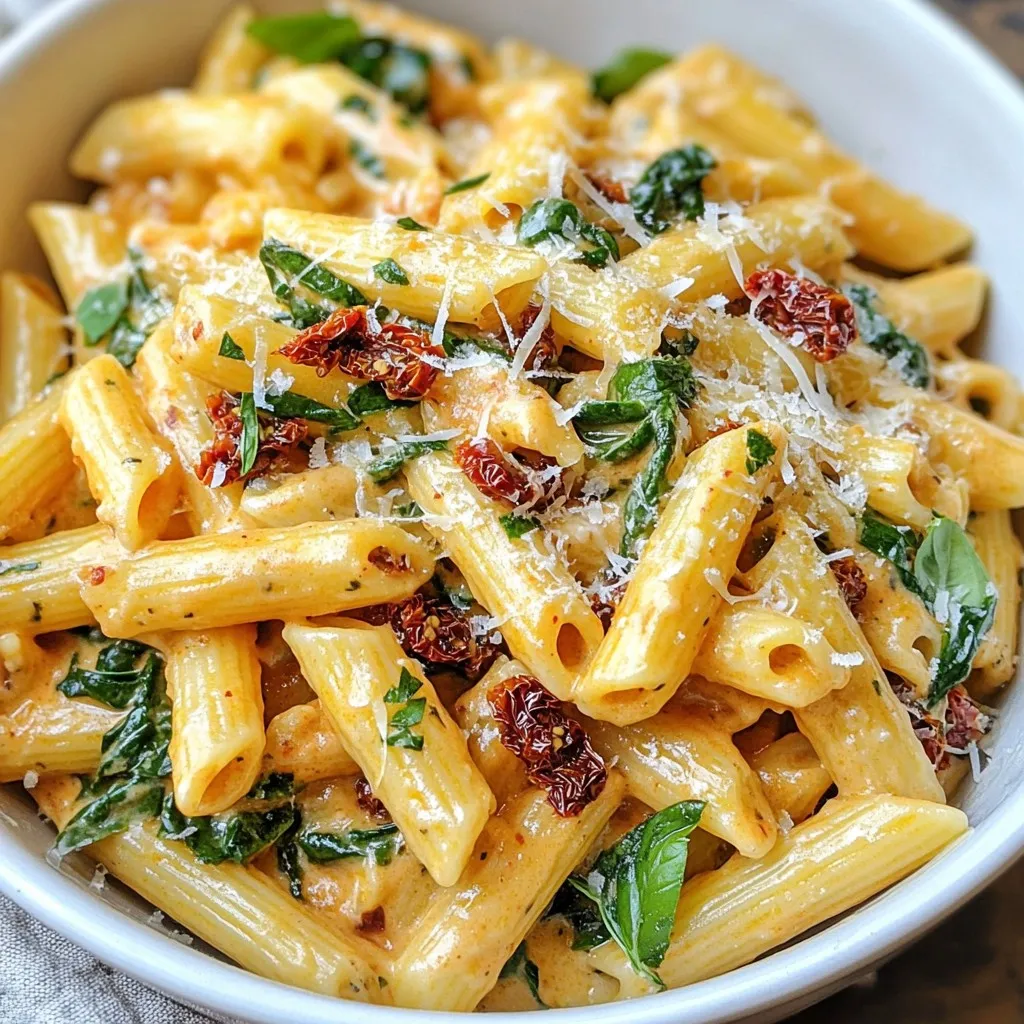
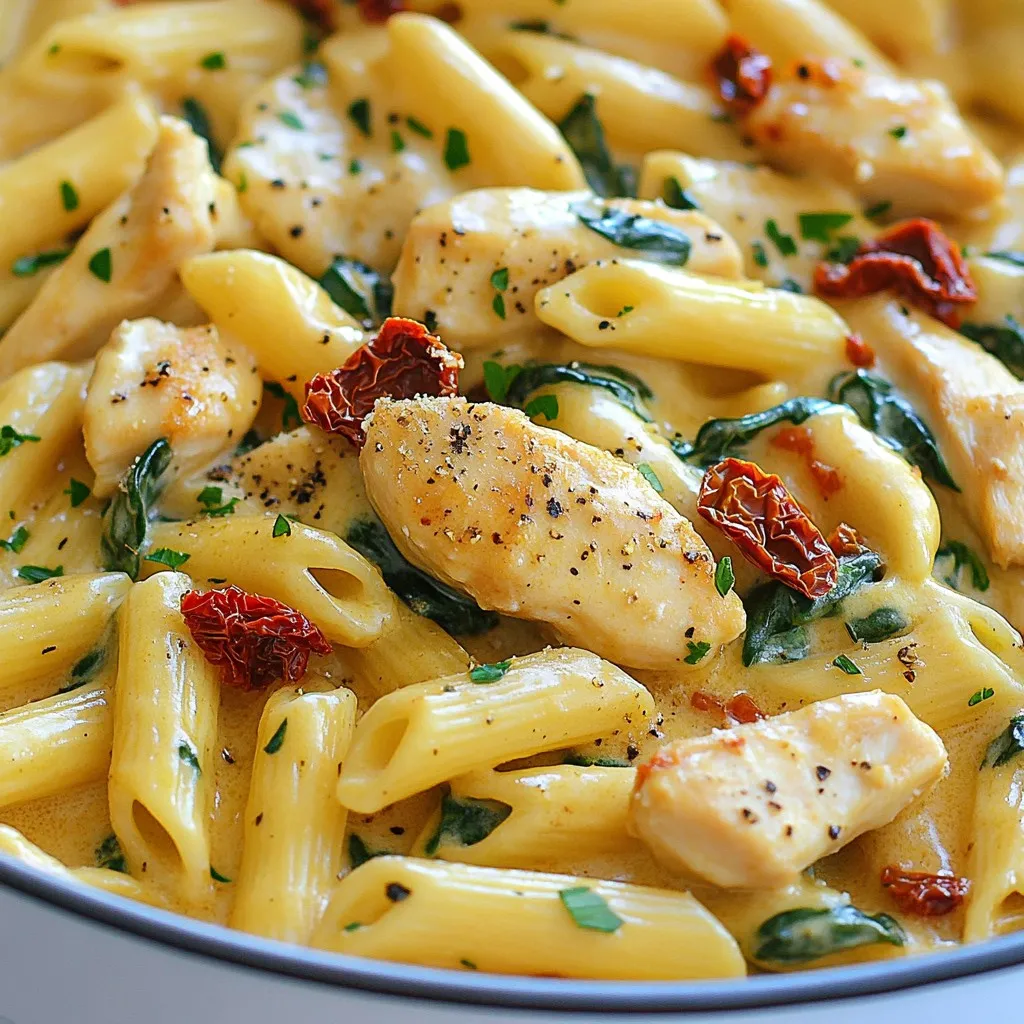
Craving a quick and tasty meal? You’ll love this One-Pan Sun-Dried Tomato Pasta. It’s simple to make and packed with flavor, perfect for busy days. In just a few steps, …
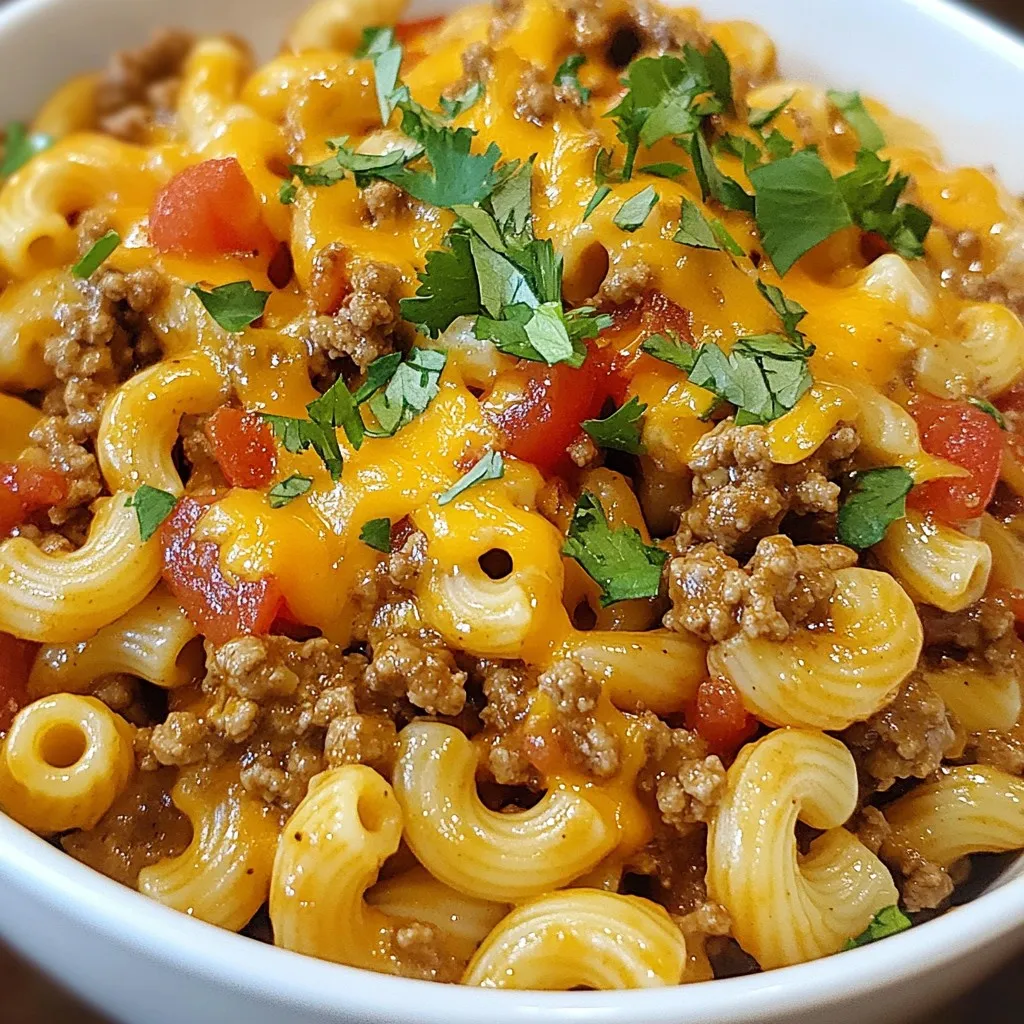
Looking for a quick, tasty meal the whole family will love? The Beef Taco Pasta Skillet is your answer! This one-pan dish combines the bold flavors of tacos with the …
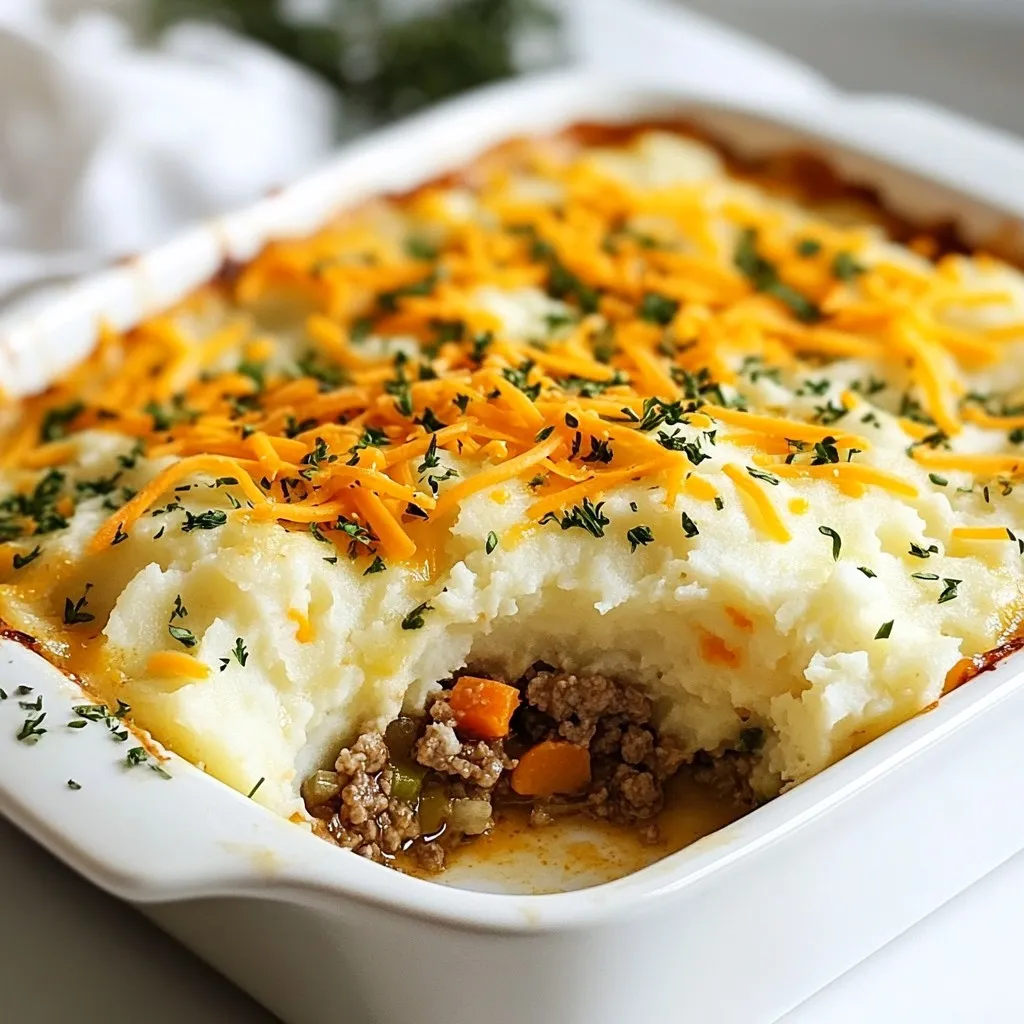
Craving comfort food that’s quick and simple? Look no further! This Easy Shepherd’s Pie Casserole will be your new favorite dish. Packed with delicious layers of ground meat, veggies, and …
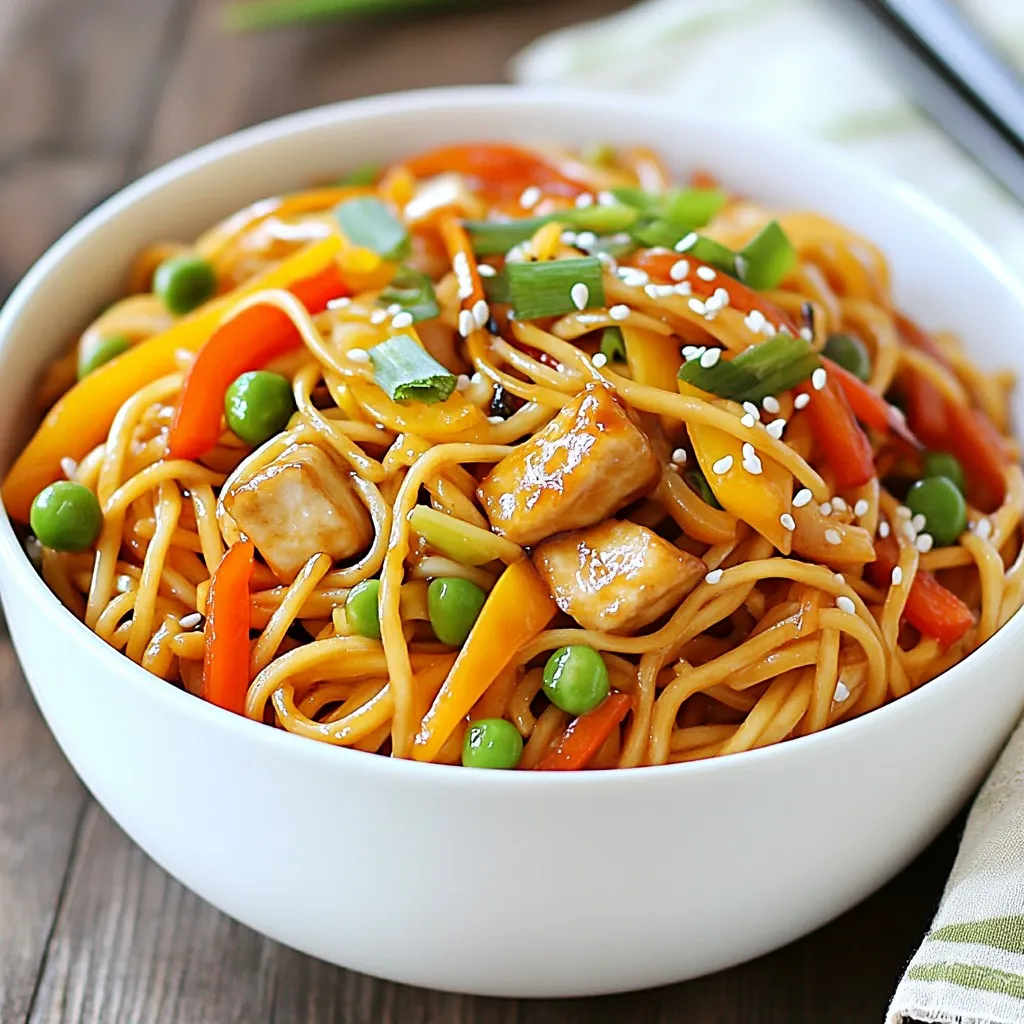
Craving something quick and delicious? You’re in the right place! In this Minute Lo Mein recipe guide, I’ll walk you through each step to create a flavorful dish in no …
Looking for a simple and tasty dinner idea? One-Pot Garlic Parmesan Chicken Pasta is your answer! This dish packs flavor and comfort into one pot, making cleanup a breeze. You …