Salted Maple Pecan Cookie Bars Irresistible Snack Treat
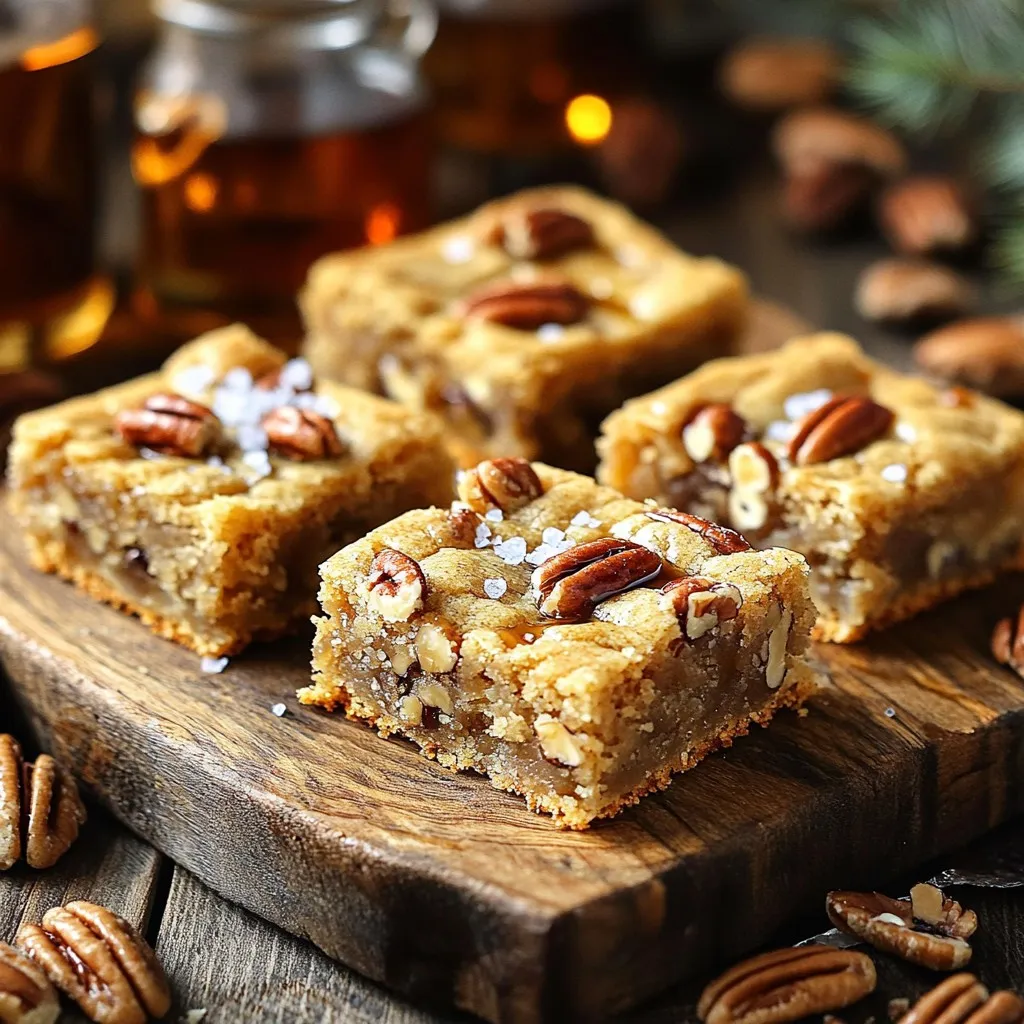
Are you ready to indulge in a sweet treat that’s easy to make and oh-so-delicious? These Salted Maple Pecan Cookie Bars blend rich, nutty flavors with a touch of sweet …
Are you ready to indulge in a sweet treat that’s easy to make and oh-so-delicious? These Salted Maple Pecan Cookie Bars blend rich, nutty flavors with a touch of sweet …
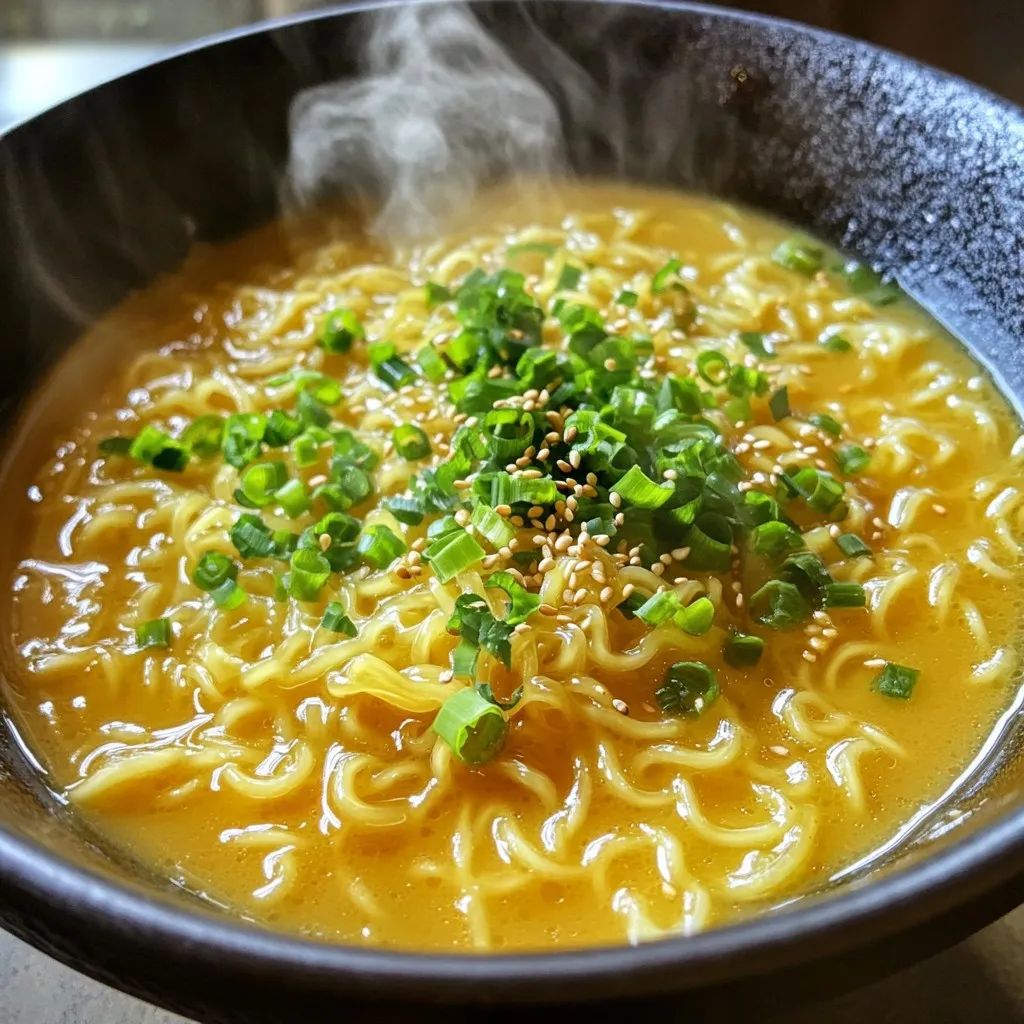
Looking for a quick and tasty meal? Minute Honey Butter Ramen is your answer! This simple dish blends sweet and savory flavors, making it a delight for your taste buds. …

Craving a dessert that excites your taste buds? Try my No-Bake Chocolate Espresso Cheesecake Delight! This rich treat blends chocolate and espresso for a flavor explosion you’ll love. It’s easy …
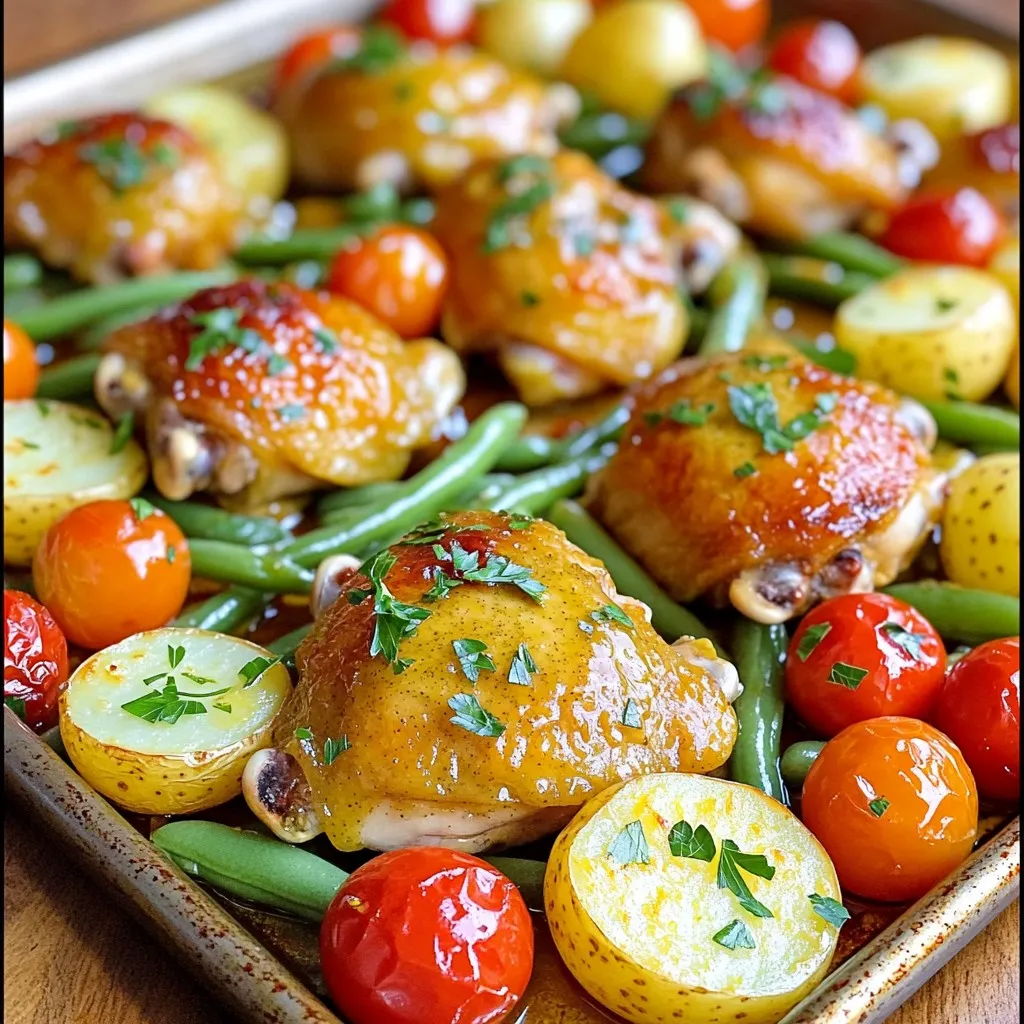
Get ready for a dinner that’s easy and tasty! My Sheet Pan Lemon Dijon Chicken & Veggies is a simple meal that packs bold flavors. With juicy chicken thighs, fresh …
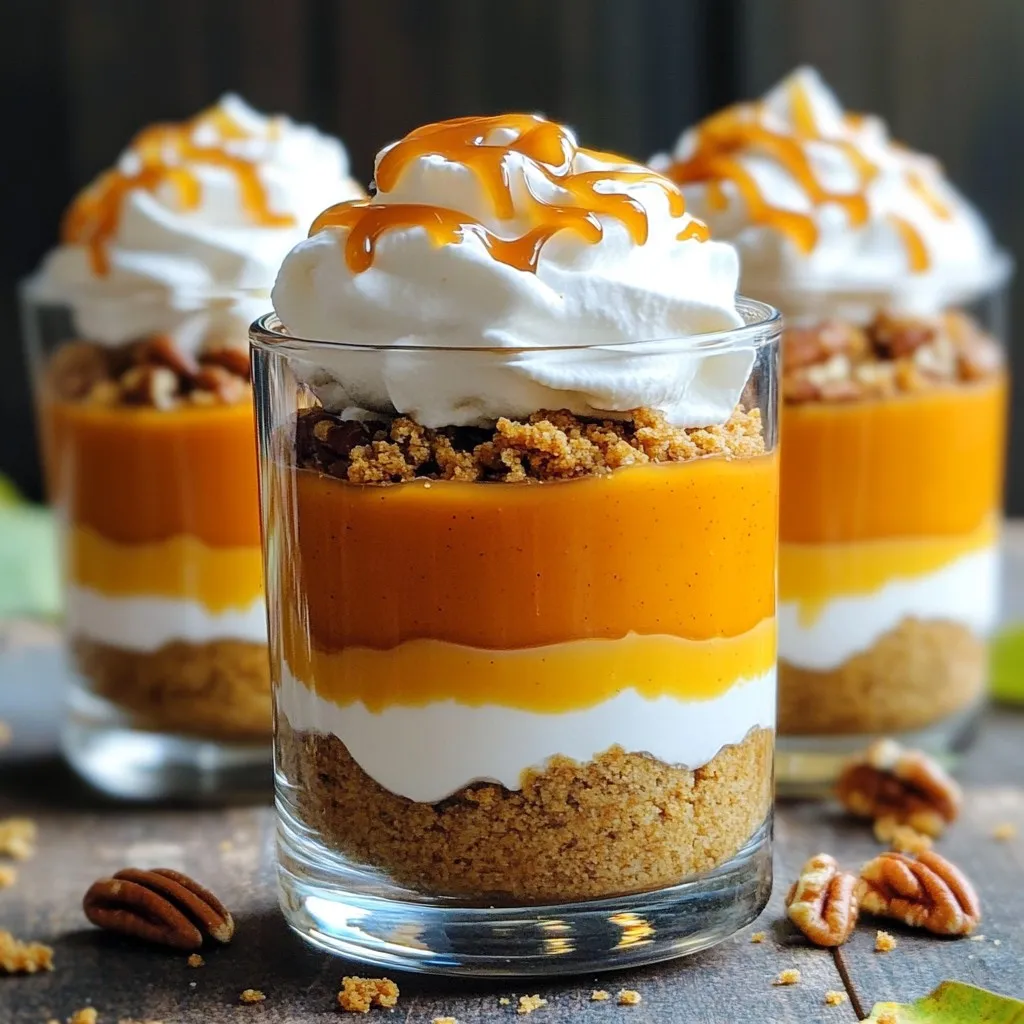
Fall is the perfect time for a sweet treat, and what could be better than Caramel Pumpkin Pie Parfaits? Imagine creamy pumpkin goodness layered with crunchy graham crackers, all drizzled …
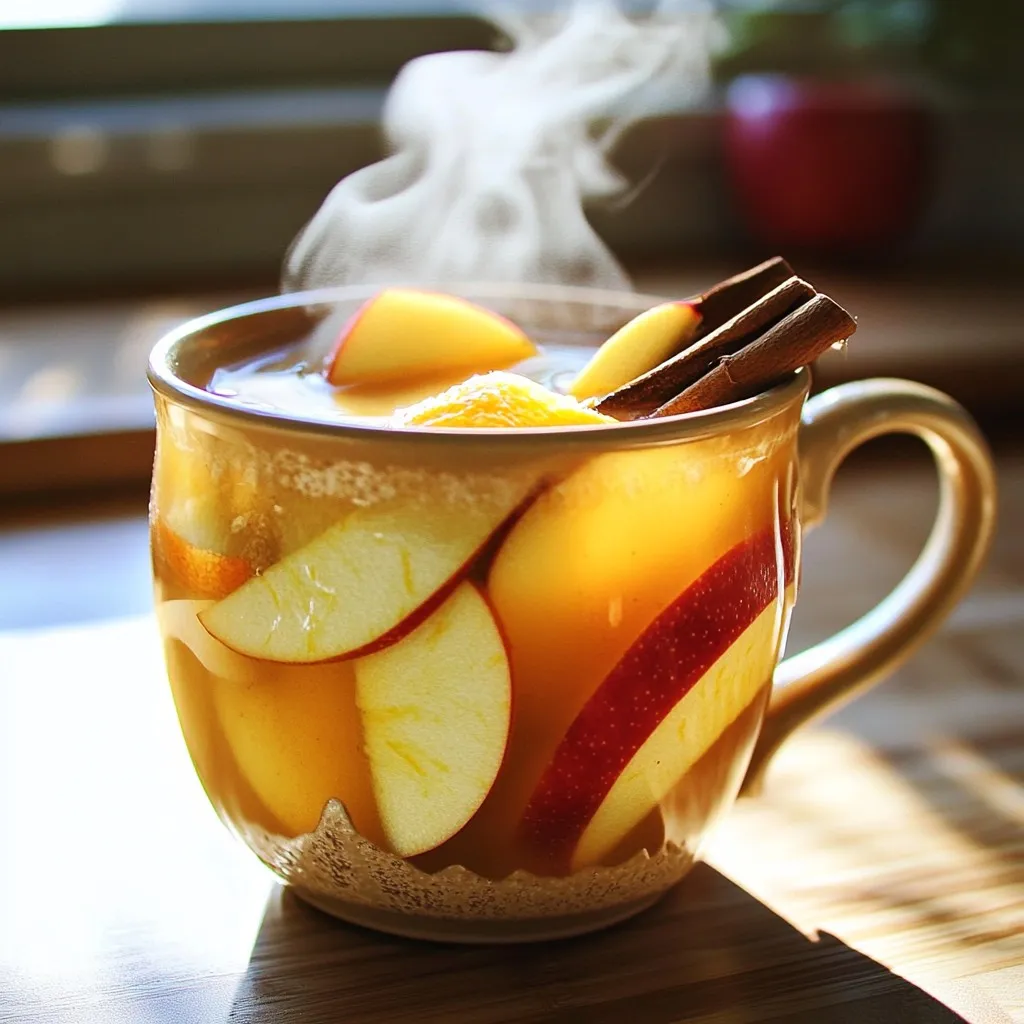
As the chill of fall sets in, nothing warms you up quite like a cup of Slow Cooker Spiced Apple Cider. This cozy drink fills your home with sweet and …

Are you ready to delight your taste buds with a simple and healthy recipe? Honey Garlic Salmon Bowls provide a delicious blend of flavors and nutrients that make dinner exciting. …
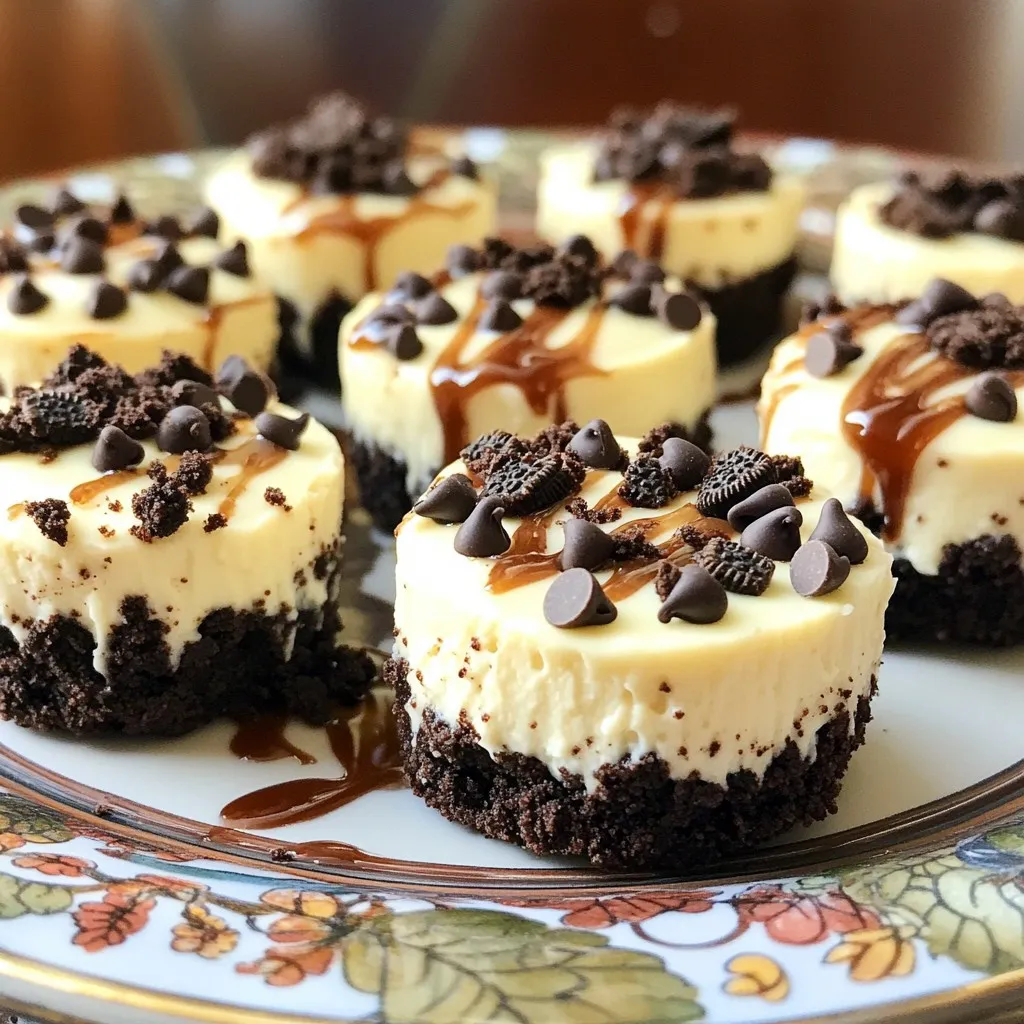
Craving a sweet treat that’s simple to make? Look no further! My No-Bake Oreo Cheesecake Bites are fun, easy, and delicious. With a few ingredients and no baking required, you …
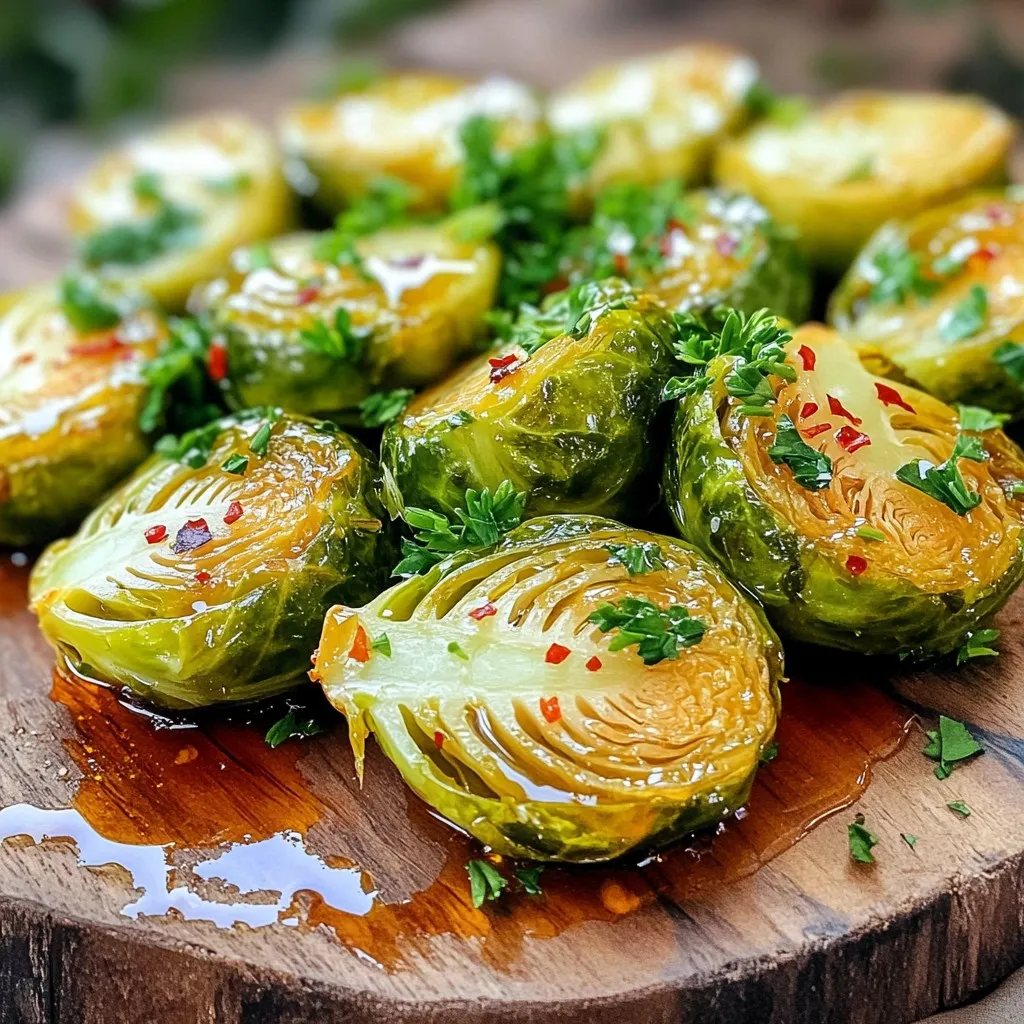
Are you ready to transform your side dish game? Hot Honey Brussels Sprouts are crispy, sweet, and spicy, making them a must-try. In this post, I’ll break down the easy …
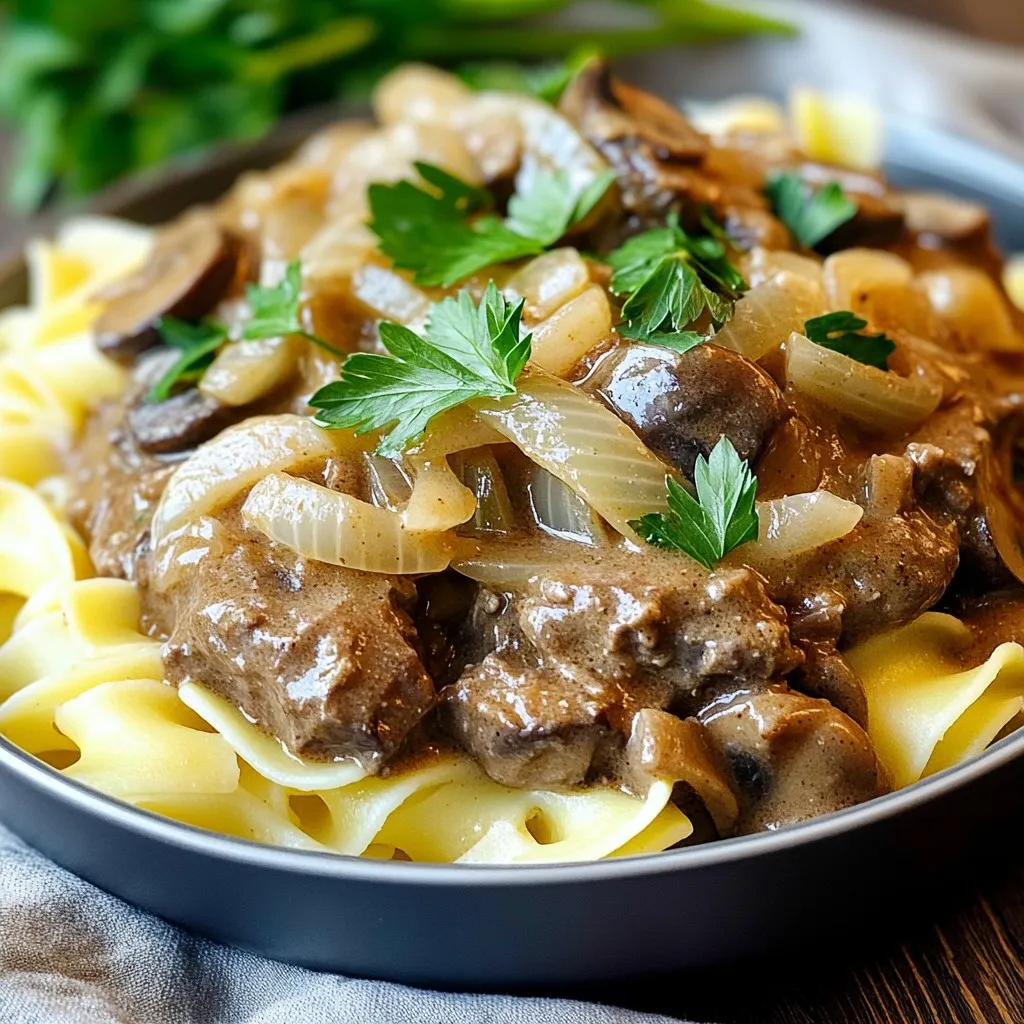
If you crave comfort food that’s simple and satisfying, you’ll love this Slow Cooker Beef & Mushroom Stroganoff Delight. I’ll guide you through each step, making it easy to create …