One-Pan Bold Honey BBQ Chicken Rice Delight
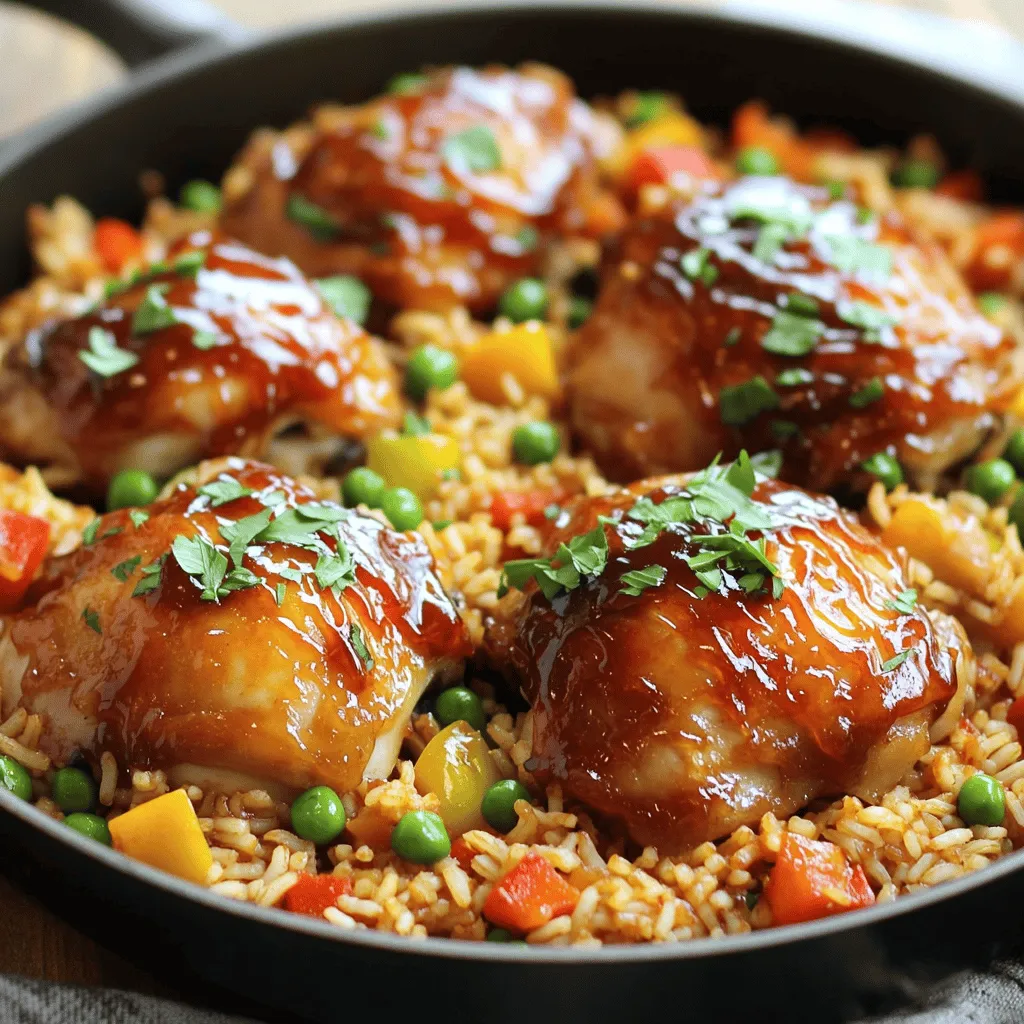
Looking for an easy meal that’s big on flavor? You’ve found it! This One-Pan Bold Honey BBQ Chicken Rice recipe combines tender chicken, savory rice, and sweet BBQ goodness all …
Looking for an easy meal that’s big on flavor? You’ve found it! This One-Pan Bold Honey BBQ Chicken Rice recipe combines tender chicken, savory rice, and sweet BBQ goodness all …
![- 1 cup all-purpose flour - 1/2 cup unsalted butter, softened - 1/2 cup brown sugar, packed - 1/4 cup granulated sugar - 1 large egg - 1 teaspoon vanilla extract - 1/2 teaspoon baking powder - 1/4 teaspoon salt - 1/2 teaspoon ground cinnamon - 1/2 cup powdered sugar (for icing) - 1-2 tablespoons milk (for icing) - Colorful sprinkles (for decoration) To make these Brown Sugar Pop Tart Cookies, gather your ingredients. Each one plays a key role in the flavor and texture. The all-purpose flour gives your cookies structure. The butter adds richness and a soft bite. Brown sugar gives a deep, sweet flavor, while granulated sugar helps with sweetness and texture. You only need one egg for moisture and binding. The vanilla extract enhances the sweetness and aroma. Baking powder helps the cookies rise, giving them a fluffy feel. Salt balances sweetness and brings out flavors. Ground cinnamon adds warmth and spice. Icing made from powdered sugar and milk makes the cookies fun and pretty. Lastly, colorful sprinkles add a festive touch. You can find the complete recipe [Full Recipe] and instructions to create these delightful cookies. Enjoy baking! - Preheat your oven to 350°F (175°C). - Line a baking sheet with parchment paper. - In a mixing bowl, cream together the softened butter, brown sugar, and granulated sugar until it looks light and fluffy. - Add in one large egg and one teaspoon of vanilla extract. Mix until smooth. - In a separate bowl, whisk together one cup of flour, 1/2 teaspoon of baking powder, 1/4 teaspoon of salt, and 1/2 teaspoon of ground cinnamon. - Gradually add the dry mix to the wet mix. Stir until combined but don’t over mix. - Use a tablespoon to scoop out portions of dough. Roll them into balls. - Place the balls on the baking sheet, leaving space for them to spread. - Slightly flatten each ball with your palm to form a thick disc. - Bake for 10-12 minutes or until the edges turn lightly golden. - Once baked, let the cookies cool on the sheet for about 5 minutes. Then transfer them to a wire rack to cool completely. You can find the Full Recipe right here. To make the best Brown Sugar Pop Tart Cookies, avoid overmixing the dough. When you mix too much, the cookies can become tough. Mix just until you see no dry flour. This helps keep your cookies soft and chewy. Next, how do you know when the cookies are done? Look for golden edges. The center can look a bit soft, but it will firm up as they cool. Bake for 10 to 12 minutes. Keep an eye on them to avoid burning. For the icing, achieving the right consistency is key. Start with 1 tablespoon of milk added to the powdered sugar. Mix until smooth. If it's too thick, add more milk, a little at a time. You want it to drizzle easily but not be runny. When decorating, drizzle icing in a zigzag pattern. This adds a fun touch. After icing, sprinkle colorful sprinkles on top to make your cookies pop! Enjoy the process; it makes the cookies look and taste even better. {{image_2}} You can make your Brown Sugar Pop Tart Cookies even better! Try adding chocolate chips or nuts for a fun twist. Chocolate chips add a rich taste that pairs well with the brown sugar. Nuts give a nice crunch and a bit of saltiness. You can use walnuts, pecans, or even almonds. If you want unique flavors, use different extracts. Instead of vanilla, try almond or coconut extract. Each extract gives a new taste that makes your cookies special. Just remember to use a small amount. A little goes a long way! Want to make these cookies gluten-free? Use gluten-free flour instead of all-purpose flour. It works well and keeps the texture just right. Make sure to check that all your other ingredients are also gluten-free. If you prefer vegan cookies, you can make simple swaps. Replace butter with coconut oil or vegan butter. For the egg, try using flaxseed meal or applesauce. Use 1 tablespoon of flaxseed mixed with 2.5 tablespoons of water to replace one egg. These swaps keep your cookies tasty and help you stick to your diet! For the Full Recipe, check the recipe section above. You can keep your Brown Sugar Pop Tart Cookies on the counter. Use an airtight container to store them. This helps keep them fresh and soft. Place a piece of wax paper between layers to avoid sticking. They will stay good for about 3 to 5 days. If you want to enjoy them longer, consider freezing them. Freezing cookies is a smart way to save them for later. Start by letting the cookies cool completely. Then, wrap each cookie in plastic wrap. You can also use a freezer-safe bag. This keeps them from getting freezer burn. Store the wrapped cookies in the freezer. They can last for up to 3 months! When you're ready to eat one, just take it out and let it sit at room temperature. Enjoy the fresh taste again! For the full recipe, check out the detailed instructions above. How to make Brown Sugar Pop Tart Cookies from scratch? To make these cookies, start by creaming butter with brown sugar and granulated sugar. Then, mix in an egg and vanilla. In another bowl, combine flour, baking powder, salt, and cinnamon. Combine both mixtures gently. Finally, scoop and shape the dough, then bake until golden. For the full recipe, check the details above. Can I use different flavors of Pop-Tarts? Yes! You can use any flavor of Pop-Tarts you like. Try strawberry, blueberry, or even chocolate. Each will give a unique taste to your cookies. Feel free to mix flavors for fun combinations! What should I do if my dough is too sticky? If your dough is sticky, add a bit more flour. Start with a tablespoon at a time until it feels right. Make sure not to overwork the dough. This helps keep your cookies soft. How long do the cookies last? These cookies stay fresh for about 5 days at room temperature. Store them in an airtight container for best results. You can also freeze them for up to three months. Can these cookies be made ahead of time? Absolutely! You can make the dough ahead of time. Chill it in the fridge for up to 24 hours. When ready to bake, just scoop and bake as usual. This makes it easy to enjoy fresh cookies anytime! This blog post showed you how to make tasty Brown Sugar Pop Tart Cookies. We covered key ingredients, step-by-step instructions, and tips to perfect your treat. You learned ways to make flavor variations and store cookies, too. Making cookies is fun and lets you be creative. So, grab your ingredients and bake! Enjoy the process and share with friends.](https://therecipehatch.com/wp-content/uploads/2025/06/8ab02a60-fce6-4130-98d0-b6d5ca643c00.webp)
Looking for a fun and tasty treat? My Brown Sugar Pop Tart Cookies are both delightful and easy to make! With simple ingredients and straightforward steps, you’ll impress friends and …
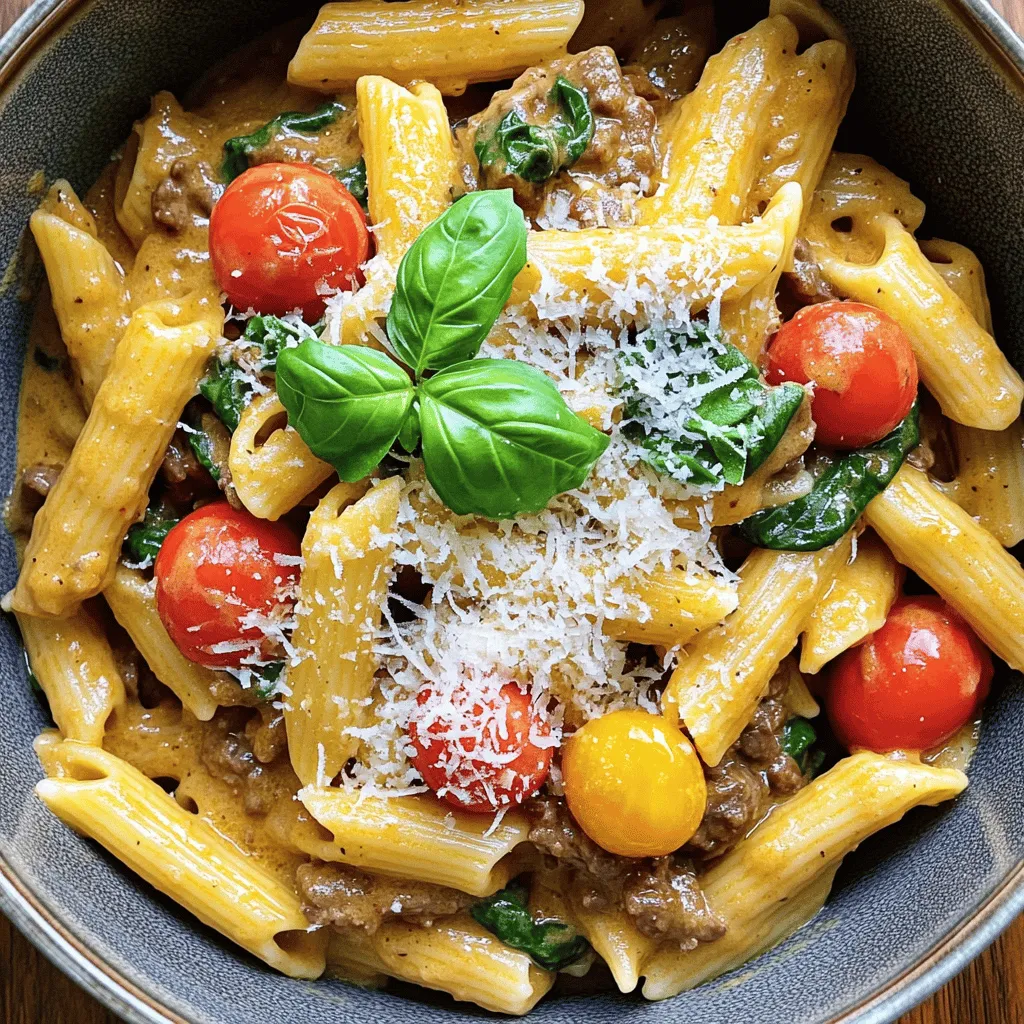
. This blog post covered how to make Ground Beef Pasta with Alfredo. We reviewed key ingredients and step-by-step instructions. You learned tips for perfecting the sauce and cooking pasta. We also explored variations and storage methods. Cooking can be fun and creative. Now, you can make a delicious meal at home. Enjoy experimenting with flavors and sharing your dish with others. Happy cooking!](https://therecipehatch.com/wp-content/uploads/2025/06/a894829d-aa4a-4d1b-84ca-e2be4a877832.webp)
Craving a creamy pasta dish that packs a flavorful punch? Look no further! In Ground Beef Pasta with Alfredo Creamy Delight, I’ll guide you step-by-step through a simple recipe that …
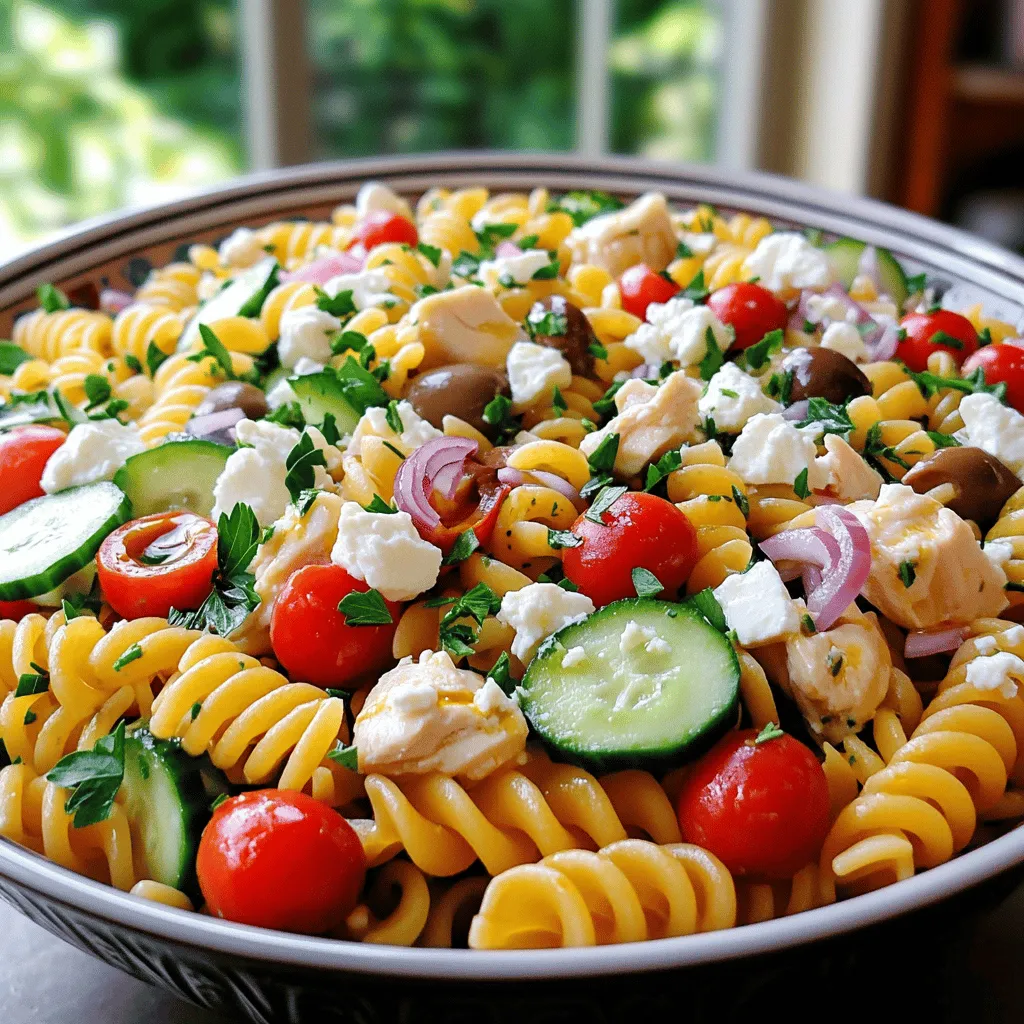
Looking for a fresh and tasty meal that’s quick to whip up? Mediterranean Chicken Pasta Salad is your answer! This vibrant dish bursts with flavor from pasta, juicy chicken, and …
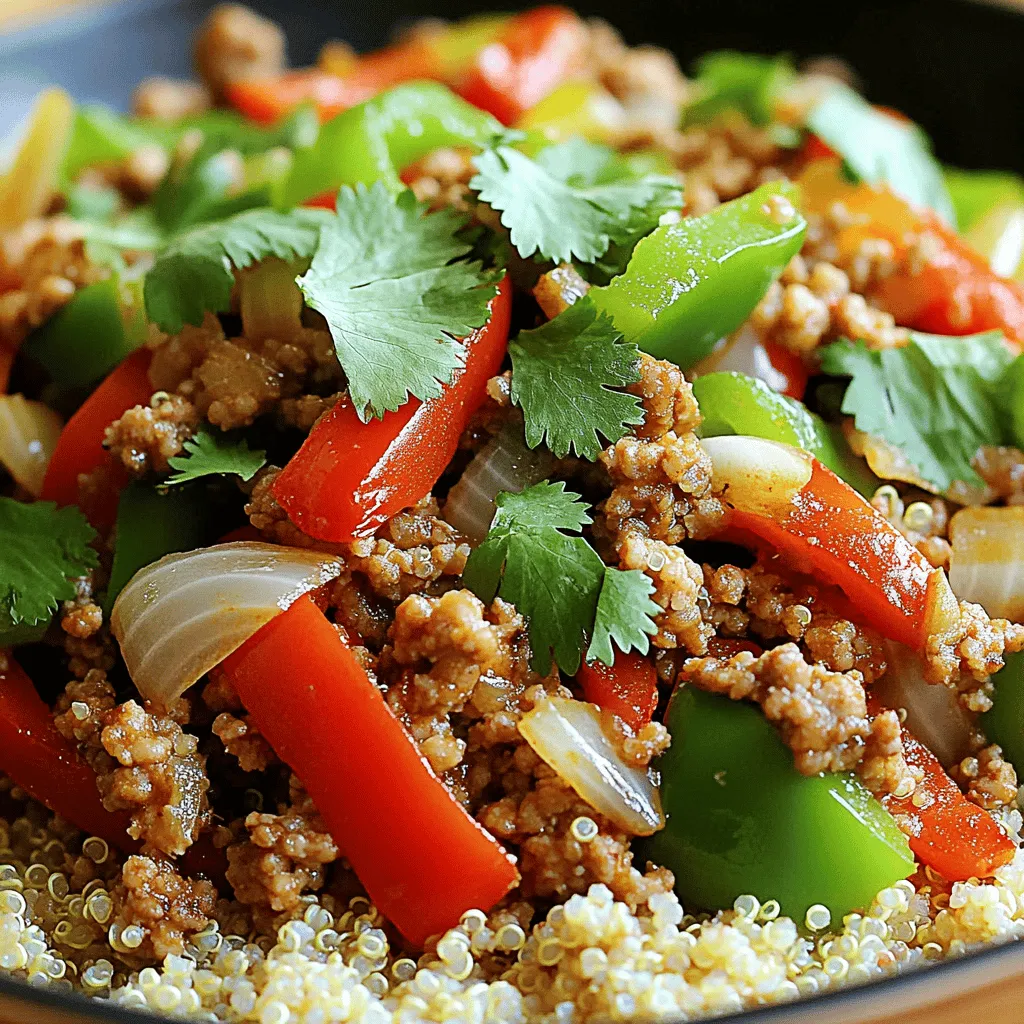
Looking for a quick and tasty dinner? My Easy Ground Turkey and Peppers Stir-Fry is perfect for busy weekdays. With just a few simple ingredients, you can whip up a …
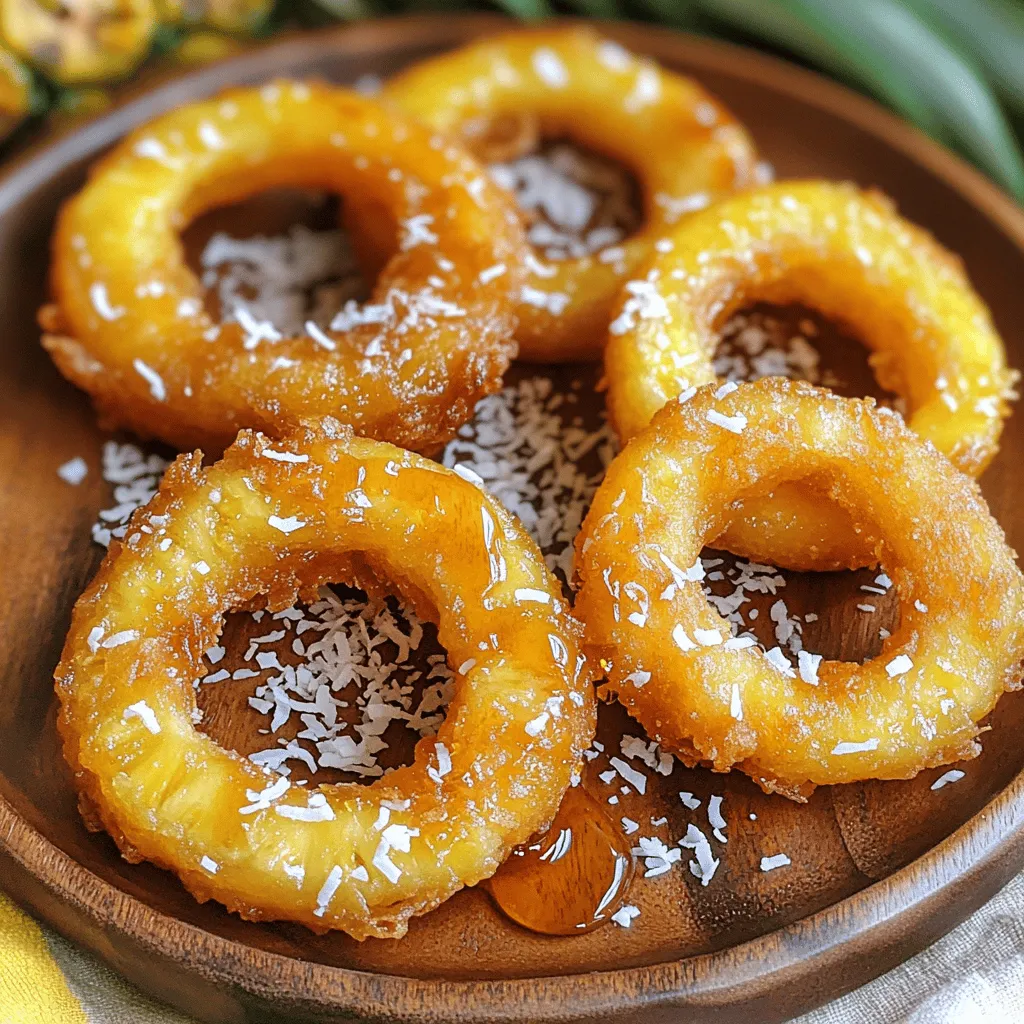
Get ready for a sweet and crispy adventure! Fried Pineapple Rings are a tasty treat that transforms a simple fruit into a delightful snack. With just a few ingredients, you …
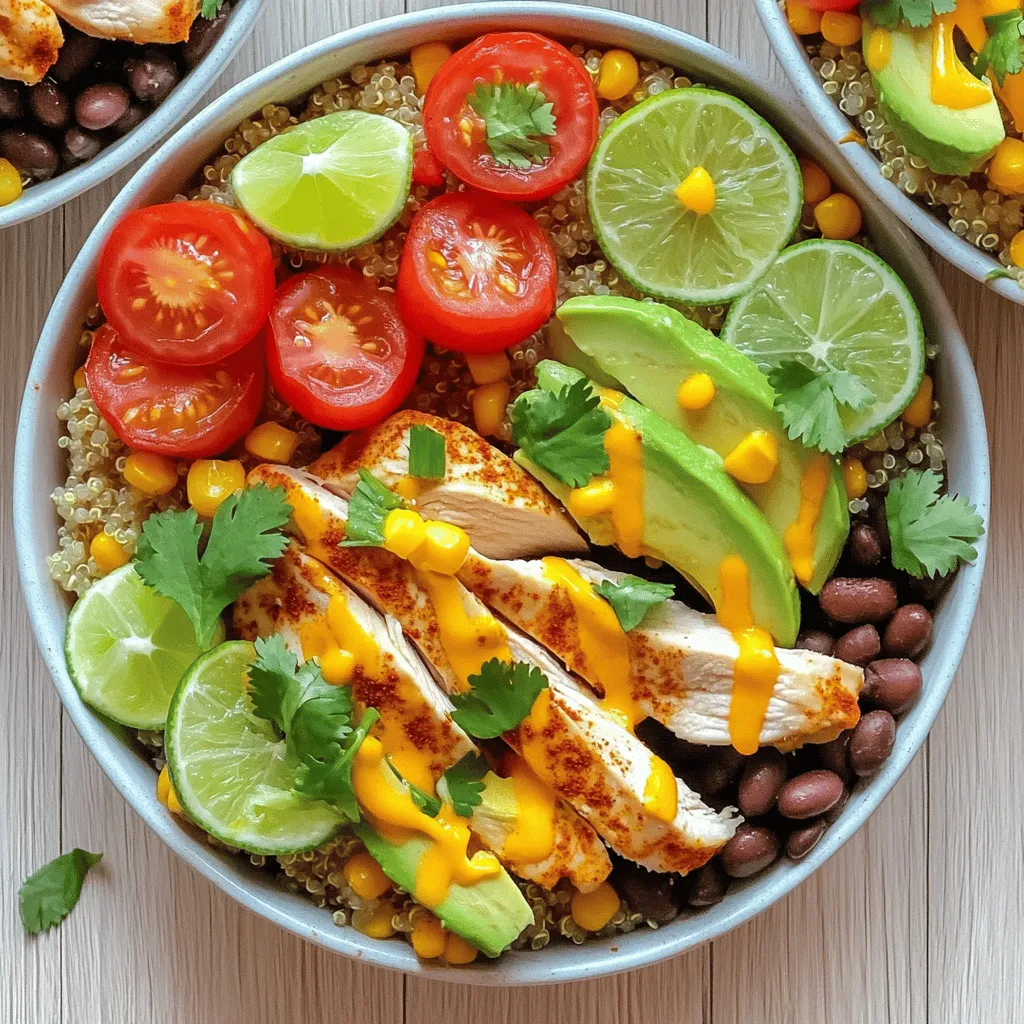
Looking for a quick meal packed with flavor? You’ve found it with these Easy Southwest Chicken Burrito Bowls! Imagine tender chicken, colorful veggies, and satisfying quinoa all in one bowl. …

Are you craving a delicious dinner that’s quick to make? This Teriyaki Chicken Rice Bowl is packed with flavor and easy to prepare. With simple ingredients and fast steps, you’ll …
![- 1 lb ground beef - 1 cup uncooked white rice - 2 cups beef broth - 1 cup sharp cheddar cheese, shredded - 1 cup frozen mixed vegetables (peas, carrots, corn) - 1 medium onion, chopped - 2 cloves garlic, minced - 1 teaspoon paprika - 1 teaspoon dried thyme - ½ teaspoon black pepper - ½ teaspoon salt - 2 tablespoons olive oil - ½ cup milk - Fresh parsley, chopped (for garnish) Each ingredient plays a key role in making this dish rich and tasty. The ground beef gives it a hearty base. The rice soaks up the flavors, making every bite delightful. The cheddar cheese forms a tasty crust on top, adding creaminess. Mixed vegetables bring color and nutrition to the plate. The spices and seasonings elevate the dish. Paprika adds warmth, while thyme brings a fresh taste. Black pepper and salt enhance all the flavors. Olive oil helps sauté the onions and garlic, creating a delicious aroma. Milk adds creaminess to the filling, making it extra comforting. For the full recipe, you can check the details above. Happy cooking! - Preheat your oven to 350°F (175°C). - Heat olive oil in a skillet and sauté onion and garlic until translucent. This takes about five minutes. You want the onion to become soft and clear. - Add ground beef, breaking it apart with your spatula. Cook until browned, which should take six to eight minutes. If you see a lot of fat, drain it to keep your dish light. - Stir in rice, beef broth, mixed vegetables, paprika, thyme, black pepper, and salt. Bring this mixture to a boil. After it boils, reduce the heat, cover, and let it simmer. This will take about 18 to 20 minutes. You want the rice to be tender and to soak up most of the liquid. - Once cooked, remove the skillet from heat. Mix in the milk for creaminess. This step adds a nice touch to your dish. Then transfer everything to a greased baking dish. Top it off with cheddar cheese for that delicious crust. - Bake for 20-25 minutes until cheese is bubbly and golden brown. The smell will be amazing! Let it cool for about five minutes before serving. Garnish with fresh parsley for a pop of color. This adds a fresh taste too. For the complete recipe, check the [Full Recipe]. To avoid a dry casserole, use the right amount of broth. The beef broth keeps the rice moist. You can also mix in some milk at the end for creaminess. Be sure to let the casserole cool slightly before serving. This helps the layers set and keeps everything juicy. For perfect cheese melting, use fresh, shredded cheddar. Sprinkle it on top just before baking. The cheese will melt, bubble, and give that golden crust you want. Keep an eye on it while baking, so it doesn’t burn. I recommend a heavy skillet for even browning of the beef. A cast-iron skillet works great. It heats evenly and helps get that nice brown color on the meat. After browning, drain the excess fat for a lighter dish. For simmering rice, cover the pot tightly. This keeps steam in and helps the rice cook fully. Let it simmer on low heat. Check it after 18 minutes to see if it needs more time. Perfectly cooked rice is key to a great casserole. Pair your casserole with a fresh salad or warm bread. A crisp green salad adds a nice crunch. Garlic bread also complements the dish well, bringing out the flavors. For sides, think about roasted veggies or a simple coleslaw. These sides balance the rich flavors of the casserole. They add color and freshness to your meal. {{image_2}} You can easily change this recipe to fit your taste. Try using turkey or chicken instead of ground beef. These meats are leaner and still tasty. For a plant-based option, choose lentils or a meat substitute. Cheese is another great area to experiment. If you want a milder flavor, use mozzarella or Monterey Jack. For a stronger taste, consider using blue cheese or pepper jack. Want to spice things up? Add some chili powder or cayenne pepper for heat. A dash of cumin can add warmth too. These spices will give your casserole a new twist. Fresh herbs can boost flavor as well. Try adding chopped basil, cilantro, or parsley. They add freshness and a burst of color. If you need a vegetarian version, replace the beef with mushrooms and beans. You can still keep the rice and cheese for a hearty meal. For gluten-free options, swap the regular rice for brown rice or quinoa. These grains will keep it gluten-free while still being filling. For the full recipe, check out the details above. To store leftovers, let the casserole cool first. Place it in an airtight container. You can also cover it tightly with plastic wrap. Use containers that seal well to keep moisture in. Glass or BPA-free plastic containers work great. To freeze the casserole, let it cool completely. Cut it into portions for easy thawing. Wrap each piece tightly in plastic wrap, then place in a freezer bag. This helps prevent freezer burn. When you’re ready to eat, thaw it overnight in the fridge. Reheat in the oven at 350°F until warmed through. In the fridge, the casserole lasts about 3 to 4 days. If you freeze it, it can last up to 3 months. Signs your casserole has gone bad include a sour smell, mold, or changes in color. If you notice any of these, it’s best to throw it away. For the full recipe, check out the section above. How to make Cheddar-Crusted Ground Beef and Rice Casserole from scratch? Making this casserole from scratch is easy. Start by cooking ground beef with onion and garlic. Once browned, add rice, beef broth, and mixed veggies. Cook until the rice is done. Mix in milk, then put it in a baking dish. Top with cheddar cheese and bake until golden. Can I prepare this casserole ahead of time? Yes, you can prepare it ahead. Just follow all the steps until you bake it. Cover it tightly and store it in the fridge. When you're ready to eat, bake it straight from the fridge. You might need to add a few extra minutes to the baking time. What are the calories per serving? One serving of this casserole has about 450 calories. This can vary based on the beef and cheese you use. If you want a more accurate count, check the labels on your ingredients. Are there healthier modifications for this recipe? You can make this dish healthier by using lean ground beef or turkey. You can also swap regular cheese for low-fat cheese. Adding more vegetables can boost the nutrition without adding many calories. What if I don't have beef broth? If you don't have beef broth, use chicken broth or vegetable broth instead. Water can work too, but it will have less flavor. You can add a bit of soy sauce for extra taste. How do I adjust cooking time for larger portions? To adjust for larger portions, increase the cooking time slightly. Check the rice to make sure it is tender. If you double the recipe, cook it for about 10-15 minutes longer. Make sure the cheese is bubbly and golden. For the full recipe, check above! This blog post gives you a clear pathway to making a delicious cheddar-crusted ground beef and rice casserole. We covered the main and additional ingredients, plus spices to add flavor. The step-by-step instructions guide you from preheating the oven to enjoying the final dish. You also learned tips for making your casserole perfect and tasty variations to try. In the end, cooking should be fun and creative. Experiment with different ingredients and enjoy the rewards!](https://therecipehatch.com/wp-content/uploads/2025/06/719b96ce-4948-477f-87e7-6665609666f4.webp)
Welcome to the world of comfort food with my Cheddar-Crusted Ground Beef and Rice Casserole Delight! This dish is an easy way to combine hearty flavors and cheesy goodness. It’s …
Looking for a warm and comforting meal that you can whip up in no time? This Stovetop Creamy Ground Beef Pasta is exactly what you need! With simple ingredients like …