Minute Garlic Ginger Udon Stir-Fry Quick and Easy Meal
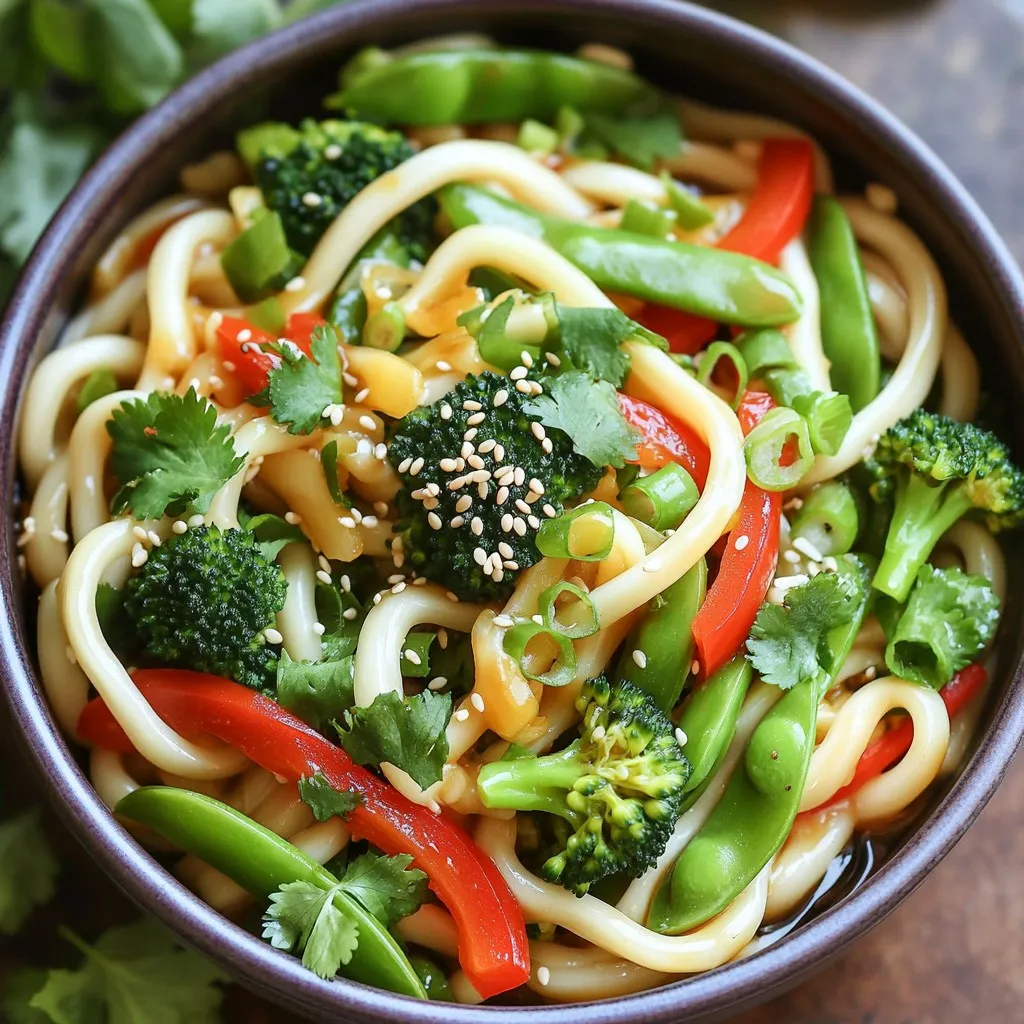
Craving a quick meal packed with flavor? You’re in the right place! This Minute Garlic Ginger Udon Stir-Fry is easy to whip up in no time. Perfect for busy weeknights, …
Craving a quick meal packed with flavor? You’re in the right place! This Minute Garlic Ginger Udon Stir-Fry is easy to whip up in no time. Perfect for busy weeknights, …

If you crave a sweet treat that’s easy to make, you’ll love these No-Bake Pumpkin Cheesecake Energy Balls. With simple ingredients like pumpkin puree, oats, and cream cheese, you can …

Are you ready for a dish that’s creamy, comforting, and easy to make? In this blog post, I’ll show you how to whip up a delightful one-pot spinach artichoke orzo. …
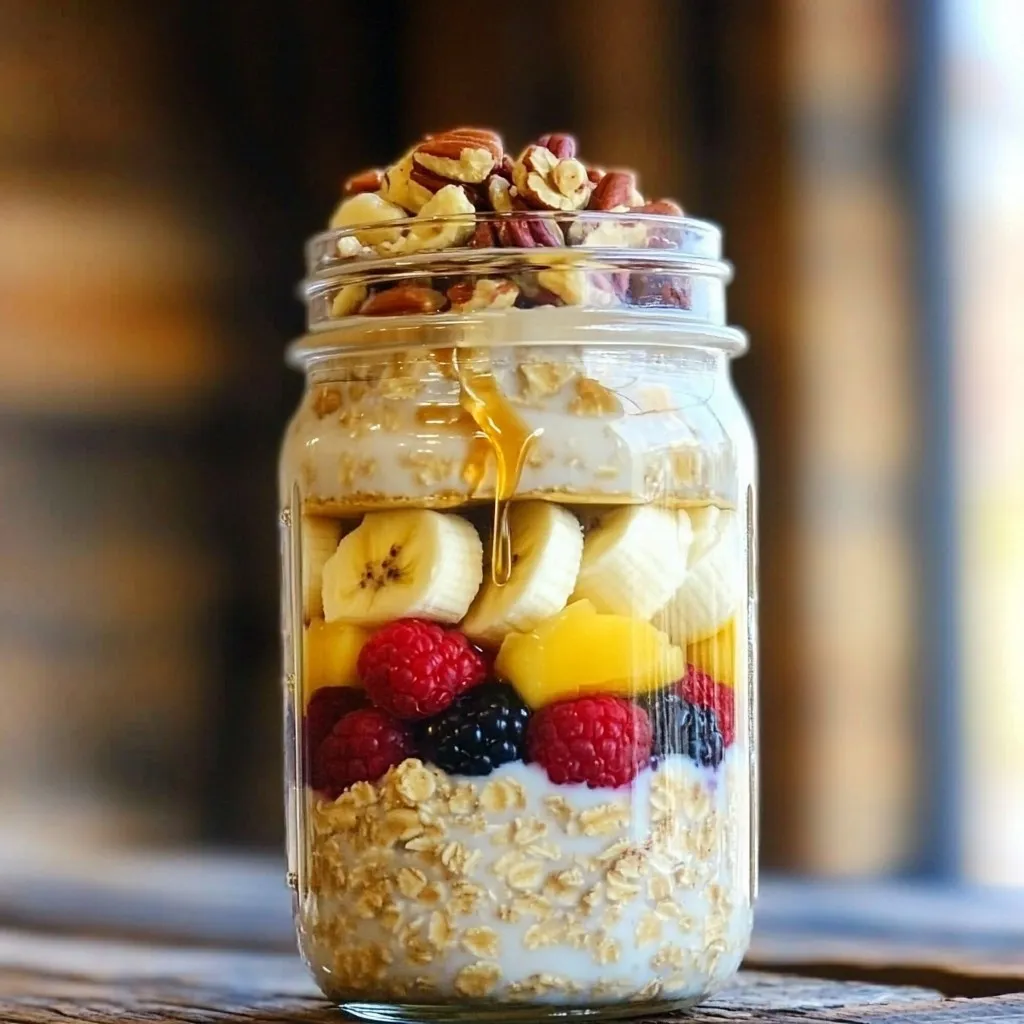
Looking for an easy and delicious breakfast? Maple Brown Sugar Overnight Oats are the perfect solution! This simple recipe combines rich maple syrup and sweet brown sugar, giving your mornings …

Do you love the cozy flavors of fall? Then you need to try my Pumpkin Cream Cheese French Toast Bake! This delightful recipe combines rich cream cheese, warm spices, and …

Get ready to enjoy a tasty and easy meal with Air Fryer Crispy Chicken Caesar Wraps! These wraps blend juicy chicken, fresh lettuce, and rich Caesar dressing, all wrapped up …

Welcome to the world of Spicy Garlic Chili Crisp Noodles, where every bite packs a punch! This quick dish blends bold flavors and simple ingredients, perfect for a weeknight dinner …
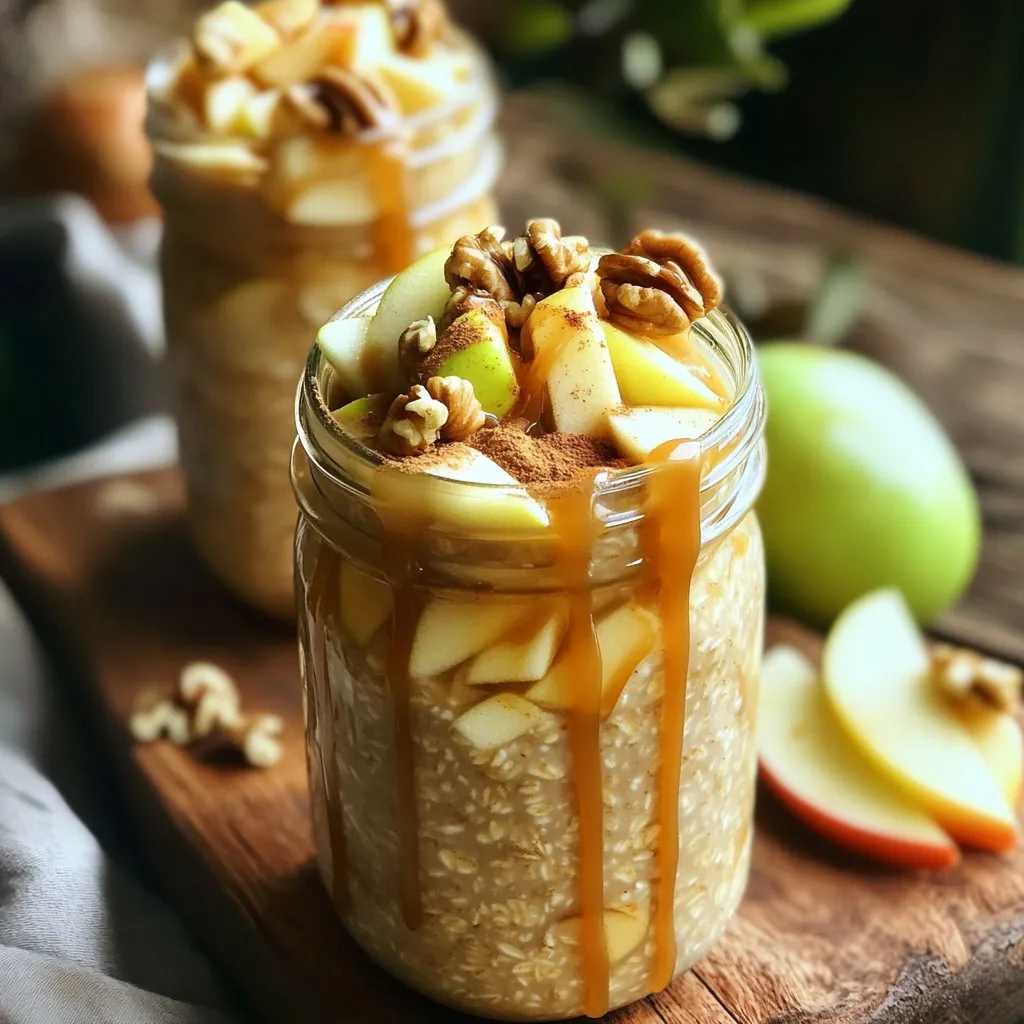
Start your day right with my Caramel Apple Overnight Oats! This sweet breakfast treat combines delicious flavors and healthy ingredients, making it the perfect morning boost. You’ll discover how to …

Looking for a quick and easy meal? My One-Pot Mushroom Spinach Risotto is just what you need! This simple weeknight dish takes just minutes to prepare and is packed with …

Are you ready to transform your dinner routine with a tasty dish? This Slow Cooker Teriyaki Beef & Broccoli recipe is easy, quick, and absolutely delightful! With tender beef and …