Air Fryer Cheesy Tortilla Garlic Bread Delight

Craving a quick and tasty treat? Let me introduce you to Air Fryer Cheesy Tortilla Garlic Bread! Picture crispy, cheesy goodness with a hint of garlic. This dish is so …
Craving a quick and tasty treat? Let me introduce you to Air Fryer Cheesy Tortilla Garlic Bread! Picture crispy, cheesy goodness with a hint of garlic. This dish is so …

Are you looking for a refreshing dish that’s both light and satisfying? Try my Vegan Cucumber Pasta Salad! Packed with whole wheat pasta and crisp veggies, this salad bursts with …

Are you ready to fill your home with the inviting aroma of homemade cinnamon rolls? These flavorful and soft treats are easier to make than you think. With simple ingredients …

Looking for a quick and tasty dinner? Try these easy shrimp tacos! With fresh shrimp, zesty spices, and vibrant toppings, you can whip up a flavorful meal in no time. …
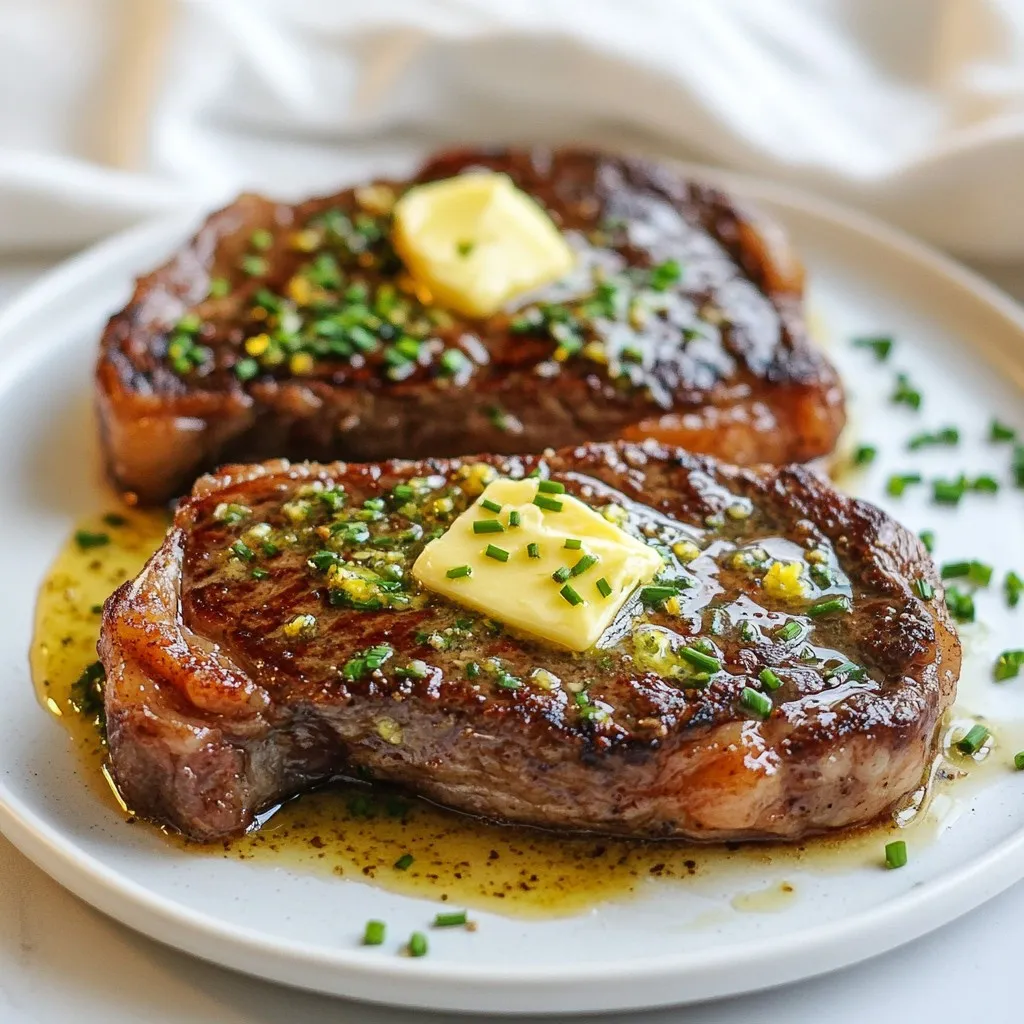
Are you ready to take your grilling game to the next level? In this article, I’ll show you how to make Cowboy Butter Steak that is grilled to perfection every …

Are you craving a dinner that’s both flavorful and easy to make? Look no further! Cajun Chicken Pasta is the perfect dish to satisfy your hunger and spice up your …
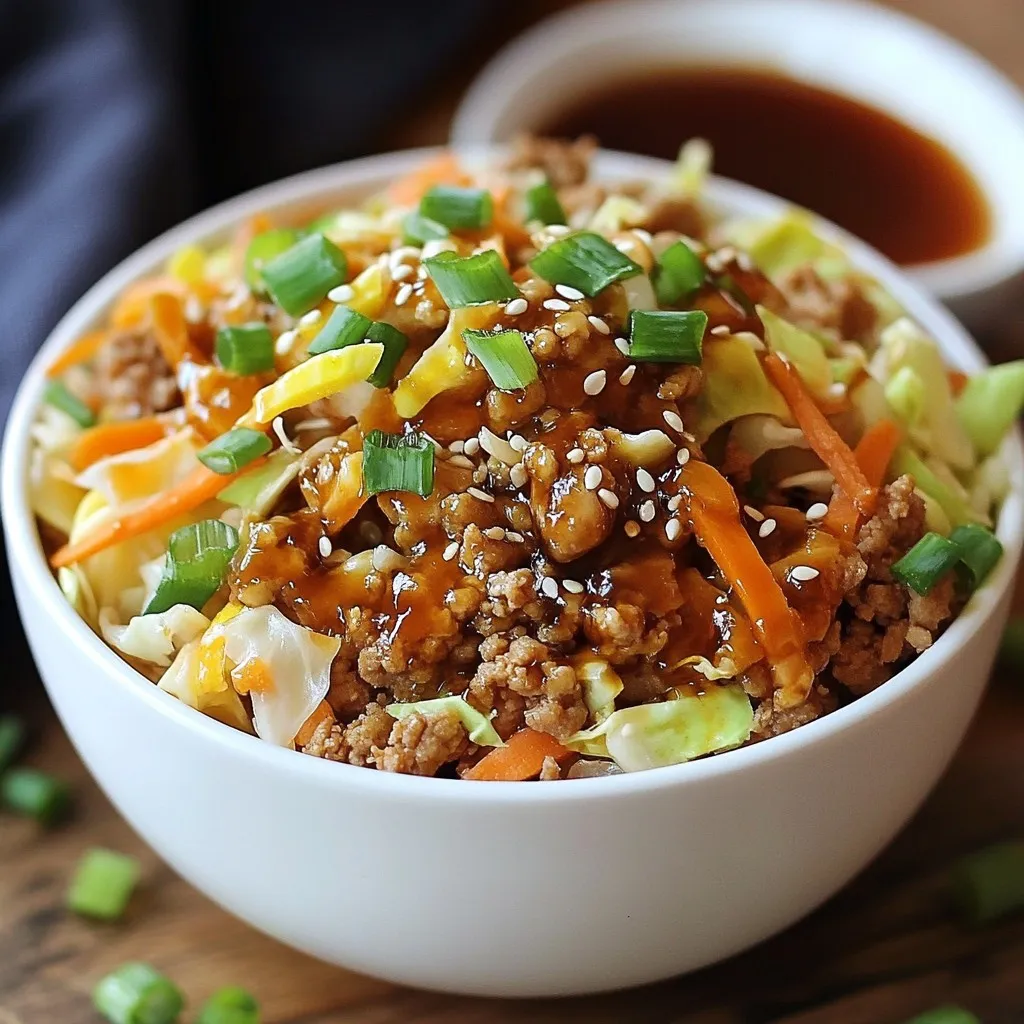
Craving a tasty, quick meal? Look no further! Egg Roll in a Bowl is your answer. This dish packs all the comforting flavors of traditional egg rolls without the hassle …

Craving a tasty dinner that’s simple to make? You’re in the right place! My White Chicken Enchiladas recipe is not only delightful but also easy to whip up. Packed with …

Looking for a quick and delicious meal? Try my Savory One Skillet Salmon Lemon Orzo! This easy recipe combines flaky salmon, zesty lemon, and tender orzo, all cooked in one …

Looking for a quick and tasty treat? Mini baked chicken tacos are the answer! With crunchy shells and savory filling, they are a hit for any meal. I’ll guide you …